DEVOLA DV20QHWF User manual


Table of Contents
Safety Warning… ............................................................2
Frequent enquiries...........................................................3
Installation… ...................................................................4
Components..................................................................... 5
Control Panel...................................................................6
Operation Methods ......................................................... 7
Drainage..........................................................................8-9
Maintenance ...................................................................10
Troubleshooting.............................................................11

Safety Warning
For your safety, please read the following contents
carefully before using this dehumidifier:
Prohibition:
▲Please do not place this dehumidifier close to heating devices (flame or
heaters, etc.).
▲Please do not turn on or turn off this dehumidifier by plugging in or
pulling out theplug.
▲Do not use insecticide spray or other flammable substances in the
vicinity ofthis dehumidifier.
▲Do not scratch appearance of this dehumidifier withsharp matters.
▲Do not splash oilor water into this dehumidifier.
▲Do not clean this dehumidifier with water, please wipe it with subhumid
soft cloth.
▲Do not wipe this dehumidifier with chemical solvents such as benzene,
gasoline and alcohol, etc. If this dehumidifier is indeed dirty, please
wipe with neutral detergent.
▲Please do not incline this dehumidifier over 45°or place this
dehumidifier upsidedown.
Requirements:
◆
Install this dehumidifier in smooth, level place to reduce vibration and
noise. Keep a distance of at least 50cm between appliances
and surroundings.
◆
Do not place this dehumidifier in water orother liquids.
◆
In order to prevent accidents, please do not use this dehumidifier if
wires orother connections aredamaged.
◆
To stop, reset or clean this dehumidifier, please cut off the power.
◆
Please use at the specified voltage.
◆
This dehumidifier can only be used indoor, please do not use for other
purposes.
◆
Please do not place heavy objectson this dehumidifier.
◆
Please empty water tank to prevent overflow and spill before
restarting thisdehumidifier.
◆
Please do not incline incase that the spilled water damages this dehumidifier.
◆
Please do not place waste rods and hard objects into the
dehumidifier in case that error and damageoccur.
◆
If the supply cord is damaged, it must be replaced by a qualified
persons in order to avoid a hazard.
◆
In the event of an abnormality (such as a burning smell), turn off the
machine and unplug the power cord.
◆
The appliance should be installed in accordance with the corresponding
national wiring regulations and ensure reliable grounding.

This dehumidifier may be full of water or water tank is not installed
properly, drain the water in water tank, or re-install water tank in
correct way.
At the moment the dehumidifier may be in the “dehumidification mode”,
the ambient temperature is lower or higher (dehumidification cannot be
performed when the ambient temperature is <5℃or >32℃).
The ambient temperature for operation of the dehumidifier is 5-
32 ℃
, and the relative humidity is 30%-80%. The optimal temperature
for use is 16-32℃;
Why has the dehumidifier stopped working/
won’t work?
Q:
Frequent enquiries
Q: Why is hot air blown out from air supply
outlet?
⚫
This dehumidifier extracts the air in the room, and the
dehumidification unit cools the air, the temperature decreases below
the condensation point, theair condenses into water drops, which
falls into water tank finally, and the dehumidified air is heated by the
temperature returning unit. This canreduce energy consumption and
also accelerate dehumidification, therefore, hot air is blown out, and
this not a fault.

◆
Please drain the water fromwater tank before operating.
◆
During operation please keep windows and doors short when
possible as the unit works best in sealed conditions.
◆
When the dehumidifier is installed, a certain space must be
reserved around this dehumidifier, the minimum distance
above is 50cm, and the minimum distance in front/rear and
left/right is 20cm as required, as shown in figurebelow.
◆
If a vibration sound is present during operation of this
dehumidifier:
It is recommended inserting pads or damping rubber sheets,
etc. below this dehumidifier, this can reduce vibration and
noise, and can also reduce sinking of wood floor or carpet.
Installation

Handle
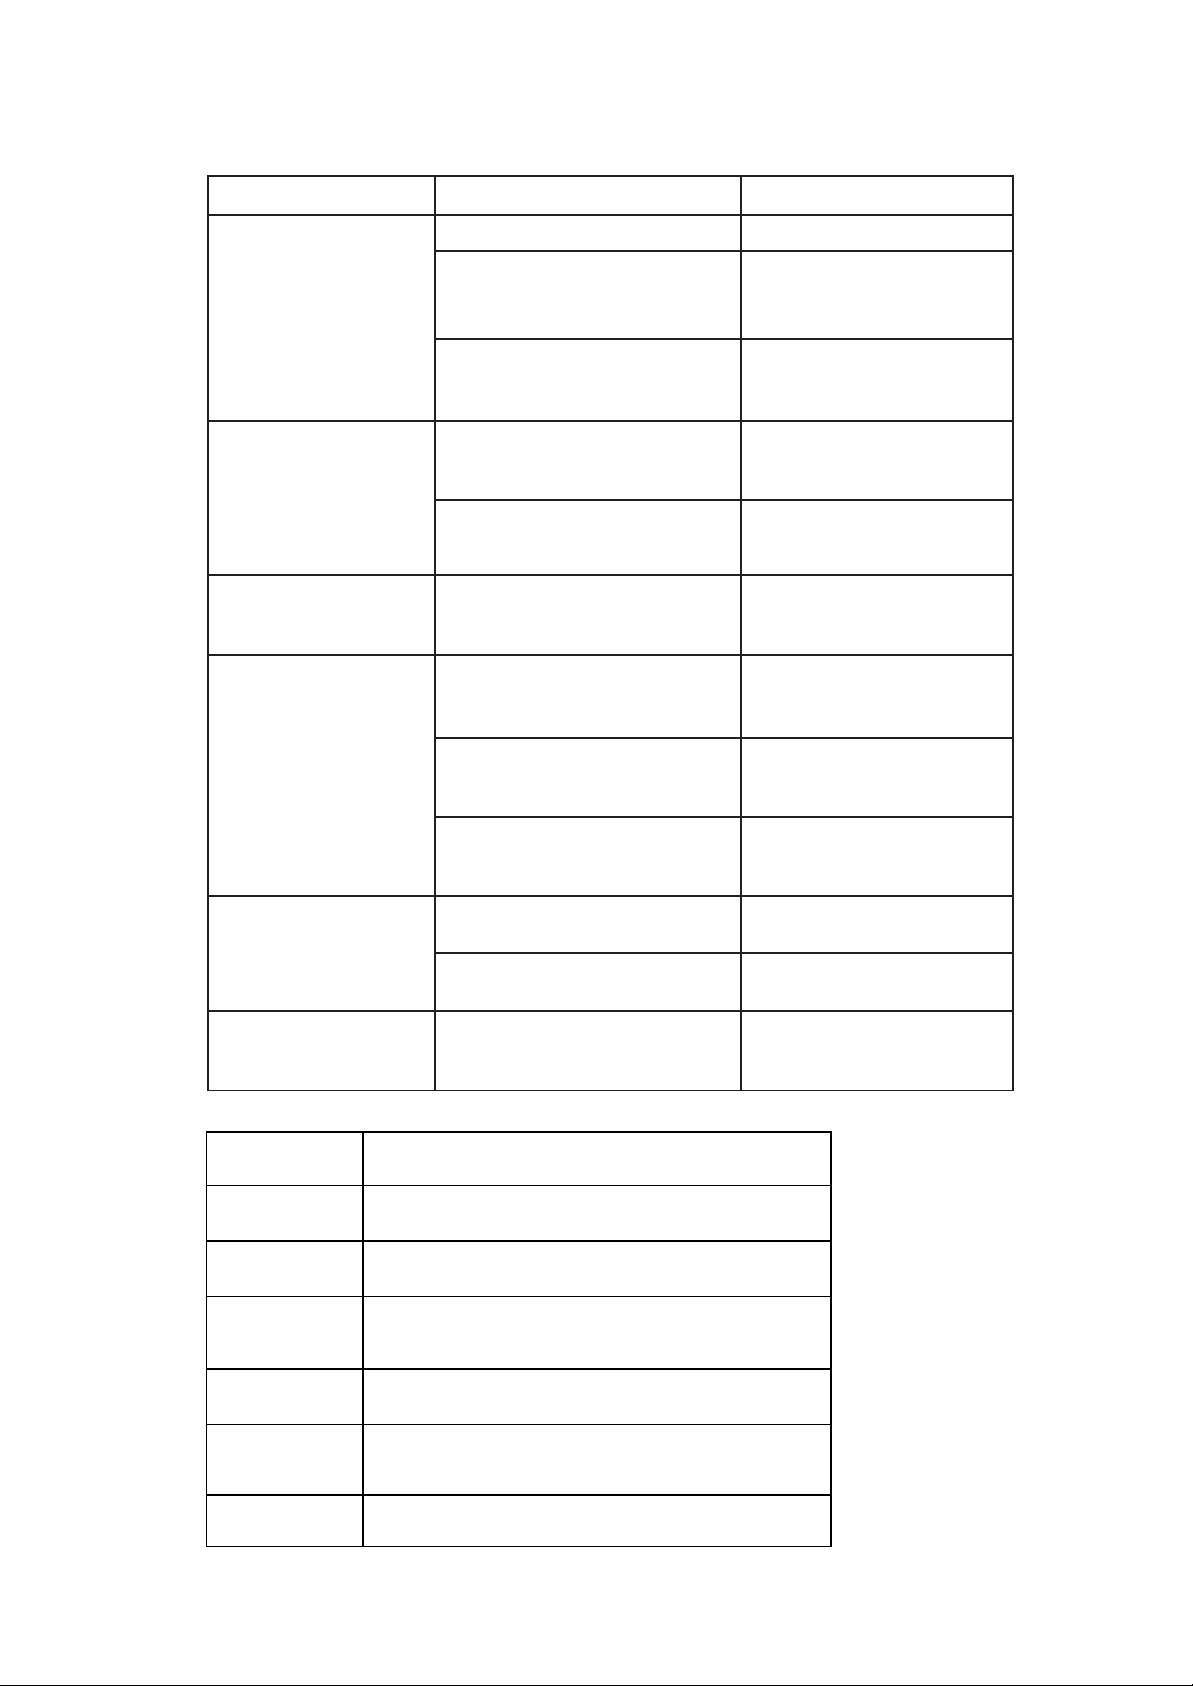
Filter frame
Caster
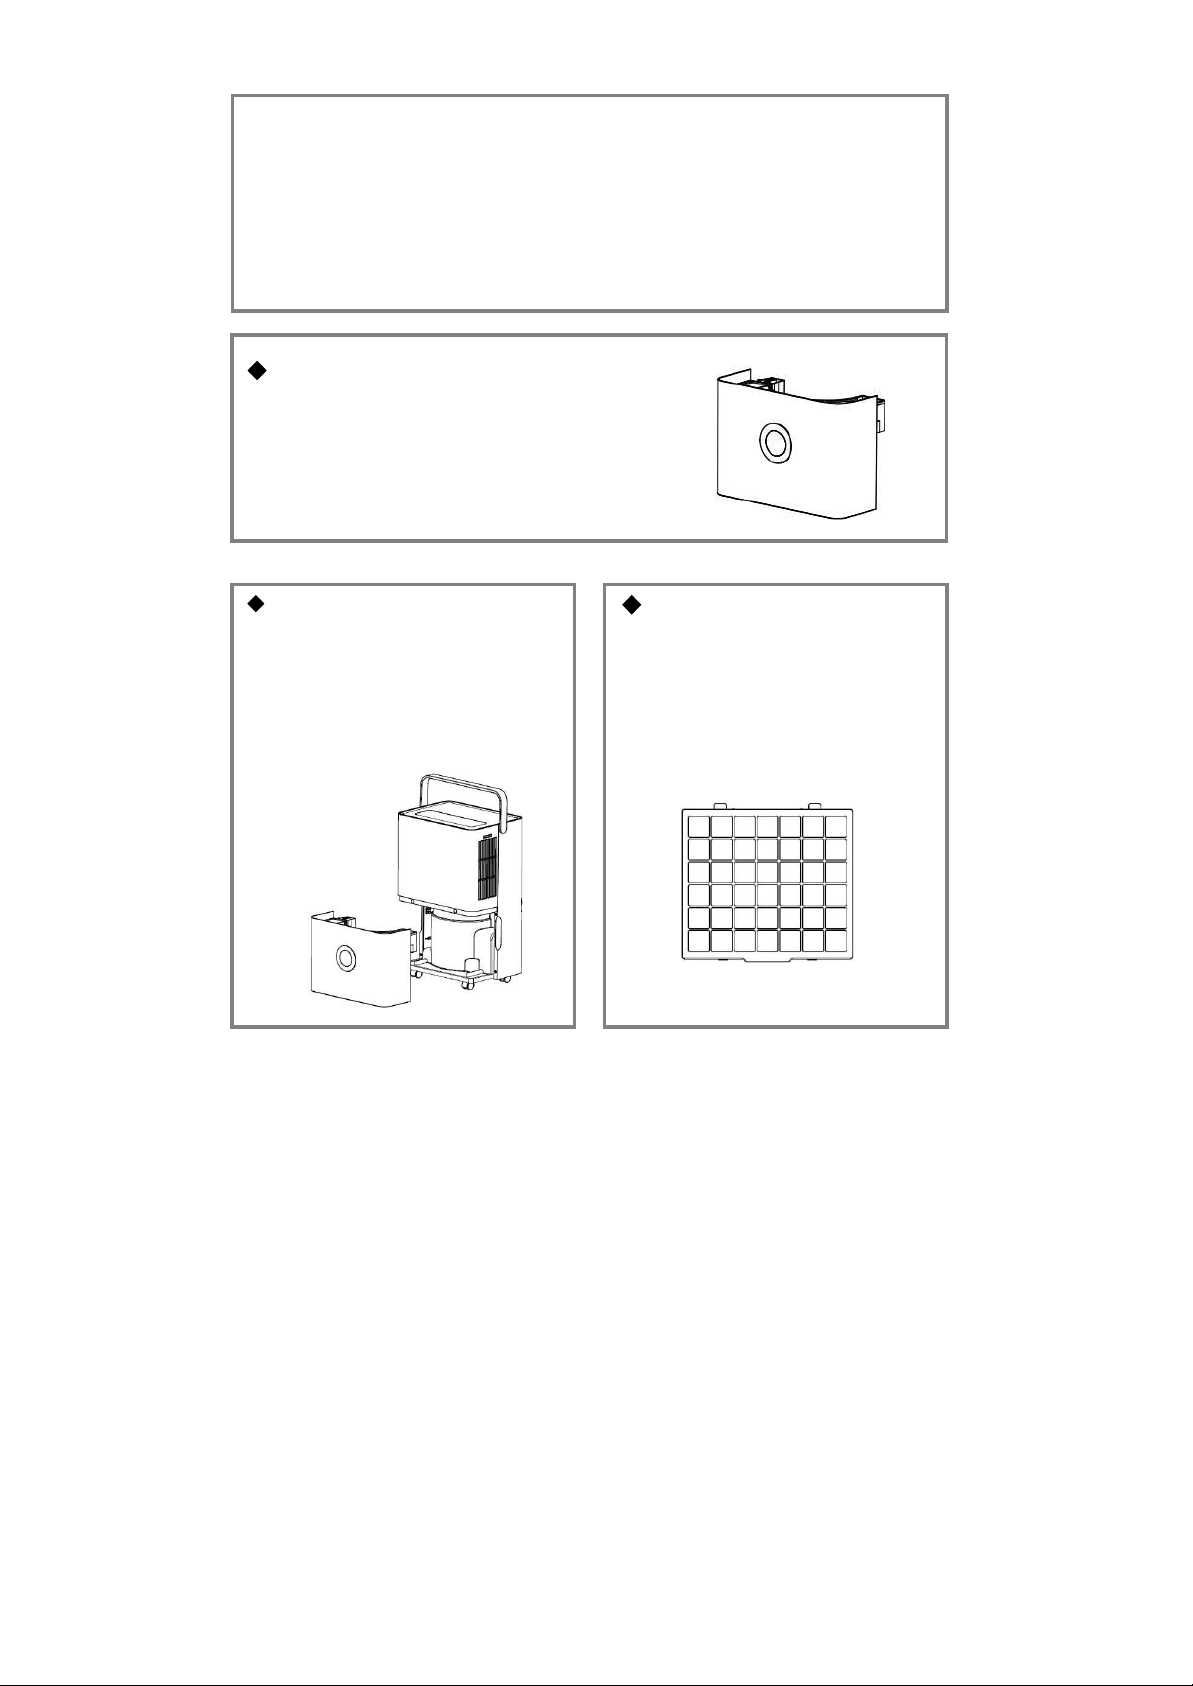
Components
Back
Drain outlet
Power cord storage column
Front
Water
tank cover
Water tank
handle
Water tank
Front panel
Back panel
Control panel

Control panel
Timer
To delay this dehumidifier turning on or off, press this button to activate
the 24H Timer. Each time you press the button, it will increase an hour.
So, 2 pressed for 2 hours, 3 for 3 hours etc. If you want to cancel
timer setup, press twice continuously after setting the timer to a
desired hour.
Internal Dry Press this button to start drying procedure in the
dehumidifier. This can prevent mold inside the dehumidifier
caused by damp. The whole drying procedure needs approximate
1h. Press this key again to cancel the drying function in the
dehumidifier, and to recover to running state before starting drying.
Air Speed
In AUTO or CONTINUOUS mode, adjust the fan
speed, HIGH and LOW by pressing this button.
LCD Display
In AUTO, CONTINUOUS AND DRYING modes,
this figure displays room humidity.
When it is set in AUTO mode, this figure
shows the set humidity; and displays the
set time in timer state, % represents
percentage ofhumidity.
Humidity Setting
Once this button is pressed, the humidity is
displayed circularly in the range of 30%-35%-
40%-45%-50%-55%-60%-65%-70%-75%-80%,
and the humidity setting is only valid in AUTO
mode.
Mode
During startup or timer startup press this button to select
AUTO, CONTINUOUS and DRYING modes, and the indicator
lamp corresponding to the selected mode is on.
Hold this button for 3 seconds to activate the Child Lock.
Repeat the process to turn the Child Lock off.
On/off key Press this button to turn on or turn off the dehumidifier.

Operating methods
Description of functions
Setting of timer off
⚫
When the dehumidifier is running, press the [Timer button] to adjust time
from 1h to 24h, pressing the key once to increase the setting time by 1h,
after the setting time exceeds 24h, the figure returns to 1 to restart
cycle.This will then turn the dehumidifier off after this desired set time. After
an hour has been selected, if the Timer button is untouched for 5 seconds,
the set time is confirmed.
Setting of timer on
⚫
When the dehumidifier is in standby state, the method for adjustment of
setting time by the [Timer key] is the same as timer off. After the setting is
completed, if the Timer button is untouched for 5 seconds, the set time is
confirmed. When the timer is in use the Timer button should be illuminated,
and the set time is displayed on control panel.
AUTO mode
⚫
Select AUTO dehumidification, if the room humidity is higher than the set
humidity or is between +5% or -5% of the set humidity , the compressor
will starts and the fan will run at the set speed. If the room humidity is lower
than the set humidity by -5%, then the compressor will stop but the fan will
run at the set speed. The default set humidity value is 50%.
CONTINUOUS mode
⚫
Select CONTINUOUS dehumidification to keep the dehumidifier operating
no matter what low the relative humidity in the room is. The compressor
starts, the fan runs at high speed in default, and the air speed can be
regulated via the air speedbutton.
Internal Drying
◆
Press the Internal Drying button to start drying in the dehumidifier.
The whole drying procedure needs approximately 1h:
1.
The dehumidifier starts at HIGH air speed continuously for 30min
2.
The dehumidifier turns to run at LOW air speed and lasts for 20min;
◆
How tostop:
1.
Press the button again to cancel drying in dehumidifier, and return
to the running state before start ofdrying.
2.
Press the Power button to stop drying in dehumidifier and return to the
standby state.
Child lock function
Hold the Mode button for 3 seconds to enable and then the same again to
disable this feature. All keys on the operation panel will then be disabled while
Child Lock is activated.
Drainage
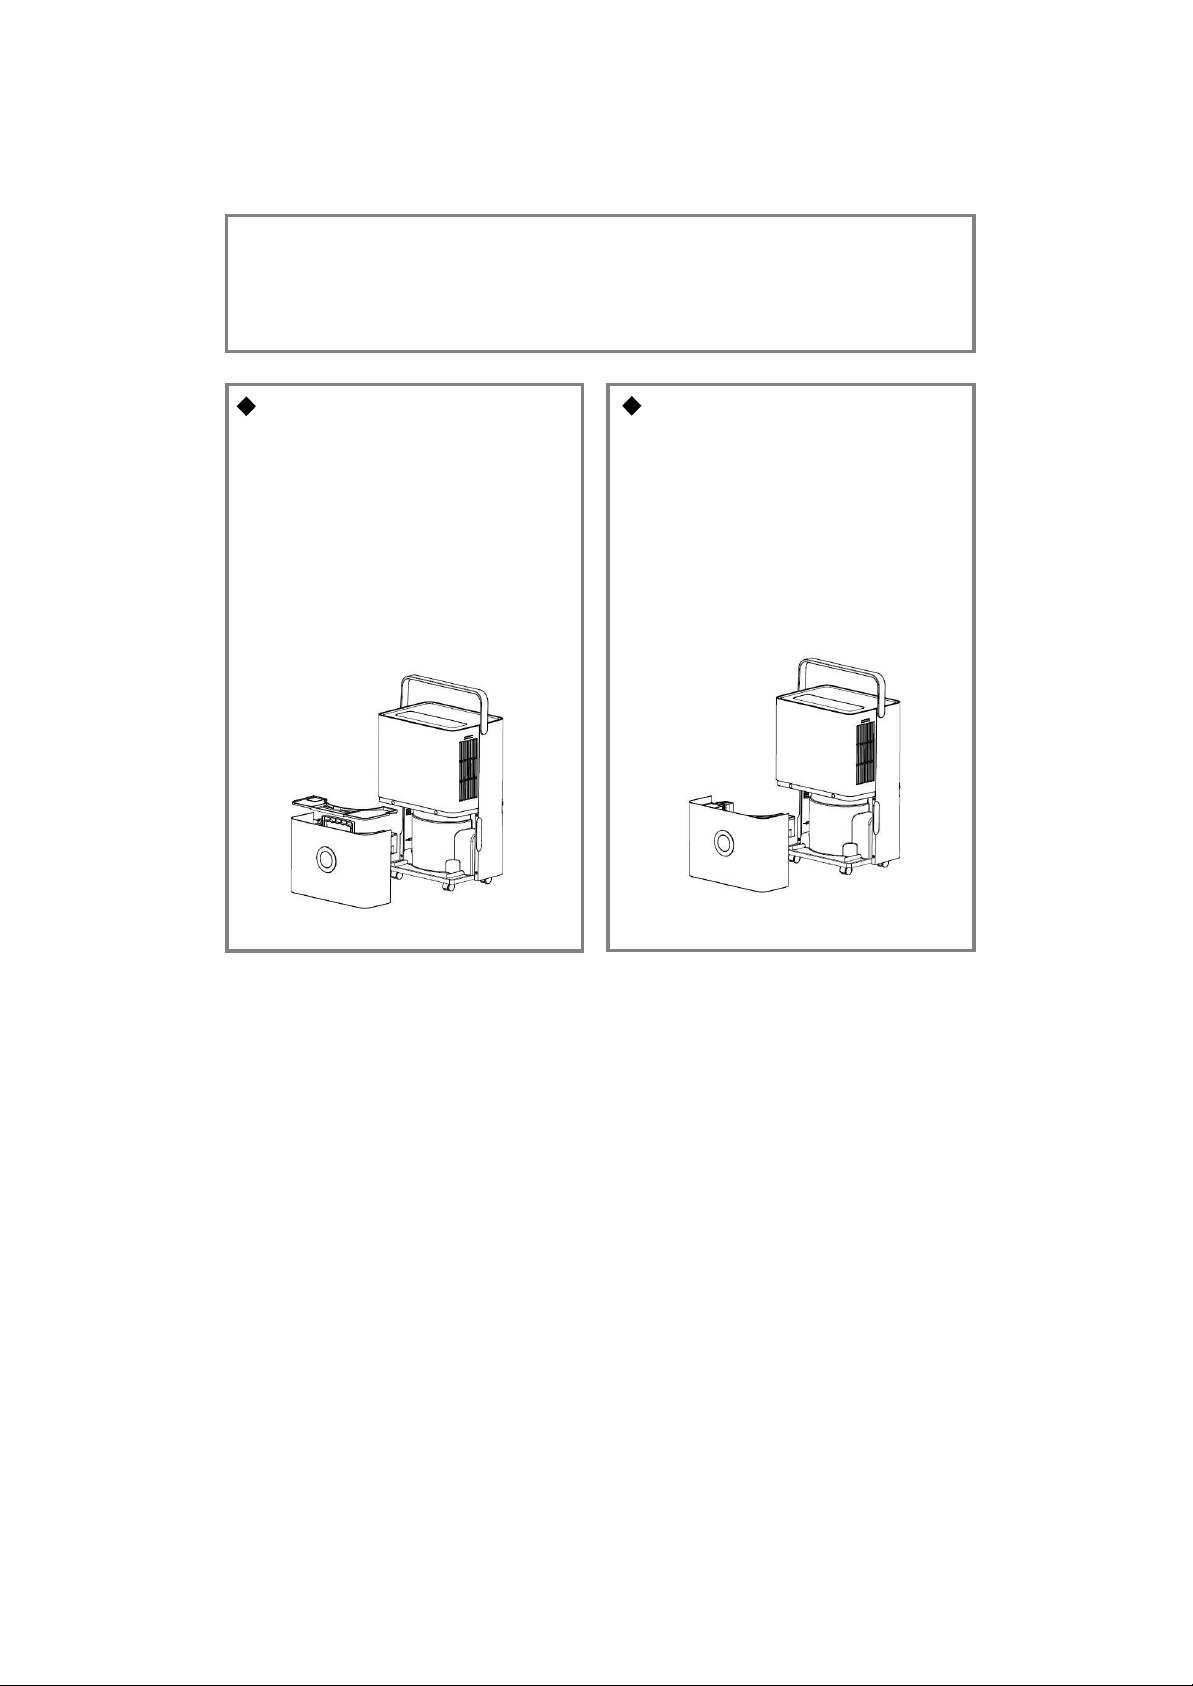
1. Use of Water Tank
Attention: when the water tank is full of water, please empty it.
Before putting the water tank into the dehumidifier, please confirm
whether the floater rotates flexibly or not, and then push it in position
with both hands.
When the water tank is full of water, the full water icon on LCD
flashes (the compressor, fan and negative ion will stop running), the
BUZZER signals 10 times to alert the user to empty the tank.
respectively at the side of
the back cover, gently
remove the water tank ,
turn the water tank handle
upright, remove the water
tank cover, and pour the
water out.
hands
both
Place
Close the tank cover, and
rotate the water tank handle
down, then put the water
tankgently and put it back in
the right place to restart
dehumidifier.
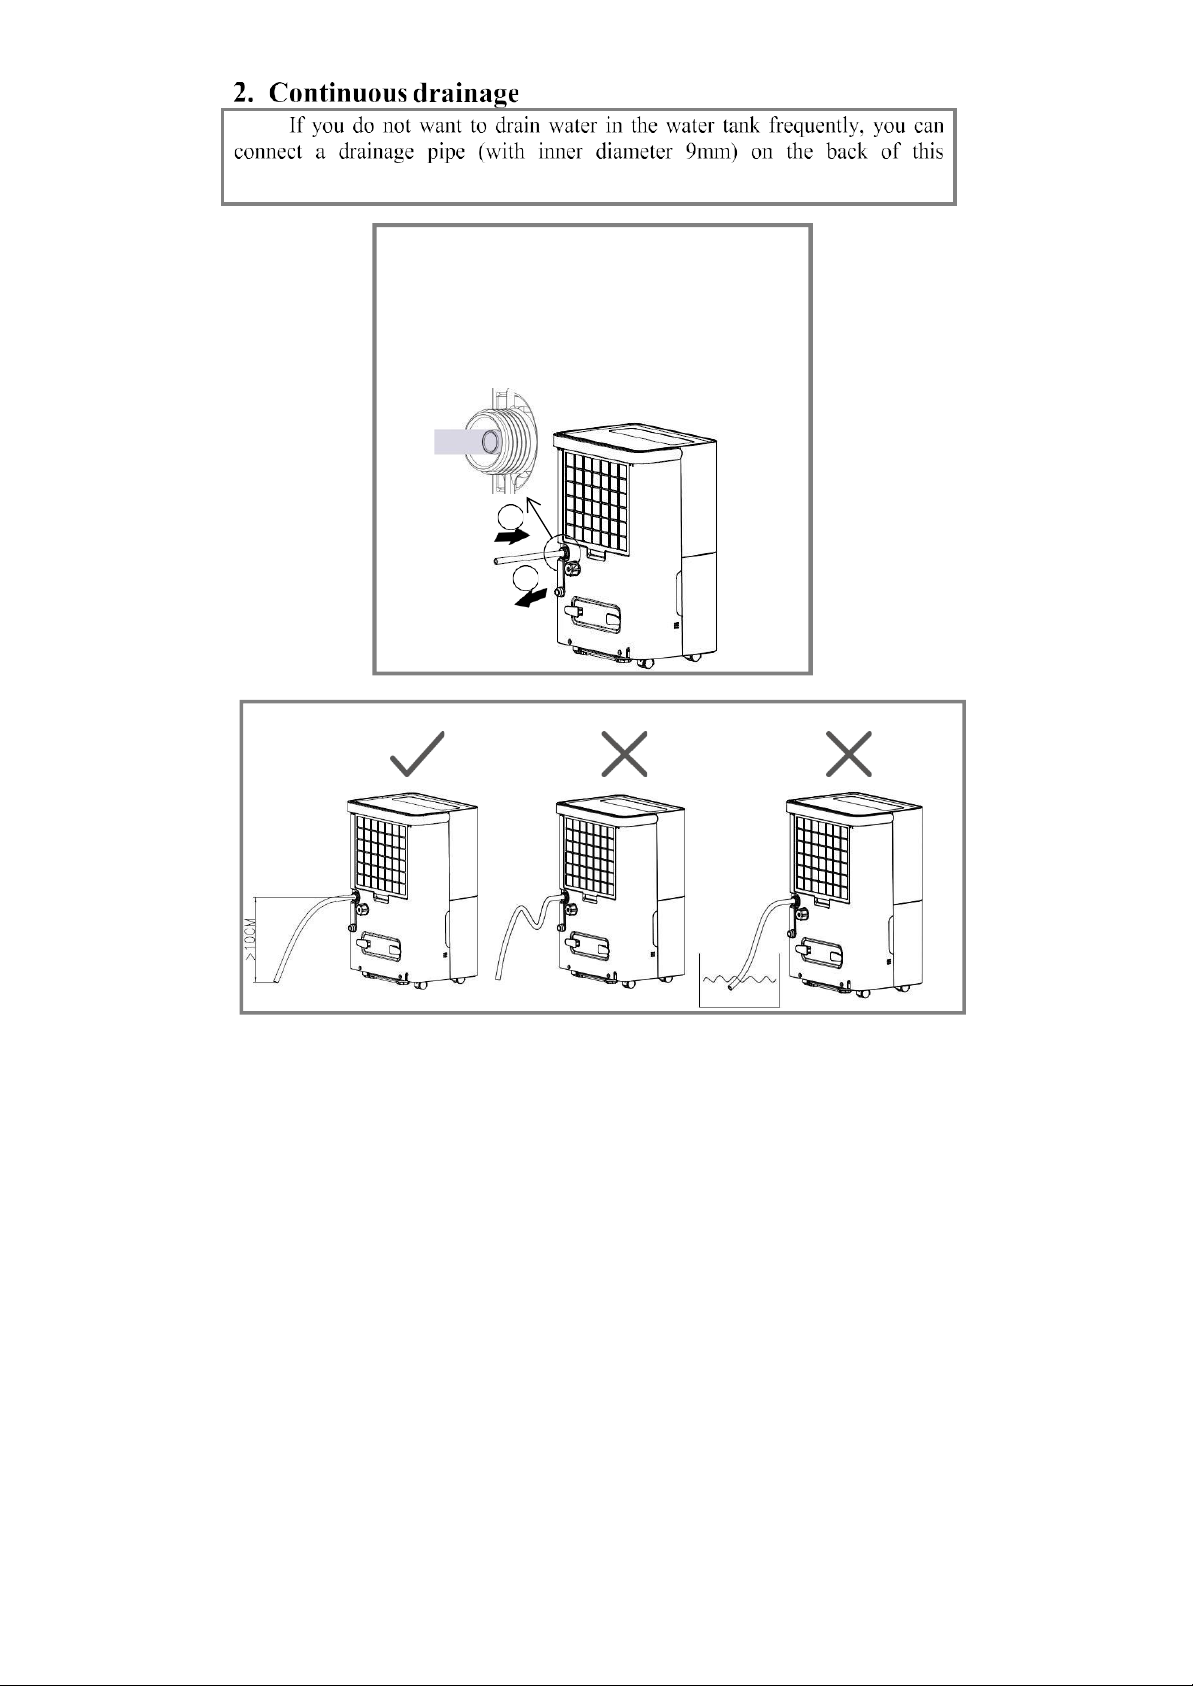
Attention: The external water pipe must not be too long (the
recommended length is less than 0.6 meters). The height of the end of
the water pipe must be more than 10cm lower than the height of the
water outlet. The water pipe must be kept smooth, otherwise the water
may not be drained normally.
dehumidifier to drain water.
◆Locate the drain outlet at the
back, unscrew the drain cover, and
pull out the water plug.
◆Connect the 9mm drainage pipe
to the drain outlet.
2
1
Maintenance
alcohol, gasoline and benzene,
etc.。
Please do not clean the dehumidifier body with chemical solvents
such as
⚫
Precautions:
⚫Please disconnect power supply before maintenance or repair to
prevent electricshock.
⚫
If the dehumidifier is not used for long time, please disconnect
power supply.
Please clean the water tank
and its cover with soft cloth
dipped in cold or warm water at
regular time to prevent mould
inside the dehumidifier.
Wipe the surface of the
dehumidifier slightly with
wet cloth, and do not use
detergent or abrasive in
case the plastic surface is
damaged.
Clean the filter and the
frame at lease once per
two weeks simply with
cold orwarm water, do not
use chemical solvents or
hot water.
Troubleshooting
If the following problems occur to the dehumidifier, the following
solutions can be adopted.
Symptoms
Possible reasons
Solutions
The dehumidifier does
not run
Is the power plug connected?
Insert power plug into socket.
Is the water tank full of water? (the
water tank is full of water or is
placed at incorrect position)
Drain water from the water
tank, and then install thewater
tank again.
The ambient temperature is
lower than 5℃or higher than
32℃
Not a fault. Please use within
the correct operating
temperature.
The dehumidification
function is not effective
Is the room temperature or
humidity too low?
In dry season the
dehumidification ability will
reduce.
Are the air outlet and inlet blocked?
Clean up the objects
blocking the air outlet and
inlet.
Air is not blown out
Is the air filter net blocked?
Clean the air filter net
according to the above
method.
Noise is abnormal
during operation
Is the dehumidifier placed
improperly so that it is inclined or
unstable?
Please place the
dehumidifier in smooth
place.
Is the air filter net blocked?
Clean the air filter net
according to the above
method.
There is “tittering” sound
The flowing sound of
refrigerant, which is a normal
phenomenon.
Water leaks
Connection of drainage pipe
becomes loose
Fasten drainage pipe.
Drainage system is blocked
Remove obstacles and
straighten out waterpipe.
Frosting occurs
The ambient temperature is low,
and it is in the state waiting for
defrost.
It is a normal phenomenon,
and the dehumidifier has the
automatic defrostingfunction.
Display code
Cause
FL
The water tank is full
E1
The coil sensor detects anomaly
E2
The room temperature sensor detects
anomaly
P1
The unit is in the defrosting state,normal
CL
The unit is in the internal drying
state,normal
LC
Child lock funtcion starts

This manual suits for next models
2
Table of contents
Other DEVOLA Dehumidifier manuals


