ENGLISH
10
• Increase the separation between the equipment and
receiver.
• Connect the equipment into an outlet on a circuit
differentfrom that which the receiver is connected.
• Consult the dealer or an experienced radio/TV technician
for help.
Canada, Industry Canada (IC) Notices
Class B digital circuitry of this device complies with Canadian
ICES-003. This device complies with Industry Canada license-
exempt RSS standard(s). Operation is subject to the following
two conditions: 1) this device may not cause interference,
and 2) this device must accept any interference, including
interference that may cause undesired operation of the device.
READ ALL INSTRUCTIONS
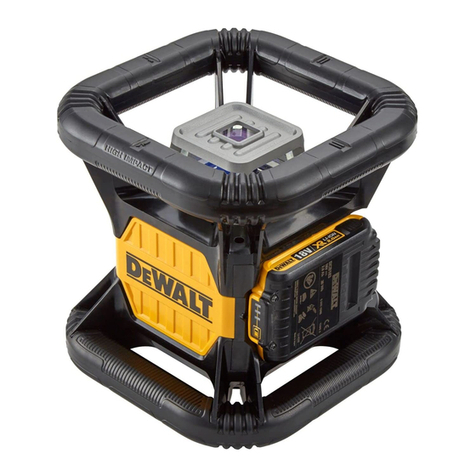
Batteries and Power
This
20 volt charger to charge the battery
pack before you can use the rotary laser.
• Refer to the chart at the end of this manual for compatibility
of chargers and battery packs.
• Be sure to read all safety instructions before using your
charger.
WARNING:
•DO NOT attempt to charge the battery pack
with any chargers other than the ones listed
in this manual. The charger and battery pack are
specifically designed to work together.
•Carefully follow all instructions and warnings on
the battery label and package and accompanying
Battery Safety Manual.
1. Slide the battery pack into the charger as described in the
Battery Safety Manual.
2. Wait until the battery pack is fully charged.
3. Slide the battery pack out of the track.
NOTE: When ordering replacement battery packs, be sure to
include the catalog number and voltage.
Installing the 20V
battery pack so the
release button (Figure E15 ) is facing away from you and
to the right.
2. Press and hold down the release button on the battery
pack.
3. Slide the battery pack all the way into the track on the side
of the laser.
4. Release the button on the battery pack.
Removing the Battery Pack
1. Press and hold the release button on the battery pack.
2. Slide the battery pack out of the track on the laser.
3. Release the button on the battery pack.
4. To recharge the battery pack, insert it into the charger, as
described in the Battery Safety Manual.
WARNING: Batteries can explode or leak, and can
cause injury or fire. To reduce this risk, follow the
instructions in the Battery Safety Manual.
Storing Battery Packs
• The best storage place is one that is cool and dry, and
away from direct sunlight and excess heat or cold.
• Long storage will not harm the battery pack or charger.
Under proper conditions, they can be stored for 5 years
or more.
SAVE THESE INSTRUCTIONS FOR FUTURE USE
User Safety
Personal Safety
•Stay alert, watch what you are doing, and use common
sense when operating a laser product. Do not use
the tool while tired or under the influence of drugs,
alcohol, or medication. A moment of inattention while
operating laser products may result in serious personal
injury.
•Use appropriate personal protective equipment,
including eye protection when working in a construction
environment.
Tool Use and Care
•Do not use the tool if the switch does not turn it on or
off. Any tool that cannot be controlled with the switch is
dangerous and must be repaired.
•Store idle laser products out of the reach of children
and do not allow persons unfamiliar with the laser
product or these instructions to operate the laser
product. Laser products are dangerous in the hands of
untrained users.
•Use only accessories that are recommended by the
manufacturer for your model. Accessories that may be
suitable for one tool, may become hazardous when used
with another tool.
