DGSHAPE LD-80 User manual

User's Manual
For the latest informaon on this machine (including its user's manuals), see the DGSHAPE Corporaon website
(hp://www.dgshape.com/).

DGSHAPE Corporaon has licensed the MMP technology from the TPL Group.
Thank you for purchasing this product.
• To ensure correct and safe usage with a full understanding of this product's performance, be sure to read
through this user's manual completely, and then store it in a safe place.
• Aer purchasing this product, check that the vendor's seal and address as well as the date of purchase are all
inscribed on the warranty, and then store this warranty in a safe place.
• Copying and reproducing the contents of this document, in whole or in part, are prohibited without consent.
• The contents of this document and the specicaons of this product are subject to change without noce.
• If you noce anything out of the ordinary regarding this product and the details of this document such as
suspicious secons, errors, and missing secons, contact Roland DG Corporaon.
• DGSHAPE Corporaon assumes no responsibility for any direct or indirect damage that may occur through use
of this product, regardless of any malfuncons of this product.
• DGSHAPE Corporaon assumes no responsibility for any direct or indirect damage that may occur due to ar-
cles created with this product.
Windows® is a registered trademark or trademark of Microso® Corporaon in the United States and/or other
countries.
Company names and product names are trademarks or registered trademarks of their respecve holders.
Copyright © 2017-2018 DGSHAPE Corporaon
hp://www.dgshape.com/

Contents
Contents ......................................................................................................... 3
Chapter 1 Geng Started..................................................................................5
About the Machine ......................................................................................... 6
Features ....................................................................................................................... 6
Names of Components ................................................................................................ 6
Basic Operaon .............................................................................................. 9
Switching On the Power .............................................................................................. 9
Switching O the Power .............................................................................................. 9
Starng the Soware ................................................................................................. 10
How to Display Help for the Soware ....................................................................... 10
Chapter 2 Imprinng.......................................................................................11
Preparing for Imprinng ............................................................................... 12
Checking Imprint Workow ....................................................................................... 12
Specifying Output Desnaon for METAZAStudio..................................................... 13
Preparing the Material .............................................................................................. 14
Creang Imprint Data ................................................................................... 16
Starng METAZAStudio .............................................................................................. 16
METAZAStudio Screen ............................................................................................... 17
Step 1: Determine the Shape and Size of Material .................................................... 19
Step 2: Import the Image ........................................................................................... 24
Step 3: Enter the Text ................................................................................................ 26
Step 4: Save Imprint Data .......................................................................................... 27
Imprinng ..................................................................................................... 28
Selecng Material Retainers ...................................................................................... 28
Loading Material (Using the Center Vise) .................................................................. 28
Loading Material (Using the Grid Table) .................................................................... 32
Making Imprints ........................................................................................................ 36
Stopping Imprint Operaons ........................................................................ 39
Step 1: Stopping Imprinng Operaons .................................................................... 39
Step 2: Deleng Data from the Imprint Queue .........................................................40
Chapter 3 Maintenance and Adjustment.........................................................41
Daily Care ...................................................................................................... 42
Points to Note on Daily Care ...................................................................................... 42
Cleaning the Body/Center Vise/Grid Table ................................................................ 42
Cleaning the Adhesive Sheet ..................................................................................... 42
Cleaning the Film Retainer ........................................................................................ 43
Adjusng ....................................................................................................... 44
Adjusng the Origin Locaon .................................................................................... 44
Replacing Consumable Parts ........................................................................ 46
Checking the Lens Service Life ................................................................................... 46
Replacing the Light-absorbing Film ........................................................................... 47
Chapter 4 Detailed Operaons/Sengs ..........................................................52
Processing Images ........................................................................................ 53
Keeping Only the Required Poron of an Image (Trimming) .....................................53
Adjusng the Locaon, Size, or Angle of an Image....................................................54
Enclosing an Image in a Frame .................................................................................. 56
3

Tips and Tricks for Text Layout ...................................................................... 58
Changing the Locaon, Size, or Angle of Text ............................................................58
Arranging Text to a Fan Layout .................................................................................. 59
Laying Out Text along a Shape ................................................................................... 61
Filling Text .................................................................................................................. 62
Creang/Eding a Stroke Character Font ..................................................... 64
About Stroke Characters and SFEdit2 ........................................................................ 64
SFEdit2 Window ........................................................................................................ 65
Creang a Stroke Character Font ............................................................................... 66
Changing Entered Characters into a Stroke Character Font.......................................68
Eding Stroke Characters ........................................................................................... 70
Checking Finished Results............................................................................. 72
Creang Variable Imprint Data ..................................................................... 73
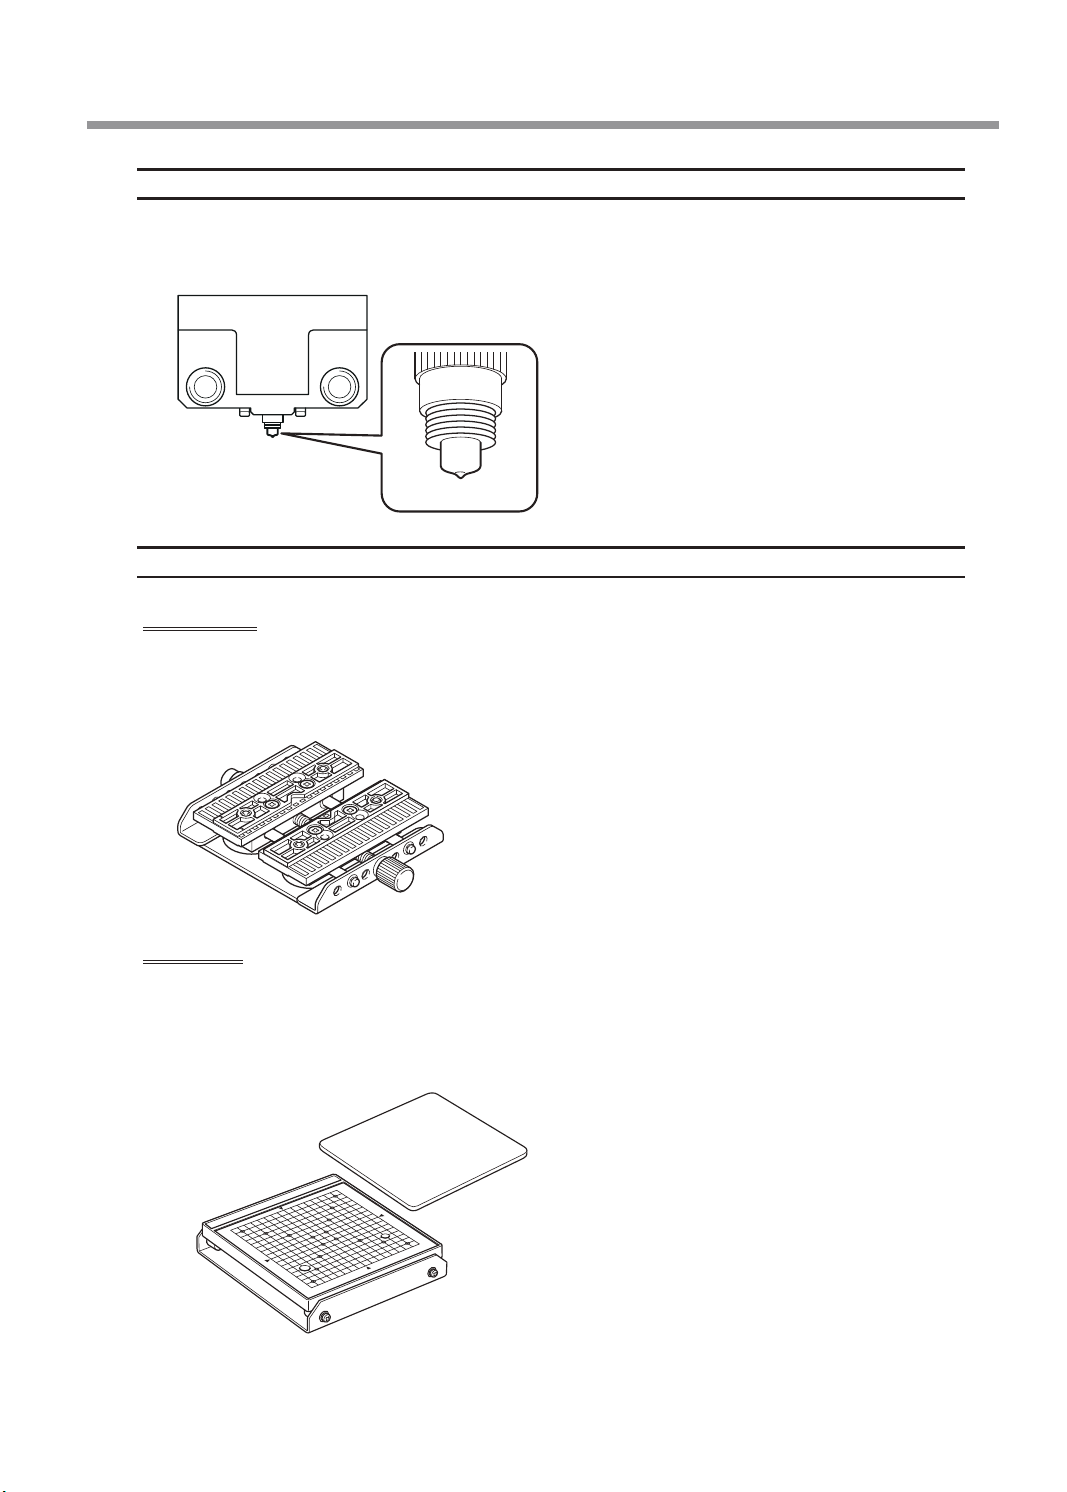
Step 1: Create a Variable Field ................................................................................... 73
Step 2: Place Text Inside the Variable Field ............................................................... 77
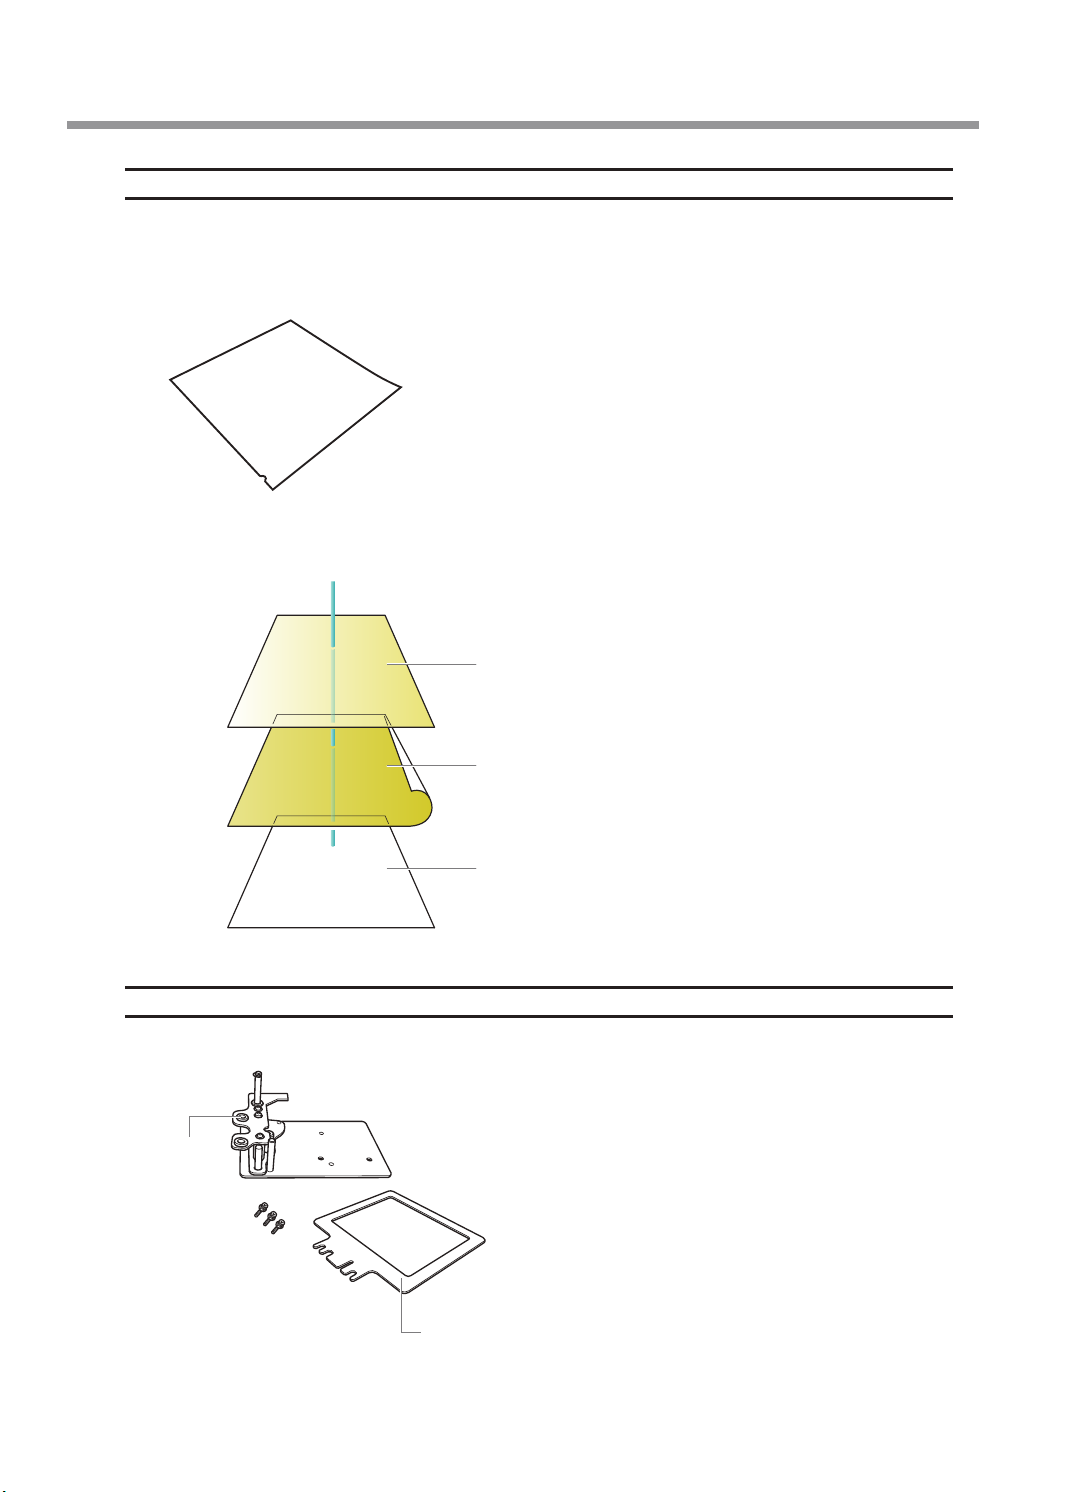
Imprinng on Curved Surfaces ..................................................................... 78
Step 1: Set the Imprint Area ...................................................................................... 78
Step 2: Make Horizontal Wring on Portrait Material ...............................................81
Registering a Wide Variety of Materials ....................................................... 83
Imporng a Bitmap Image ......................................................................................... 83
Scanning the Material with a Commercially Available Scanner ................................. 83
Drawing the Shape of the Material ........................................................................... 83
Registering the Foil and Adjusng the Imprinng Power ............................. 84
Changing Basic Driver Sengs ..................................................................... 86
Other Operaons Available with METAZAStudio .......................................... 88
Chapter 5 Appendix ........................................................................................89
Troubleshoong ............................................................................................ 90
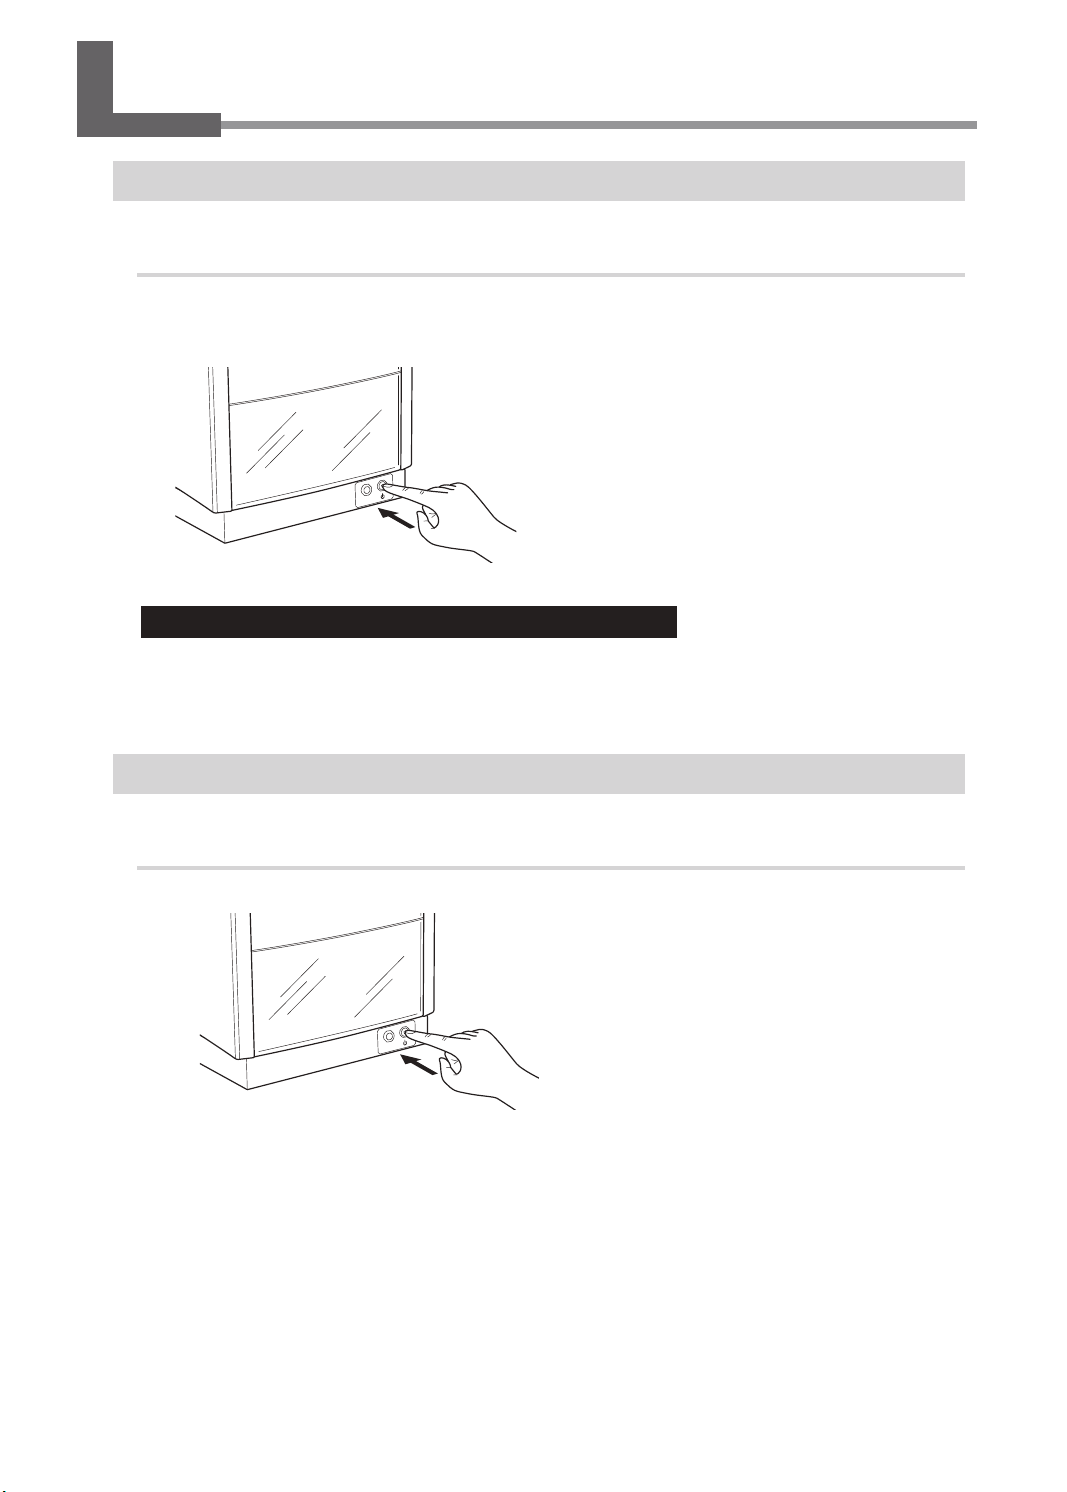
The [Power/Movement] Buon Is Blinking ............................................................... 90
The Machine Doesn't Run Even When Imprint Data Is Sent ...................................... 90
You Cannot Select the Foil Using METAZAStudio.......................................................91
The Imprinted Locaon Isn't Where Desired .............................................................91
The Imprinted Image is Unaracve (It Is Uneven or Shied) .................................. 92
The Imprinted Image Is Always Missing at the Same Locaon .................................. 93
It Is Necessary to Remove the Unneeded Foil That Remains in Locaons outside of the
Imprinng Locaon ................................................................................................... 93
Installing the Driver Separately .................................................................................93
Installing the Soware and the Electronic-format Manuals Separately ....................95
Driver Installaon Is Impossible ................................................................................96
Uninstalling the Driver ............................................................................................... 99
Moving the Machine .................................................................................. 102
Step 1: Removing the Material Retainer from the Machine .................................... 102
Step 2: Aaching the Retainers ............................................................................... 105
Main Unit Specicaons ............................................................................. 107
Center Vise Specicaons ....................................................................................... 107
Imprint Area ............................................................................................................ 107
Locaons of the Power Rang and Serial Number Labels .......................................108
Specicaons ........................................................................................................... 109
System Requirements for USB Connecon .............................................................. 110
Contents
4

5
Chapter 1 Getting Started
About the Machine ................................................................................................... 6
Features ......................................................................................................... 6
Names of Components .................................................................................. 6
Basic Operaon ......................................................................................................... 9
Switching On the Power ................................................................................. 9
Switching O the Power ................................................................................. 9
Starng the Soware ................................................................................... 10
How to Display Help for the Soware .......................................................... 10
Chapter 1 Getting Started

About the Machine
Features
This machine is a hot stamping printer that uses laser light. Using foil to imprint illustraons and
text results in high-class decoraons on plasc products.
You can easily create imprint data using dedicated soware.
Names of Components
Machine
Hold the middle area of the
cover when opening the cover.
Cover
Head
Head unit
Power/Movement buon
Laser pointer buon
Power-cord connector
USB connector
6
Chapter 1 Getting Started

Head
The foil is transferred onto the material by way of the laser light irradiated from the lens. Be-
cause the lens is a consumable part, replace it at the appropriate me.
"P.46 “Checking the Lens Service Life”
Lens
Material Retainers
Center vise
This is a vise made of plasc. This vise secures the material in place by clamping it. This makes it
possible to immobilize material that cannot be secured using the adhesive sheet, such as items
having a curved boom surface.
" P.28 “Loading Material (Using the Center Vise)”
Grid table
This is used to x material on a table. Material is placed on the adhesive sheet, which then
holds the material in place. This lets you immobilize objects without having to use commercially
available tape or the like.
"P.32 “Loading Material (Using the Grid Table)”
Grid table
Adhesive
sheet
About the Machine
7
Chapter 1 Getting Started

Light-absorbing Film
Striking the light-absorbing lm with the laser light converts the light into heat. Note that if the lm
is installed with its front and back sides inverted by mistake, it will not be possible to convert the
light to heat, so imprinng will not be performed. For details, see P.47 “Replacing the Light-ab-
sorbing Film”.
This heat transfers the foil onto the material.
A
A
Material
Laser light
Foil
Light-absorbing lm
Film Retainer
An adhesive sheet adhered to the boom of the lm retainer is used to secure the light-absorbing lm.
Handle
Film frame
Cap screw
About the Machine
8
Chapter 1 Getting Started

Basic Operation
Switching On the Power
Procedure
Press the [Power/Movement] buon.
The head moves to the le rear, and the lamp of the Power/Movement buon is turned ON.
This operaon is called inializaon.
Important: When the power lamp remains blinking
An inializaon error has occurred. Refer to the following secon to eliminate the cause of the
error, and then press the [Power/Movement] buon again.
"P.90 “The [Power/Movement] Buon Is Blinking”
Switching Off the Power
Procedure
Hold down the [Power/Movement] buon for one second or longer.
The light turns o and the power is switched o.
9
Chapter 1 Getting Started

Starting the Software
Windows 10 and 7
1
Click the [Start] buon.
2
Click [All Apps] ([All Programs] or [Programs] for Windows 7).
3
Click the icon for [(Name of soware to use)] under the [(Name of soware to
use)] folder.
Windows 8.1
1
On the [Start] screen, click .
2
On the [Apps] screen, click [(Name of soware to use)].
How to Display Help for the Software
Start the soware, and then click [Help] → [Contents] from the menu.
"P.10 “Starng the Soware”
Basic Operation
10
Chapter 1 Getting Started

11
Chapter 2 Imprinting
Preparing for Imprinng ......................................................................................... 12
Checking Imprint Workow ......................................................................... 12
Specifying Output Desnaon for METAZAStudio ....................................... 13
Preparing the Material ................................................................................. 14
Creang Imprint Data ............................................................................................. 16
Starng METAZAStudio ................................................................................ 16
METAZAStudio Screen .................................................................................. 17
Step 1: Determine the Shape and Size of Material ...................................... 19
Step 2: Import the Image ............................................................................. 24
Step 3: Enter the Text ................................................................................... 26
Step 4: Save Imprint Data ............................................................................. 27
Imprinng ............................................................................................................... 28
Selecng Material Retainers ........................................................................ 28
Loading Material (Using the Center Vise) .................................................... 28
Loading Material (Using the Grid Table) ...................................................... 32
Making Imprints ........................................................................................... 36
Stopping Imprint Operaons .................................................................................. 39
Step 1: Stopping Imprinng Operaons ....................................................... 39
Step 2: Deleng Data from the Imprint Queue ............................................ 40
Chapter 2 Imprinting

Checking Imprint Workow
P.13 “Specifying Output Destination for METAZAStudio”
Switch on the power of the machine and select it as the output desnaon for the computer.
P.14 “Preparing the Material”
Check several condions such as the material type and thickness that must be met for a material to be
imprinted.
P.16 “Creating Imprint Data”
Create imprinng data using METAZAStudio.
P.28 “Loading Material (Using the Center Vise)”
P.32 “Loading Material (Using the Grid Table)”
Set the material on the machine.
P.36 “Making Imprints”
Output the imprint data from METAZAStudio.
Preparing for Imprinting
12
Chapter 2 Imprinting

Specifying Output Destination for METAZAStudio
Procedure
A Switch on the power to the machine.
"P.9 “Switching On the Power”
B Start METAZAStudio.
"P.16 “Starng METAZAStudio”
C Click [File] → [Set up the printer].
The [Print Setup] screen appears.
D Select the printer to which data will be output.
1
Select [DGSHAPE LD-80].
2
Click [OK].
Preparing for Imprinting
13
Chapter 2 Imprinting

Preparing the Material
In order for a material to be used for imprinng with this machine, the material must meet all of
the following condions.
Material
• Acrylic
• Polycarbonate
• Polypropylene
• Polystyrene
• ABS
Thickness
Maximum: 20 mm (0.8 in.)
Size
The material is large enough to be rmly secured.
With this machine, you can use the center vice or the adhesive sheet to secure the material. It is
acceptable for the material to be of a size such that it protrudes from the center vice or adhesive
sheet, but the essenal requirement is that the material can be rmly secured.
Shape
There must be no unevenness on the imprint surface.
Imprinng is not possible for material that comes into contact with the moving part of the machine
when being loaded or during imprinng.
The edge of the
material is too high.
L-shape
Flat view:
Cross-seconal
view:
NOT OK NOT OK
Preparing for Imprinting
14
Chapter 2 Imprinting

The back surface must be at, with no difference in level. (When using the grid table)
To imprint material whose back surface is not at, use the center vise to x the material in place.
The back surface
is curved. The back surface
is uneven.
Flat view:
Cross-seconal
view:
OK NOT OK NOT OK
Conditions for Material When Imprinting Curved Surfaces
The table and gure below show the recommended imprint area with respect to the diameter of
the cylinder with the extended curved surface. Note, however, that the following condions are
assumed.
Material with an extended curved surface has circularity.
Diameter of cylinder with
extended curved surface
(ϕ)
Recommended imprint area (A)
10 mm (0.4 in.) 2.0 mm (0.08 in.)
20 mm (0.8 in.) 2.8 mm (0.11 in.)
30 mm (1.2 in.) 3.4 mm (0.14 in.)
Preparing for Imprinting
15
Chapter 2 Imprinting

Starting METAZAStudio
Windows 10 and 7
1
Click the [Start] buon.
2
Click [All Apps] ([All Programs] or [Programs] for Windows 7).
3
Click the [METAZAStudio] icon under the [Roland METAZAStudio] folder.
Windows 8.1
1
On the [Start] screen, click .
2
On the [Apps] screen, click [METAZAStudio].
METAZAStudio starts.
Creating Imprint Data
16
Chapter 2 Imprinting

METAZAStudio Screen
No. Name Overview of funcon
1Menu bar Runs the various commands for METAZAStudio.
"METAZAStudio online help (“Commands”)
2Toolbar
The toolbar is provided with buons for running METAZAStudio commands
such as [Material] and [Open].
"METAZAStudio online help (“Commands” - “Toolbar buons”)
3Page feed bar
When you have entered data into a variable eld, use this to specify the page
(record) that is displayed on the screen. Use this for variable imprinng.
"P.73 “Creang Variable Imprint Data”
"METAZAStudio online help (“Hints and Tips” > “Performing Variable Imprint-
ing”)
4Status bar
This shows the present locaon of the cursor, informaon about the shape,
the grid, and the view magnicaon. Moving the pointer to a toolbar buon or
poinng to a menu command makes a brief explanaon of the buon or com-
mand appear at the le edge.
Present cursor posi-
on
This indicates the present locaon of the cursor. The
posion at the center of the window (where the two
center lines intersect) is (0, 0).
Shape informaon
This appears when you click an on-screen object
(image, text, or shape). The center posion and size
of the present shape are displayed, as shown in the
gure below.
Grid pitch
This displays the pitch (spacing) of the grid lines.
Clicking this displays menu items related to the ap-
pearance of the grid.
View scaling factor
This displays the present scaling factor for the screen
view. Clicking this displays a menu that lets you
change the view scaling factor.
Creating Imprint Data
17
Chapter 2 Imprinting

No. Name Overview of funcon
5Grid table The machine’s grid table is shown here. The scale displayed represents the
actual scale marks on the grid table.
6Work area
This is the area in which imprinng is possible. The material size (imprint
area) set with METAZA Driver is shown here.
"P.86 “Changing Basic Driver Sengs”
7Center line This indicates the vercal and horizontal centers of the window.
8Grid This is a grid of lines displayed in the work area. It serves as a guide for posi-
oning images and text.
9Margin
This blank area lies inside the edges of the work area and where no imprint-
ing is performed. The default seng upon installaon of METAZAStudio is
1 mm (0.04 in.). You can change the size of the margin by going to the [File]
menu and selecng [Preferences].
"P.19 “Step 1: Determine the Shape and Size of Material”
Creating Imprint Data
18
Chapter 2 Imprinting

Step 1: Determine the Shape and Size of Material
METAZAStudio has a number of dierent types of material preregistered. Using an example that
uses a plate as described below, this secon explains the procedure for using material with the
same shape as the plate and with the name of “tag.”
"P.14 “Preparing the Material”
25 mm
(0.98 in.)
40 mm
(1.6 in.)
Memo
If you want to register new material, see the secon given below.
"P.83 “Registering a Wide Variety of Materials”
Procedure
A Start METAZAStudio.
"P.16 “Starng METAZAStudio”
B Click .
The [Select Foil] screen appears.
Creating Imprint Data
19
Chapter 2 Imprinting

C Use the [Select Foil] screen to select the foil.
Clear the [Use printer driver sengs] check box to select the foil. To use foil that is not included
in the list, you can register the foil.
"P.84 “Registering the Foil and Adjusng the Imprinng Power”
If you will use the METAZA Driver sengs without changing them, select the [Use printer driver
sengs] check box.
D Click [OK].
E Click .
The [Material] panel appears.
Creating Imprint Data
20
Chapter 2 Imprinting
Other manuals for LD-80
1
Table of contents
Other DGSHAPE Printer manuals