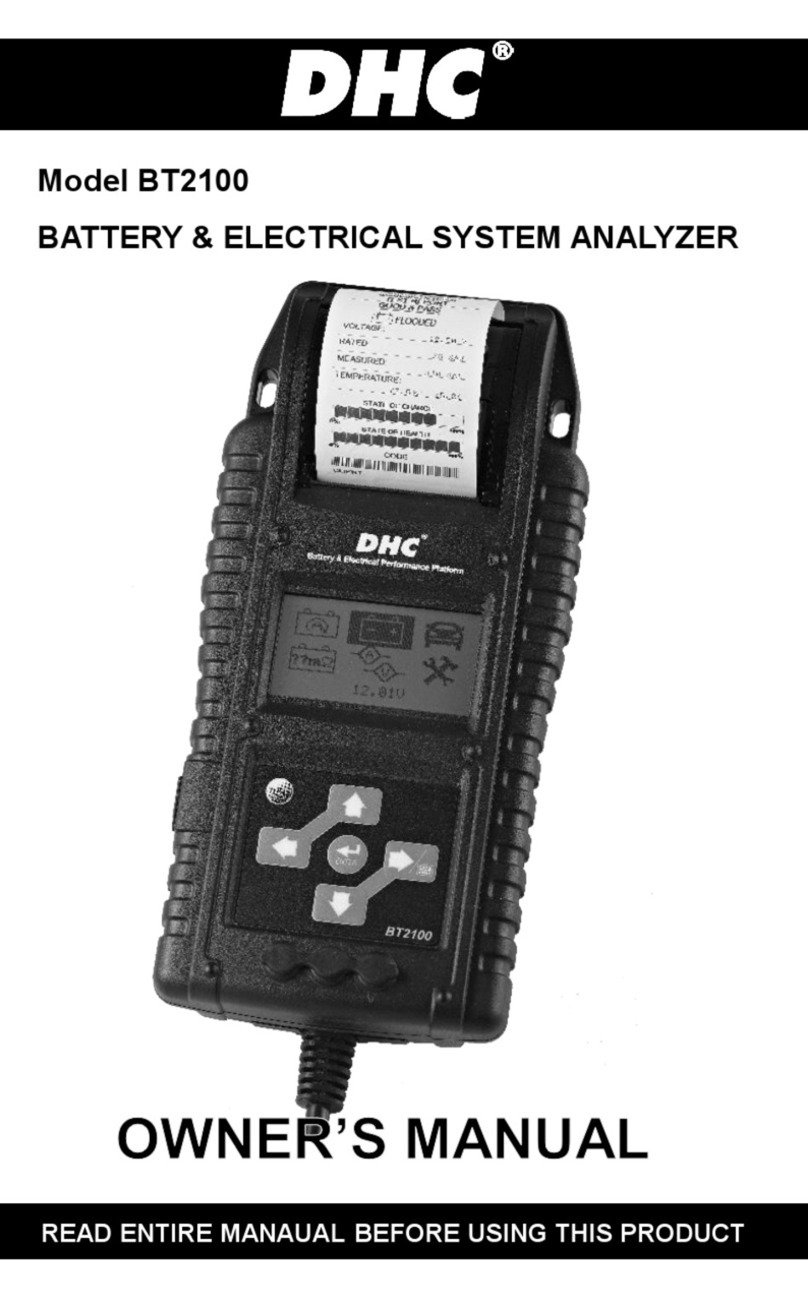
DHC BT2000HD User manual

READ ENTIRE MANUAL BEFORE USING THIS PRODUCT
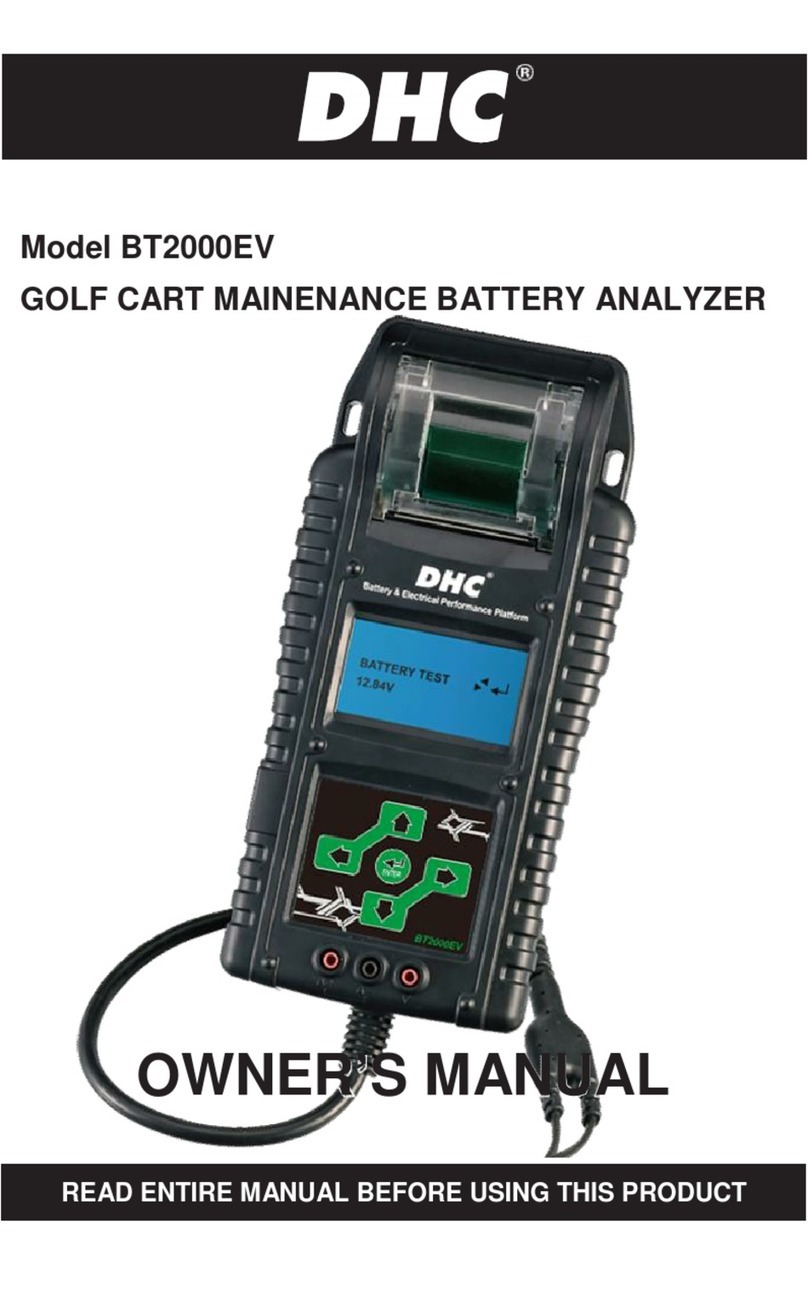
Model BT2000HD
HEAVY DUTY
BATTERY & ELECTRICAL SYSTEM ANALYZER
OWNER’S MANUAL

HEAVY DUTY BATTERY & ELECTRICAL SYSTEM ANALYZER
MODEL NO. BT2000HD
TEST PROCEDURES / OPERATING INSTRUCTIONS
- 1 -
IMPORTANT:
1. For testing 6 and 12 volt batteries, 12 and 24 volt cranking and
charging systems and 12 volt battery pack test.
2. Suggested operation range 32℉(0℃) to 122℉(50℃) in ambient
temperature.
1Temperature Sensor
Printer
2
Display3
Directional Keys4
USB Port5
Volt Probe Jack6
Amp Clamp Jack7
1
2
3
4
5
67

WARNING:
1. Working in the vicinity of a lead acid battery is dangerous.
Batteries generate explosive gases during normal battery operation.
For this reason, it is of utmost importance, if you have any doubt,
that each time before using your tester, you read these instructions
very carefully.
2. To reduce risk of battery explosion, follow these instructions and
those published by the battery manufacturer and manufacturer of
any equipment you intend to use in the vicinity of the battery.
Observe cautionary markings on these items.
3. Do not expose the tester to rain or snow.
PERSONAL SAFETY PRECAUTIONS:
1. Someone should be within range of your voice or close enough to
come to your aid when you work near a lead acid battery.
2. Have plenty of fresh water and soap nearby in case battery acid
contacts skin, clothing or eyes.
3. Wear safety glasses and protective clothing.
4. If battery acid contacts skin or clothing, wash immediately with
soap and water. If acid enters eye, immediately flood eye with
running cold water for at least ten minutes and get medical attention
immediately.
5. NEVER smoke or allow a spark or flame in vicinity of battery or
engine.
6. Be extra cautious to reduce risk of dropping a metal tool onto the
battery. It could spark or short-circuit the battery or other electrical
parts and could cause an explosion.
7. Remove personal metal items such as rings, bracelets, necklaces
and watches when working with a lead acid battery. It can produce a
short circuit current high enough to weld a ring or the like to metal
causing a severe burn.
- 2 -

WARNING:
⚠WARNING: This product can expose you to chemicals including
arsenic, which is known to the State of California to cause cancer.
For more information, go to www.P65Warnings.ca.gov.
1. Working in the vicinity of a lead acid battery is dangerous.
Batteries generate explosive gases during normal battery operation.
For this reason, it is of utmost importance, if you have any doubt,
that each time before using your tester, you read these instructions
very carefully.
2. To reduce risk of battery explosion, follow these instructions and
those published by the battery manufacturer and manufacturer of
any equipment you intend to use in the vicinity of the battery.
Observe cautionary markings on these items.
3. Do not expose the tester to rain or snow.
PERSONAL SAFETY PRECAUTIONS:
1. Someone should be within range of your voice or close enough to
come to your aid when you work near a lead acid battery.
2. Have plenty of fresh water and soap nearby in case battery acid
contacts skin, clothing or eyes.
3. Wear safety glasses and protective clothing.
4. If battery acid contacts skin or clothing, wash immediately with
soap and water. If acid enters eye, immediately flood eye with
running cold water for at least ten minutes and get medical attention
immediately.
5. NEVER smoke or allow a spark or flame in vicinity of battery or
engine.
6. Be extra cautious to reduce risk of dropping a metal tool onto the
battery. It could spark or short-circuit the battery or other electrical
parts and could cause an explosion.
7. Remove personal metal items such as rings, bracelets, necklaces
and watches when working with a lead acid battery. It can produce a
short circuit current high enough to weld a ring or the like to metal
causing a severe burn.
- 2 -

PREPARING TO TEST:
1. Be sure area around battery is well ventilated while battery is
being tested.
2. Clean battery terminals. Be careful to keep corrosion from coming
in contact with eyes.
3. Inspect the battery for cracked or broken case or cover. If battery
is damaged, do not use tester.
4. If the battery is not sealed maintenance free, add distilled water in
each cell until battery acid reaches level specified by the manu
-facturer. This helps purge excessive gas from cells. Do not overfill.
5. If necessary to remove battery from vehicle to test, always remove
ground terminal from battery first. Make sure all accessories in the
vehicle are off to ensure you do not cause any arcing.
OPERATION & USE:
- 3 -
INSERTION OR REPLACEMRNT OF LEAD WIRE
1. Remove the cover at the backside bottom of the battery tester.
2. Insert the connectors which contain black-white pair and
yellow-red pair in one end of the lead wire into the sockets which can
be found when you remove the cable cover. Be sure to make colors
matched between the connectors and sockets as shown below.
BT2000HD backside
white
black
yellow
red

- 4 -
BATTERY TEST
1. Before you test a battery in a vehicle, turn off the ignition, all
accessories and loads. Close all the vehicle doors and the trunk lid.
2. Make sure you have put 6 AA 1.5V batteries into the battery
chamber. Oxyride batteries are not recommended because of the
initial 1.7 Volt output. If the internal 1.5V batteries run out of power,
the display will show “POWER LOW”. Replace those 6 AA 1.5V
batteries before starting a new test.
Note that nothing will be seen on the display until the tester is
connected to a vehicle battery.
3. Make sure the battery terminals are clean. Wire brush them if
necessary. Connect the red clamp to the positive battery terminal
post; connect the black clamp to the negative battery terminal post.
For the most accurate results, clamp the lead part of the terminal
only. Attaching to the clamp or fixture rather than directly on the
terminal will lead to the unstable test results.
4. Paper load:
a. Open the clear cover.
b. Place a new paper roll in the compartment.
c. Pull a short length of paper from the
compartment and press down the clear cover
to close.

- 5 -
BATTERY TEST5. Press the ◄ ► key to select Battery Test. Press «ENTER» button.
6. Select USER ID if there are set up user ID’s
that have been transferred to the unit via the
SYNC. Please refer to “BT2000 USB
INSTALLATION & USER GUIDE”.
7. If you are testing batteries IN PARALLEL, select
“YES” for processing pack test.
Select “NO” for single battery test and go to
step 9 directly.
8. Press the ◄ ► key to confirm the number of
batteries.
9. Press the ◄ ► key to select the battery type:
a. REGULAR LIQUID
b. AGM FLAT PLATE
c. AGM SPIRAL
d. VRLA/GEL
Press «ENTER» to confirm choice.
10. Press the ◄ ► key to select the battery rating:
SAE (CCA), EN, IEC, DIN or JIS. Press «ENTER»
to confirm choice.
11. Press the ◄ ► key to input the battery capacity.
SAE (CCA): 100~3000
EN: 100~2830
DIN: 60~1685
IEC: 70~1985
JIS: Battery Type No.
Press «ENTER» to begin the test.
USER ID:
XXXXXX
XXXXXX
XXXXXX
TRUCK/GROUP 31?
YES/NO
# OF BATTERY
IN PARALLEL:
1/2/3/4/5/6
BATTERY TYPE
AGM FLAT PLATE
SELECT RATING
SAE
SET CAPACITY
XXXX SAE

- 6 -
BATTERY TEST12. Testing battery.
13. Aim the “Temperature Measurement Sensor”
2.5 cm (1 inch) from the top or sides of the battery
case and press «ENTER». Measured temperature
may be varied by distance, under hood conditions
and ambient temperature.
14. Press «ENTER» when the battery temperature
is shown on the screen.
15. If testing a single battery, please go to page 8 for readout.
If testing a PACK, one of the two results will be displayed:
GOOD PACK
The PACK is good & capable of holding a charge.
Press ENTER to go to printing step.
CHECK PACK
The PACK has problem, please test batteries
separately. Disconnect and separate pack and test
each battery.
NOTE that disconnect pack batteries ONLY when
the screen shows the message ‘’SEPARATE PACK’’.
16. Press the ◄ ► key to confirm that the batttery
is fully charged or not. Press «ENTER» to confirm.
POINT TO BATTERY
READ TEMPERATURE
PRESS ENTER
BATTERY TEMP.
68 F 20 C
PRESS ENTER
GOOD PACK
12.XXV
SEPARATE PACK
CONNECT ONLY
BATTERY #1
BATTERY #1
START TEST
BATTERY
CHARGED? YES

- 7 -
17. When test is completed, the display shows the results as following
{Press the◄ ► key to select: SOH (STATE OF HEALTH) or
SOC (STATE OF CHARGE)}.
GOOD & PASS
The battery is good & capable of holding a charge.
GOOD & RECHARGE
The battery is good but needs to be recharged.
.RECHARGE & RETEST
Battery is discharged. The battery condition cannot
be determined until it is fully charged. Recharge & retest the battery.
BAD & REPLACE
The battery will not hold a charge. It should be
replaced immediately.
BAD CELL & REPLACE
The battery has at least one cell short circuit. It
should be replaced immediately.
CAUTION
The battery may be serviceable but with decreased
capacity to start the engine. The battery might fail under extreme
climate conditions or with a poor connection between the vehicle and
the battery to affect the charging function. Please pay attention to the
battery for possible replacement and charging system analysis.
GOOD & PASS
XX.XXV XXXXSAE
CAUTION
XX.XXV XXXXSAE
BAD & REPLACE
XX.XXV XXXXSAE
RECHARGE & RETEST
XX.XXV XXXXSAE
GOOD & RECHARGE
XX.XXV XXXXSAE
BAD CELL & REPLACE
XX.XXV XXXXSAE

- 8 -
NOTE that there might be some message displayed to different
circumstances as below.
LOAD ERROR
The tested battery is bigger than 3000SAE (CCA).
Or the connection is not properly established. Check the battery &
make sure the clamp lead is properly connected.
SURFACE CHARGE
Batteries are sluggish and cannot convert lead
sulfate enough during charge. The tester will ask if the tested battery
is installed in vehicle or out of vehicle. It is recommended to follow the
tester’s steps to remove the affect of surface charge.
MEMORY FULL
The tester can recorded 1000 test results.
Continuing to test will over write previous saved test data. It is
recommended to upload test data to PC through the SYNC.
MEMORY ERROR
BT2000 is unable to save the test result due to
the memory error. Please execute the CLEAR MEMORY function.
The stored test data will be deleted.
24V SYSTEM PRINTING
To print 24V system test result, user must save the
test result first. The 24V system test result will be recorded until you
connect to a 12V battery. The message to check printout will be
displayed after you reconnect to the battery.
LOAD ERROR
PRINT 24V SYSTEM
RESULT? YES
TEST IN VEHICLE?
YES
MEMORY FULL
WILL OVERWRITE
MEMORY
PRESS ENTER
MEMORY ERROR
REFER TO MANUAL
PRESS ENTER

- 9 -
PACK TEST
Please make sure the following steps are followed when testing a
pack of batteries.
1. The preferred test position is at lead battery terminals or lead
adaptors on the stainless steel treaded studs. If the battery is not
accessible, you may test at the jumper post or fastening nuts. Don't
test at battery stainless steel threaded post, result may be inaccurate
and result in failing a good battery.
2. Connect the clamps to the first or last battery and rock clamps
back and forth for good contact to get the most accurate reading.
3. Break down the batteries then test the battery individually.
#2
To Starter To Ground
LEAD Threaded Post
First Battery Last Battery
#1 #4
#3
Not a recommended connection, connecting at these locations
may provide an inaccurate result.
Lead Adapter

- 10 -
SYSTEM TEST
1. Press «ENTER» button, you will view the
following screen.
2. Turn off all vehicle accessory loads such as
lights, air conditioning, radio, etc. Before starting
the engine.
3. When the engine is started, one of the three results will be
displayed along with the actual reading measured.
CRANKING VOLTS NORMAL
The system is showing normal draw. Press
«ENTER» to perform the charging system test.
CRANKING VOLTS LOW
The cranking voltage is below normal limits,
troubleshoot the starter with manufacturers
recommended procedure.
CRANKING VOLTS NO DETECTED
The cranking voltage is not detected.
4. If the cranking voltage is normal, press
«ENTER» to begin charging system test.
5. Press the «ENTER» key, you will view
the following screen.
SYSTEM TEST
XX.XXV
TURN OFF LOADS
START ENGINE
CRANKING VOLTS
XX.XXV NORMAL
CRANKING VOLTS
XX.XXV LOW
CRANKING VOLTS
NO DETECTED
PRESS ENTER FOR
= CHARGING TEST =
MAKE SURE ALL
LOADS ARE OFF

- 11 -
6. Press the «ENTER» key, one of the three results will be displayed
along with the actual reading measured.
LOW CHARGING VOLTS WHEN TEST AT IDLE
The alternator is not providing sufficient current to
the battery. Check the belts to ensure the alternator
is rotating with engine running. If the belts are
slipping or broken, replace the belts and retest.
Check the connections from the alternator to the battery. If the
connection is loose or heavily corroded, clean or replace the cable
and retest. If the belts and connections are in good condition, replace
the alternator.
CHARGING SYSTEM NORMAL WHEN TEST AT IDLE
The system is showing normal output from the
alternator. No problem is detected.
HIGH CHARGING VOLTS WHEN TEST AT IDLE
The voltage output from the alternator to the
battery exceeds the normal limits of a functioning
regulator. Check to ensure there is no loose
connection and the ground connection is normal.
If there is no connection issue, replace the regulator. Since most
alternators have the regulator built-in, this will require you to replace
the alternator. The normal high limit of a typical automotive regulator
is 14.7 volts +/- 0.05. Check manufacturer specifications for the
correct limit, as it will vary by vehicle type and manufacturer.
.
ALT. IDLE VOLTS
XX.XXV LOW
ALT. IDLE VOLTS
XX.XXV NORMAL
ALT. IDLE VOLTS
XX.XXV HIGH

- 12 -
7. Following the charging system at idle, press
«ENTER» for the charging system with accessory
loads. Turn on the blower to high (heat), high beam
headlights, and rear defogger (If equipped). Do not
use cyclical loads such as air conditioning or windshield wipers.
8. When testing older model diesel engines, the
users need to run up the engine to 2500 rpm for
15 seconds. You will view the screen as follows:
9. Press «ENTER» to look for the amount of ripple from the charging
system to the battery. One of two testing results will be displayed
along with the actual testing measured.
RIPPLE DETECTED NORMAL
Diodes function well in the alternator / stator.
EXCESS RIPPLE DETECTED
One or more diodes in the alternator are not
functioning or there is stator damage. Check to ensure the alternator
mounting is sturdy and that the belts are in good shape and
functioning properly. If the mounting and belts are good, replace the
alternator.
TURN ON LOADS
AND PRESS ENTER
RUN ENGINE UP TO
2500 RPM 15 SEC.
OR
RIPPLE DETECTED
XX.XXV NORMAL
NO RIPPLE DETECT
RIPPLE DETECTED
XX.XXV HIGH

- 13 -
10. Press the «ENTER» key to continue the charging system with
accessory loads. One of the three results will be displayed along with
the actual testing measured.
CHARGING SYSTEM HIGH WHEN TEST WITH ACC. LOADS
The voltage output from the alternator to the
battery exceeds the normal limits of a functioning
regulator. Check to ensure there are no loose
connections and that the ground connection is
normal. If there are no connection issues, replace the regulator.
Since most alternators have the regulator built-in, this will require
you to replace the alternator.
CHARGING SYSTEM LOW WHEN TEST WITH ACC. LOADS
The alternator is not providing sufficient current for
the system’s electrical loads and the charging
current for the battery. Check the belts to ensure
the alternator is rotating with the engine running. If
the belts are slipping or broken, replace the belts and retest. Check
the connections from the alternator to the battery. If the connection is
loose or heavily corroded, clean or replace the cable and retest. If the
belts and connections are in good working condition, replace the
alternator.
CHARGING SYSTEM NORMAL WHEN TEST WITH ACC. LOADS
The system is showing normal output from the
alternator. No problem detected.
ALT. LOAD VOLTS
XX.XXV HIGH
ALT. LOAD VOLTS
XX.XXV LOW
ALT. LOAD VOLTS
XX.XXV NORMAL

- 14 -
SETTINGS AND INFORMATION RETRIEVAL
LANGUAGE SELECT
1. Hook the tester up to a battery.
2. The tester defaults to the BATTERY TEST display. Press the
directional keys to get to the LANGUAGE SELECT display.
3. Press ENTER and the display will show the language options.
Press the directional keys to select the language you want the tester
to display.
4. Press ENTER and the display returns to BATTERY TEST.
SETTING THE DATE AND TIME
1. Hook the tester up to a battery.
2. The tester defaults to the BATTERY TEST display. Press the
directional keys to get to the CURRENT DATE/TIME display.
3. Press ENTER and the display will show the ADJUST YEAR. Press
the directional keys to change the setting.
4. Press ENTER and the display will show the ADJUST MONTH.
Press the directional keys to change the setting.
5. Press ENTER and the display will show the ADJUST DAY. Press
the directional keys to change the setting.
6. Press ENTER and the display will show the ADJUST HOUR.
Press the directional keys to change the setting.
7. Press ENTER and the display will show the ADJUST MINUTE.
Press the directional keys to change the setting.
8. Press ENTER and the display will show the ADJUST SECOND.
Press the directional keys to change the setting.
9. Press ENTER and the display returns to BATTERY TEST.
ADJUST THE DISPLAY BRIGHTNESS
1. Hook the tester up to a battery.
2. Get to the BRIGHTNESS display.
3. Press the directional keys to adjust the brightness of the display.

- 15 -
AMP CLAMP & VOLT PROBE INSTRUCTION GUIDE
DC/AC Current measurement
1. Install the 9V battery.
2. Connect Clamp Meter to the jack A on BT2000HD. Press POWER.
3. Press the button ZERO. Make sure the display reads zero.
4. Press the trigger to open the transformer jaws and clamp one
electrical wire.
5. Make sure the clamp jaw is perfectly closed.
6. Read the displayed value.
DC Voltage Measurements
1. Connect Red Test Lead to the jack V on BT2000HD.
2. Use the test lead to touch a point within the network of the battery.
3. Read the displayed value.
NOTE: Do not test the volt more than 60V. It may damage the tester.
BT2000
Jack VJack A
Button Zero
Power

- 16 -
TEST FLOW
Press LEFT / RIGHT buttons to select the following functions when the unit is turned on.
CLEAR MEMORY
BATTERY TEST
XX.XX V
SYSTEM TEST
XX.XX V
TEST COUNTER
BAT. TEST: XXXX
LANGUAGE
SELECT
2000 / 01 / 01
xx : xx : xx
BRIGHTNESS
INFORMATION
VOLTMETER
AMMETER

- 17 -
WARRANTY
Any battery tester defective in material or workmanship will be
repaired or replaced according to published defective return test
repair procedures. The existence of a defect shall be determined by
the seller in accordance with published procedures. The published
test procedures are available upon request.
This warranty does not cover any unit that has been damaged due to
accident, abuse, alternation, use for a purpose other than that for
which it was intended, or failure to follow operating instructions. This
warranty is expressly limited to original retail buyers. This warranty is
not assignable or transferable. Proof of purchase is required for all
alleged claims. Warranty cannot be authorized without proof of
purchase. Warranty claims must be sent pre-paid with dated proof of
purchase. Damage incurred during shipment is the responsibility of
the shipper (customer returning unit) If the returned unit qualifies for
warranty, the shipper will only incur shipping cost. The seller reserves
the right to substitute or offer alternative warranty options at its
discretion.
The sole and exclusive remedy for any unit found to be defective is
repair or replacement, at the option of the seller. In no event shall the
seller be liable for any direct, indirect, special, incidental, or
consequential damages (including lost profit) whether based on
warranty, contract, tort, or any other legal theory.
RETURN GOODS
Pack with sufficient over-pack to prevent damage during shipment.
Damage incurred during return is not covered under this warranty.
Repair costs for such damages will be charged back to shipper.
REMARK
WHEN RETURNING GOODS, PLEASE SHOW “RETURN GOODS”
ON ALL INVOICES & RELATED SHIPPING DOCUMENTS TO
PREVENT ANY EXTRA CHARGE.”
Table of contents
Other DHC Measuring Instrument manuals
Popular Measuring Instrument manuals by other brands

ACO
ACO 6226 instruction manual
ENMET
ENMET ISA-M Operation & maintenance manual
LaserLiner
LaserLiner PowerCross-Laser 8 S operating instructions

Reed Instruments
Reed Instruments R8140 instruction manual
Digital Lightwave
Digital Lightwave NIC Quick reference guide
Seeed Technology
Seeed Technology SARK-110-ULM user manual
