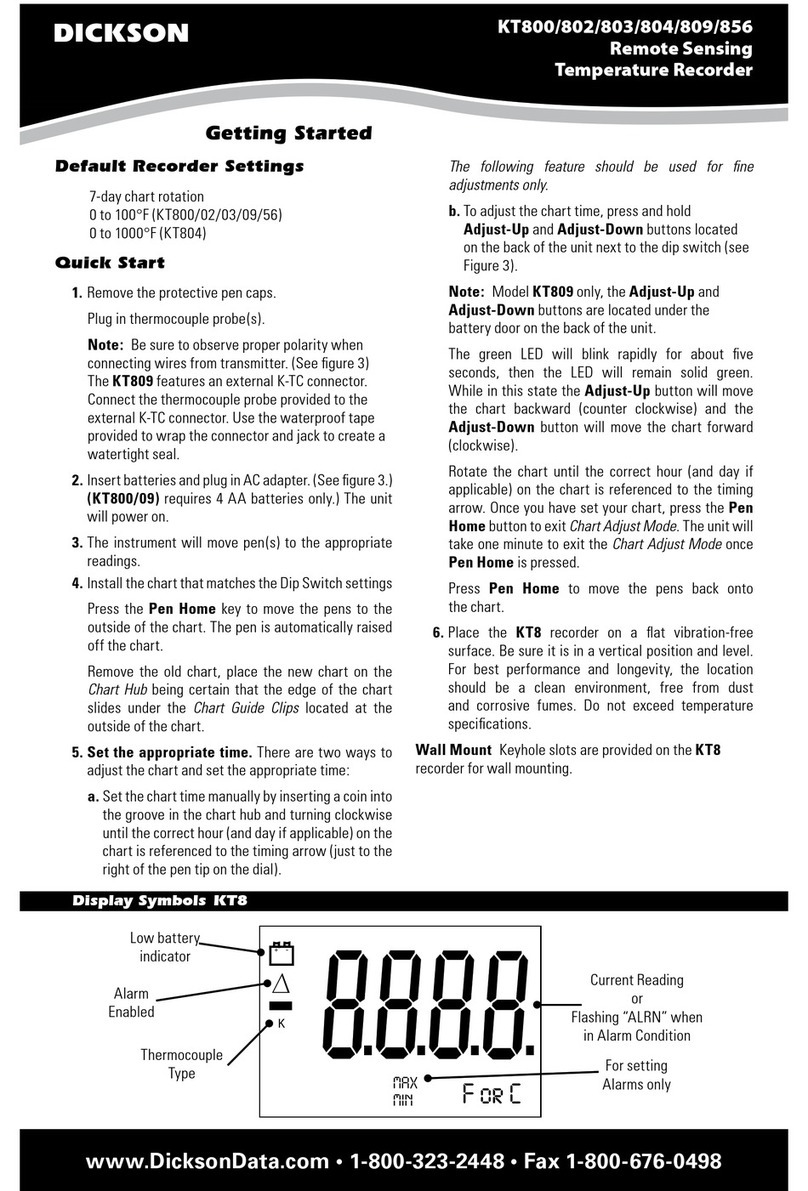
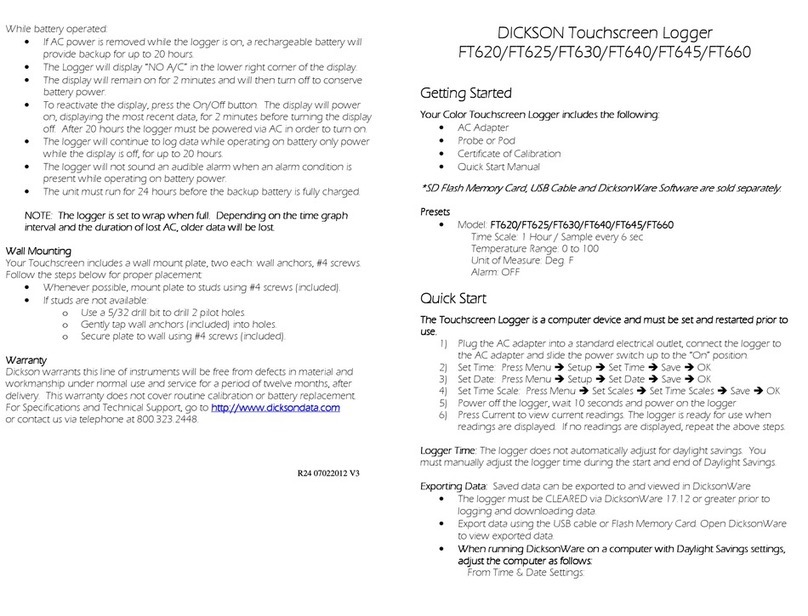
Quick Start
The Touchscreen Logger is a computer device and must be set and restarted prior to
use.
1) Plug the AC adapter into a standard electrical outlet, connect the logger to
the AC adapter and slide the power switch up to the “On”position.
2) Set Time: Press Menu èSetup èSet Time èSave èOK
3) Set Date: Press Menu èSetup èSet Date èSave èOK
4) Set Time Scale: Press Menu èSet Scales èSet Time Scales èSave èOK
5) Power off the logger, wait 10 seconds and power on the logger
6) Press Current to view current readings. The logger is ready for use when
readings are displayed. If no readings are displayed, repeat the above steps.
Exporting Data: Saved data can be exported to and viewed in DicksonWare
·The logger must be CLEARED via DicksonWare 17.4 or greater prior to
logging and downloading data.
·Export data using the USB cable or Flash Memory Card. Open DicksonWare
to view exported data.
·When running DicksonWare on a computer with Daylight Savings settings,
adjust the computer as follows:
From Time & Date Settings:
oSelect Time Zone
oDeselect "Automatically adjust clock for Daylight Saving Time"
oClick OK
oSelect Internet Time
oDeselect "Synchronize with an Internet time server"
oClick OK
·Note: You must manually adjust your computer time during the start and
end of Daylight Savings.
Additional Touchscreen User Settings include:
·Set Channel 1/2 Unit of Measure/Range(s) èMenu èSetup èSet Ranges
·Set High/Low Alarms èMenu èSetup èSet Alarms
Alarm Operation
·Alarm ON: Alarm setting arrows will appear on the graph to indicate min
and max settings. These arrows can be dragged and dropped to adjust
alarm min and max settings.
·Alarm Triggered: Out of range alarm setting arrow will blink, the alarm
symbol will display and an audible alarm will sound.
·Press the logger’s display to clear the alarm.
·If the alarm condition still exists after two minutes, the alarm will sound and
display again.
·If the display is not pressed after 30 seconds, the alarm will stop sounding
and beep 2x every 5 minutes until the alarm is cleared.
Note: The alarm is inaudible while the unit is battery operated.
VIEW
·There are 3 selectable views; Press the “View”button to scroll through
each view.
·Current Readings will update every 10 seconds or per the sample rate,
whichever is greater
·Note: The Current Reading Window can be dragged and dropped to set a
new display location.
Minimum and Maximum Readings
·Min/Max readings displayed reflects the Min and Max for all samples
currently displayed on the graph.
·When scrolling through logged data or zooming, the Min/Max readings will
change to reflect the data being displayed.
Scroll Bar
·A full graph will trigger the “Scroll”bar icon to display.
·Press and drag the bar to the left to view all saved data.
·When the scroll bar is in the right most position, the most recently saved
data is displayed on the graph. When in the left most position, the oldest
saved data is displayed on the graph.
Zoom
·Press the ZOOM button to activate Zoom
·Place your finger on the graph and drag along the graph to draw a box
over the desired data.
·To exit Zoom, press the Unzoom button. The graph will default to the
standard Time Scale with the most recent data displayed.
Screen Lock
·Prevents unauthorized users from clearing the logger or changing settings.
·Press Menu, Setup, Set Screen Lock, enter code: 9 3 0
·Press OK
·Turn the Screen Lock Off/On, set screen lock delay and set new code.
·The screen lock will activate once the preset delay period has passed after
the last screen touch.
·Contact Dickson if the Screen Lock code is forgotten.
Stop or Wrap When Full
Your Touchscreen logger is set to log continuously, “wrap when full”. To change, in
DicksonWare, go to Setup èSamples to set the logger to “stop when full”.
Display
The Touchscreen Logger display may show colored lines during the start-up
process. This is part of the display testing process; however, the display should
display normally within a few seconds.
