manuals.online logo
Brands
  1. Home
  2. •
  3. Brands
  4. •
  5. Dickson
  6. •
  7. Other
  8. •
  9. Dickson SK550 User manual

Dickson SK550 User manual

SK/TK550
Temperature and
Temperature/Humidity Data Loggers
www.DicksonData.com • 1-800-323-2448 • Fax 1-800-676-0498
Default Logger Settings
1 Minute Sample Rate
Stop When Full
Degree F
Quick Start
Install DicksonWare™
1. Version 16.0.0 or higher on your PC (Compatible
with Windows 98 or higher). If already using
DicksonWare™, check the version by choosing
“Help/About” from the menu bar. Contact Customer
Service if an upgrade is required.
2.Open DicksonWare™ using the icon on your desktop.
3. Connect the USB cable (supplied with the software)
to the logger and to a working USB port on your
computer.
4. Click the Setup button. At the prompt select “USB”,
and click Continue. All fields should be automatically
filled in. This will confirm that DicksonWare™ has
recognized the logger. Should all fields remain blank,
refer to “No Communication” in the Troubleshooting
section of this manual. Once DicksonWare™ has
recognized the logger, press the Clear button. This
will delete all data currently stored.
Please refer to the Software section of this manual
for more “Setup” and “Download” instructions.
The logger is now sampling and ready for use. You
may choose to change the default settings for sample
interval and start-date and time. When changing
these settings, the logger will automatically go
through the clear process to accept your changes.
Note: To conserve battery life when storing unit,
press the Setup button and select “Stop When Full”
in the Samples section or remove the battery.
Useful Features
Delayed Start
Program how many days, hours and minutes
must expire before your unit begins logging.
www.DicksonData.com.
Customize Graphed Data
DicksonWare™ calculates MIN, MAX and Average
of all data collected. Customize data by highlighting
specific data points which will recalculate MIN, MAX
and Average for highlighted information.
Export Data
A snapshot of your graph can be easily exported to
other programs such as Excel™ or PowerPoint™.
Click on the Help or Features button in the software for
detailed instructions on how to use the above features.
Battery
DicksonWare “Setup” displays the battery voltage and a
low battery warning when replacement is needed.
•Power
These loggers operate on one Lithium 3V battery
(CR2450) for approximately 1 year.
•Replacement
Open unit by using a small flat screwdriver to pry
open the case. Use something narrow and non-
conductive to push the battery out from its’ holder.
Replace the battery with a Lithium CR-2450 type;
+side up. Snap the case closed.
Note: The logger will stop sampling. However,
memory will not be lost when replacing battery. To
start sampling again download the data and then
“Clear Memory”.
Battery 3VCR2450 +
•Life
The average battery life is approximately 1 year.
To achieve longer battery life, use a less frequent
sample rate and disconnect the unit from the USB
port when not downloading data.
Getting Started
SK/TK550
Temperature and
Temperature/Humidity Data Loggers
www.DicksonData.com • 1-800-323-2448 • Fax 1-800-676-0498
Software
(All of these features can be modified by clicking on the
main Setup button.)
Samples (tab)
The majority of the setup process takes place in this
section. Each field with an active “Setup” button to the
right, is a parameter that you can customize.
Sample Interval Tells your logger how frequently you
want it to take and store readings. This can be done in
1 or 10 second intervals. The dialog box that allows you
to change the sample interval will also inform you how
much time your chosen sample rate will cover. “Sub ten
second interval” should be enabled for desired sample
intervals under 10 seconds.
Stop or Wrap when Full Determines what the logger
should do when it has collected all possible samples.
The logger will either stop and discontinue logging, or
continue logging by wrapping the newest data over the
oldest.
Note: When changing logger settings (sample
interval, stop/wrap, and start date and time) the logger
will automatically clear all stored data.
Channels (tab)
By clicking the Adjust button to the right of the
temperature value for channel 1, you will be allowed to
change the name of the channel. The default labels are
“Temp” and “R/H”, however, you may want the labels
to reflect something more specific to your application.
Download (button)
From the main menu, click on the Download button to
automatically extract all logged data into a graph and
table format.
Temperature data will be presented on a Fahrenheit
scale.
Prior to downloading, you may convert your
“Temperature” or “Humidity” readings to another
variable such as Celsius or Kelvin for temperature, or
change your “Humidity” to “Dew Point”, by going to
File/Preferences, and selecting the “Temperature”
or “Humidity” tab to view all temperature or humidity
variables available to you.
Troubleshooting
No Communication
•If the logger has communicated before
on the same PC, try resetting the unit by
removing and reinstalling the battery.
•Verify that you have the correct version of Dickson
software installed on your PC. Version 16.0.0 or
higher is required for models SK550/TK550.
•Make sure that USB is select under File/
Preferences/Communications.
•Unplug USB cable and plug back in.
•If the logger was used in a moist or humid environment
condensation may have formed on the unit. Place
the unit in a warm dry environment for 24 hours.
Clear the memory and try again. These loggers are
designed for use in a non-condensing environment.
If the environment creates condensation, try
placing the unit (SK550 only) in a small sealed
plastic bag to protect it from condensation.
•If possible, try another PC.
Warranty
Dickson warrants that this line of instruments will be
free from defects in material and workmanship under
normal use and service for a period of twelve months
after delivery.
This warranty does not cover routine calibration and
battery replacement.
For Specifications and Technical Support go to
www.DicksonData.com
Factory Service & Returns
Contact Customer Service 630.543.3747 for a Return
Authorization Number (RA) before returning any
instrument. Please have the model number, serial
number and a PO ready before calling.
www.DicksonData.com
930SouthWestwoodAvenue•Addison,IL60101-4917
Telephone 630.543.3747•Fax 630.543.0498•Email DicksonCSR@DicksonData.com Rev. 08/09

This manual suits for next models

1

Other Dickson Other manuals

Dickson SP425 User manual

Dickson

Dickson SP425 User manual

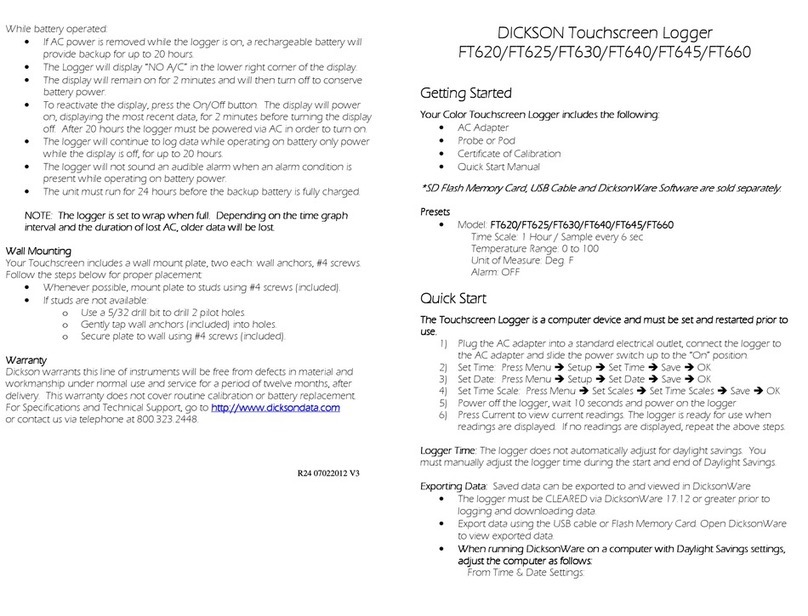
Dickson FT620 Instruction manual

Dickson

Dickson FT620 Instruction manual

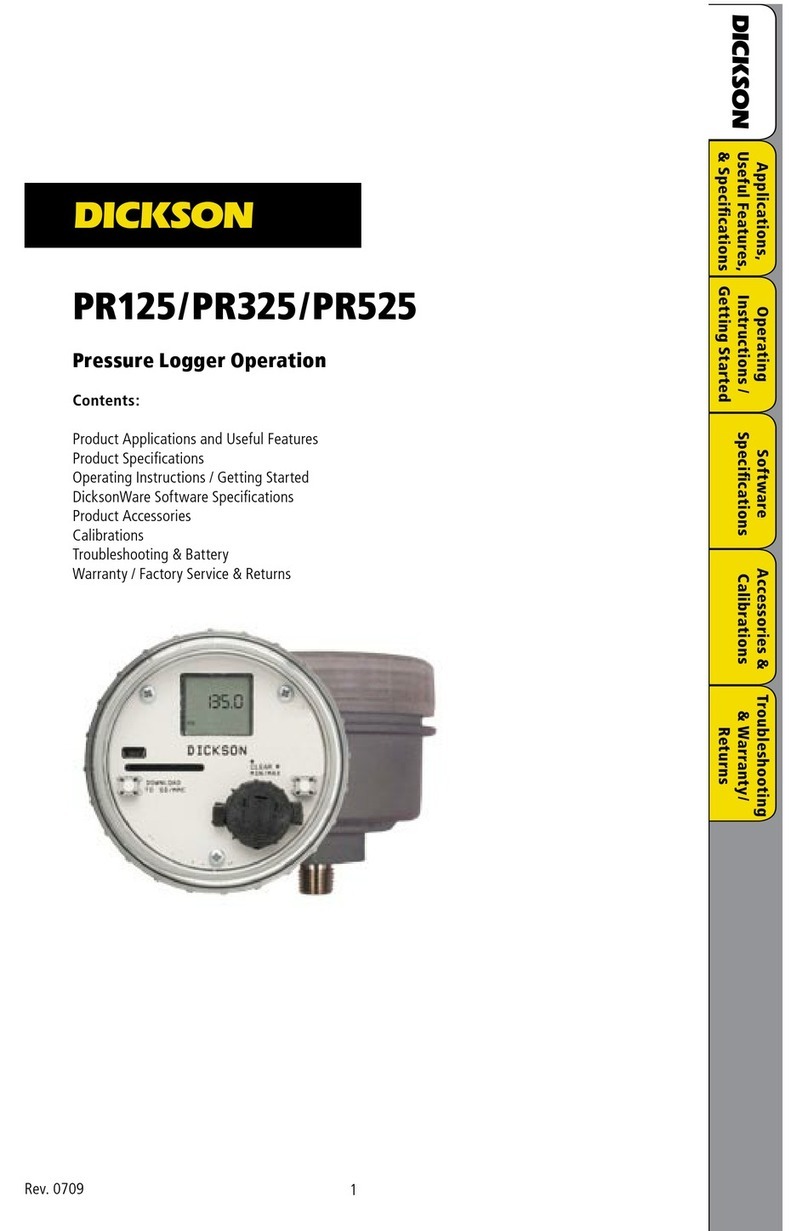
Dickson PR125 User manual

Dickson

Dickson PR125 User manual

Dickson DicksonOne User manual

Dickson

Dickson DicksonOne User manual

Dickson DSB Operating and maintenance instructions

Dickson

Dickson DSB Operating and maintenance instructions

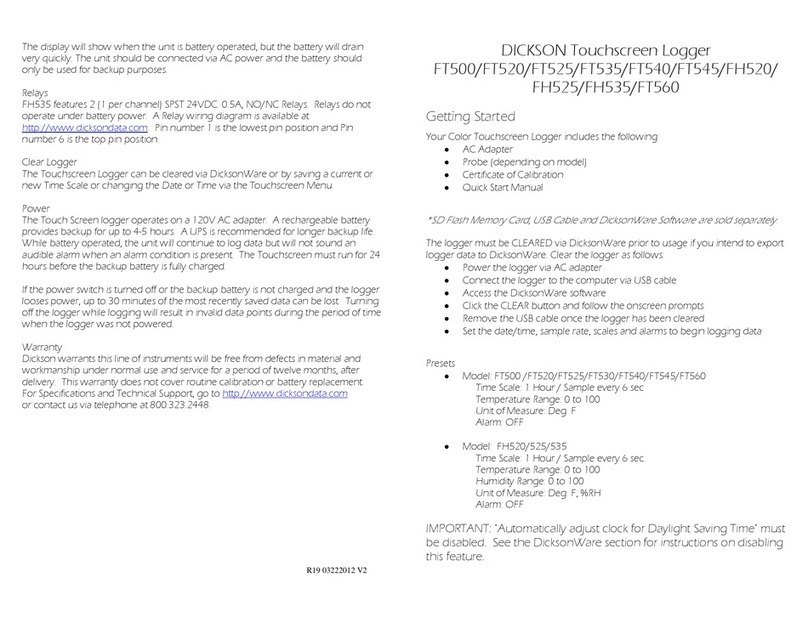
Dickson FT500 User manual

Dickson

Dickson FT500 User manual

Dickson TH8P0 User manual

Dickson

Dickson TH8P0 User manual

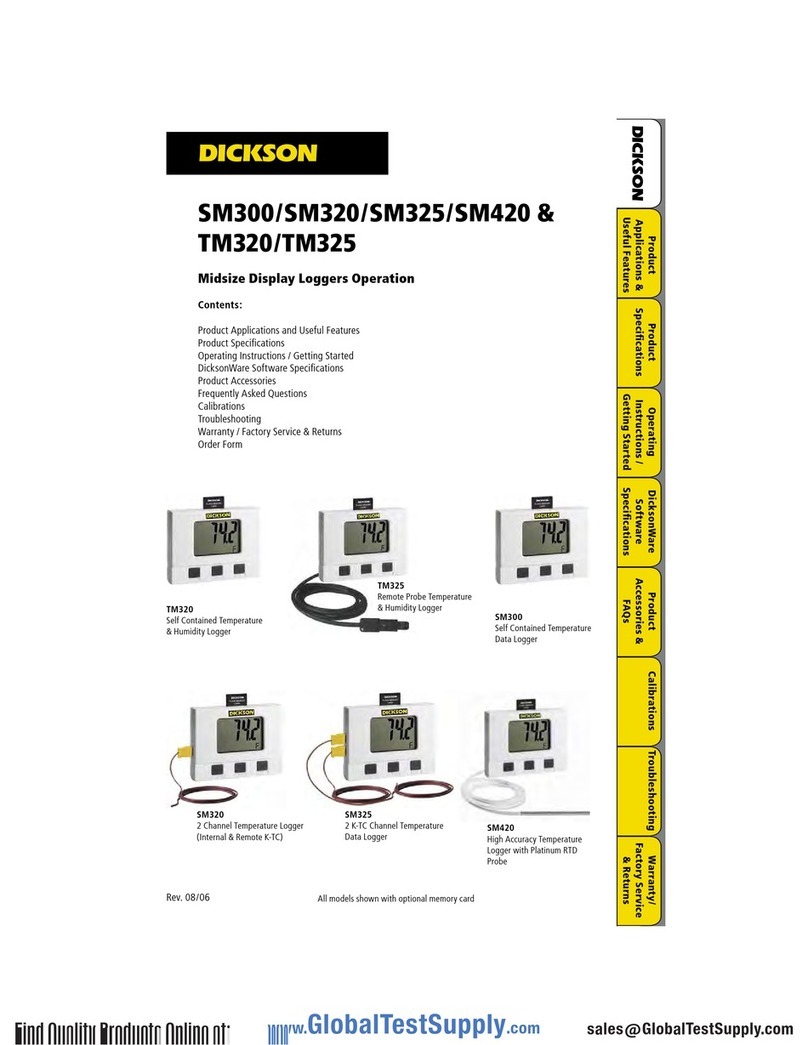
Dickson SM300 User manual

Dickson

Dickson SM300 User manual

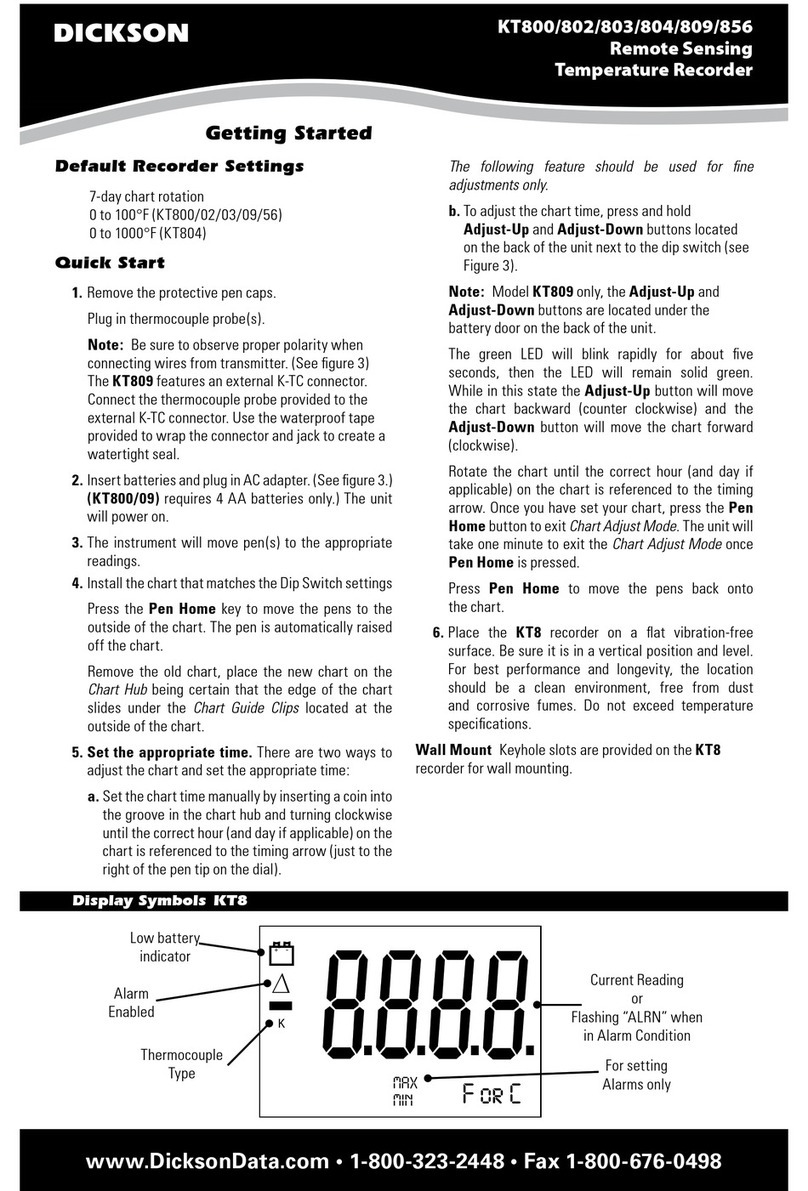
Dickson KT800 User manual

Dickson

Dickson KT800 User manual

Popular Other manuals by other brands

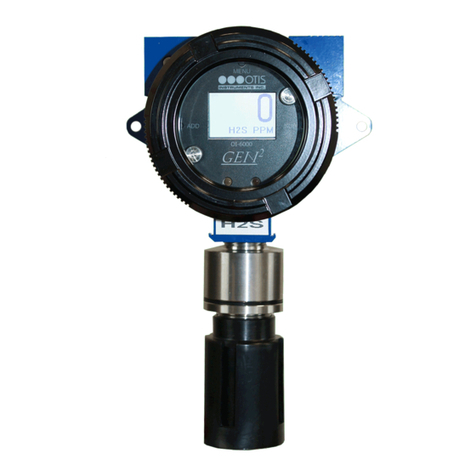
OTIS GEN II OI-6000 Operation manual

OTIS

OTIS GEN II OI-6000 Operation manual

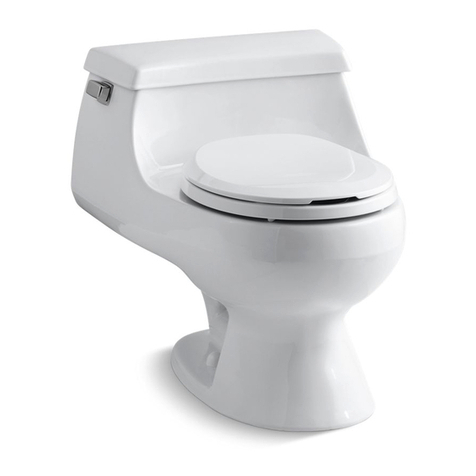
Kohler RIALTO K-3386-JA installation instructions

Kohler

Kohler RIALTO K-3386-JA installation instructions

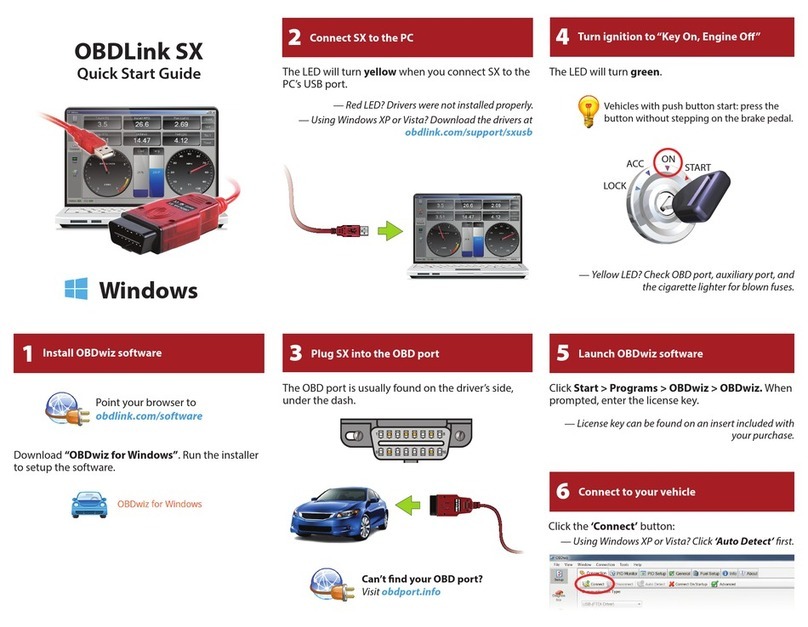
Scantool OBDLink SX quick start guide

Scantool

Scantool OBDLink SX quick start guide

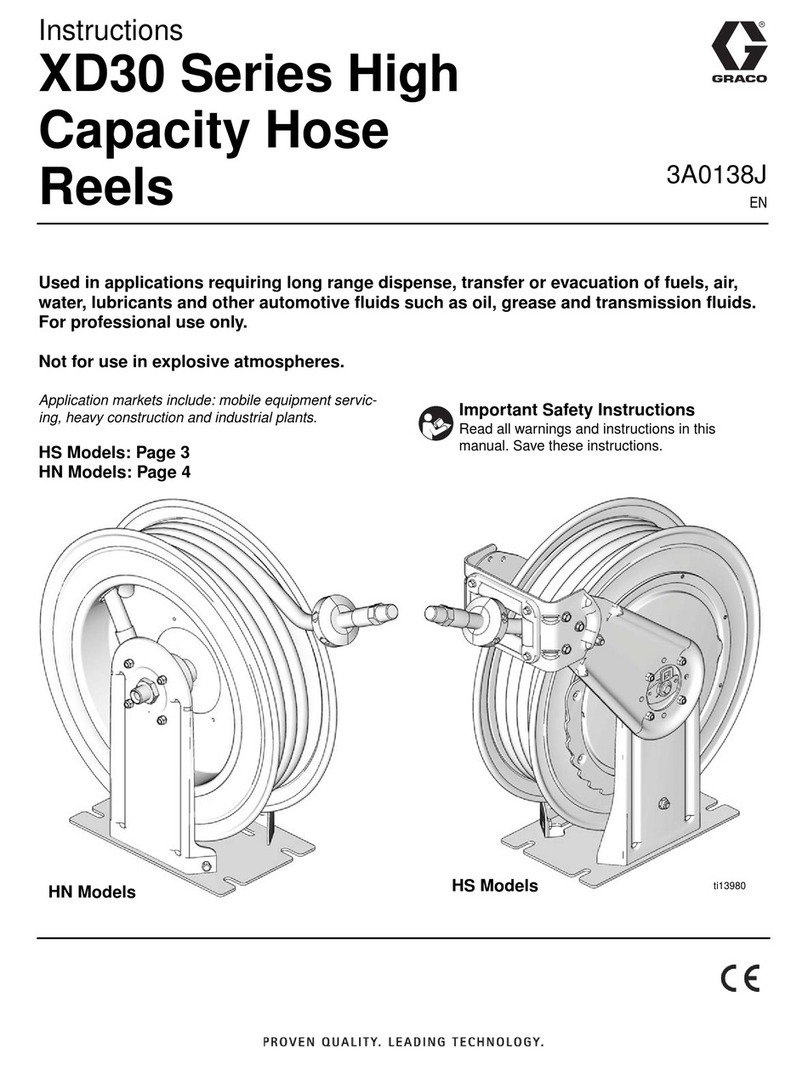
Graco XD30 Series instructions

Graco

Graco XD30 Series instructions

Bosch DINION IP bullet 4000 Quick install

Bosch

Bosch DINION IP bullet 4000 Quick install

Anviz C2 user manual

Anviz

Anviz C2 user manual

Haldex KN18530 Series installation instructions

Haldex

Haldex KN18530 Series installation instructions

NexSens X2 manual

NexSens

NexSens X2 manual

Audio Technica ATH-SPORT7TW user manual

Audio Technica

Audio Technica ATH-SPORT7TW user manual

Innovatione 1S PRO instructions

Innovatione

Innovatione 1S PRO instructions

Whelen Engineering Company PAR-32 LINZ6 installation guide

Whelen Engineering Company

Whelen Engineering Company PAR-32 LINZ6 installation guide

LG 360 VR user guide

LG

LG 360 VR user guide

LG Optimus Dynamic L38C user guide

LG

LG Optimus Dynamic L38C user guide

Gruv Gear Duostar Tension Strap instructions

Gruv Gear

Gruv Gear Duostar Tension Strap instructions

HTC Vive Cosmos user guide

HTC

HTC Vive Cosmos user guide

Compac CRK4 instruction manual

Compac

Compac CRK4 instruction manual

Sunex Tools 6722 owner's manual

Sunex Tools

Sunex Tools 6722 owner's manual

AKO AKO-575022 user manual

AKO

AKO AKO-575022 user manual

manuals.online logo
manuals.online logoBrands
  • About & Mission
  • Contact us
  • Privacy Policy
  • Terms and Conditions

Copyright 2025 Manuals.Online. All Rights Reserved.