SAFERA Airis Stove Guard User manual

1
USER MANUAL
SAFERA Airis Stove Guard
20800 V4.6.0 ENG AIRIS

32
SAFERA AIRIS STOVE GUARD 1. WARNINGS
Congratulations for buying the SAFERA
Airis Stove Guard. This guide describes the
use and maintenance of the product. Please
read these instructions carefully before
installing and using the system and keep
them throughout the product life cycle.
SAFERA Stove Guard strives to react to
hazardous situations as early as possible.
SAFERA can distinguish between normal
cooking and hazardous situations. There-
fore it does not interfere with normal cook-
ing but reacts quickly if there is a threat
of danger. For example, SAFERA ignores
steam from cooking.
Safe and enjoyable cooking!
1.1 Manufacturer
The product is designed and manufactured
by SAFERA Oy, a Finnish expert on home
re safety.
SAFERA Oy
Muuntotie 1
01510 Vantaa
Finland
Product support
Follow these instructions carefully and
pay particular attention to the instructions
marked in the following way:
ѥWARNING
Follow instructions marked with a
warning accurately to prevent injury to
persons and damage to property.
⚐ATTENTION
Follow instructions marked with a note
carefully to prevent damage to property.
ѧHINT
Hints give you useful hints on using the
appliance.
1.1 Important Use and Service
Information
The Stove Guard must be used for its in-
tended purpose only, as described in chap-
ter 2.1. SAFERA Oy is not liable for any
damages caused by inappropriate use or
installation of the appliance.
Only authorised SAFERA service person-
nel are allowed to service the safety sys-
tem. Use only original SAFERA parts.
1.2 Battery safety information
ѥWARNING
Failure to follow the instructions below
may cause the batteries to leak uid and
gas, or even explode.
• Do not expose batteries to excessive
heat, insert them with wrong polarity,
or try to recharge them.
• Always replace all batteries at once,
using the same make, model and age
for all batteries.
• Do not leave empty batteries inside the
device for prolonged periods.
• Recycle the empty batteries properly,
do not place in domestic waste.
• If the leaked uid gets into your eyes, do
not rub them, as there is a risk of losing
eyesight. Rinse your eyes with water
and contact a physician immediately.
• If the leaked uid gets into your
mouth,rinse with water and contact a
physician immediately.
• If the leaked uid gets on your skin or
clothes, rinse with large amounts of
water to prevent burns.
1.2.1 Safe Cooker Use
Cooking res are the number one cause of
home res. Cooking res are mainly the re-
sult of negligent cooker use, such as leaving
the cooker on accidentally after use. SAF-
ERA Stove Guard is designed to prevent
injury to persons and damage to property
caused by cooking res.
ѥWARNING
Always use the cooker safely and
responsibly, even when protected by the
Stove Guard.
The Stove Guard does not replace
statutory home re alarms. Ensure that
re safety at your home follows the local
regulations.
Contents
1. Warnings
2. Stove Guard Description
3. Using the Stove Guard
4. Maintenance
5. Personizing the stove guard
6. Troubleshooting
7. Specications
8. Warranty
9. CE Conformity
User Manual

54
Indicator light ❹
Low battery light ❺
Sensors ❻
2.3 Appliance Description
SAFERA Airis can be mounted on the wall
or on the bottom of the cooker hood above
the cooker. See adjacent gure.
Ⓐ Sensor unit
Ⓑ Mounting bracket
Ⓒ Power control unit
The Sensor unit Ⓐand the power control
unit Ⓒare connected with a wireless SAF-
ERA RobustLink connection, which is de-
signed for safety-critical applications.
2. STOVE GUARD DESCRIPTION
2.1 Purpose of Use
SAFERA Stove Guard is designed to im-
prove the safety of the cookers meant for
household use (see compatibility in the
Installation manual). It is highly effective
against cooking res.
Be always careful when using the cooker.
Keep children away from the cooker.
Please note that the appliance is designed
to prevent cooking res. In case of a re,
you must follow appropriate procedures to
prevent further damage. If necessary, call
Emergency Services, explain the situation
calmly and follow the instructions given to
you.
ѥWARNING
Flame cooking is prohibited under the
cooker hood.
SAFERA Stove Guard is meant for
household use only. The appliance must
not be used in professional kitchens
or with cookers and hobs meant for
professional use.
2.2 Conformity
SAFERA’s CE marking ensures that SAF-
ERA Airis conform to the required EU re-
quirements and standards. See chapter 9. 2.4 Indicator light ❹
LED color Sound Function
Green - Cooker ready to use
Red blinking Yes Cooker danger
Red blinking slowly Yes Cooker power has been cut off
Blue blinking slowly Yes Water leakage (optional)
ⒶⒷ
Ⓒ
Batteries
Mounting bracket Ⓑwith
adhesive tape
OK button ❸
Adjustment button ❶
Adjustment button ❷

76
3. USING THE STOVE GUARD
SAFERA Stove Guard observes the tem-
perature changes and the use of the cook-
er. The Stove Guard automatically gives
an alarm and switches off the cooker and
the oven in a hazardous situation based on
temperature changes and also if
• the cooker is left on for over 3 hours
without anyone using it,
• the cooker has been on for over 5
hours, or
• the oven has been on for over 12 hours
without anyone using it.
3.1 Setting the Alarm Limit
To ensure safe and reliable operation, you
need to set the alarm limit to match the
location of the cooker in the kitchen. The
alarm limit may also be adjusted in case of
frequent false alarms. See Installation man-
ual for further information.
ѥWARNING
The Stove Guard is controlling the oven
only if the oven is connected to the power
control unit Ⓒ.
The cooker’s hot-hob indicators do not
work after the Stove Guard has switched
off the cooker. The hobs may still be hot.
⚐ATTENTION
The Stove Guard is designed to avoid
raising unnecessary alarms. This means
that it allows the temperature to rise quite
high during cooking without raising an
alarm.
It does not sound an alarm until it looks
like the situation may cause danger to the
surroundings.
3.2 Automatic Child Proof Lock
By default, automatic child proof lock is dis-
abled. You can enable it by pressing the ad-
justment button ❶for 5 seconds until you
hear two high beeps (••) and the indicator
light ❹blinks green twice. This way you
can also disable the automatic child proof
lock (one low signal with indicator light ❹
blinking red).
Automatic child proof lock will prevent
using the cooker and oven approx. 10 - 60
minutes after the cooking is nished.
To use the cooker when the automatic child
proof lock is enabled, press the OK button
❸rst and then turn on the cooker. If the
OK button is not pressed rst, the auto-
matic child proof lock will switch off the
cooker power in ve seconds.
3.3 Other safety features
For safety reasons, the stove guard will
prevent the use of cooker and oven, if
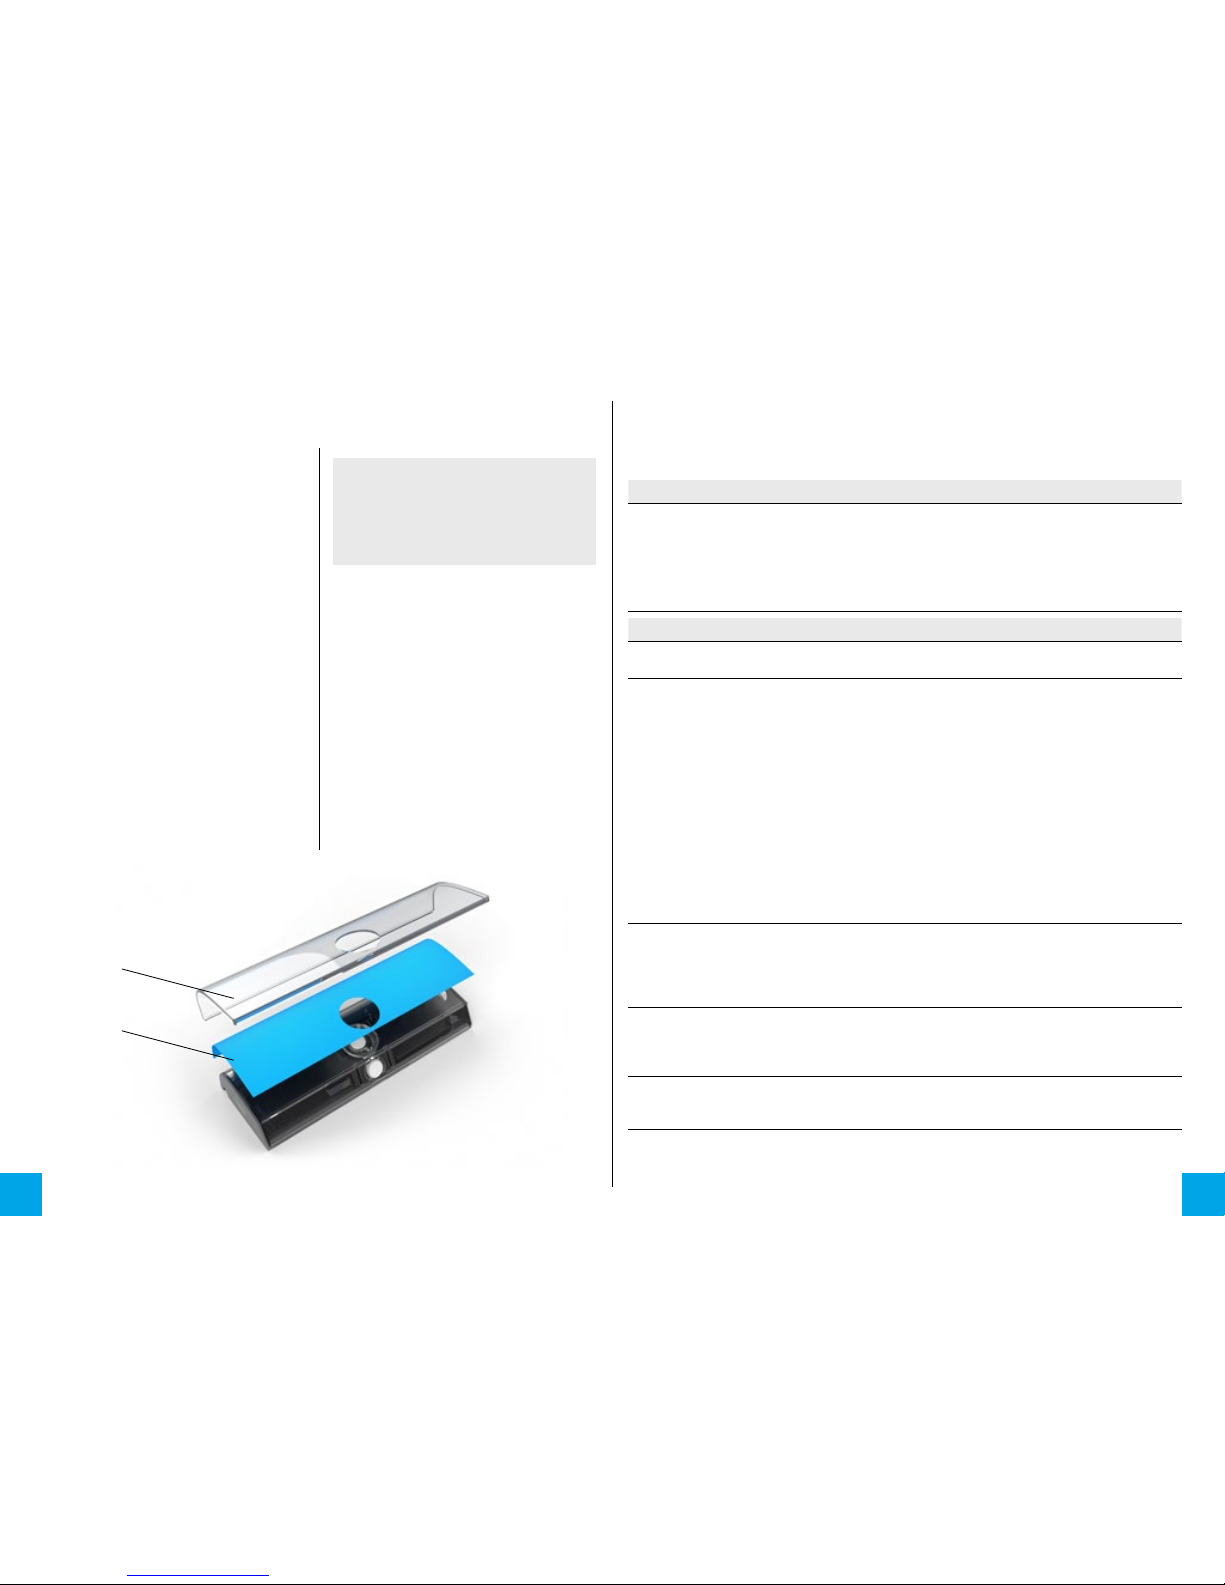
• the sensor unit Ⓐis removed from
its’ original installation position: place
the sensor unit back to the mounting
bracket Ⓑ
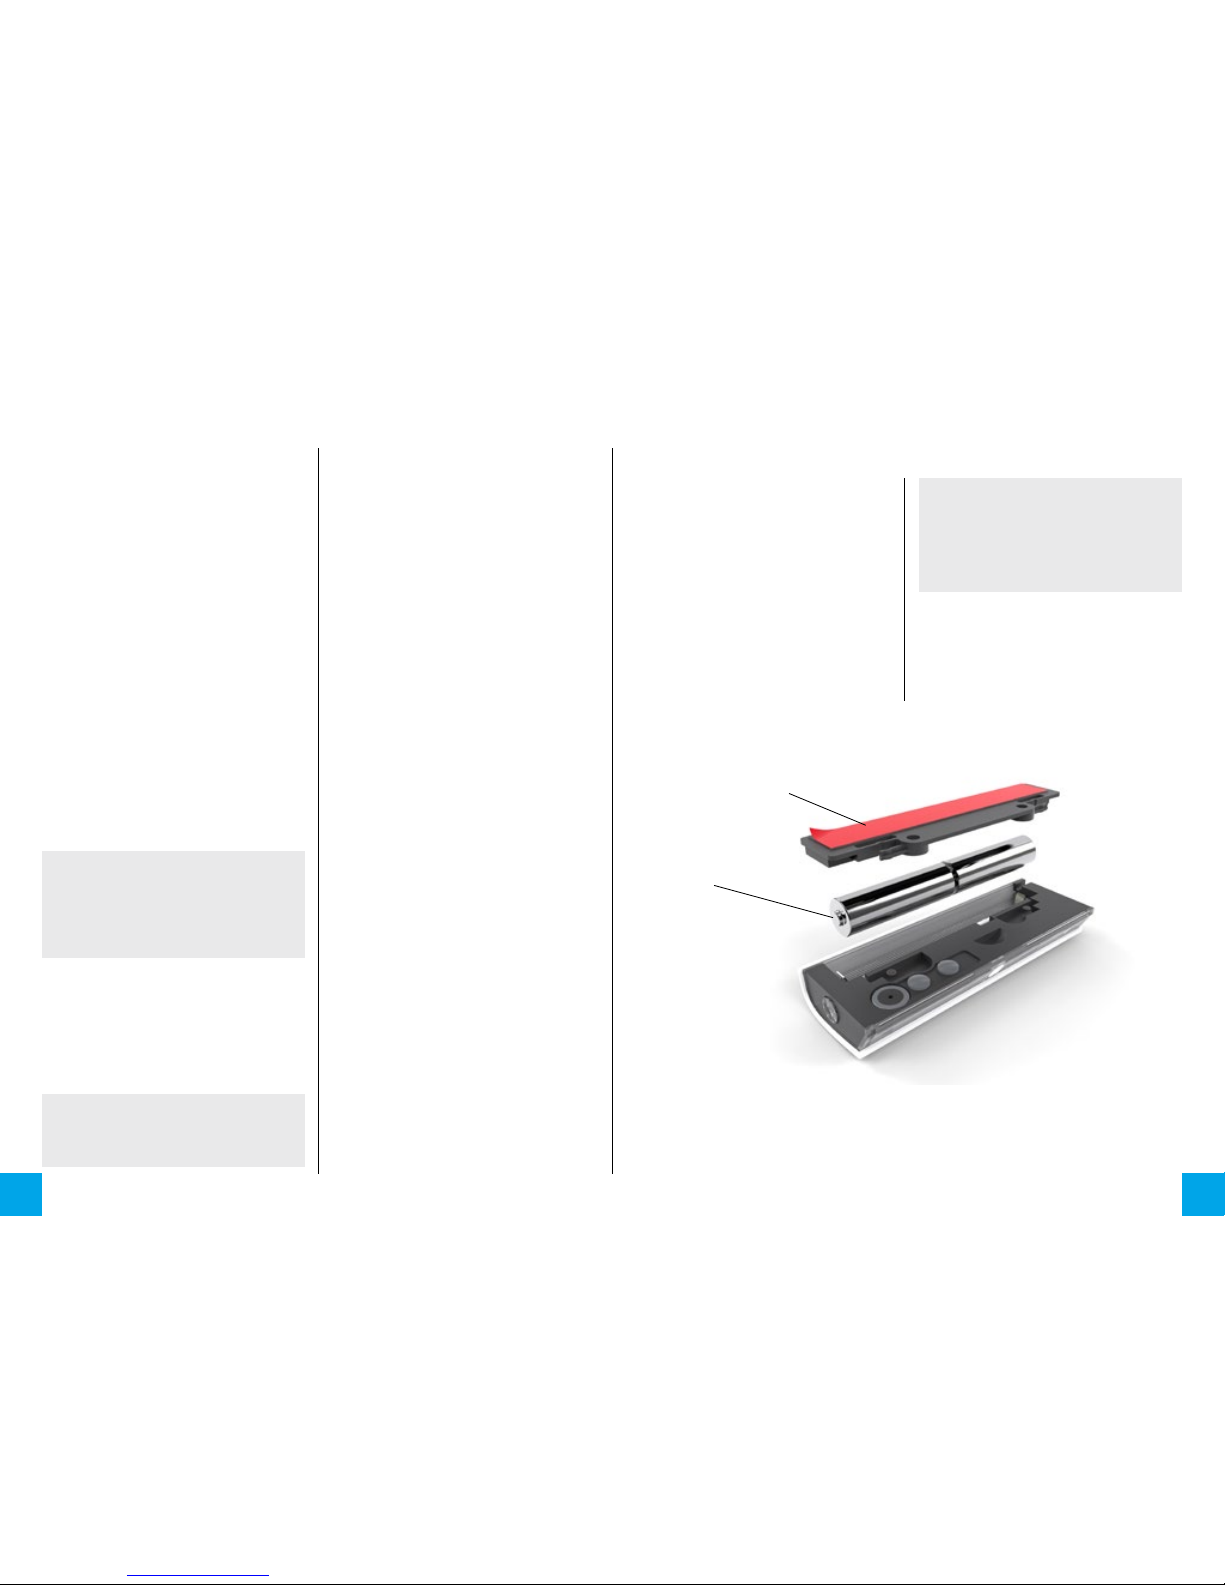
• the batteries are empty: replace the
batteries (see chapter 4.3)
• if the sensor unit is Ⓐ faulty: see
chapter 6. troubleshooting. Until the
fault is xed, you are able to use the
cooker temporarily for 3 hours by
removing the fuses for cooker for 10
seconds.
3.4 Cooker danger
Warning for dangerously hot cooker or for
leaving the cooker or the oven on for too
long. An alarm is sounded and indicator
light ❹ is ashing red. The Stove Guard
switches off the cooker and the oven in 15
seconds. When you hear the alarm:
1. Check the situation calmly. If there is
no danger, you can prevent the cooker
power switch off by pressing the
OK button ❸during the alarm and
continue with cooking.
2. If you do not press the OK button ❸
during the alarm, the Stove Guard will
switch off the cooker and the oven: after
swith off a repetitive signal is sounded
and the indicator light ❹is blinking red
for 15 minutes.
3. When there is no more danger, you can
return the power to the cooker and
oven by pressing the OK button ❸.
First, turn the hob switches to the zero
position.
4. Ensure that the hazardous situation
will not recur.
ѧHINT
If the case of frequent false alarms, you
can raise the alarm limit, see 3.1.
3.5 Water Leakage Detector
(optional)
SAFERA Stove Guard can be equipped with
max. four water leakage sensors. When the
sensors get wet for example because water
drips on them, the detector will sound an
alarm with far-spaced signals and indicator
light ❹is blinking blue.
When you hear the water leakage alarm:
1. Reset the alarm by pressing the OK
button ❸.
2. Before continuing, make sure the
power supply for the cooker is turned
off.
3. Find out what caused the alarm and
take care of the water leakage.
4. Clean and dry the sensor Ⓕ.
ѧHINT
If the sensor is left wet, the appliance will
give another alarm in 8 hours after signing
off the previous one.

98
Batteries
Mounting bracket Ⓑ
4. MAINTENANCE
To ensure continued safe and reliable op-
eration, please follow the instructions in
this chapter.
4.1 Regular maintenance
Follow there maintenance instructions at
least every three months or more frequent-
ly if needed.
4.1.1 Check the working order
Press and hold the OK button ❸for 5 sec-
onds to manually switch off the cooker
power and test that none of the burners
and the oven are powered. If ok, press the
OK button ❸to return the power to the
cooker.
Press the OK button ❸to start the self-di-
agnostics: when the stove guard is in work-
ing order, the indicator light ❹will blink in
green.
⚐ATTENTION
If you press the OK button ❸and the
indicator light ❹is not blinking green,
the appliance is faulty. See section
Troubleshooting.
4.1.2 Cleaning
Wipe the Sensor unit Ⓐwith a cloth mois-
tened with water or a mild detergent, such
as washing up liquid, once a month. Avoid
pressing the appliance buttons and sen-
sors.
⚐ATTENTION
Do not use coarse or abrasive materials to
clean the sensor unit Ⓐ.
4.2 Battery life and low battery
In normal use, the batteries should last 3-5
years.
The low battery light ❺starts blinking and
the stove guards sounds a beep when the
battery is expected to last approximately
two weeks. Replace the batteries accord-
ing to the following instructions.
You may reset the low battery alarm for 12
hours by pressing the OK button ❸.
If the batteries are not replaced in approxi-
mately two weeks, the stove guard switch-
es off the cooker power. The low battery
light ❺will be blinking until the batteries
are completely empty.
4.3 Battery replacement
1. Remove the sensor unit Ⓐfrom the
mounting bracket Ⓑby pulling it gently.
2. Remove the empty batteries.
3. Place the new AA/LR6 Alkaline
batteries in the sensor unit Ⓐ. Notice
the correct position marked on the
bottom of the battery case.
4. Place the sensor unit Ⓐback onto the
mounting bracket Ⓑ.
⚐ATTENTION
Check the correct position of the batteries
marked on the bottom of the battery case.
Use only high quality alkaline batteries.
Duracell Ultra Power is recommended.

1110
Color label
5. PERSONALIZING THE STOVE GUARD 6. TROUBLESHOOTING
Press the OK button ❸ to nd out the problem type by the indicator light ❹:
Indicator light ❹blinks in blue: Indicator light ❹blinks in yellow:
• Blinks once: Problem with wireless
connection.
• Blinks twice: Problem with power control
unit Ⓒ.
• Blinks three times: Power control unit Ⓒ
over-heating.
• Blinks once: Probem with sensors ❻.
• Blinks twice: Problem with sensor unit Ⓐ
• Blinks three times: Faulty installation
position of the sensor unit Ⓐ: see remedy
on the table below.
Problem Remedy
Cooker cannot be
switched on.
See chapters 3.2 or 3.3. If the problem persists, press the OK
button ❸ to nd out the problem type, see the table above.
Faulty installation
position of the sensor
unit Ⓐ.
Sensor unit Ⓐwill automatically recognize its’ installation
position during the rst time the cooker is used for cooking.
After the auto-recognition is completed, the stove guard will
prevent the use of cooker and oven if the sensor unit Ⓐis
removed from its’ original installation position. To enable use
of the cooker, place the sensor unit Ⓐback to the mounting
bracket Ⓑ.
If the problem persists, the auto-recognition might not have
been successful. Ensure the correct position of the sensor unit
Ⓐ(see installation manual step 2/2) and manually reconnect
the wireless connection according the installation manual
chapter 5.2. The fault should be then reseted automatically in
two minutes.
The appliance repeatedly
gives false (the indicator
light ❹is blinking red
and cooker power is
switched off).
Test the working order according to chapter 4. Maintenance. If the
appliance is in working order, but the Stove Guard gives repeatedly
false alarms, you may adjust the alarm limit of the appliance. See
installation manual.
The appliance repeatedly
gives false alarms,
especially when the oven
is in use.
There may have been a mistake in the calibration of the appliance.
See installation manual.
The appliance repeatedly
gives out water leakage
alarms.
For instructions, see chapter 3.5. If the alarms recur, take off the
fuses for the cooker and the oven. Check that the leakage sensors
are correctly connected. Put back the fuses.
Please contact your vendor support if you cannot solve your problem with these instruc-
tions.
Front cover
ѧHINT
You may print your own color label and
place it in to the stove guard to match the
stove guard perfectly into your kitchen
wall.
You may change the color of the stove
guard with the provided color labels. The
stove guard is delivered with 10 different
color labels and one transparent front cov-
er and one opaque white front cover.
1. Remove the sensor unit Ⓐfrom the
mounting bracket Ⓑby pulling it gently.
2. Remove the front cover from the
sensor unit Ⓐby lifting it from the back
of the sensor unit.
3. Place desired color label on top of the
sensor unit. Make sure that none of the
sensors are masked with the label.
4. Place the transparent front cover on
the sensor unit and place the sensor
unit Ⓐback onto the mounting bracket
Ⓑ.

12
7. SPECIFICATIONS
Sensor Unit
Battery type AA/LR6 Alkaline. Recom-
mended type: Duracell Ultra
Power (MX1500)
Battery life 3 - 5 years
Wireless
connection
SAFERA RobustLink 2,4
GHz. Range 10 – 100m,
depending on the building
structure
Pollution
degree
2
Power Control Unit
Compa-
tibility
Most electric cookers and
hobs used in private homes.
See specic compatibility
on the label of the power
control unit Ⓒ.
Power
supply
See the label of the power
control unit Ⓒ.
Power
consumption
2 W
(PCU6.3 = 4 W)
Control type IEC/EN 60730 - 1 : Type 1.B
Pollution
degree
2
Impulse vol-
tage rating
4 kV
Operational
ambient
temperature
See the label of the power
control unit Ⓒ.
Ball pressure
test rating
100 °C
PTI of
insulation
materials
175...400
Designed
number of
automatic
actuations
6000
IP class See power control unit
8. WARRANTY
The appliance comes with a 24 month war-
ranty as regulated in the general warranty
terms of SAFERA.
9. CE CONFORMITY
SAFERA Oy ensures that Airis fullls all
compliant EU directives and standards:
EN-50615 category B, 2006/95/EC,
2004/108/EC, 1999/5/EC, 2002/95/EC,
2002/96/EC, EN 301 489-1: 2011 (V1.9.2),
EN 301 489-17: 2009 (V2.1.1), EN 55014-
1:2000 / CISPR 14-1, EN 55014-2:1997 /
CISPR 14-2 + Amd.2, ETSI EN 300 328: 2012
(V1.8.1), EN 60730-1: 2000 + A12 + A13 +
A1 + A14 + A16 + A2, EN 60730-2-9: 2010,
EN 60335-1: 2010 (ed 5.0), EN 60335-2-31:
2002 / A1:2006.
Vantaa Finland 1.5.2015, Henri Andell, VD
Table of contents
Popular Other manuals by other brands

TMC Aquarium
TMC Aquarium REEF-Skim PRO 500 Instructions for installation and use

REED
REED GD-3300 instruction manual

TRAC
TRAC T10109 Pontoon 35 Installation and operating instructions

Nilfisk-Advance
Nilfisk-Advance S105 Series Directions for use

Ebac
Ebac CD35 user manual

IBM
IBM HS21 XM BLADECENTER - FOR TPC-E manual