manuals.online logo
Brands
  1. Home
  2. •
  3. Brands
  4. •
  5. digi-tech
  6. •
  7. Temperature Controllers
  8. •
  9. digi-tech XC0439 User manual

digi-tech XC0439 User manual

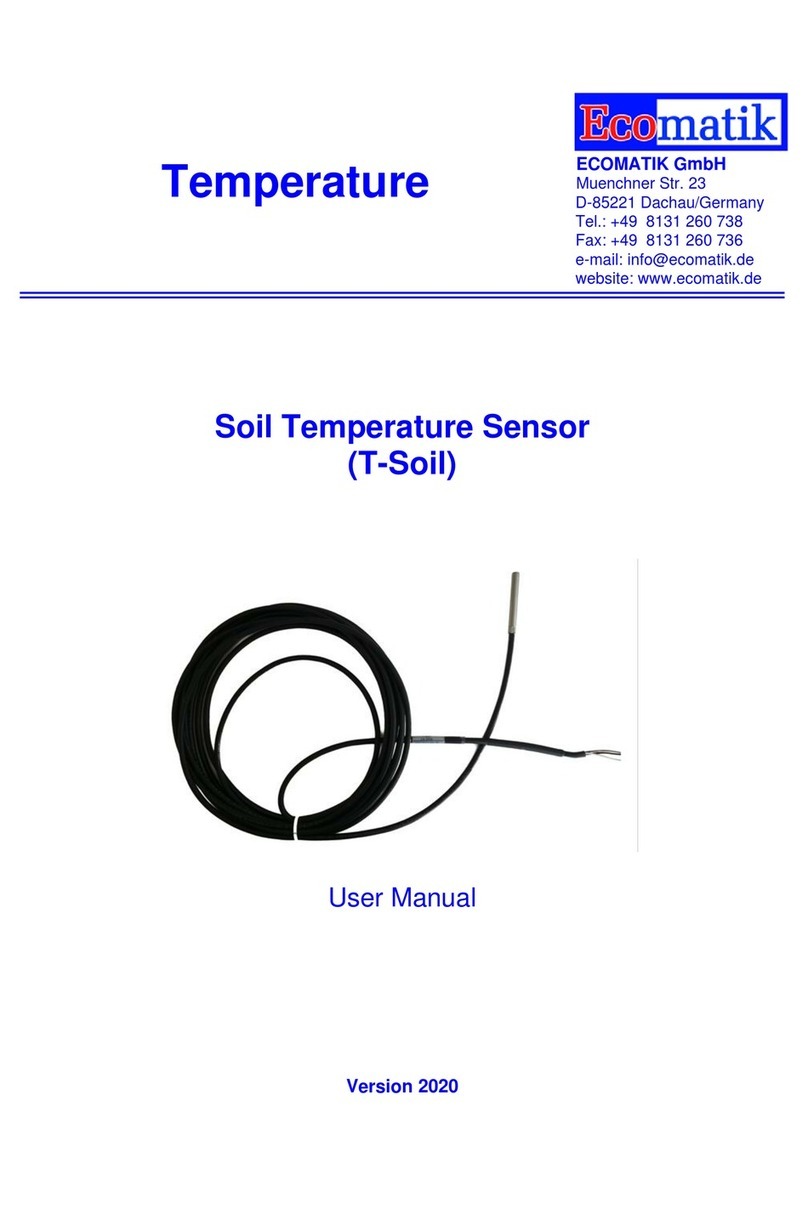
WIRELESS SOIL MOISTURE & TEMPERATURE SENSOR
XC0439
User Manual
Thank you for selecting this Wireless Soil Moisture & Temperature sensor.
This manual is used for AU version. Please read the instructions carefully
according to the version you purchased and keep the manual well for future
reference.
IMPORTANT NOTE
- Read and keep these instructions.
- Do not cover the ventilation holes with any items such as newspapers, curtains
etc.
- Do not clean the unit with abrasive or corrosive materials.
- Do not tamper with the unit’s internal components. This invalidates the
warranty.
- Only use new batteries. Do not mix new and old batteries.
- Do not dispose of old batteries as unsorted municipal waste. Collection of such
waste separately for special treatment is necessary.
- Attention! Please dispose of used unit or batteries in an ecologically safe
manner.
-Technical specications and user manual contents for this product are subject
to change without notice.
CAUTION
- Danger of explosion if the battery is incorrectly replaced. Replace only with the
same or equivalent type.
-The battery cannot be subjected to high or low extreme temperatures, low air
pressure at high altitude during use, storage or transportation.
- Replacement of a battery with an incorrect type can result in an explosion
or the leakage of ammable liquid or gas.
-Disposal of a battery into fire or a hot oven, or mechanically crushing or cutting
of a battery, can result in an explosion.
- Leaving a battery in an extremely high temperature surrounding environment
can result in an explosion or the leakage of flammable liquid or gas.
-A battery subjected to extremely low air pressure that may result in an
explosion or the leakage of flammable liquid or gas.
-An appliance is only suitable for mounting at a height of less than 2m.
OVERVIEW
2
7
1
6
5
4
1. Transmission status LED
2. Sensor metal probe
3. Moisture sensor
4. Wall mounting holder
5. [CHANNEL] slide switch
to assign the sensor to
Channel 1,2,3,4,5,6 or 7
6. [ RESET ] key
7. Battery compartment
3
GETTING STARTED
1. Remove the battery cover.
2. Slide the [ CHANNEL ]slide switch to choose a channel.
3. Insert 2 x AA size batteries into the battery compartment according to the
polarity mark on the battery compartment.
4. Close the battery cover.
5. After inserting batteries, the transmission status LED will light up for 1 sec.
Note:
- Ensure to assign different channels of different sensors, in case you need
to pair more than one sensor.
- Once the channel is assigned to a Wireless Soil Moisture & Temperature
sensor, you can only change it by removing the batteries or resetting the
unit.
- Avoid placing the sensor in direct sunlight, rain or snow.
PAIRING THE WIRELESS SENSORS WITH THE CONSOLE
The console will automatically search and connect to your wireless sensor(s).
Once your sensor(s) pair upssuccessfully, the sensor(s) signal strength
indication and weather information will appear on your console display.
Note:
During signal transmission, the LED indicator of the sensor will flash.
TEMPERATURE DISPLAY
On the display of the console which the soil sensor is linked to, a temperature
reading will be displayed.
SOIL MOISTURE DISPLAY
Soil moisture can be clarified into 5 different levels: Very Dry, Dry, Moist,
Wet and Very Wet.
To determine the moisture of soil, the sensor calibratesthe moisture into
16 points, and correlates them into percentage value:
Points Percentage Level
1 0%
Very Dry
27%
3 13%
420%
527%
6 33%
Dry
7 40%
8 47%
9 53%
10 60%
Moist11 67%
12 73%
13 80% Wet
14 87%
15 93% Very Wet
16 99%
Note:
The measurement accuracy of the sensor can be affected by the soil
condition. For example, the loose soil may get a lower moisture level
comparedwith the dense soil.
SENSOR PLACEMENT
Select the suitable installation site that insertsthe sensor probes into the
soil around 100mm (4 inch) and the sensor should be placedwithin 30
meters of the display console to get the best transmission performance.
Note:
The signal transmission range of the sensor will be gradually reduced as the
sensor is inserted deeper into the soil. To achieve the best transmission
range, install the sensor on the same plain of view as the display console.
RESET THE SENSOR
In case of mal-function, press the [ RESET ] button to reset the sensor.
SPECIFICATIONS
Dimensions (W x H x D) 125 x 58 x 19 mm (4.9 x 2.2 x 0.7 in)
Weight 144g (with batteries)
Main power
2 x AA size 1.5V batteries (Lithium battery
recommended for low temperature
environment)
Weather data Soil temperature and moisture
RF frequency 917Mhz (AU)
RF transmission range 150m (492 feet) straight distance
Temperature Accuracy
-5°C ~ -0.1°C ± 2°C (23 ~32°F ± 4°F)
0 ~ 40°C ± 1°C (32 ~ 104°F ± 2°F)
40.1 ~ 50°C ± 2°C (87 ~ 122°F ± 4°F)
Below -5°C (23°F) or above 50°C (122°F
not guarantee the accuracy)
Moisture Accuracy 0% ~ 99%
Number of channels 7 (CH1 ~ 7)
Transmission interval 60 seconds
Operating temperature range -20 ~ 60°C (-4 ~ 140°F) not recommend
under freezing conditions
Operating soil moisture range 0% to 99%
Distributed by:
Electus Distribution Pty. Ltd.
320 Victoria Rd, Rydalmere
NSW 2116 Australia
www.electusdistribution.com.au
Made in China
e
Soil

Popular Temperature Controllers manuals by other brands

Honeywell TS13C user manual

Honeywell

Honeywell TS13C user manual

Solvis ST-Control Operation manual

Solvis

Solvis ST-Control Operation manual

TECH Sinum MC-02 quick start guide

TECH

TECH Sinum MC-02 quick start guide

HIOTH TECHNOLOGY CT-EDEA4007-ID user manual

HIOTH TECHNOLOGY

HIOTH TECHNOLOGY CT-EDEA4007-ID user manual

La Crosse Technology TX141TH-Bv3 quick start guide

La Crosse Technology

La Crosse Technology TX141TH-Bv3 quick start guide

MULTISPAN UTC-2202G Installation guidelines

MULTISPAN

MULTISPAN UTC-2202G Installation guidelines

Honeywell C7776A installation instructions

Honeywell

Honeywell C7776A installation instructions

emz smart Sol Assembly and operating instructions

emz

emz smart Sol Assembly and operating instructions

Leizig FCC225 Assembly instructions

Leizig

Leizig FCC225 Assembly instructions

AKO AKO-D14120 installation instructions

AKO

AKO AKO-D14120 installation instructions

Ranco ETC-111000 quick start guide

Ranco

Ranco ETC-111000 quick start guide

Rehau NEA SMART 2.0 Quick install

Rehau

Rehau NEA SMART 2.0 Quick install

Selec PID500 operating instructions

Selec

Selec PID500 operating instructions

Dometic 9600011575 installation manual

Dometic

Dometic 9600011575 installation manual

Regin Corrigo E series user manual

Regin

Regin Corrigo E series user manual

Carrier ComfortChoice EDGE Installation and start-up instructions

Carrier

Carrier ComfortChoice EDGE Installation and start-up instructions

bentrup TC95 operating instructions

bentrup

bentrup TC95 operating instructions

Aube Technologies Temperature Sensor AC146-410 installation guide

Aube Technologies

Aube Technologies Temperature Sensor AC146-410 installation guide

manuals.online logo
manuals.online logoBrands
  • About & Mission
  • Contact us
  • Privacy Policy
  • Terms and Conditions

Copyright 2025 Manuals.Online. All Rights Reserved.