Digital Equipment Pro-face PS-3450A Series User manual

Reference Manual
PS-3450A /PS-3451A Series

1
NOTES
(1) The copyrights to all programs and manuals included in the “PS-3450A/PS-3451A” (hereinafter referred to as “PS-
A”) are reserved by the Digital Electronics Corporation. Digital grants the use of PS-A to its users as described in
the “Software Operating License Conditions” documentation. Any actions violating the above-mentioned conditions
are prohibited by both Japanese and foreign regulations.
(2) The contents of this manual have been thoroughly inspected. However, if you should find any errors or omissions in
this manual, please inform your local PS-A representative of your findings.
(3) Regardless of article (2), the Digital Electronics Corporation shall not be held responsible for any damages or third
party claims resulting from the use of PS-A.
(4) Differences may occur between the descriptions found in this manual and the actual functioning of PS-A. Therefore,
the latest information on PS-A is provided in data files (i.e. Readme.txt files, etc.) and in separate documents. Please
consult these sources as well as this manual prior to using the product.
(5) Even though the information contained in and displayed by PS-A may be related to intangible or intellectual proper-
ties of the Digital Electronics Corporation or third parties, the Digital Electronics Corporation shall not warrant or
grant the use of said properties to any users and/or other third parties. Digital Electronics Corporation accepts no lia-
bility for issues related to the intellectual property rights of third parties or any issues related to the use of the infor-
mation contained in or displayed by PS-A.
Product names used in this manual are the trademarks / registered trademarks of their respective owners.
© 2007 Digital Electronics Corporation. All rights reserved.

2
Information Symbols
This manual uses the following icons:
Indicates a warning or a product limitation. Be sure to follow the instructions
given with this icon to ensure the safe operation of the PS-A.
Contains additional or useful information.
(1) (2) Indicates steps used to accomplish a given task.
Be sure to follow these steps in the order they are written.
* Indicates useful or important supplemental information.
Indicates pages containing related information.
SEE

3
Contents
NOTES...................................................................................................................... 1
Information Symbols ................................................................................................. 2
Contents.................................................................................................................... 3
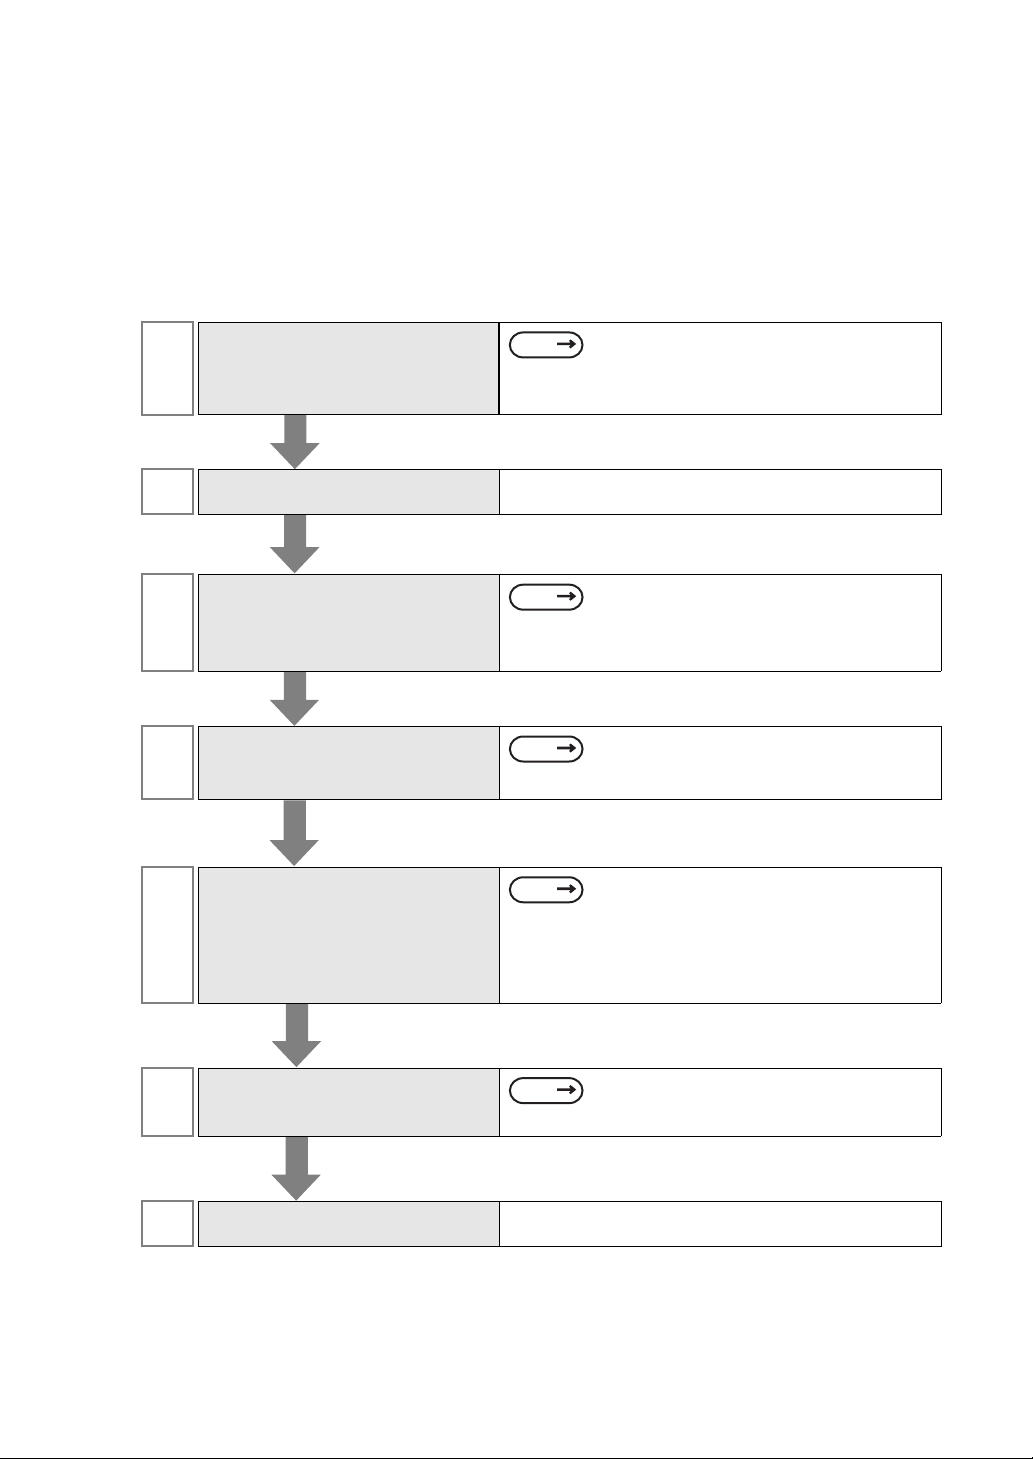
Setup operation flow.................................................................................................. 5
Chapter 1 Setting Up Software
1.1 Software Configuration ...................................................................................1-2
1.2 Setting Up an HDD with no Pre-installed OS..................................................1-3
1.2.1 Setting Up the OS.................................................................................................1-3
1.2.2 Setting Up the PS-A Dedicated Software .............................................................1-3
1.3 Setting Up an HDD with Pre-installed OS.......................................................1-5
1.3.1 Setting Up OS.......................................................................................................1-6
1.4 PS-A Dedicated Software.............................................................................1-12
1.4.1 Driver ..................................................................................................................1-12
1.4.2 Special Application Program Features................................................................1-14
Chapter 2 System Setup
2.1 System Setup Screen Operation ....................................................................2-2
2.2 System Parameters Setting............................................................................2-4
2.2.1 Main......................................................................................................................2-4
2.2.2 Advanced..............................................................................................................2-6
2.2.3 Intel.....................................................................................................................2-17
2.2.4 Security...............................................................................................................2-27
2.2.5 Boot ....................................................................................................................2-28
2.2.6 Exit......................................................................................................................2-30
Chapter 3 PS-A Monitoring Features
3.1 RAS Features .................................................................................................3-2
3.1.1 RAS Features .......................................................................................................3-2
3.2 Setting Menus.................................................................................................3-6
3.3 Monitoring the PS-A Status.............................................................................3-8
3.3.1 Description............................................................................................................3-8
3.3.2 Setup Procedure...................................................................................................3-8
3.4 Checking the Status of the PS-A Being Monitored .......................................3-12
3.4.1 Description..........................................................................................................3-12
3.4.2 Setup Procedure.................................................................................................3-12
3.5 Checking the Error Log List..........................................................................3-13
3.5.1 Description..........................................................................................................3-13

4
3.5.2 Setup Procedure.................................................................................................3-14
3.6 Monitoring Errors from a Remote Server......................................................3-16
3.6.1 Description..........................................................................................................3-16
3.6.2 System Configuration..........................................................................................3-17
3.6.3 Monitoring using Pro-Server with Pro-Studio or Pro-Server EX..........................3-20
3.7 Restarting/Shutting Down the PS-A from a Remote Server......................... 3-22
3.7.1 Description..........................................................................................................3-22
3.7.2 Setup Procedure.................................................................................................3-22
3.8 Setup Guide.................................................................................................. 3-23
3.8.1 Setup Guide for the System Monitor Property Screen........................................3-23
3.8.2 Setup Guide for the System Monitor Screen ......................................................3-26
3.9 Error Messages ............................................................................................ 3-28
3.10Restrictions................................................................................................... 3-31
Chapter 4 Troubleshooting
4.1 Problems and Countermeasures....................................................................4-2
4.2 Recovery Procedure....................................................................................... 4-5
4.2.1 PS-A with no Pre-installed OS..............................................................................4-5
4.2.2 PS-A with Pre-installed OS (Windows 2000)........................................................4-5
4.2.3 PS-A with Pre-installed OS (Windows XP)...........................................................4-7
Appendices
1 I/O Map...........................................................................................................A-2
2 Memory Map...................................................................................................A-3
3 Interrupt Map ..................................................................................................A-4
4 License Agreement.........................................................................................A-6

5
Setup operation flow
The following shows the flow of the setup operation from the purchase of the PS-A to the completion of the required
setup before use.
PS-A with no pre-installed OS
Configure the BIOS settings. In the
[Boot] menu, move [USB CD-ROM] to
the top of the list. Save the setting and
exit the BIOS setting screen.
1Connect peripheral devices and wiring to
the PS-A unit. Connect a USB CD/
DVD-ROM drive and a USB keyboard
(commercially available).
32.1 System Setup Screen Operation (page2-2)
2.2.5 Boot (page2-28)
2.2.6 Exit (page2-30)
4Insert the OS setup media into the drive.
Install the OS by following the messages
on the screen.
Refer to the manual of the OS to be installed.
5Download and install the necessary
drivers and utility software. Visit the download page at the Otasuke Pro!
site.
URL http://www.pro-face.com/otasuke/
1.4 PS-A Dedicated Software (page1-12)
6Install the necessary application
programs. Refer to the manual of the software to be
installed.
7Install the PS-A unit.
PS-3450A/3451A Hardware Manual
3 Hardware Installation
SEE
SEE
SEE
SEE
SEE
Turn the PS-A’s power ON.
2Set the power switch on the rear of the PS-A to ON.

6
PS-A with pre-installed OS
• After hardware setup is completed, the OS must be used to create partitions and
format (initialize) the HDD before any data or applications can be saved to the hard
disk drive. For details concerning these procedures, refer to the OS manufacturer’s
instruction manual.
• Whenever you turn the PS-A unit’s power OFF, wait until the internal HDD stops
spinning (approximately 5 seconds) before turning the power ON again.
• The PS-A’s hard disk is designed for use with the Windows® 2000, Windows® XP.
Other operating systems do not support this driver software, etc.
• Use of an uninterrupted power supply is recommended to protect your data from accidental
power failures.
An uninterrupted power supply that supports Windows®will give you sufficient time to shut
down your system safely by changing into the power supply for the backup in case of a power
failure, and can even be set up to automatically shut down your Windows®OS.
The PS-A unit, however, cannot be used with a 2-Step Inverter Output type uninterrupted power
supply. Be sure the unit is a sine-output type power supply. For details, consult your local UPS
system dealer.
5Install the PS-A unit.
To change the BIOS settings, go to the
system setting screen. Skip this step
when you use the factory (default)
settings.
Turn the PS-A’s power ON.
2Set the power switch on the rear of the PS-A to ON.
32.1 System Setup Screen Operation (page2-2)
4Set up the pre-installed OS. 1.3.1 Setting Up OS (page1-6)
SEE
SEE
1Connect peripheral devices and wiring to
the PS-A unit. Connect a USB keyboard
(commercially available).
PS-3450A/3451A Hardware Manual
3 Hardware Installation
SEE

PS-345XA Reference Manual
1-2
1.1 Software Configuration
The folder composition diagram shown below explains the type of software that can be used with the PS-A.
If you purchased the PS-A unit with pre-installed OS, all the software has been installed already.
If you purchased the PS-A unit with no pre-installed OS, you can download the software from the Pro-face
support site “Otasuke Pro!”.
SEE 1.2.2 Setting Up the PS-A Dedicated Software (page1-3)
[Driver]
[Utility]
[Audio] Audio Driver <Supported OS types>
Windows®2000
Windows®XP
[Chipset] Chipset Driver <Supported OS types>
Windows®2000
Windows®XP
[Display] Display Driver <Supported OS types>
Windows®2000
Windows®XP
[LAN] Network Driver <Supported OS types>
Windows®2000
Windows®XP
[UPDD] Mouse Emulation Software <Supported OS types>
Windows®2000
Windows®XP
[Keyclick] Keyboard Emulation Application
[Profacer] Remote Support Tool
[RASSvr] Utility Setup <PS-A Utility Tools>
Remote RAS for Server PC
Installer
[Shutdown] Remote Shutdown Installer
[Sysmon] System Monitor/RAS Applicaion
[Win2K_XP] <Supported OS types>
Windows®2000
Windows®XP

Chapter 1 Setting Up Software
1-3
1.2 Setting Up an HDD with no Pre-installed OS
First, when you use a PS-A with no pre-installed OS, you will need to install either Windows® 2000 or
Windows® XP. You also need to install any required utility software.
1.2.1 Setting Up the OS
Install your operating system. For the setup procedures about the OS, refer to that product’s installation
manual.
1.2.2 Setting Up the PS-A Dedicated Software
(1) Download the necessary drivers and utility software from the Pro-face support site “Otasuke Pro!”.
(2) Decompress the downloaded data, then the [Proface] folder has been created in drive C.
• Specify [Disabled] for the USB-Device29 and the Function7 of the BIOS when you
install commercial Windows®2000, using a USB CD/DVD-ROM drive.
• The PS-A unit supports Windows 2000 Service Pack 4 and Windows XP Service
Pack 2. The PS-A unit performance cannot be guaranteed when any other
operating system is used.
• The setup requires a USB keyboard.
• For details about the drivers and utility software, refer to the following section.
• When decompressing the Touch Panel Driver (Mouse Emulator) [UPDD], designate the
[Proface] folder to save.
SEE
Integrated Device Control Sub-Menu (page2-23)
URL http://www.pro-face.com/otasuke/
SEE 1.4 PS-A Dedicated Software (page1-12)

PS-345XA Reference Manual
1-4
[Proface] Folder Configuration
The following diagram describes the configuration of this folder. (For all Windows®versions)
• The actual organization may differ from the above depending on your PS-A unit’s OS.
• Setting up the PS-A unit’s system monitor automatically copies the hardware control driver
(Sysmon.sys) to the system folder.
[Proface]
[Api] API-DLL
[Audio] Audio Driver
[Blsaver] Backlight Control Screen Saver
[Chipset] Chipset Driver
[Disp] Backlight Control Console Application
[Display] Graphic Accelerator Driver
[Keyclick] Keyboard Emulation Application
[LAN] Network Driver
[Shutdown]
[Client] Remote Shutdown Client
[Sysmon] System Monitor/RAS Application
[UPDD] Touch Panel Driver (Mouse Emulator)

Chapter 1 Setting Up Software
1-5
1.3 Setting Up an HDD with Pre-installed OS
In the PS-A with pre-installed OS, the following software has been installed in advance.
PS-A with Windows®2000 Pre-installed
• Windows®2000 Professional operating system manufactured by Microsoft Corporation
• Mouse Emulation Software manufactured by DMC Co., Ltd. (TSC-1310D/DD)
• Keyclick32 keyboard emulator manufactured by IN-fINITY soft
• PS-A dedicated utility software and drivers manufactured by Pro-face
PS-A with Windows®XP Pre-installed
• Windows®XP Professional operating system manufactured by Microsoft Corporation
• Mouse Emulation Software manufactured by DMC Co., Ltd. (TSC-1310D/DD)
• Keyclick32 keyboard emulator manufactured by IN-fINITY soft
• PS-A dedicated utility software and drivers manufactured by Pro-face
• Each pre-installed operating system on the hard disk in the PS-A unit is designed specially for
PS-3450A/PS-3451A.
• For details about the drivers and utility software, refer to the following section.
SEE 1.4 PS-A Dedicated Software (page1-12)

PS-345XA Reference Manual
1-6
[Proface] Folder Configuration
A [Proface] folder is prepared on the C drive. The following diagram describes the configuration of this
folder.
1.3.1 Setting Up OS
Set up the Pre-installed OS in the PS-A unit.
Windows®2000 Setup Procedure
This section describes the setup procedure for Windows®2000. The setting parameters vary depending on
your environment. Ask your network administrator for the appropriate parameters.
• The actual organization may differ from the above depending on your PS-A unit’s OS.
• The hardware control driver (Sysmon.sys) is prepared in the system folder on the hard disk of the
PS-A unit.
• The README file stored on the hard disk explains the details of the software and the
information provided and changes made after this manual was printed. Be sure to read the file
before starting this procedure.
• The OS setup operation requires a keyboard.
[Proface]
[Api] API-DLL
[Audio] Audio Driver
[Blsaver] Backlight Control Screen Saver
[Chipset] Chipset Driver
[Disp] Backlight Control Console Application
[Display] Graphic Accelerator Driver
[Keyclick] Keyboard Emulation Application
[LAN] Network Driver
[Setup] Media Image
[Shutdown]
[Client] Remote Shutdown Client
[Sysmon] System Monitor/RAS Application
[UPDD] Touch Panel Driver (Mouse Emulator)

Chapter 1 Setting Up Software
1-7
(1) Once the PS-A unit’s power is turned ON, this HDD unit’s [Windows 2000 Professional Setup] screen,
and then the [Welcome to the Windows 2000 Setup Wizard] will appear. Click the [Next] button.
(2) The [License Agreement] screen will appear.
After reading the contracts, press [I accept this agreement] if you agree, and click the [Next] button.
(3) The [Regional Settings] screen will appear.
After entering the data for your area, click the [Next] button.

PS-345XA Reference Manual
1-8
(4) The [Personalize Your Software] screen will appear.
After entering your name [Name] and [Organization], click the [Next] button.
(5) The [Your Product key] screen will appear.
After entering the product key data on the license sticker, click the [Next] button.
(6) The [Computer Name and Administrator Password] screen will appear.
Enter the [Computer Name and Administrator Password], and [Confirm Password], then click the [Next]
button.
When entering the [Computer Name], if the name shown on the display is not correct, you can enter
another name. When the computer is connected to a network, be sure to ask your network manager what
is the correct name for this field.
(7) The [Date and Time Settings] screen will appear.
After entering these settings, click the [Next] button.
(8) The [Network Settings] screen will appear.
Choose whether to use typical or custom settings depending on your PC circumstantce.

Chapter 1 Setting Up Software
1-9
(9) The [Workgroup or Computer Domain] screen will appear.
Choose whether to make your PC on a network or not depending on your PC circumstance.
(10) [Performing Final Tasks] is automatically done by the PS-A.
The [Completing the Windows 2000 Setup Wizard] will appear. Press the [Finish] button and the system
will automatically restart.
(11) When the [Network Identification Wizard] and the [Welcom to the Network Identification Wizard] is
started, please press the [Next] button. The [Users of This Computer] screen will appear. After entering
the desired settings, press the [Next] button and then press the [Finish] button.
Windows®XP Setup Procedure
This section describes the setup procedure for Windows®XP. The setting parameters vary depending on your
environment. Ask your network administrator for the appropriate parameters.
• The README file stored on the hard disk explains the details of the software and the
information provided and changes made after this manual was printed. Be sure to read the file
before starting this procedure.
• The OS setup operation requires a keyboard.

PS-345XA Reference Manual
1-10
(1) Once the power of the PS-A unit with Windows®XP pre-installed is turned ON, the [Welcome to
Microsoft Windows] screen will appear. Click [Next].
(2) The [The End User License Agreement] screen will appear.
After reading the contents, press [Yes, I accept] if you agree, and click [Next] to continue.
(3) The [Help protect your PC] screen will appear.
Choose whether to update Windows®automatically. To enable the Automatic Updates, check on [Help
protect my PC by turning on Automatic Updates now (recommended)]. To disable it, check [Not right
now]. Click [Next] to continue.
(4) The [What’s your computer’s name?] screen will appear.
After entering the computer’s name, click [Next] to continue. At default, the computer’s name has been
entered. If it’s not necessary to change it, click [Skip].
(5) The [What’s your Administrator password?] screen will appear.
If the password is set, enter the password in [Administrator password:] and [Confirm password:] and
click [Next]. If the password is not set, click [Skip].

Chapter 1 Setting Up Software
1-11
(6) The [Is this computer in a domain?] screen will appear.
To join the domain, select [Yes, make this computer a member of the following domain:] and enter the
domain’s name. Not to join the domain, click [Next] to continue.
(7) The [Checking your internet connectivity] screen will appear and your internet connectivity will be
automatically checked.
(8) The [Ready to register with Microsoft?] screen will appear. If you register, check [Yes, I’d like to regis-
ter with Microsoft now]. If not, check [No, not at this time]. Press [Next].
(9) The [Who will use this computer?] will appear. Up to 5 names can be entered for a user’s name. After
entering the user’s name, click [Next] to continue.
(10) The [Thank you!] screen will appear. Click [Finish] to complete the setting.

PS-345XA Reference Manual
1-12
1.4 PS-A Dedicated Software
1.4.1 Driver
Five types of dedicated PS-A drivers (Audio, Chipset, Graphic Accelerator, LAN and Touch Panel Driver
(Mouse Emulator)) are available.
If you purchased the PS-A with no pre-installed OS, download the drivers from the Pro-face support site
“Otasuke Pro!”. (A PS-A unit that has been recovered using the Recovery Media will have all the required
drivers installed). This explanation given in this section assume that the [Proface] folder has been created.
Installing the Chipset Driver
Installing the Chipset driver adds the Chipset feature to the OS.
Double-click on the “infinst_autol.exe” file located in the following folder. Follow the instructions given on
the screen to install the driver.
C:\Proface\Chipset\infinst_autol.exe
Installing the Audio Driver
Installing the Audio driver enables the OS’ Audio feature.
Start “C:\Proface\Audio\wdm_a.exe” file. ( “” indicate the driver version.)
Follow the instructions given on the screen to install the driver.
Installing the Graphic Accelerator Driver
Installing the Graphic Accelerator Driver will accelerate the screen refresh speed, using special hardware
features.
Start “C:\Proface\Display\win2K_xp.exe” file. ( “” indicate the driver version.)
Follow the instructions given on the screen to install the driver.
• Do not uninstall the drivers which have been installed in the PS-A unit.
• For the procedure and precautions regarding the installation, visit the download page at the
“Otasuke Pro!” site.

Chapter 1 Setting Up Software
1-13
Installing the Touch Panel Driver (Mouse Emulator)
Install the Touch Panel Driver (Mouse Emulator) in the PS-A unit. It’s necessary to agree to DMC’s Mouse
Emulator Software (TSC-1310D/DD) License in advance.
(1) Start “C:\Proface\UPDD_30846P\Setup.exe” file.
(2) Follow the instructions given on the screen to install the Touch Panel Driver.
For the detailed setteings,refer to C:\Proface\UPDD_30846P\Readmee.pdf
Installing the LAN Driver
Installing the LAN Driver enables LAN2 to be available.
Start “C:\Proface\LAN\Setup.exe” file. Follow the instructions given on the screen to install the driver.
SEE Appendices 4 License Agreement (pageA-6)
• You can open “Touch Panel Property” by selecting the [Start] -> [Programs] -> [UPDD] ->
[Settings]. In this dialog box, you can specify the details of the touch panel operation.
• If the touch position recognized in the panel deviates from the actual touch, you need to calibrate
the touch panel. Select the [Start] -> [Programs] -> [UPDD] -> [Calibration]. When a cross
appears on the screen, press it. Then click [OK]in the [Confirmation after calibration] dialog box
to finish the calibration.
This manual suits for next models
1
Table of contents