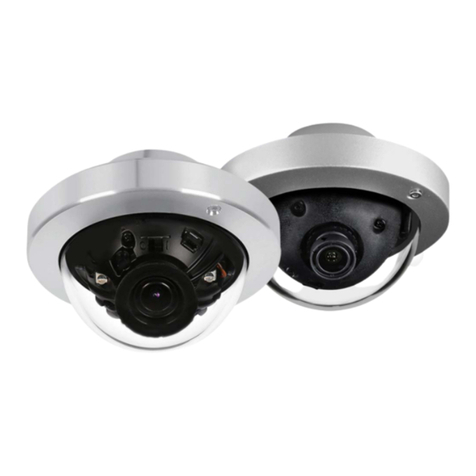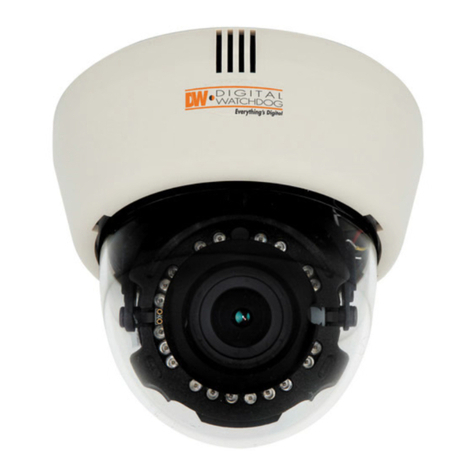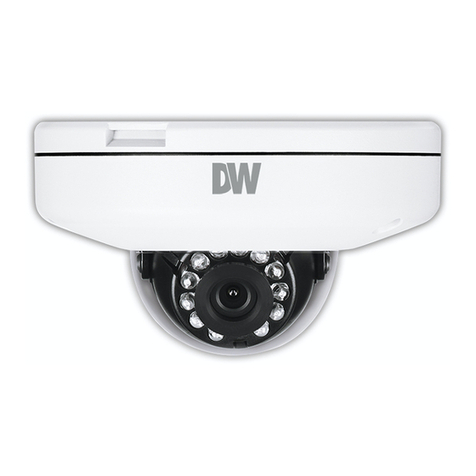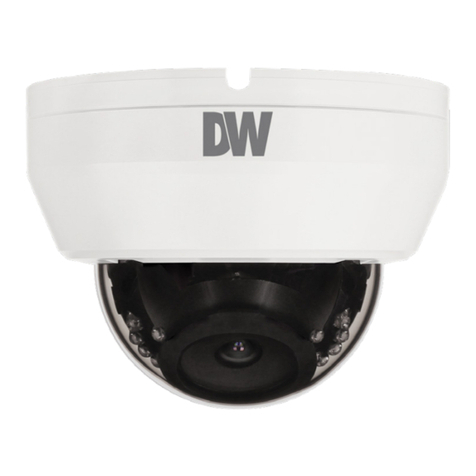
INSTRUCTION MANUAL
Beforeinstalling and usingthe camera, please read this manual
carefully.Be sure to keep it handy for later reference.
■Do not open or modify
Do not open the cabinet exit during maintenance and
installation,as it may be dangerousand cause damages.
■Do not put objectsinside the unit
Make sure that no metal objects or flammable substancesget inside
the camera. It could cause fire, short-circuits or damages.
■Be careful when handling the unit
To prevent damage, do notdrop the camera or subject
it to strong shock or vibration.
■Install away from electric or magnetic fields
■Protect from humidity and dust
■Protect from high temperature
Be careful when installingclose to the ceiling , in a kitchen or boiler
room,as the temperaturemay raise to high levels.
■Cleaning
Dirt can be removed fromthe cabinet only by wiping it
with a soft cloth moistened with a soft detergentsolution.
INSTALLATION
WARRANTY INFORMATION
Digital Watchdog (referred to as “the Warrantor”) warrants the
CameraSeries against defectsin materials or workmanshipas follows:
LABOR: For the initialfive (5) years from the date of original purchase,
if the camera is determined to be defective the Warrantor will repair or
This warranty gives you specific legal rights and you may also have
other rights that vary from state to state.
If the problem is not handledto your satisfaction,then write to the
Address above.
Servicecalls which do not involve defectivematerials or workmanship
PRECAUTIONS
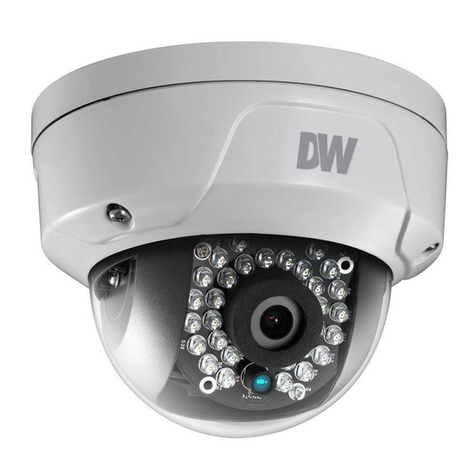
MC352DIR
About this manual
5436 W Crenshaw St.
Tampa, FL 33634
www. digital-watchdog.com
Customer Support : 1-866-446-3595 / 813-888-9555
Removing the screw on the upper case
C
Beforeinstalling and usingthe camera, please read this manual
carefully.Be sure to keep it handy for later reference.
TROUBLESHOOTING
Beforesending the camera out for repair, check the items below. If the
problem persists after checking these items, contact your service
center.
■If no image appears.
Is the coaxial cable attached securely?
Are the power and voltage normal?
Has the iris of the lens inside the camera been
adjusted correctly (with the level volume) ?
Is there adequate illumination?
■If the image is unclear
Is the lens in focus?
Is the lens dirty?
Dirt of fingerprints on the lens can adversely affectthe
images. Gently wipe any dirt or fingerprints off the lens
with a soft cloth or lens cleaning paperand cleaning
fluid (commercially available).
Is the monitor adjusted correctly?
WARNING:
TO PREVENTTHE RISK OF FIRE OR ELECTRIC
SHOCK, DO NOT EXPOSE THIS APPLIANCE TO
RAIN OR MOISTURE.
■Do not open or modify
Do not open the cabinet exit during maintenance and
installation,as it may be dangerousand cause damages.
■Do not put objectsinside the unit
Make sure that no metal objects or flammable substancesget inside
the camera. It could cause fire, short-circuits or damages.
■Be careful when handling the unit
To prevent damage, do notdrop the camera or subject
it to strong shock or vibration.
■Install away from electric or magnetic fields
■Protect from humidity and dust
■Protect from high temperature
Be careful when installingclose to the ceiling , in a kitchen or boiler
room,as the temperaturemay raise to high levels.
■Cleaning
Dirt can be removed fromthe cabinet only by wiping it
with a soft cloth moistened with a soft detergentsolution.
INSTALLATION
WARRANTY INFORMATION
Digital Watchdog (referred to as “the Warrantor”) warrants the
CameraSeries against defectsin materials or workmanshipas follows:
LABOR: For the initialfive (5) years from the date of original purchase,
if the camera is determinedto be defective,the Warrantorwill repair or
replace the unit, with
new or refurbished product at its option, at no charge.
PARTS: In addition,the Warrantorwill supply replacement parts forthe
initialfive (5) years. To obtain warranty or out of warranty service,
please contact a Technical Support Representative at 1-866-446-3595
Monday through Friday from 9:00 AM to 5:00 PM Eastern.
A purchase receipt or other proof of the date of the original purchase is
requiredbefore warranty service is rendered. This warranty only
coversfailuresdue to defects in materials and workmanship which
arise during normal use. This warranty does not cover damage which
occurs in shipment or failures which are caused by products not
suppliedby the Warrantoror failures which result from accident,
misuse, abuse, neglect, mishandling, misapplication, alteration,
modification,faulty installation, set-up adjustments, improper antenna,
inadequatesignal pickup, maladjustment of consumer controls,
improperoperation, power line surge, improper voltage supply,
lightningdamage, rental use of the product or service by anyoneother
than an authorized repair facility or damage that is attributable to acts
of God.
This warranty gives you specific legal rights and you may also have
other rights that vary from state to state.
If the problem is not handledto your satisfaction,then write to the
Address above.
Servicecalls which do not involve defectivematerials or workmanship
as determined by the Warrantor, in its sole discretion, are not covered.
Costsof such service calls are the responsibility of the purchaser.
LIMITS AND EXCLUSIONS
There are no express warranties except as listed above. The Warrantor
will not be liable for incidental or consequentialdamages (including,
withoutlimitation, damage to recordingmedia) resulting fromthe use of
theseproducts, or arising out of any breach of the warranty. All express
and implied warranties, including the warranties of merchantability and
fitnessfor particular purpose, are limited to the applicable warranty
period set forth above.
Some states do not allow the exclusionor limitation of incidentalor
consequentialdamages, or limitations on how long an implied warranty
lasts, so the above exclusions or limitations may not apply to you.
PRECAUTIONS
MC352DIR
About this manual
5436 W Crenshaw St.
Tampa, FL 33634
www. digital-watchdog.com
Customer Support : 1-866-446-3595 / 813-888-9555
A. Removing the screw on the upper case by using
L-wrench.
B. Separate the upper case from the bottom case
C. Make the 4 mounting screw hole on the ceiling/wall by drawing
the positions using the bottom case
D. PutPowercable andVideocable intotheceiling/wall.
E. Align the bottom case to the ceiling/wall by using
the screws.
F. Adjust the camera to its position
(Referance - "CAMERA SETTING" )
G. Connect the upper case and bottom case.
H. Tighten the Stop Screw to the upper case using L-wrench.
E
D
C
B
A
F
