3
1.Introduction
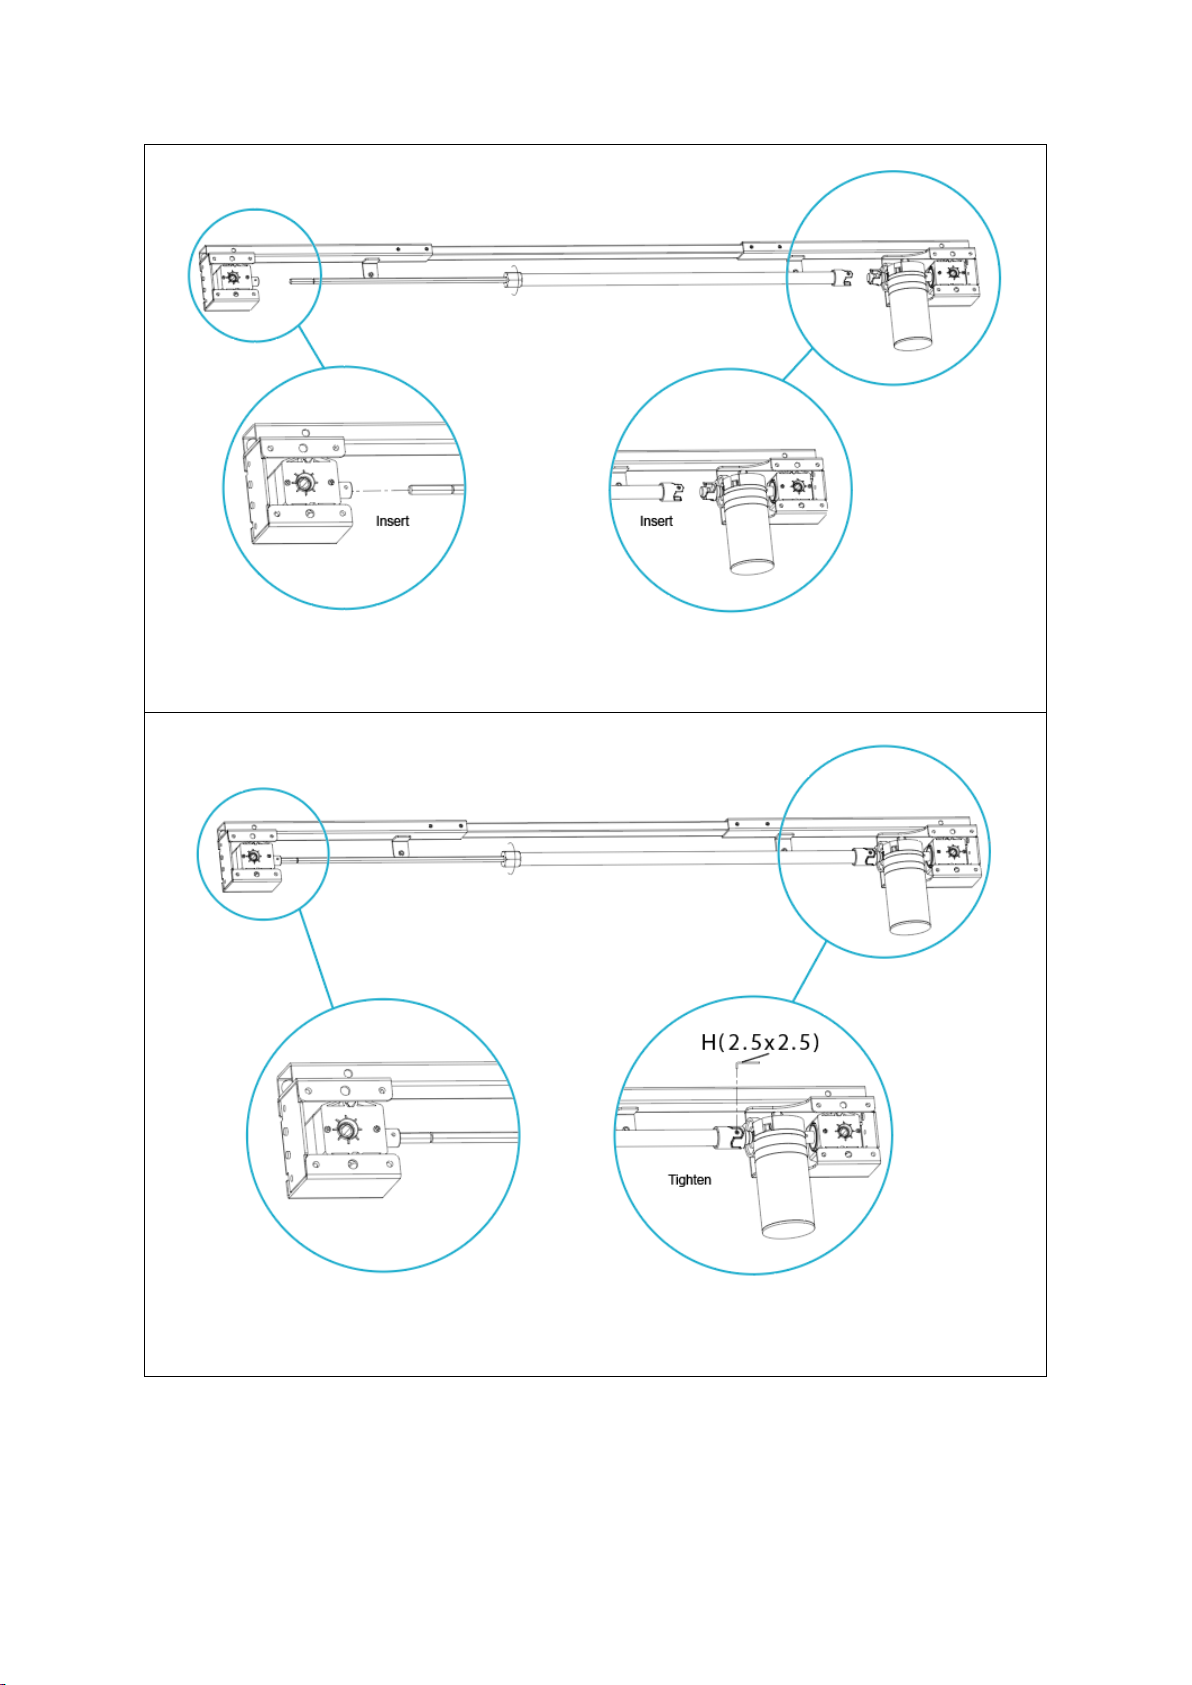
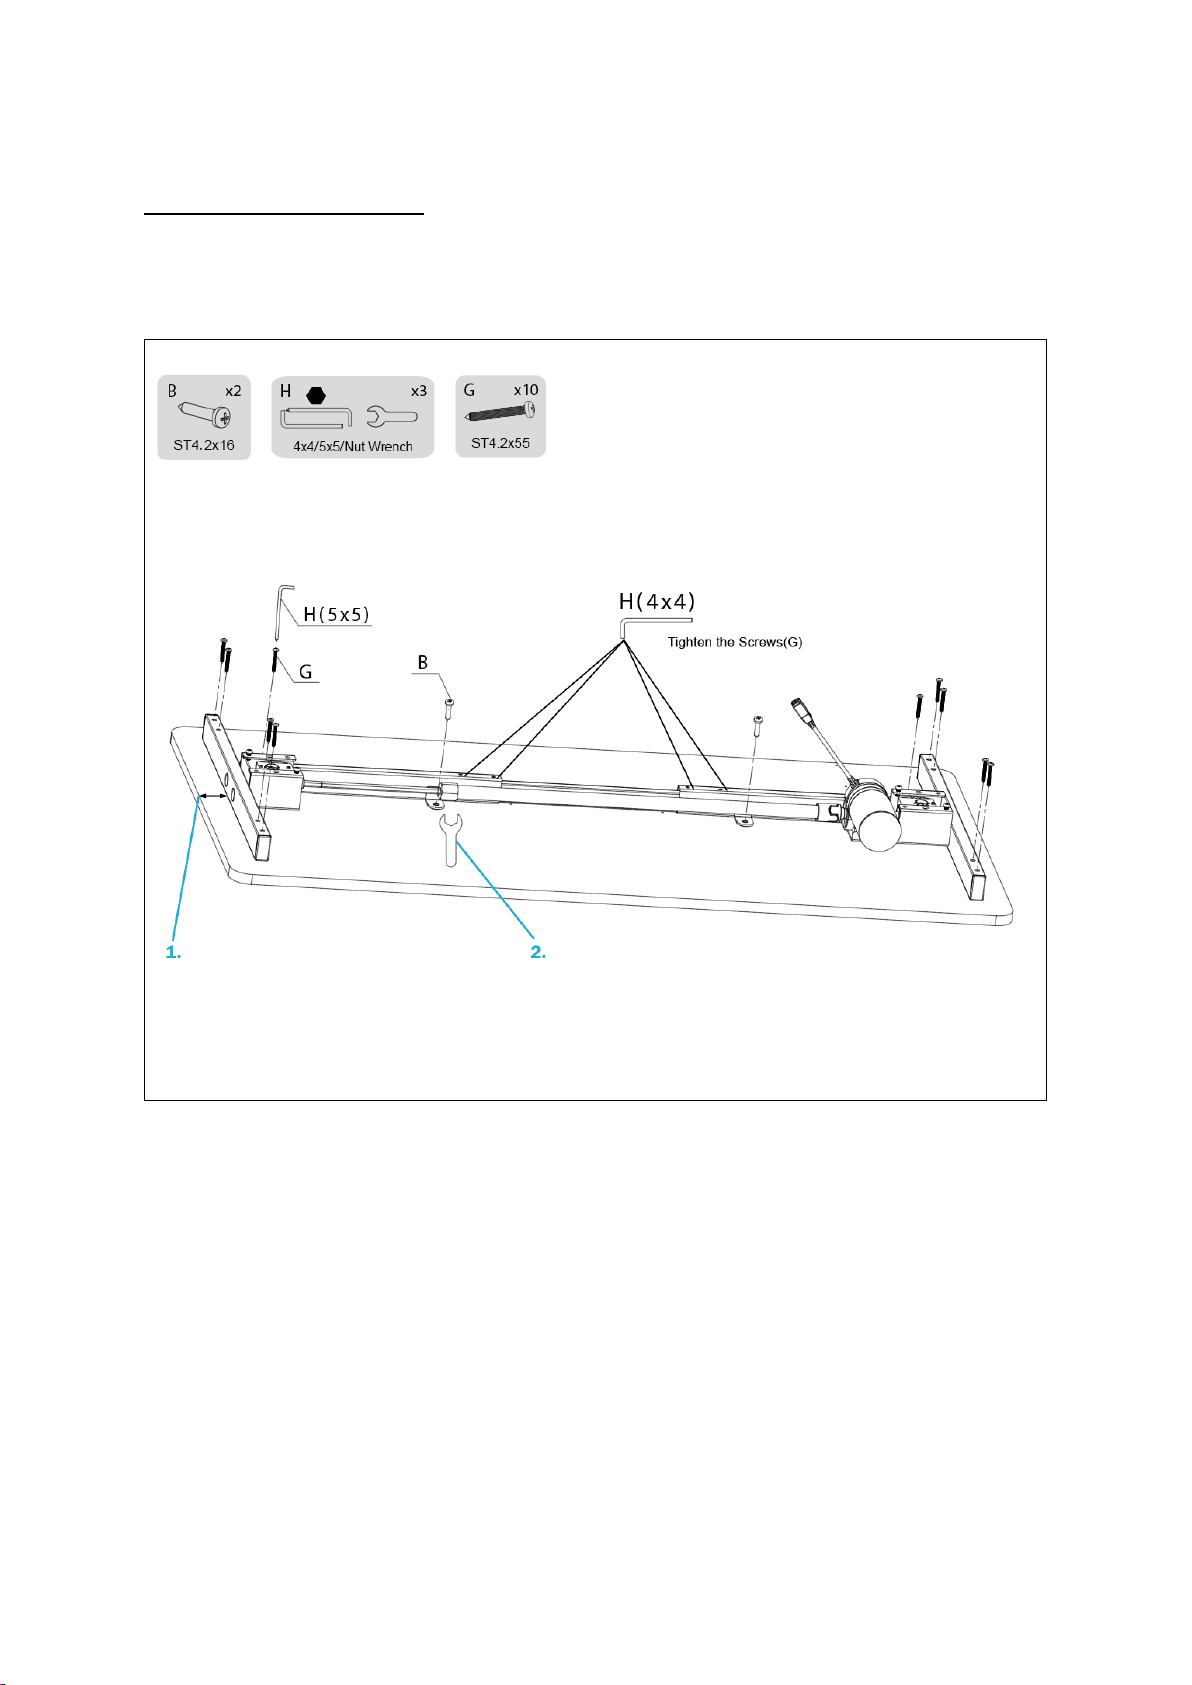
With this electric height-adjustable table frame you can easily convert your desk
into an ergonomic sit/stand workstation. Save the cost and hassle of finding a
height-adjustable desktop and just use the DIGITUS® electrically height-
adjustable table frame instead. This set is suitable for all tabletops between 110
and 160 cm in width and 50 to 80 cm in depth. The frame allows height
adjustment from 71.5 to 121.5 cm. The lifting speed is 25 mm/sec. the
anti-collision function automatically stops the table when hitting obstacles
during up and down movement. The frame can lift a maximum load of 70 kg.
Improve your health and prevent postural damage and impairments of the
musculoskeletal system!
2. Features
1. Maximum load capacity of up to 70 kg
2. Flexible frame –Suitable for tabletops 1000 ~ 1600 mm wide and
500 ~ 750 mm deep
3. Convenient electrical height adjustment (without tabletop):
71.5 ~ 121.5 cm
4. Up and down control panel
5. Motor for easy and quiet (<50 dB) height adjustment
–Lifting speed 25 mm/sec.
6. Collision protection function (G sensor) –Detection of obstacles
during up & down movement
7. Auto-Stop system –Stops the motor in case of resistance and
automatically retracts the frame slightly
8. Maximum dimensions: W 135 x D 59 x H 121.5 cm
9. Minimum dimensions: W 97.5 x D 59 x H 71.5 cm
10. Weight: 17.1 kg
11. Power supply cable: Euro, plug (type C, CEE 7/16)
–C7, device socket, length: 3 m
12. Shape: Rectangular
13. Column stage 2
14. Power input: 100-240V
15. Frequency 10% (work continuously for 2 minutes, pause for 18 minutes)
Temperature 0-40°C
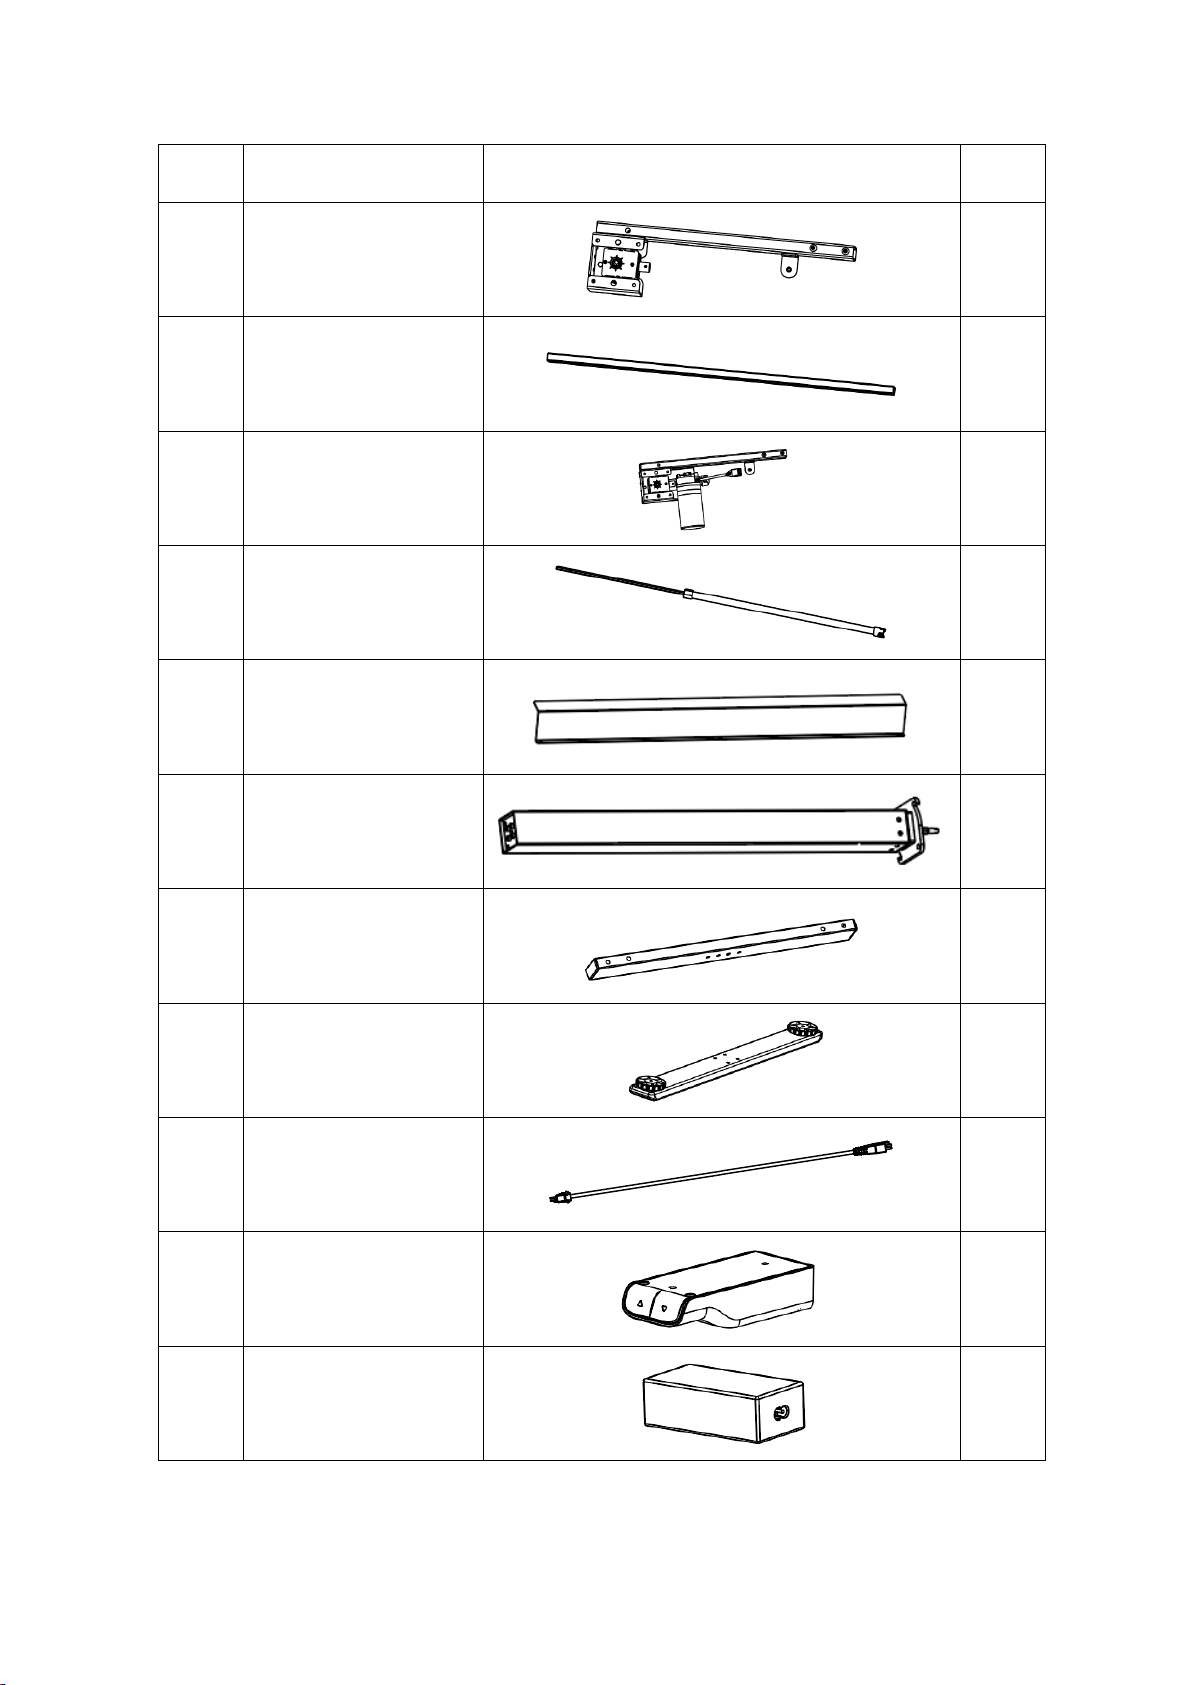
3. Package content
Electrically Height-Adjustable Table Frame
Manual
Mounting material