2
Installation Instructions
Ensure that all packing items are removed (read any warning labels carefully).
Retain all packing for possible future use, in the event of moving or returning the appliance to your supplier.
To reduce heat losses and to prevent any chimney updraught affecting the operation of your re we
recommend that the chimney ue is blocked off, ensure that there is a slight gap for ventilation.
To install the appliance;
Hold the re by the sides and gently manoeuvre into position. Plug the re into a 13amp/240 volt outlet. Ensure that
the supply cable exits at the front of the re, at the right or left hand corner to suit your supply socket location and is
not trapped under the re such that it might cause it to be damaged.
Before switching on the appliance, please read the following instructions.
Before using the manual controls rstly ll the water tank (See ‘Maintenance’, ‘Filling the water tank’).
Operating the Fire
The manual controls are located behind the drawer.
(See Fig.2 for Manual Control lay out)
Switch ‘A’:- Controls the electricity supply to the re.
Note: This switch must be in the ‘ON’ ( I ) position for the re to operate
Switch ‘B’:- Controls the function of the re.
Press once to turn on ame effect. This will be indicated by one beep.
Although the main lights operate immediately it will take a further 30 seconds before the ame effect starts.
Press to put re in to standby mode.
This will be indicated by one beep.
Control Knob ‘C’:- Controls the intensity of the ame effect.
Turning the control knob up increases the ame effect, turning the control knob down will decrease the ame
effect.
When the water tank is empty the main lamps go out. See instructions under ‘Maintenance’, ‘Filling the water tank’.
When this procedure is complete, the main lamps will illuminate but it will take 30 seconds before the ames return.
Remote Control Operation
On the control panel, Switch A (see Fig.2) must be in the ‘ON’ ( I ) position in order for the remote control to operate.
There are 2 buttons on the remote control. (See Fig.7)
To operate correctly the remote must be pointed towards the front fuel effect.
General Information
Unpack the re carefully and retain the packaging for possible future use, in the event of moving or returning the re to
your supplier. The Remote Control and batteries are packed separately in the carton.
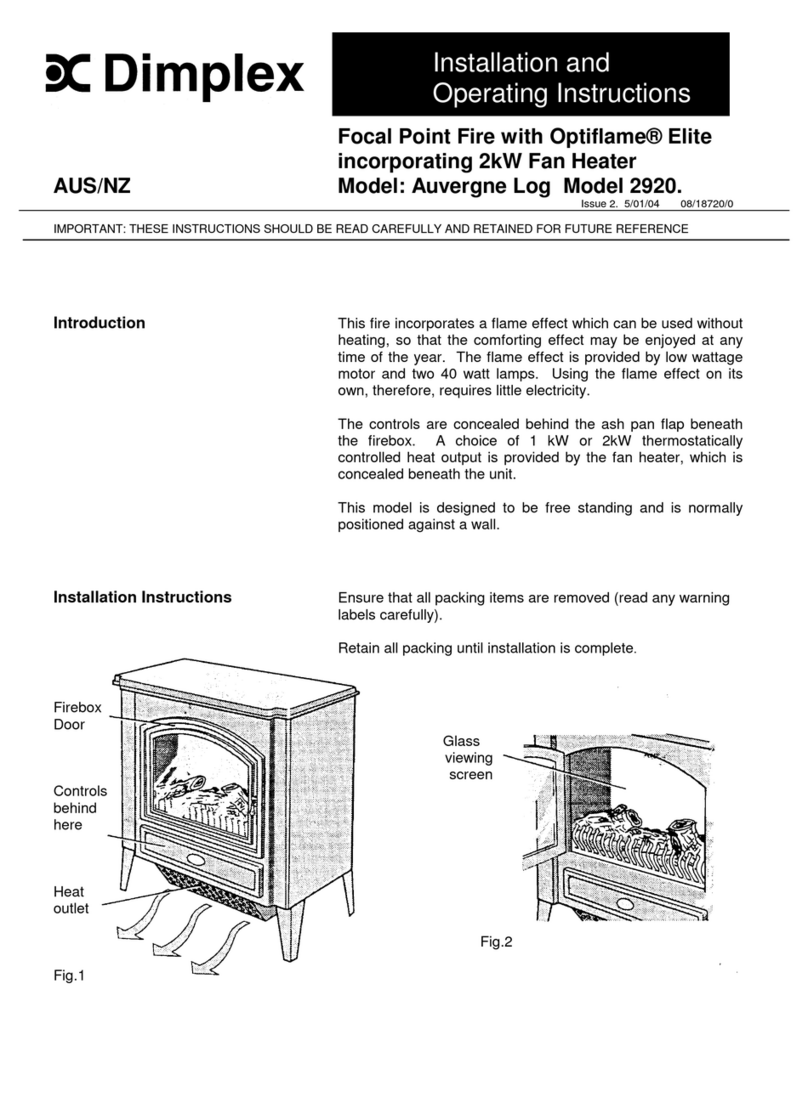
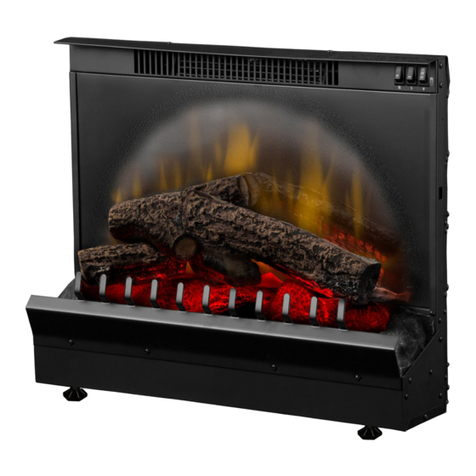
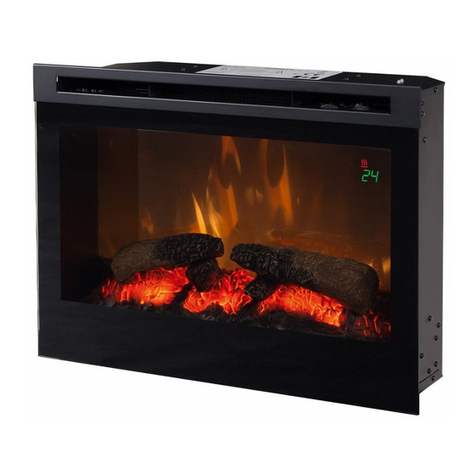
The re incorporates a ame effect, which can be used with or without heating, so that the comforting effect may be
enjoyed at any time of the year. Using the ame effect on its own only requires little electricity.
This model is designed to be installed in a surround or into a wall recess.
Before connecting the re check that the supply voltage is the same as that stated on the re.
Please note: Used in an environment where background noise is very low, it may be possible to hear a sound which is
related to the operation of the ame effect. This is normal and should not be a cause for concern.
Electrical connection.
WARNING – THIS APPLIANCE MUST BE EARTHED.
This re must be used on an AC ~ supply only and the voltage marked on the re must correspond to the supply
voltage.
Before switching on, please read the safety warnings and operating instructions.
PLEASE RETAIN THIS USER’S GUIDE FOR FUTURE REFERENCE
Do not put plastic components into a dishwasher.
Only slide out the drawer when the water tank needs to be lled or a lamp needs to be changed otherwise you
will inadvertently alter the water level and the ame effect operation.
Only use tap water in this appliance with a maximum hardness of 10 dH.
Always ensure that the re is sitting on a level oor.
If you intend not using the appliance for longer than 2 weeks, drain the water from sump and water tank and
dry the sump.
Once installed, never move this re or lay on its back, without draining the water from sump and water tank.
The water tank, sump, sump lid, tank cap and air lters must be cleaned once every two weeks, particularly in
hard water areas.
The re appliance should never be operated if the lamps are not working.
The lamps should be regularly inspected as described under ‘Maintenance’ and ‘Changing lamps’.
