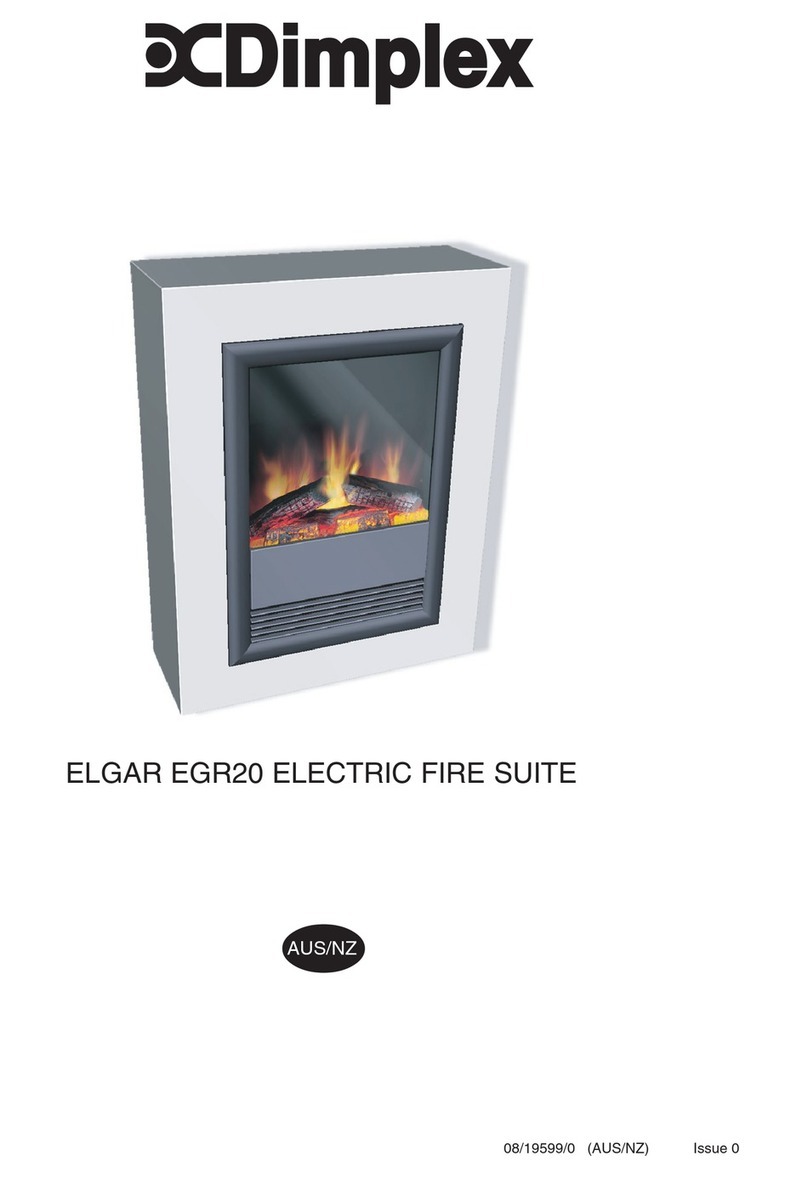
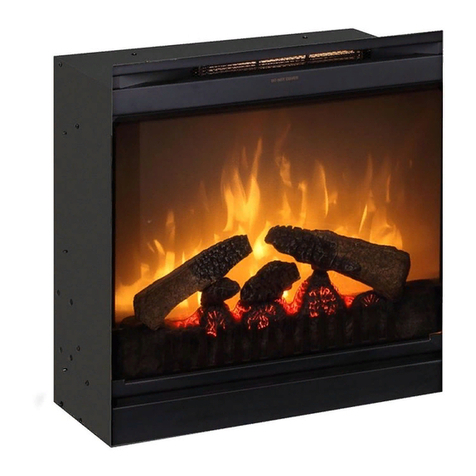
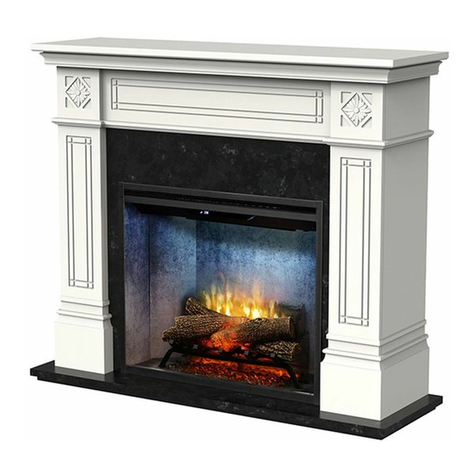
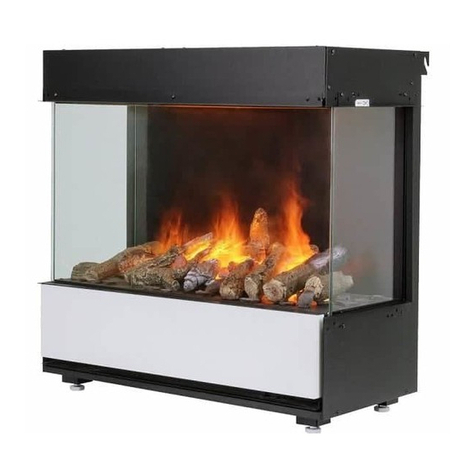
SP620 / SP26 Wall Fires
IMPORTANT:THESEINSTRUCTIONSSHOULDBEREADCAREFULLYANDRETAINEDFORFUTUREREFERENCE
Important Safety Advice
When using electrical appliances, basic precautions
should be followed to reduce the risk of fire, electric
shock, and injury to persons, including the following:
If the appliance is damaged, check immediately with
the supplier before installation and operation.
Donot usethis appliancein theimmediate surroundings
of a bath, shower or swimming pool.
Do not use outdoors.
Do not cover or obstruct the appliance in any way.
Overheating will result if it is accidentally covered.
In the event of a fault unplug the appliance.
Unplugthe appliancewhen notrequiredfor longperiods.
The supply cord is recommended to be placed on the
right hand side of the appliance. The appliance can also
beHARDwired -this is recommendedif the applianceis
recessed - see ‘Recessed Installation’.
This appliance is not intended for use by children or
other persons without assistance or supervision if their
physical, sensory or mental capabilities prevent them
from using it safely. Children should be supervised to
ensure that they do not play with the appliance.
If the supply cord is damaged it must be replaced by the
manufacturer or service agent or similarly qualified
person in order to avoid a hazard.
The appliance must not to be located beneath a socket
outlet.
Where an appliance is recessed, necessity to allow
disconnectionof theappliance fromthe electricalsupply
is required. Incorporate a switch in the fixed wiring in
accordance with the Wiring regulations.
Electrical
WARNING– THISAPPLIANCE MUSTBEEARTHED
This appliance must be used on an AC ~ supply only and the
voltage marked on the appliance must correspond to the
supply voltage.
Donotswitchtheapplianceon until properly installed. Please
read all the safety warnings and operating instructions.
General
Unpack the appliance carefully and retain the packaging for
possible future use, in the event of moving or returning the
fire to your supplier.
Contents of Carton
• Appliance.
• Wall fixing bracket.
• Fixing screws and wall plugs.
• Remote control and batteries (AAA’s type).
• Spare bulb.
Do not connect the appliance to an electricity supply until it is
installed on a wall correctly - see ‘Installation’.
When in operation there is a 300 watt heat output from the
fuel effect.
The appliance can be used remotely or manually - see
‘Operation’.
General features of remote control are:
• On/Off function
• The illumination of fuel effect can be increased or
decreased.
Please note: Used in an environment where background
noise is very low, it may be possible to hear the motor which
operates the flame effect. This is normal and should not be
a cause for concern.
Installation
Do not connect appliance until properly fixed to the wall
and the Instruction leaflet is read fully.
The minimum distances must be observed.
For installation of the appliance, care must be taken not to
damage concealed cables.
Please be careful while drilling the holes.
This model is designed to be permanently fixed to a wall at a
minimum height of 300mm. The wall bracket must be fitted
horizontally and the cable routed to the bottom right of the
appliance as in Fig. 1.
A height of 600mm from bottom of appliance to floor is
recommended for optimum viewing of fuel bed (see Fig. 2 for
recommended fixing dimensions).
For optimum viewing mark the top four screw fixing positions
on wall in accordance with the recommended fixing
dimensions - see Fig. 2. Drill holes with a 6mm drill bit.
Fix the wall bracket using the plugs and screws provided -
see Fig. 3.
Carefully lift the appliance up ensuring that the top rear ledge
of appliance engages the wall bracket and is sitting centrally
positioned. - see Fig. 4 (b).
Rotate the bottom fixing bracket down. - see Fig. 4 (c).
Gently bring the appliance level with the wall - see Fig. 4 (d).
Mark the bottom hole position (see Fig. 5), remove the
appliance ensuring that the bottom fixing bracket is rotated
up.
Drill and fit wall plug.
Refit the appliance to the wall fixing bracket (i.e. follow steps
as in Fig. 4 a, b, c and d) and rotate the bottom fixing bracket
down again and use the screw provided to permanently fix
the appliance in place.
The appliance should not be connected until the instruction
leaflet is read fully.
Recessed Installation
Please note that this appliance can also be wall-mounted
so that it is recessed. This can be installed in a large fireplace
opening or a purpose built wall. See Table 1 for size of recess
requiredandhole fixing dimensionsandFig. 5a. This fireplace
insert does NOT require venting.
In order to ensure it’s future safety in use, it is essential
that this fire is securely fixed to the wall.
IT IS IMPORTANT THAT THE FIXING DEVICE CHOSEN IS
APPROPRIATE TO THE WALL MATERIAL TO WHICH THE
FIRE IS BEING FIXED. SOME MODERN INTERNAL
BUILDING MATERIALS ARE VERY LOW DENSITY BLOCK
AND REQUIRE SPECIALIZED FIXING DEVICES TO
PROVIDEASAFE,SECUREINSTALLATION.
The installation of this fire should be carried out by a
competent person. If in doubt please consult your local
builder.


