manuals.online logo
Brands
  1. Home
  2. •
  3. Brands
  4. •
  5. Dirt Devil
  6. •
  7. Vacuum Cleaner
  8. •
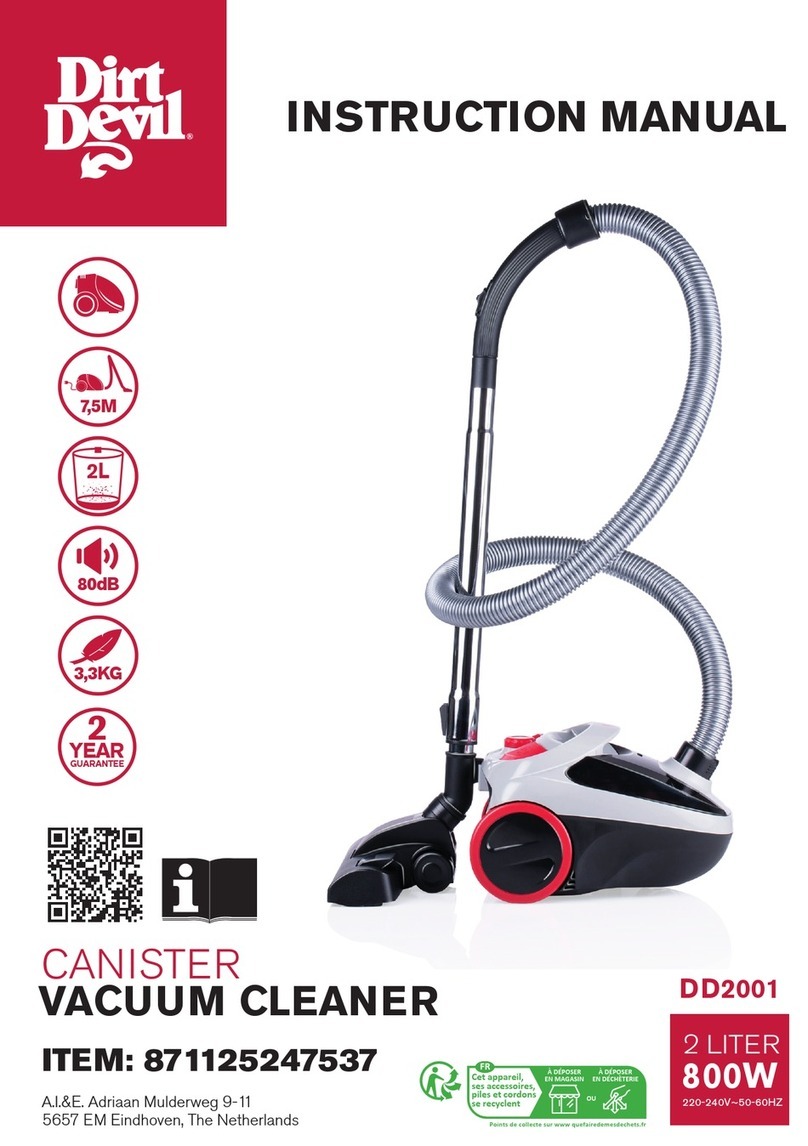
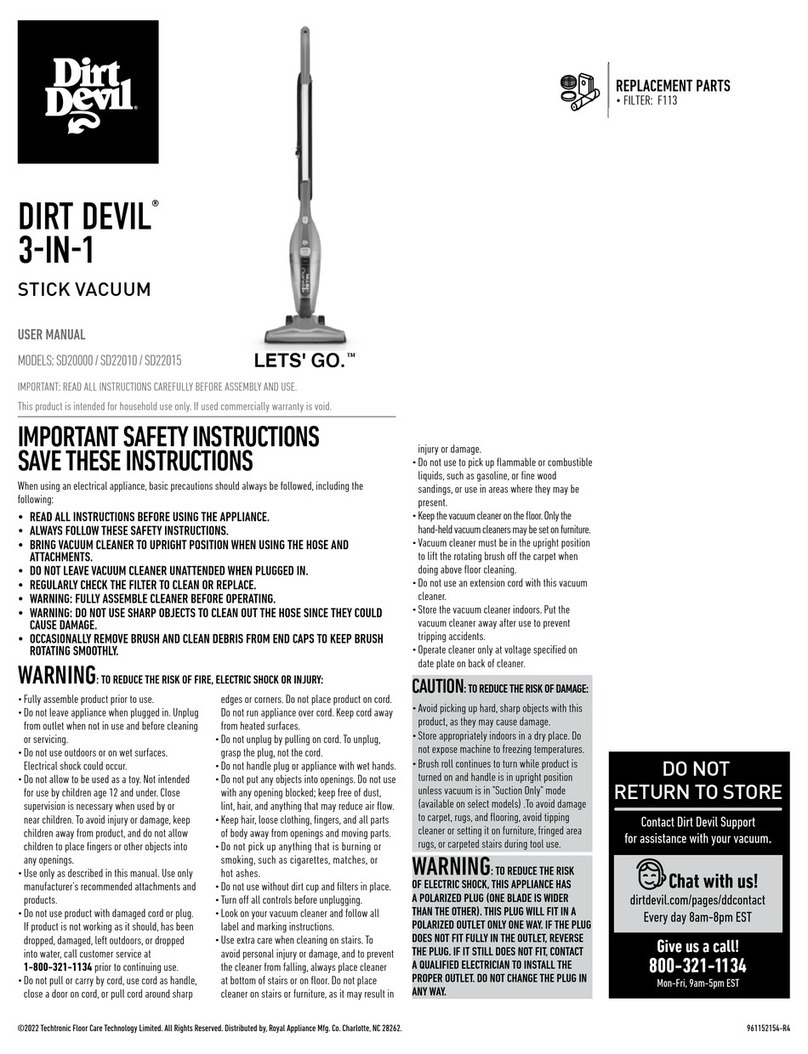
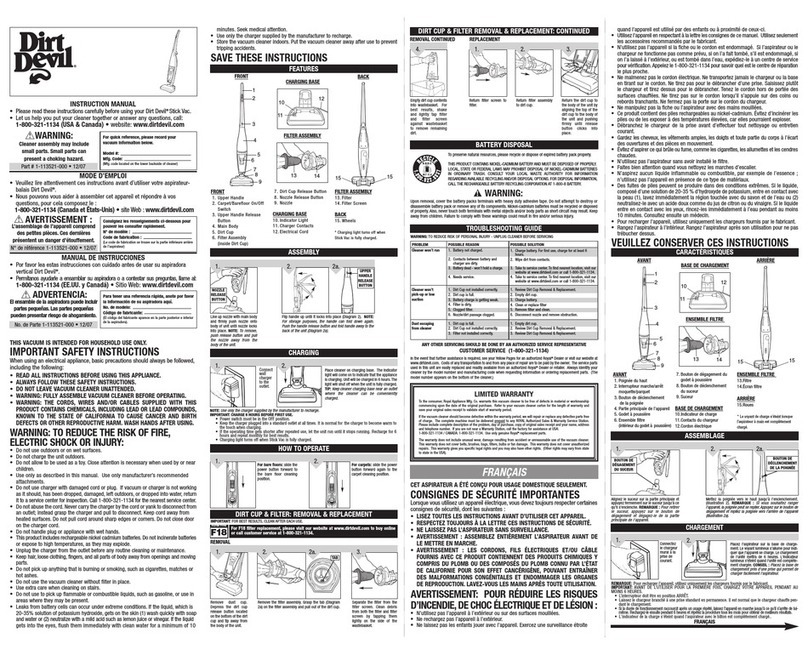
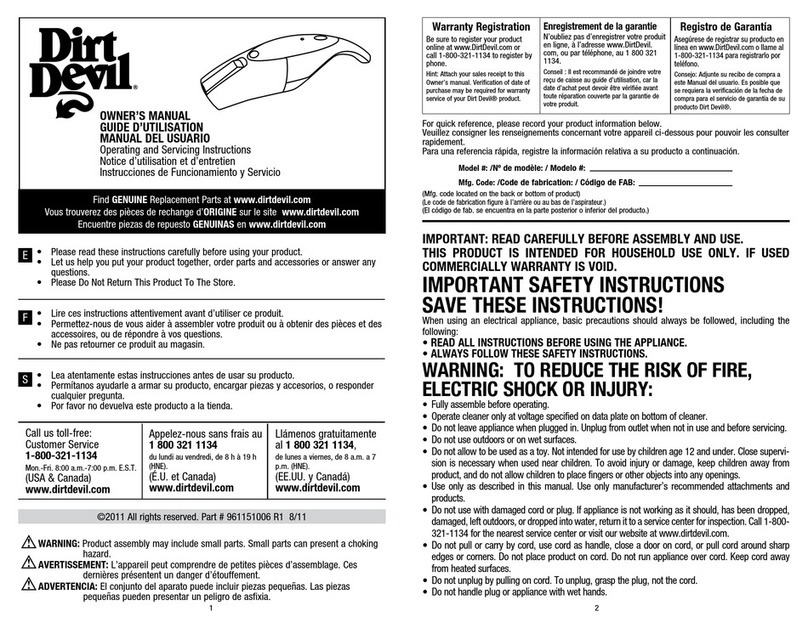
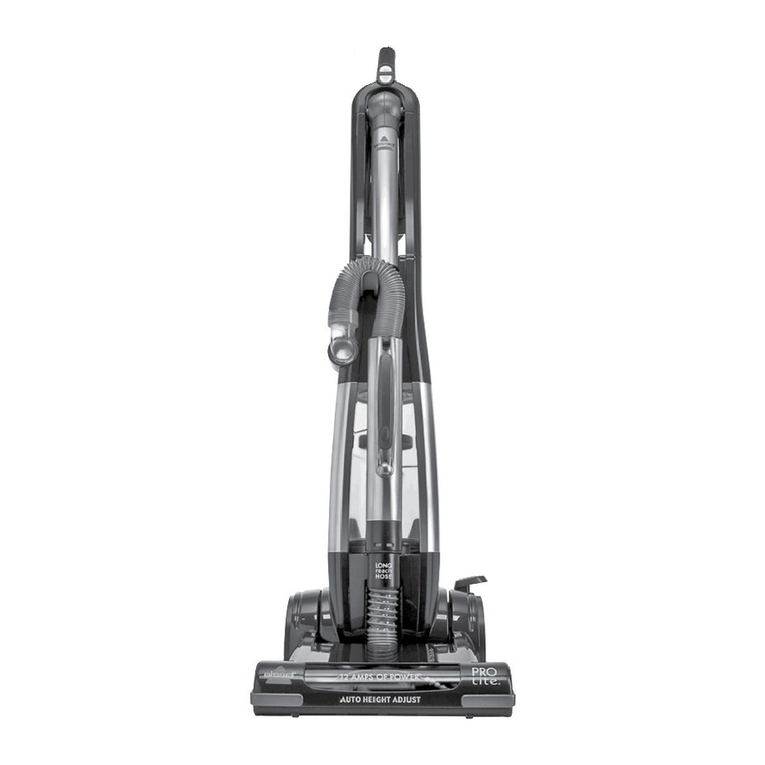
  9. Dirt Devil Compact Upright User manual

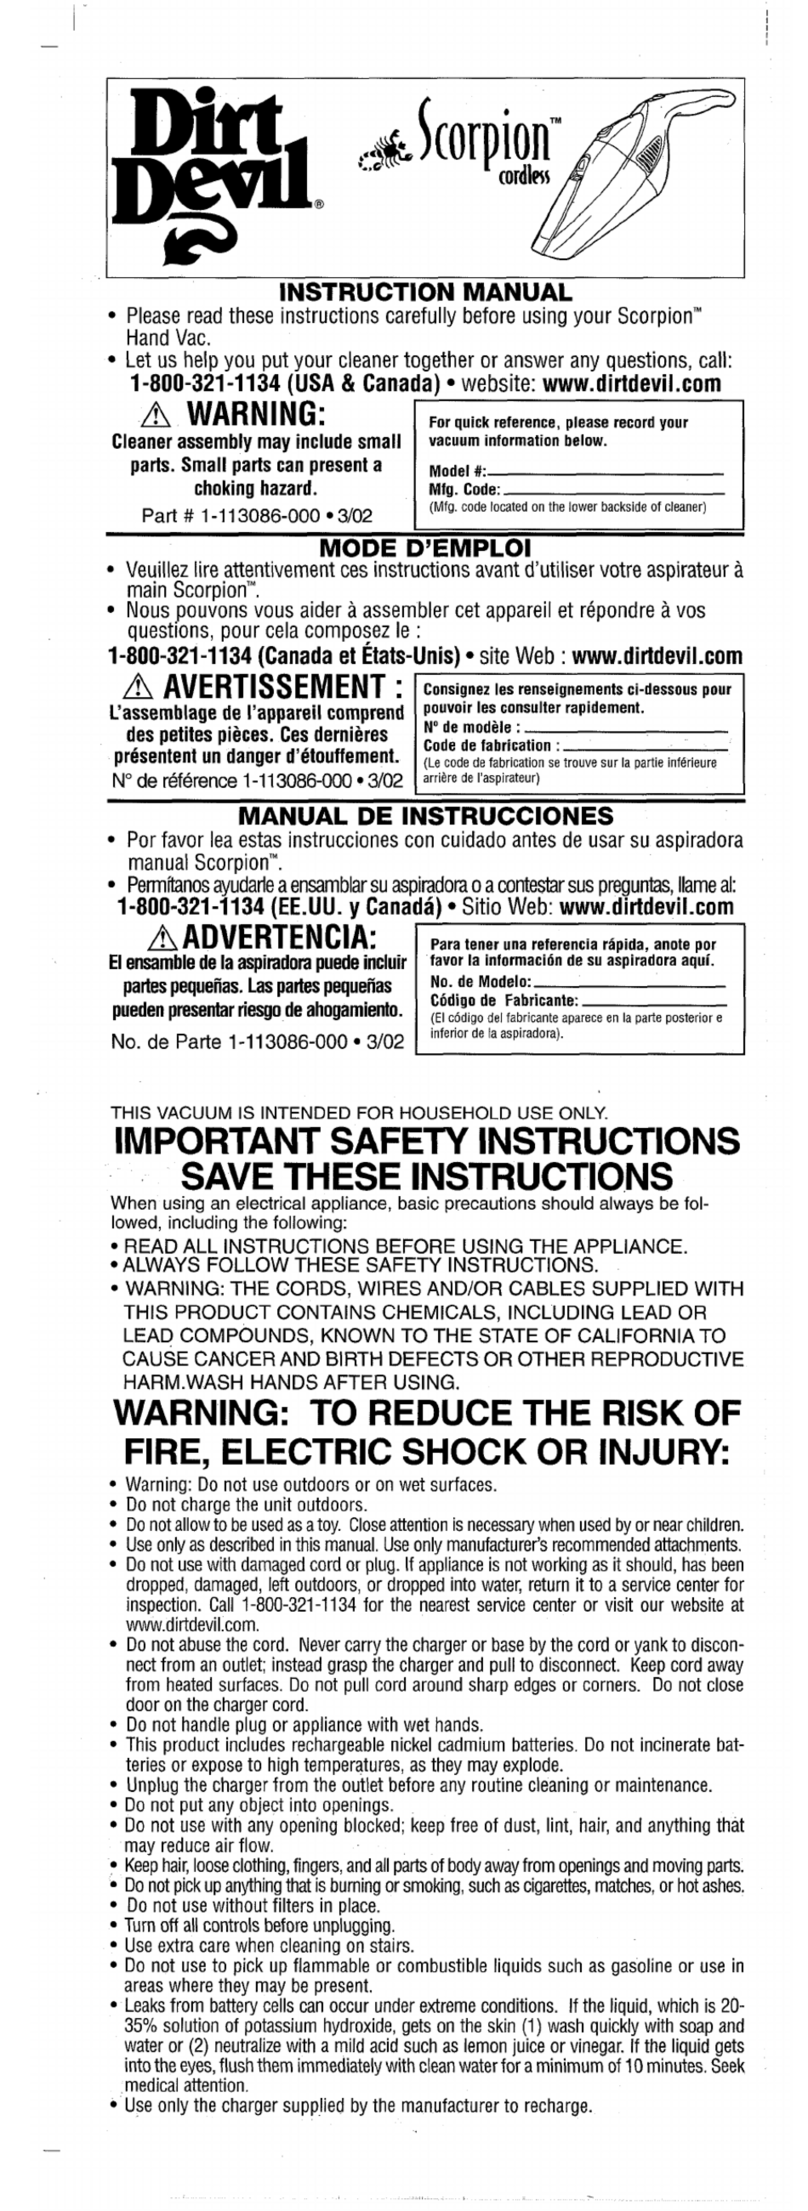
Dirt Devil Compact Upright User manual

Dirt Devil®
Compact Upright
Model # UD20120 / UD20121
REFURBISHED
USER MANUAL
#961152120 / R4
©2020 All rights reserved
REPLACEMENT PARTS
• BELT STYLE 15
• FILTER TYPE F112
THIS PRODUCT IS INTENDED FOR HOUSEHOLD USE ONLY.
IF USED COMMERICALLY WARRANTY IS VOID.
2
HI. WELCOME.
PRODUCT
REGISTRATION
Congrats on purchasing your new Dirt Devil®
Compact Upright Vacuum. Inside, you'll find
everything you'll need to know about your latest
purchase.
So what are you waiting for? LET’S GO.™
If you need further assistance, please contact Refurb Product Support via the website at
www.RefurbProductSupport.com. Support agents are available Monday through Friday from 8am to
4pm EST. Always identify your vacuum by the complete model number when requesting
information. The model number appears on the bottom of the vacuum.
For quick reference, please record your product information below.
Model #:
Mfg. Code:
(Mfg. code located on the back or bottom of product)
Find GENUINE Replacement Parts at www.dirtdevil.com
This product uses the following parts:
BELT STYLE ______________________ 15
FILTER TYPE _____________________ F112
3
Quick Start Assembly 6-7
Tool 17
How to 12-17
Troubleshooting 18
1
Limited Warranty 19
TABLE OF
CONTENTS
4
IMPORTANT SAFETY INSTRUCTIONS
SAVE THESE INTRUCTIONS!
When you use an appliance, basic precautions should always be followed, including the following:
• READ ALL INSTRUCTIONS BEFORE USING THE APPLIANCE.
• ALWAYS FOLLOW THESE SAFETY INSTRUCTIONS.
• BRING VACUUM CLEANER TO UPRIGHT POSITION WHEN USING THE HOSE AND ATTACHMENTS.
• DO NOT LEAVE VACUUM CLEANER UNATTENDED WHEN PLUGGED IN.
• REGULARLY CHECK THE FILTER TO CLEAN OR REPLACE.
• WARNING: FULLY ASSEMBLE CLEANER BEFORE OPERATING.
• WARNING: DO NOT USE SHARP OBJECTS TO CLEAN OUT THE HOSE SINCE THEY COULD CAUSE DAMAGE.
• OCCASIONALLY REMOVE BRUSH AND CLEAN DEBRIS FROM END CAPS TO KEEP BRUSH ROTATING
SMOOTHLY.
WARNING: TO REDUCE THE RISK OF FIRE,
ELECTRIC SHOCK OR INJURY:
• Fully assemble product prior to use.
• Do not leave appliance when plugged in. Unplug from outlet when not in use
and before cleaning or servicing.
• Do not use outdoors or on wet surfaces. Electrical shock could occur.
• Do not allow to be used as a toy. Not intended for use by children age 12 and under. Close
supervision is necessary when used by or near children. To avoid injury or damage, keep children
away from product, and do not allow children to place fingers or other objects into any openings.
• Use only as described in this manual. Use only manufacturer’s recommended attachments and
products.
• Do not use charger with damaged cord or plug. If product or charger is not working as it should,
has been dropped, damaged, left outdoors, or dropped into water, call customer service at
1-800-321-1134 prior to continuing use.
• Do not pull or carry by cord, use cord as handle, close a door on cord, or pull cord around sharp
edges or corners. Do not place product on cord. Do not run appliance over cord. Keep cord away
from heated surfaces.
• Do not unplug by pulling on cord. To unplug, grasp the plug, not the cord.
• Do not handle plug or appliance with wet hands.
• Do not put any objects into openings. Do not use with any opening blocked; keep free of dust, lint,
hair, and anything that may reduce air flow.
• Do not use sharp objects to clean out hose as they can cause damage.
• Keep hair, loose clothing, fingers, and all parts of body away from openings and moving parts.
• Do not pick up anything that is burning or smoking, such as cigarettes, matches, or hot ashes.
• Do not use without dirt cup and filters in place.
• Turn off all controls before unplugging.
• Look on your vacuum cleaner and follow all label and marking instructions.
• Use extra care when cleaning on stairs. To avoid personal injury or damage, and to prevent the
cleaner from falling, always place cleaner at bottom of stairs or on floor. Do not place cleaner on
stairs or furniture, as it may result in injury or damage.
• Do not use to pick up flammable or combustible liquids, such as gasoline, or fine wood sandings,
or use in areas where they may be present.
• Keep the vacuum cleaner on the floor. Only the hand-held vacuum cleaners may be set on
furniture.
5
WARNING:
To reduce the risk of electric shock, this appliance has a polarized plug (one blade is
wider than the other). This plug will fit in a polarized outlet only one way. If the plug
does not fit fully in the outlet, reverse the plug. If it still does not fit, contact a qualified
electrician to install the proper outlet. Do not change the plug in any way.
NOTICE
AN INTERNAL THERMAL PROTECTOR HAS BEEN DESIGNED INTO
YOUR CLEANER TO PROTECT IT FROM OVERHEATING. WHEN
THE THERMAL PROTECTOR ACTIVATES THE CLEANER WILL STOP
RUNNING. IF THIS HAPPENS PROCEED AS FOLLOWS:
If this happens proceed as follows:
1. Turn cleaner OFF and unplug it from the electrical outlet.
2. Empty dirt cup.
3. Inspect the nozzle and bag inlet openings for any obstructions. Clear
obstructions if present.
4. When cleaner is unplugged and motor cools for 30 minutes, the thermal
protector will deactivate and cleaning may continue.
If the thermal protector continues to activate after following the above
steps, your cleaner needs servicing.
CAUTION: TO REDUCE THE RISK OF DAMAGE:
• Avoid picking up hard, sharp objects with this product, as they may cause damage.
• Store appropriately indoors in a dry place. Do not expose machine to freezing temperatures.
• Do not use sharp objects to clean out hose as they can cause damage.
SAVE THESE INSTRUCTIONS
• Vacuum cleaner must be in the upright position to lift the rotating brush off the carpet when
doing above floor cleaning.
• Brushroll continues to turn while product is turned on and handle is in the upright position.
To avoid damage to carpet, rugs, and flooring, avoid tipping cleaner or setting it on furniture,
fringed area rugs, or carpeted stairs during tool use.
• Do not use an extension cord with this vacuum cleaner.
• Store the vacuum cleaner indoors. Put the vacuum cleaner away after use to prevent tripping
accidents.
• Operate cleaner only at voltage specified on date plate on back of cleaner.
6
QUICK START *Not all models have this feature.
ATTACH FIXED HANDLE*
1
REMOVE DIRT CUP FROM
BODY OF CLEANER.
SLIDE HANDLE INTO HOLE ON
TOP OF CLEANER.
2
TOOL REQUIRED:
PHILLIPS OR FLAT HEAD
SCREWDRIVER
7
7
YOUR DIRT DEVIL
IS READY
TO CLEAN!
NEED HELP?
If you need further assistance, please contact
Refurb Product Support via the website at
www.RefurbProductSupport.com. Support agents
are available Monday through Friday from 8am to
4pm EST. Always identify your vacuum by the
complete model number when requesting
information. The model number appears on the
bottom of the vacuum.
QUICK START
3 4
INSERT SCREW THROUGH HOLE (located under tool caddy)ON BACK
OF CLEANER (diagram 3). PLACE BOLT ONTO END OF SCREW COMING
THROUGH BACK PANEL AND TIGHTEN TO SECURE HANDLE (diagram 4).
FRONT
8
HOW TO
ASSEMBLE
BACK
SECURE BACK HOSE: Wrap hose around back of hose caddy. Push hose
wand down into the right side of cleaner.
9
ASSEMBLE
TOOL STORAGE: Attach crevice tool
and dust brush to tool caddy.
INSTALL DIRT CUP: Replace dirt
cup by tilting back until it snaps into
place.
HOW TO
HOW TO
10
CORD RELEASE: Turn quick cord
release for easy cord removal. To
Use: Plug into electrical outlet. For
convenient storage: Wrap cord on
cord hooks. Attach the plug end to
the cord.
HANDLE RELEASE: Pull back handle
to tilt back. Press on the front of
nozzle if needed.
FLOOR/CARPET CLEANING: Move
the handle and adjust it to the
desired position for (A) operating the
cleaner, and (B) lowering handle to
clean under furniture.
ON/OFF PEDAL: Plug cord into
electrical outlet. Turn cleaner on by
depressing foot pedal located on the
back left side of the cleaner.
HOW TO
OPE RATE
B
A
11
HOW TO
CARRY HANDLE: Use the carry
handle to move the cleaner from
room to room.
HOW TO
OPE RATE
12
HOW TO
1. EMPTY DIRT CUP: Press dirt cup
release button on top of dirt cup
to remove dirt cup.
2. Hold dirt cup over garbage can
and press dirt cup bottom release
button to empty.
DIRT CUP & FILTER:
REMOVAL & REPLACEMENT
3. Make sure container bottom
center opening is clear of debris.
Snap dirt cup bottom back into
place after emptying.
4. REMOVE FILTER CARTRIDGE:
Twist dirt cup assembly clockwise
to access filter assembly.
NOTE: For best performance, replace filter every 6 months.
Please use reminder label located on filter cap to record replacement date.
TO REDUCE THE RISK OF INJURY FROM MOVING PARTS,
UNPLUG BEFORE REMOVING OR REPLACING FILTER.
WARNING
HOW TO
13
REGULAR MAINTENANCE: Each time the dirt cup is emptied, the filter should be cleaned. Tap the filter firmly
against the inside of a trash can until the dirt stops falling from the filter. (Filter will be discolored after
use, this will not affect the filter’s performance.) The cleaning instructions may vary depending on the dirt
conditions. In some cases, more or less cleaning of the filter may be required.
HOW TO
5. REMOVE FOAM FILTER: Twist
separator counter clockwise to
access filter.
6. CLEAN PLEATED FILTER: Rinse
filter under under running water.
Allow to dry at last 24 hours
before replacing in dirt cup.
DIRT CUP & FILTER:
REMOVAL & REPLACEMENT
3. Re-install filter assembly by
reversing steps 3-4 and return dirt
cup to cleaner.
HOW TO
HOW TO
FiILTER TYPE F112: For filter replacement, please
visit our website at www.dirtdevil.com to buy online
or call customer service at 1-800-321-1134.
14
HOW TO
1. TO REMOVE BELT: Lay the
cleaner flat and flip it to expose
the nozzle base. The base should
lay flat and face up. Remove the
five (5) screws.
2. Pull and lift the nozzle guard off.
BELT OR BRUSHROLL:
REMOVAL & REPLACEMENT
3. Lift and remove the brushroll.
Dispose of the old belt.
To reduce the risk of injury from moving parts - Unplug before
changing belt or brushroll.
WARNING
HOW TO
TOOL REQUIRED: PHILLIPS SCREWDRIVER
BELT STYLE 15: For filter replacement, please
visit our website at www.dirtdevil.com to buy online
or call customer service at 1-800-321-1134.
15
6a.
MOTOR SHAFT
HOW TO
HOW TO
4. TO REPLACE BELT OR
BRUSHROLL: Slide belt onto
motorshaft.
5. Place new belt in area of brushroll
without bristles
BELT OR BRUSHROLL:
REMOVAL & REPLACEMENT
6. With new belt in place, pull and
slide brushroll into nozzle making
sure that the brushroll end caps
are in the correct orientation (6a
inset). Rotate brushroll manually to
make sure belt is properly aligned.
7. Reattach nozzle guard.
HOW TO
16
SLOTS
TABS
HOW TO
8. Secure by aligning the three (3)
tabs in the base slots.
9. Replace all five (5) screws to
secure nozzle guard.
BELT OR BRUSHROLL:
REMOVAL & REPLACEMENT
HOW TO
17
1
2
CAUTION
Do not lift unit from floor to use hose, loose items may
become entangled in the rotating brushroll.
TOOL
HOSE AND TOOL USAGE
1. TO USE HOSE AND
ATTACHMENTS:
Remove the hose from hose
caddy.
2. Choose any of the handy
accessories or use the hose alone.
3. Simply push the attachment firmly
onto the hose end. To remove
tool, twist and pull apart gently.
TOOL
18
TROUBLESHOOTING
To reduce the risk of personal injury - Unplug before cleaning or servicing.
WARNING
If a minor problem occurs, it usually can be solved quite easily when the cause is found by using the checklist below.
This product contains no serviceable parts.
If appliance is not working as it should, has been dropped, damaged, left outdoors, or dropped into water, call customer service at
1-800-321-1134 prior to continuing use.
PROBLEM POSSIBLE REASON POSSIBLE SOLUTION
Cleaner
won’t run 1. Power cord not firmly
plugged into outlet. 1. Plug unit in firmly.
2. Blown fuse or tripped
breaker.2. Check fuse or breaker in home. Replace fuse/
reset breaker.
3. Needs service. 3. Call Customer Service: 1-800-321-1134.
4. Thermal Protector activated. 4. Allow cleaner to cool for 30 min.
Cleaner won’t
pick up or low
suction
1. Dirt cup not installed
correctly. 1. Review dirt cup removal & replacement.
2. Dirt cup full. 2. Empty dirt cup.
3. Brushroll worn. 3. Replace brushroll.
4. Broken or worn belt. 4. Replace belt.
5. Clogged filter. 5. Remove filter and clean.
6. Nozzle/brushroll clogged. 6. Check nozzle/brushroll; remove obstruction/
clog.
Dust escaping
from cleaner
7. Hose clogged 7. Remove hose and tools; remove obstruction.
1. Dirt cup full 1. Empty dirt cup.
2. Dirt cup not installed
correctly. 2. Review dirt cup removal & replacement.
3. Hose not installed correctly. 3. Review hose installation.
4. Filter not installed
completely. 4. Review filter removal & replacement.
19
Remanufactured, refurbished, or reconditioned products have a limited warranty as determined by the retailer
selling the product to you. This product is warranted against failure due to a defect in materials or
workmanship from the date of original purchase. Proof of the original purchase date is needed to make a
warranty request or claim. Consumers are required to register their products by visiting https://
www.refurbproductsupport.com
This warranty is extended to the original purchaser only for products purchased for home use within the
contiguous 48 US states. The warranty is not transferrable.
What your warranty does not cover.
• Product purchased “as-is”; clearance; closeout; directly or indirectly from a liquidation website
• Improper installation; Content losses due to failure of the unit
• Failure of the product if it is abused, misused, or used for other than the intended purpose or used for
commercial purposes
• Products with original serial number or ARC license plate number that has been removed, altered, or cannot
be readily determined
• Rust on the interior or exterior of the product
• Replacement of house fuses or resetting of circuit breakers
• Damage to the product caused by accident, fire, flood or acts of God
• Incidental or consequential damage to personal property caused by possible defects with this appliance
• Costs for removal, packaging, transportation, shipping and/or installation of the unit repair or replacement
• Cosmetic defects, including any plastic part. Inside components such as door panels, door shelves, racks,
light bulbs, etc.
• Batteries of any chemistry
Some states do not allow the exclusion or limitation of incidental or inconsequential damages. This warranty
gives you specific legal rights and you may have other rights which vary from state to state. To know what
your legal rights are, consult your local or state consumer affairs office or your state’s Attorney General.
Exclusion of implied warranty. Except where prohibited or restricted by law, there are no warranties, whether
express, oral, or statuary which extend beyond the description of the face hereof, including specifically the
implied warranties of merchantability or fitness for a particular purpose.
WARRANTY
WARRANTY
20
If you need further assistance, please
contact Refurb Product Support via the
website at www.RefurbProductSupport.com.
Support agents are available Monday
through Friday from 8am to 4pm EST.
Always identify your vacuum by the
complete model number when requesting
information. The model number appears on
the bottom of the vacuum.
This product uses the following parts:
BELT STYLE 15
FILTER TYPE F112

This manual suits for next models

2

Other Dirt Devil Vacuum Cleaner manuals

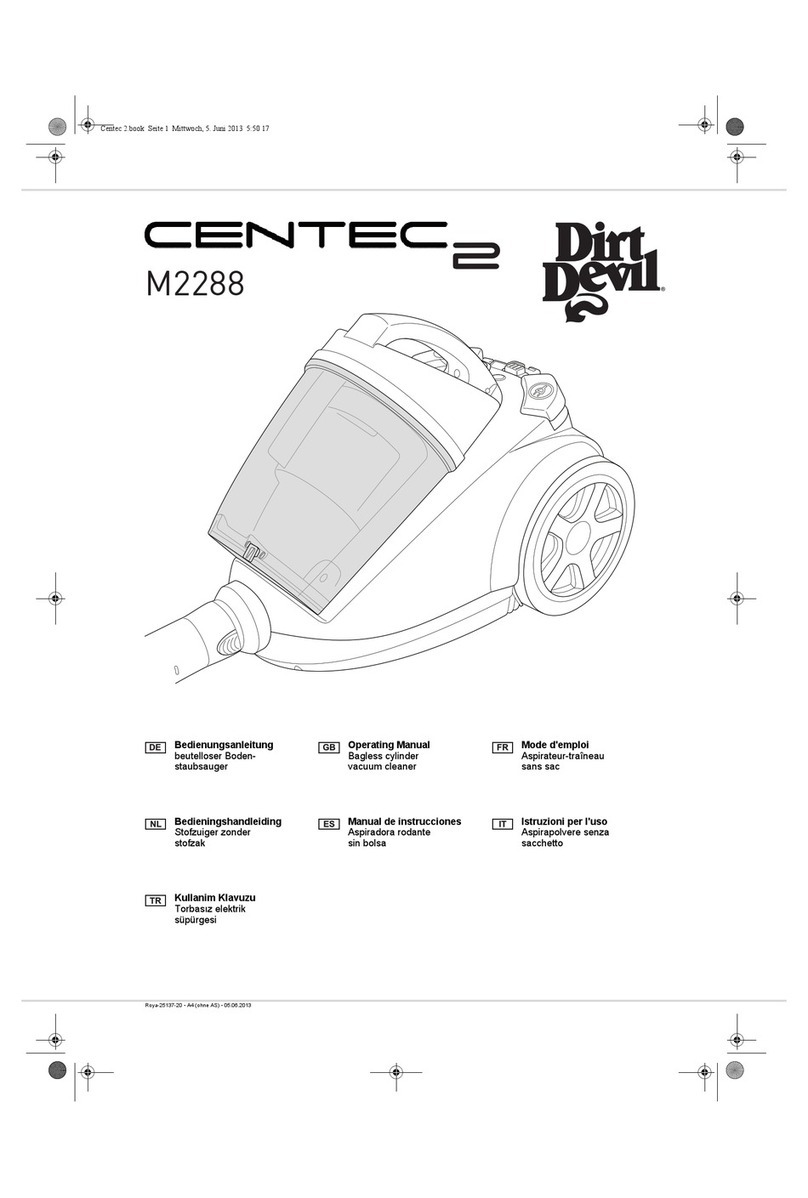
Dirt Devil Auto Clean M277 User manual

Dirt Devil

Dirt Devil Auto Clean M277 User manual

Dirt Devil MCE6000 User manual

Dirt Devil

Dirt Devil MCE6000 User manual

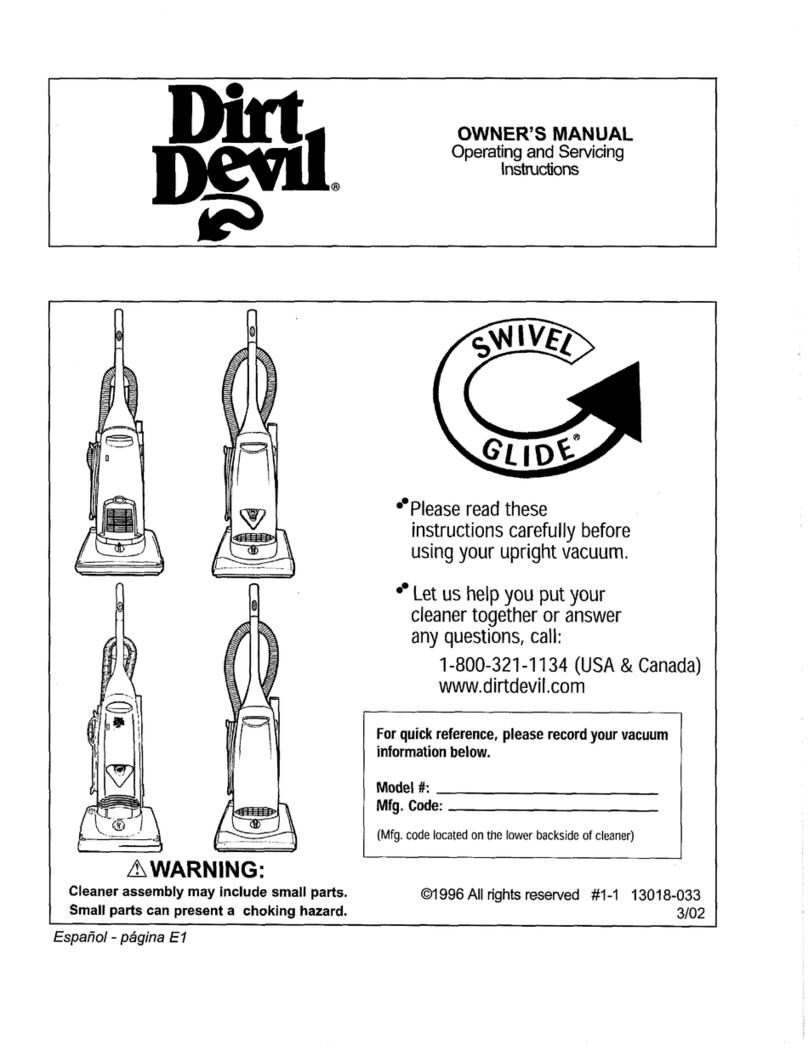
Dirt Devil Stick Vac User manual

Dirt Devil

Dirt Devil Stick Vac User manual

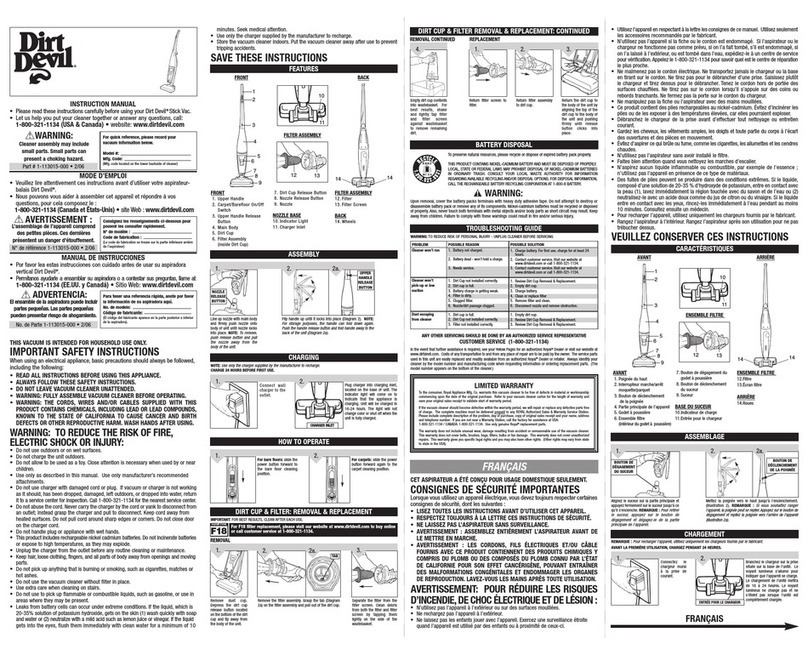
Dirt Devil Handy Duo User manual

Dirt Devil

Dirt Devil Handy Duo User manual

Dirt Devil CP24 Black User manual

Dirt Devil

Dirt Devil CP24 Black User manual

Dirt Devil SD20505 User manual

Dirt Devil

Dirt Devil SD20505 User manual

Dirt Devil REBEL 73 User manual

Dirt Devil

Dirt Devil REBEL 73 User manual

Dirt Devil DD4700 User manual

Dirt Devil

Dirt Devil DD4700 User manual

Dirt Devil M083414 User manual

Dirt Devil

Dirt Devil M083414 User manual

Dirt Devil DC-RB20 User manual

Dirt Devil

Dirt Devil DC-RB20 User manual

Dirt Devil M7004 User manual

Dirt Devil

Dirt Devil M7004 User manual

Dirt Devil M0914 User manual

Dirt Devil

Dirt Devil M0914 User manual

Dirt Devil REBEL34 User manual

Dirt Devil

Dirt Devil REBEL34 User manual

Dirt Devil KRUZ 0313SLV User manual

Dirt Devil

Dirt Devil KRUZ 0313SLV User manual

Dirt Devil TROPHY User manual

Dirt Devil

Dirt Devil TROPHY User manual

Dirt Devil Infinity V8 User manual

Dirt Devil

Dirt Devil Infinity V8 User manual

Dirt Devil F91 User manual

Dirt Devil

Dirt Devil F91 User manual

Dirt Devil SD30070 User manual

Dirt Devil

Dirt Devil SD30070 User manual

Dirt Devil CENTRINO XL User manual

Dirt Devil

Dirt Devil CENTRINO XL User manual

Dirt Devil M085570 User manual

Dirt Devil

Dirt Devil M085570 User manual

Dirt Devil CV1500 User manual

Dirt Devil

Dirt Devil CV1500 User manual

Dirt Devil CENTRINO CLEANCONTROL 3.1 User manual

Dirt Devil

Dirt Devil CENTRINO CLEANCONTROL 3.1 User manual

Dirt Devil Handy Zip User manual

Dirt Devil

Dirt Devil Handy Zip User manual

Dirt Devil REBEL25HFC User manual

Dirt Devil

Dirt Devil REBEL25HFC User manual

Popular Vacuum Cleaner manuals by other brands

Hoover H-FREE 500 user manual

Hoover

Hoover H-FREE 500 user manual

FISNAR VPP500 operating manual

FISNAR

FISNAR VPP500 operating manual

Samsung VCDC13 Series user manual

Samsung

Samsung VCDC13 Series user manual

sunjoe 24V-X2-OGV Operator's manual

sunjoe

sunjoe 24V-X2-OGV Operator's manual

Scheppach HD12 Translation from the original instruction manual

Scheppach

Scheppach HD12 Translation from the original instruction manual

cecotec CONGA ROCKSTAR MICRO 12000 instruction manual

cecotec

cecotec CONGA ROCKSTAR MICRO 12000 instruction manual

Hoover Portapower S1029-075 operating manual

Hoover

Hoover Portapower S1029-075 operating manual

Sanitaire 600 Series owner's guide

Sanitaire

Sanitaire 600 Series owner's guide

Scarlett SC-VC80H04 instruction manual

Scarlett

Scarlett SC-VC80H04 instruction manual

Bissell BigGreen 86T3 manual

Bissell

Bissell BigGreen 86T3 manual

Nilfisk-Advance SOL 3 instruction manual

Nilfisk-Advance

Nilfisk-Advance SOL 3 instruction manual

cecotec Conga Turbociclonic user guide

cecotec

cecotec Conga Turbociclonic user guide

Sealey PC100 instructions

Sealey

Sealey PC100 instructions

SEVERIN BR 7943 manual

SEVERIN

SEVERIN BR 7943 manual

LG V-CD3 1HT Series owner's manual

LG

LG V-CD3 1HT Series owner's manual

Jimmy HW9 instruction manual

Jimmy

Jimmy HW9 instruction manual

Kenmore CSV Go 125.10438910 Use & care guide

Kenmore

Kenmore CSV Go 125.10438910 Use & care guide

Bissell CrossWave Cordless Max 2765F user manual

Bissell

Bissell CrossWave Cordless Max 2765F user manual

manuals.online logo
manuals.online logoBrands
  • About & Mission
  • Contact us
  • Privacy Policy
  • Terms and Conditions

Copyright 2025 Manuals.Online. All Rights Reserved.