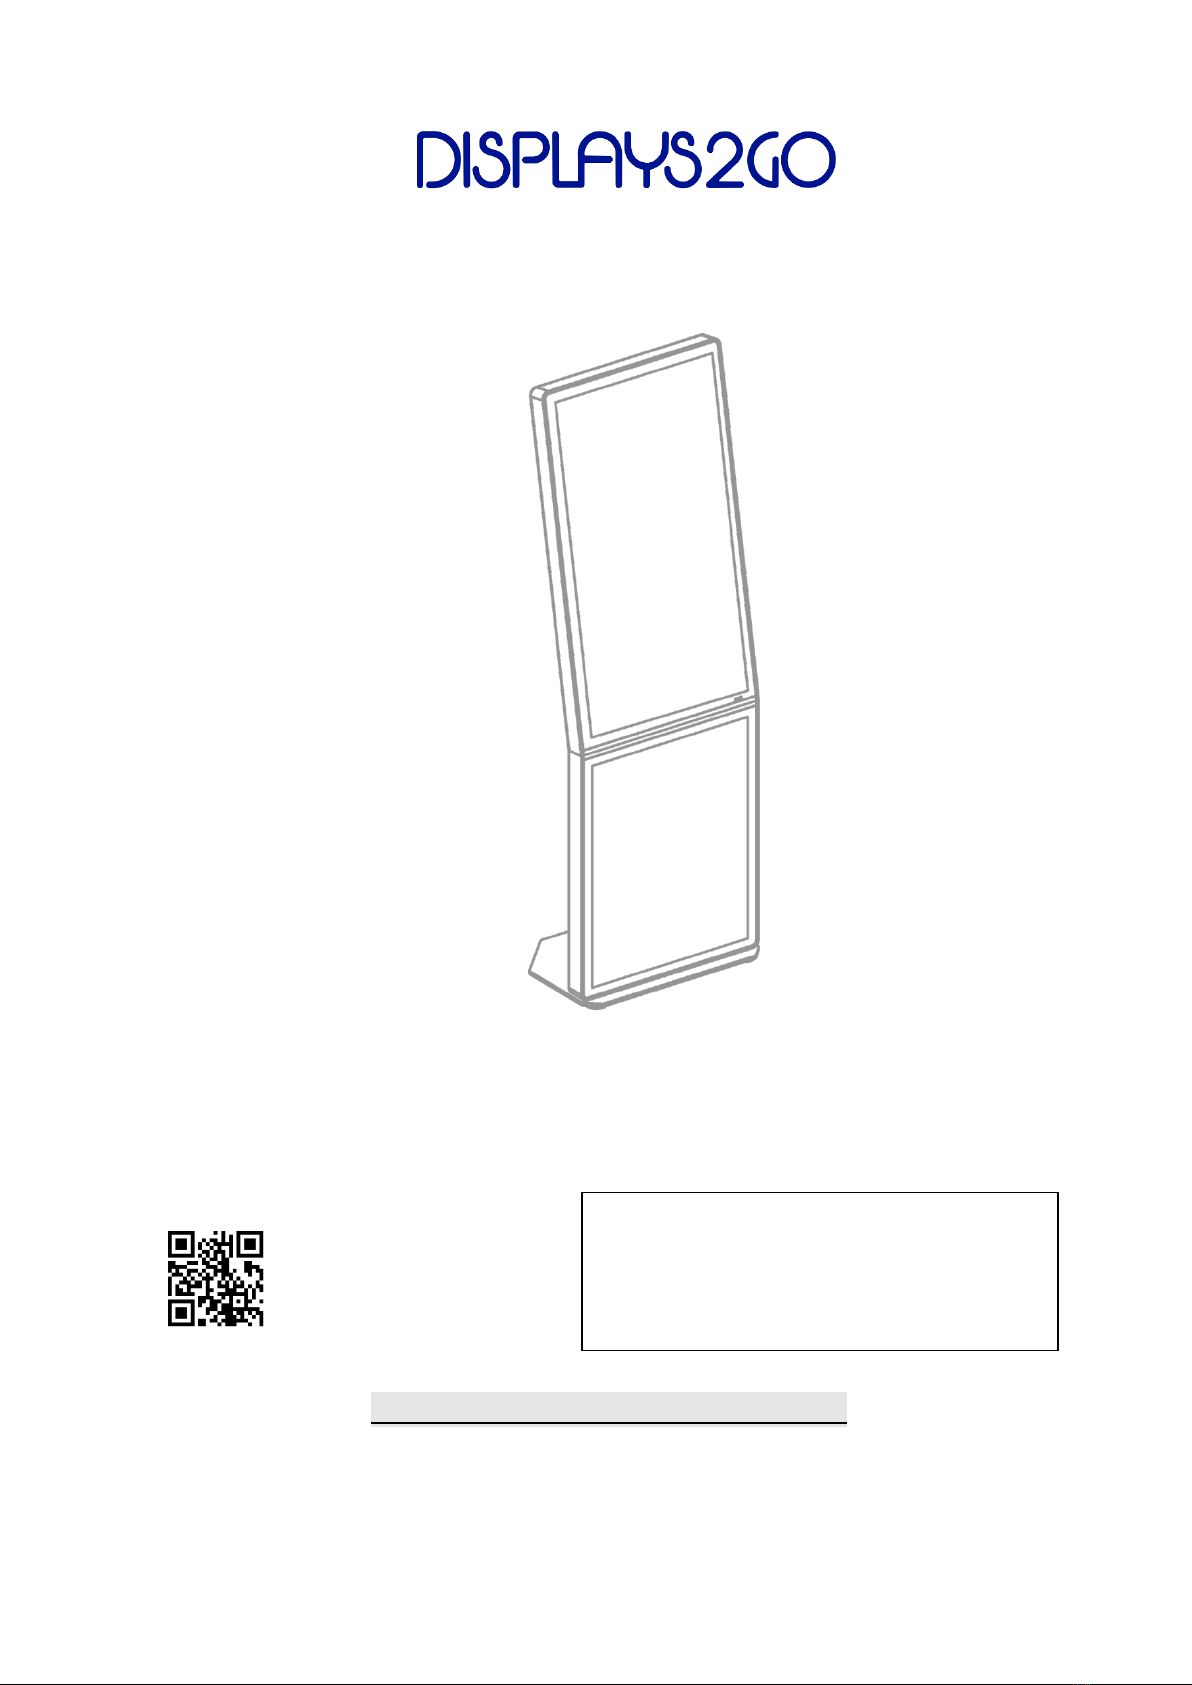
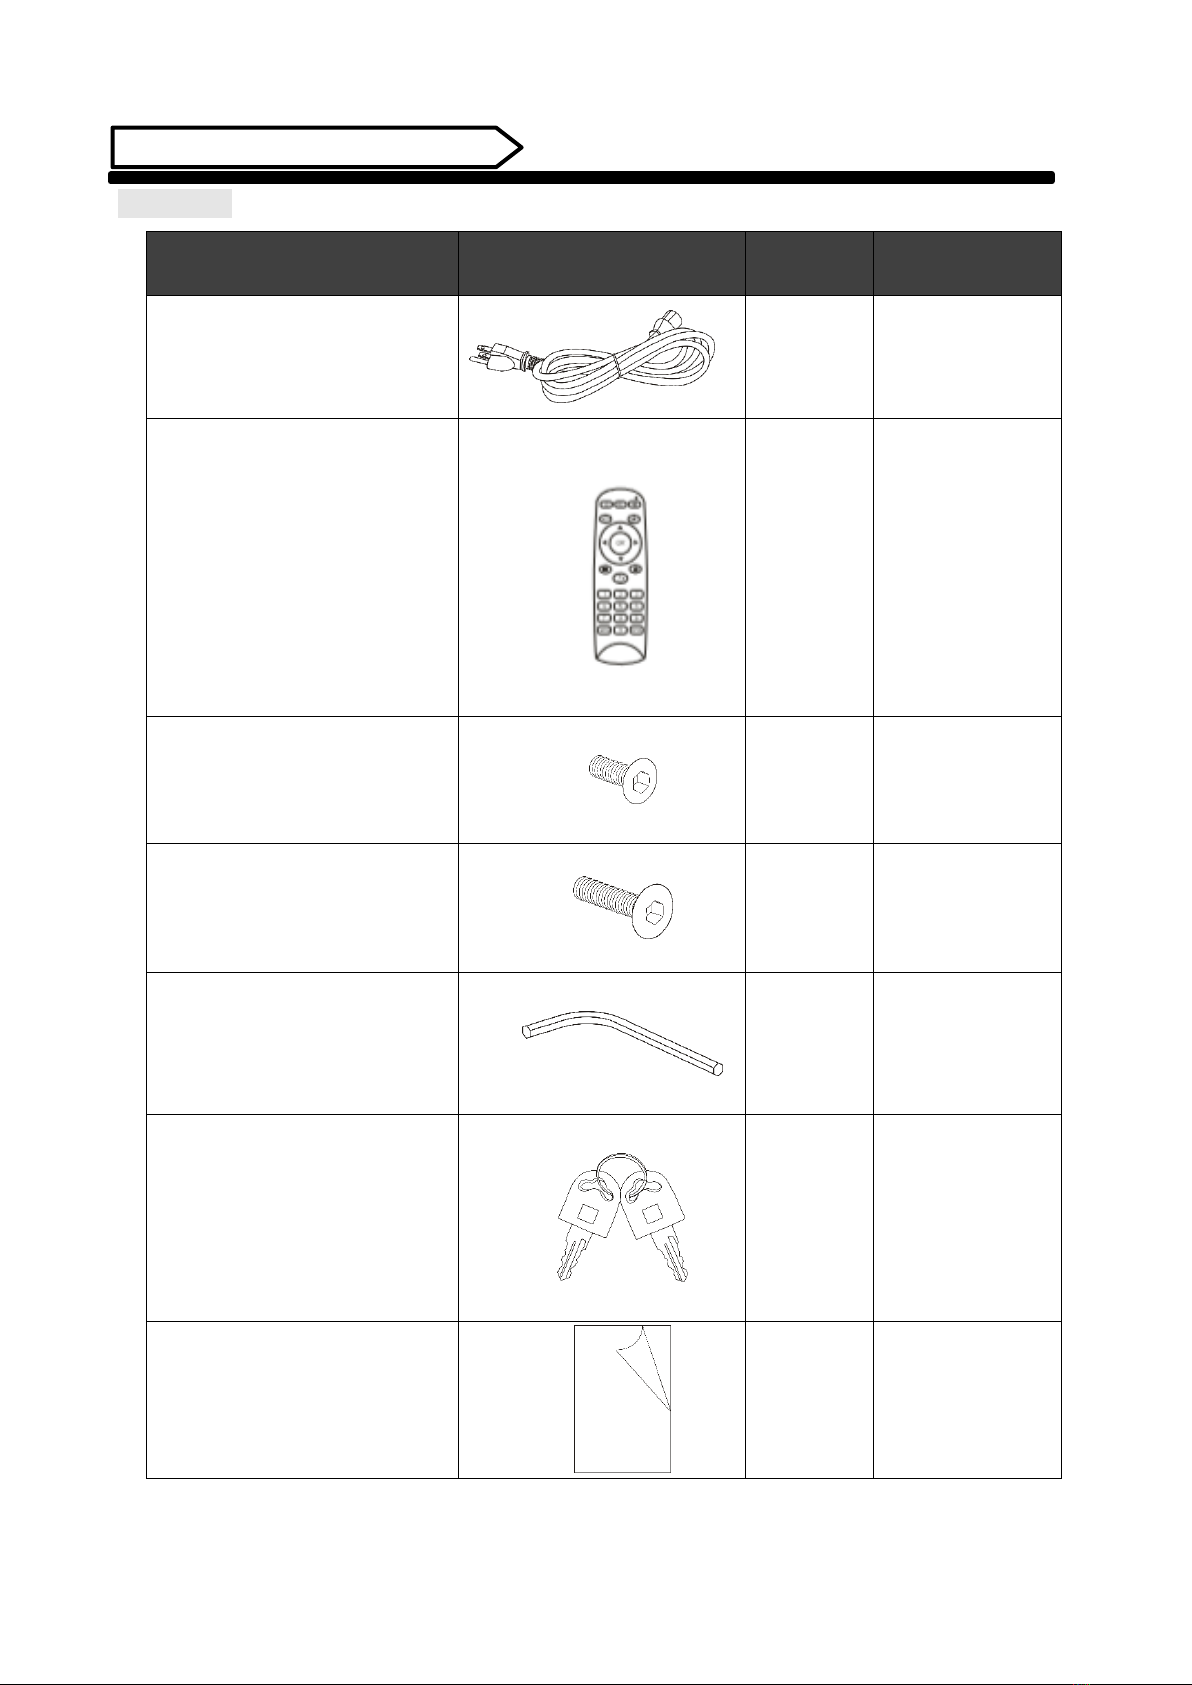
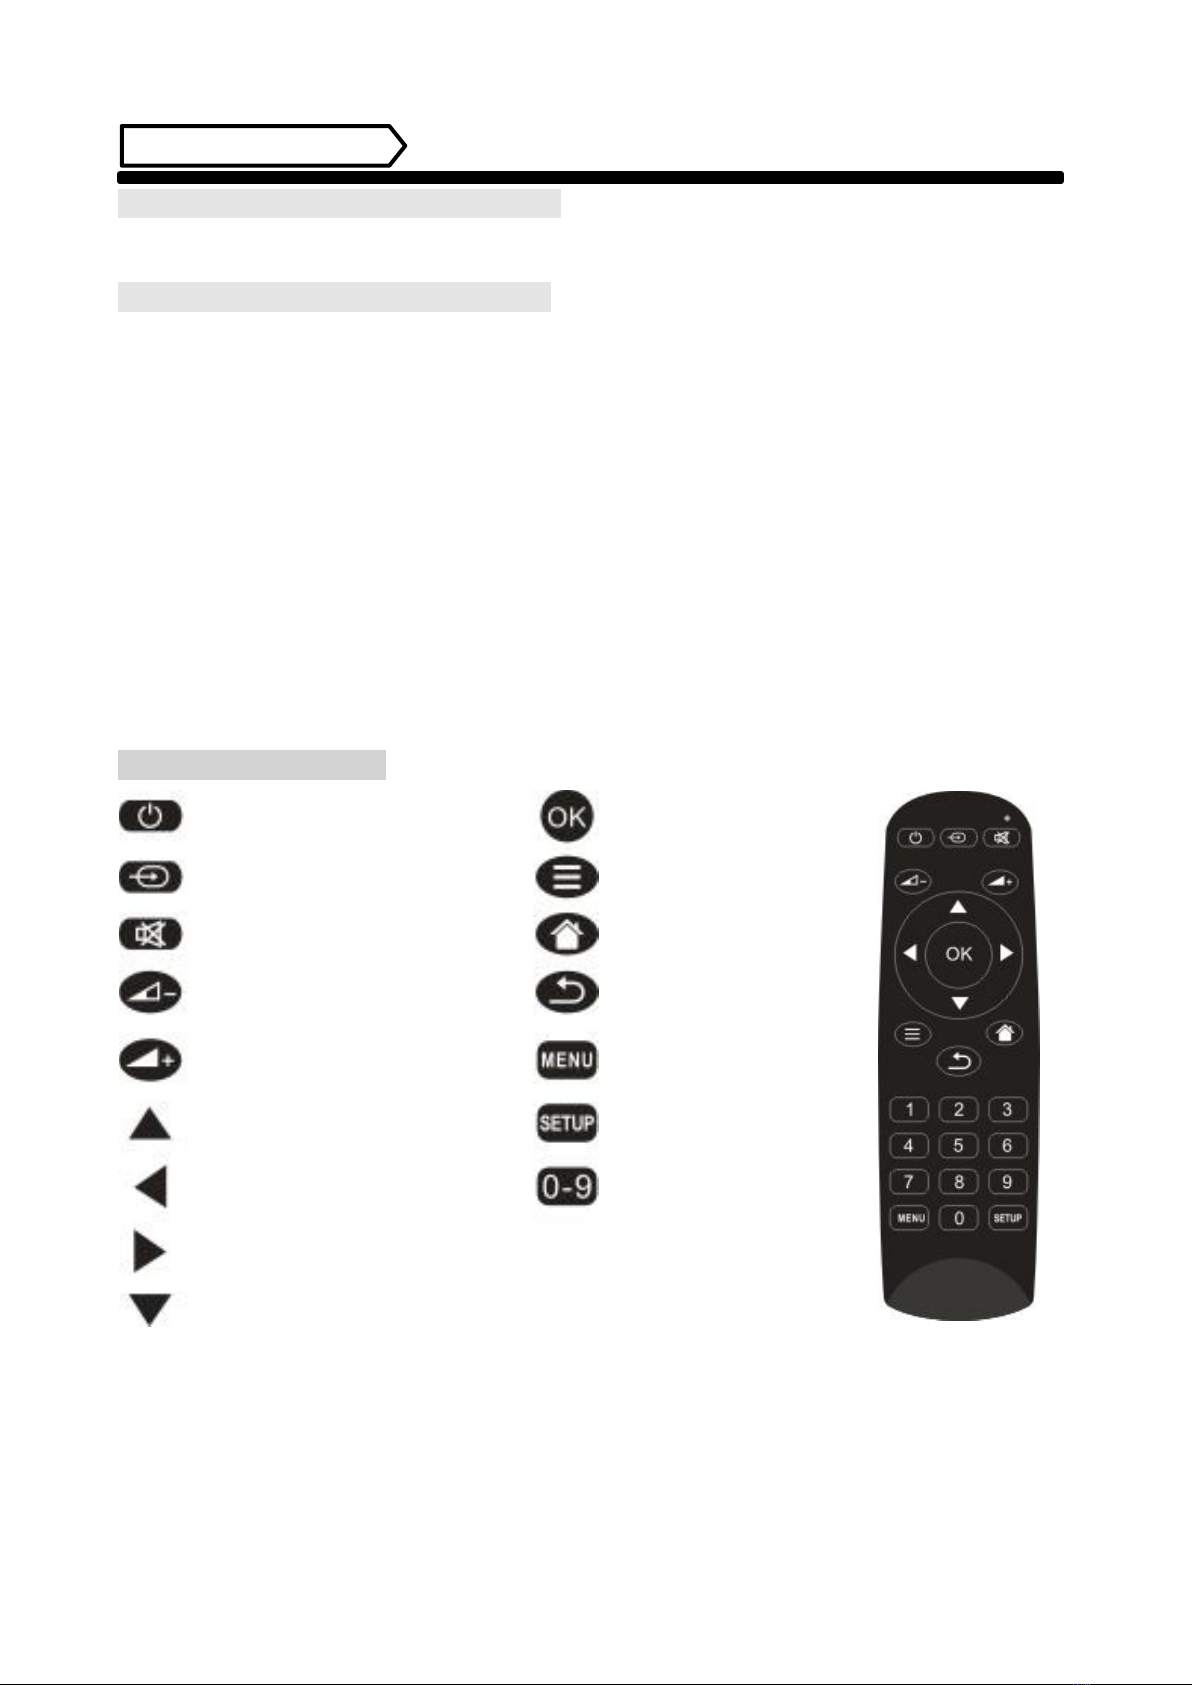
Displays2go DGSNCKNT32 User manual

1
DISPLAYS2GO
User Manual V20.09
Model: DGSNCKNT32
Description: 32 inch Non Touch LCD Digital Screen
Scan QR code to visit
the product page
Operating Instructions for Digital Signage
Note: Before using the product, please read the instructions carefully!
Do not attempt to disassemble this product. If the product does not work properly, please call
our Customer Service Department at 1-844-221-3393.
FCC ID: 2ASCB-DGSNCKNT32
This device complies with Part 15 of the FCC Rules.
Operation is subject to the following two conditions:
(1) this device may not cause harmful interference, and
(2) this device must accept any interference received,
including interference that may cause undesired operation.
Any changes/modifications to this equipment not approved
by the party responsible for compliance could void the
user’s authority to operate the equipment.

2
DISPLAYS2GO
Contents
Features ................................................................................................................................ 3
Safety Warnings and Precautions ........................................................................................... 3
Assembly and Connection...................................................................................................... 6
Packing List....................................................................................................................................6
Description of Parts.......................................................................................................................7
Steps for Assembly........................................................................................................................8
Remote Control ..................................................................................................................... 9
Description of Basic Operation ............................................................................................. 10
Power on/Standby ......................................................................................................................10
About Launch Desktop................................................................................................................10
Description of Wallpaper Switch.................................................................................................11
File Manager ...............................................................................................................................11
Local Settings ..............................................................................................................................12
Status of Menu bar......................................................................................................................13
DiViEx APP Introduction……….…………………………………………………………………………………………………13
System requirements..................................................................................................................13
How to upload media files..........................................................................................................13
Settings........................................................................................................................................15
Edit picture..................................................................................................................................15
Music...........................................................................................................................................17
Factory Reset...............................................................................................................................17
Screen Rotation...........................................................................................................................18
Choose System Language............................................................................................................18
Technical Specifications…………………………………………………………………………………………………………20
Troubleshooting……………………………………………………………….……………………………………………………22
Cleaning and Maintenance……………………………………………….……………………………………………………24
Names and Contents of Toxic and Hazardous Substances or Elements in the Product…….………25

3
DISPLAYS2GO
Features
1. Embedded with Android 7.1 smart operating system and unique UI design, bringing you a more
convenient operation and better visual experience.
2. Support USB mouse and keyboard, realizing easy manipulation like a computer. Using a mouse for set
up is recommended.
3. Built-in Wi-Fi module, high capacity memory and high capacity cache, making it smoother to watch
1080P HD movies.
4. High-quality LCD screen as the display, no flicker, low radiation, greatly reducing eye fatigue, eye
protection, high brightness, high contrast, and wide viewing angle; ultra-fast response time greatly
reduces ghosting of fast-moving images.
5. Progressive image processing and industry-leading motion compensation technology improve the
flickering and blurring in the edges of motion picture.
6. Dynamic contrast technology can significantly improve the clarity and contrast of various screens.
7. Multi-channel USB interfaces, supporting HD media streaming.
Safety Warnings and Precautions
Thank you for purchasing the high-performance multi-functional LED backlight Digital Signage from
Displays2go. We have considered the factors to ensure personal safety in product design and have tested
rigorously at the factory. However, improper installation and use may result in electric shock and fire.
In order to safely use, maximize performance of the unit and extend the life of the product, please read
and follow all instructions carefully before using the product.
Keep the instructions for future reference.
We strongly recommend using a surge protector, or a power strip with internal circuit breaker to prevent
damages to the digital signage.
Symbol Legends:
Warning: May cause personal injury or death
The operation is prohibited
Caution: May cause damage or property loss
The operation must be executed
If any of the following occurs:
Power outage or instable voltage.
Abnormal sound or smell from the unit.
AC power cord is damaged.
Digital Signage is damaged due to drop, knock or impact.
Any liquid or foreign matters fall into the enclosure.
Turn off the Digital Signage immediately, pull out the plug from the power outlet, and ask the
authorized personnel for maintenance timely.
If coal gas or other flammable gas leaks, do not pull out the plug of the LCD Digital Signage or other
electrical appliances; instead, turn off the gas valve immediately, and open the doors and windows quickly.

4
DISPLAYS2GO
⚫Do not use power supply other than AC 110V, 60Hz.
⚫Cut off the power supply before connecting or disconnecting any cables.
⚫Do not place the Digital Signage on any instable positions, or else it may be damaged or cause fire.
⚫Do not place the Digital Signage in the positions such as:
1. The environment subject to direct strong sunlight, moisture, extreme temperature or too much
dust;
2. The environment with flammable or explosive materials;
3. The environment with flammable or corrosive gases;
⚫Do not use damaged or inappropriate power outlets and ensure that the plugs and outlets contact
properly.
⚫Do not let dust or metal deposits adhere to the plugs and outlets.
⚫Do not damage the power cords:
1. Do not modify the power cords;
2. Do not place heavy objects on the power cords;
3. Keep the power cords away from heat source;
4. Do not pull the cord to remove the plug.
⚫Do not connect too many plugs to one outlet in parallel, or else it may cause fire due to excessive
power consumption.
⚫Do not approach the Digital Signage with open flame (e.g. a lighted candle), or else it may cause
electric shock or fire.
⚫Do not put any sharp objects, metal or liquid into the vents or let them touch the signal terminals
to avoid short circuit, product damage, and electric shock.
⚫The openings in the enclosure are designed for ventilation and cooling, to ensure long time reliable
running of components inside the enclosure and prevent overheating. Do not block the openings
when place the unit.
Do not touch the plugs with wet fingers, or else it will cause electric shock.
Do not use the Digital Signage in stormy weather, especially when there is lightning; instead, please
disconnect the power and antenna plugs to avoid lightning strike.
Do not disassemble the Digital Signage without permission, or else it may cause electric shock or fire.
Please ask qualified technician for repair.
WARNING

5
DISPLAYS2GO
⚫Do not let children climb onto the Digital Signage.
⚫Keep the small parts away from children to prevent them from swallowing.
⚫If the Digital Signage won’t be used for a long time, please turn it off and pull out the power plug.
⚫To adjust the position of the Digital Signage, please disconnect all power cords and move slowly to
avoid tip over.
⚫Do not scratch or knock the LCD with hard object, or twist and squeeze the LCD.
⚫Do not turn on the unit immediately when it is moved from a place with low temperature to high
temperature, or else it will cause condensation and malfunction.
⚫Before cleaning the Digital Signage, please pull out the power plug; wipe with soft cloth; do not use
industrial chemicals; prevent foreign matters from entering the machine. Improper cleaning (such
as cleaning solution, water) may damage the product, erase the printed information, and even cause
damage of the components if fluid flows in, resulting in machine failure.
⚫If the unit displays the same screen for a long time or the moving picture has fixed text or icon, it
will leave ghosting on the screen and won’t disappear when the unit is turned off; it is normal and
isn’t covered by the warranty.
⚫The power of the Digital Signage can be cut off by pulling out the plug.
⚫If the LCD screen ruptures and the liquid splashes on the skin, please rinse for 15 minutes with clean
water immediately, and consult your doctor.
⚫To carry the Digital Signage with hands, please grab and hold the edges; do not apply pressure on
the panel.
⚫Use the Digital Signage properly: Use in proper lighting conditions; insufficient lighting or long time
watching will impair your eyesight.
⚫When the plug or coupler is used as disconnection device, it should be easy to operate the device.
⚫Insert the plug into the outlet properly, or else it may cause sparks and fire.
⚫The technical specifications printed herein and on the packaging are subject to change without prior
notice. The Manual may be slightly different from actual operation, and the latter is applicable.
Note:
Contact local dealer if you have questions about the operation, debugging and connection of the unit; if
the unit doesn’t work normally, please cut off the power immediately and consult the dealer. The unit is
class-A product, which may cause radio interference in living environment. In this case, please take feasible
measures, and use power plug as the disconnection device.
CAUTION

6
DISPLAYS2GO
Assembly and Connection
Parts List
Accessory
Photo
Qty.
Note
AC Power cord
1
with Ground Pin
Remote control
1
M5x10 Screw
4
M6x20 Screw
4
Hex wrench
1
Key
2
Back Door
User manual
1

7
DISPLAYS2GO
Description of Parts
1 - LCD Screen
2 - IR indicator
3 - Image light box
4 - Handle
5 - Speaker
6 - USB port
7 - Power switch
8 - Back Door
9 - Door Lock
10 - Foot Pad
11 - HDMI port
12 - USB port
13 - Ethernet port (RJ45 socket)
14 - AC power socket
15 - Caster
CAUTION: Disconnect the power plug before assembling or disassembling the unit!

8
DISPLAYS2GO
Steps for Assembly
Connect the base and the Signage body.
Insert M6x20 screws from the bottom of the base and M5x10 screws from the top of the bracket on the signage.
Tighten screws with enclosed Hex Wrench to secure the signage body with the base.

9
DISPLAYS2GO
Remote Control
Installing batteries for the remote control:
Remove the battery cover and insert two AAA batteries (1.5V). Ensure that the battery polarity matches the
“+”/“-” marks in the battery compartment of the remote control.
Precautions for using the remote control:
⚫Aim the remote control at the receiver window. Do not place any object between the remote control and the
receiver window to avoid interference with the normal operation.
⚫Keep the remote control away from violent vibration. In addition, do not set or place the remote control in
direct sunlight, or else the remote control may be deformed by heat.
⚫The remote control may be invalid when the receiver window of the unit is in direct sunlight or strong lighting;
in this case, please adjust the angle of the lighting or the unit or approach the receiver window to use it.
⚫The distance of remote control will be shortened if the battery voltage is insufficient; in this case, please
replace with new batteries; if the remote control won’t be used for a long time or the batteries are run out,
please take out the batteries to avoid corrosion due to battery leakage, which will damage the remote control.
⚫Do not use batteries of different types or mix new batteries with old ones. Always replace the batteries in
pairs.
⚫Do not put the batteries in fire, or charge or disassemble them, or charge, short circuit, disassemble, heat or
burn used batteries. Please dispose of waste batteries in accordance with local environmental regulations. Do
not expose the batteries in overheated environments such as sunlight and fire.
Remote control buttons:
NOTE: Press the SETUP button in the main interface to call out the OSD menu. After exiting the playback mode
by pressing the STOP button, the playback will start according to the schedule next time.
Play programs; confirm
selection
Display indication
Home page
Back
To show the main menu
To set up OSD menu
Input numbers
Power switch
To show the Source menu
Mute
Turn down the volume
Turn up the volume
To move the cursor up
To move the cursor left
To move the cursor right
To move the cursor down

10
DISPLAYS2GO
Description of Basic Operation
Power on/Standby
Insert the power plug into the outlet. Turn the power switch to “ON” at the back of the Digital Signage.
When powered on, enter “System Assistant” and press the “ ” button on the remote control, and the Digital
Signage enters standby state.
About Launch Desktop
Description of Desktop Icons
Icon
Function
App Drawer
Back
Home page
Background applications
Sound -
Sound +

11
DISPLAYS2GO
Description of Wallpaper Switch
We suggest using a mouse to change the wallpaper.
Connect a mouse with the digital panel through USB port, then follow the steps below:
1. click “Setting”
2. At the setting menu, click “Display”
3. At the Display setting menu, click “Gallery”, or “Wallpaper”
4. Then select an image you would like to set up as background.
5. Confirm the selection by clicking “Set wallpaper”.
File Manager
1. Click the Main Apps button “ ” in the Home page to enter the “APPS” menu interface (Fig. 2);
2. Click the “Explorer” icon in the “APPS” menu interface (Fig. 2) and enter “Explorer” menu (Fig. 3);
3. Click options in the “Explorer” menu to read the files from different devices.
Fig. 1 Fig. 2 Fig. 3

12
DISPLAYS2GO
Local Settings
1. Click the Main Apps button “ ” in the Home page to enter the “APPS” menu interface (Fig. 1)
2. Click the “Settings” icon in the “APPS” menu interface (Fig. 2) and enter “Wi-Fi” menu (Fig. 3);
3. Click options in the “Wi-Fi” menu and set up different options.
Fig. 1 Fig. 2 Fig. 3
Description of Settings Interface (shown on the right)
Icon
Function
WIFI switch
Bluetooth
Data usage
Display
Notifications
Sound
Apps
Screenshot Setting
Storage
Battery
Memory
Users
Location
Security
Accounts
Google
Languages & input
Backup & reset
Date & time

13
DISPLAYS2GO
Status of Menu Bar
1. Click the setting (Fig.1)
2. At the setting menu click Display (Fig.2)
3. At the display setting menu unselect the display navigation check box. (Fig.3)
Fig. 1 Fig.2 Fig.3
DiViEx APP Introduction
System requirements:
Step 1: Before using the APP, make sure your device meets or exceeds the following system requirements:
CPU
RK3288
ROM
16GB
Operating system
Android 7.1
How to upload media files:
Step 2: Plug in your USB drive to the computer. Open the drive in Windows Explorer and create a new folder,
rename it “MediaFolder”. As shown below:
Open "MediaFolder", create 3 subfolders, and change their names to "Images", "Videos", "Music".
Copy the media file to be displayed, image to "Images", video to "Videos", Music to "Music"

14
DISPLAYS2GO
Supported Media Format:
Image
JPG/JPEG/BMP/PNG
Video
AVI, MPEG4, WMV, MKV, FLV, MP4, MOV
Music
AAC/MP3/AMR/OGG
Step 3: Plug the USB drive into the device and click the DiViEx APP.
Step 4: When the screen shows “Copy finished” after “Usb Disk:”, the media files are ready to be displayed.

15
DISPLAYS2GO
Settings:
1. Set the time each picture is to be shown on the screen by dragging the bar to the desired time.
2. Select how you would like the images to display. Select the desired transition effect between pictures:
⚫Auto Boot
DiViEX APP will automatic open when the digital signage is turned on.
⚫Auto Play
DiViEX APP will automatic play the slideshow when it is opened.
⚫Choose Picture display mode
Check a fit option how you want the pictures to be displayed.
⚫Set Picture switch mode
Choose an animation option to set the fade in and fade out effects.
Edit picture:
This function shows all pictures, you can edit all pictures, and remove it.
⚫Crop
There are four corner handles and four border handles to crop the picture. Click and drag a handle to
reshape the image to any size you need.
⚫Filter
You can browse and try different filters in the filter gallery below the image. The APP support the
following filter: AUTO_FIX, BLACK_WHITE, BRIGHTNESS, CONTRAST, CROSS_PROCESS, DOCUMENTARY,
DUE_TONE, FILL_LIGHT, FISH_EYE, FLIP_HORIZONTAL, FILP_VERTICAL, GRAIN, GRAY_SCALE, LOMISH,
NEGATIVE, PSTERIZE, ROTATE, SATURATE, SEPIA, SHARPEN, TEMPERATURE, TINT, VIGNETTE.
⚫Reset
Click “Reset” to remove all the editing you applied to the image.
⚫Save “ ”
Click the icon to save the edited image as a new image.

16
DISPLAYS2GO
⚫Image deletion
Click " " to delete unwanted pictures

17
DISPLAYS2GO
Music:
List all music files in the Playlist library
⚫Add music to “Playing List Music” (Background music) from “Playlist Library”.
Click “right arrow”, music title will show in the “Playlist Music” on the right.
⚫To remove the added music file from the playlist, click the “left arrow” in the playlist.
Factory Reset:
1. Go to Settings, then click “Backup & reset” (Fig. 1)
2. Click “Factory data reset” (Fig. 2)
3. Choose “Reset Tablet”, then click “ERASE EVERYTHING” to get the unit to default settings. (Fig. 3)
Fig. 1 Fig. 2 Fig. 3

18
DISPLAYS2GO
Screen Rotation
1. Click the Main Apps button “ ” in the Home page to enter the “APPS” menu interface (Fig. 1)
2. Click “System assistant” into Fig. 2
3. Choose the degree to Rotate screen, then click “Confirm”, after the restart, the screen will be rotated
(Fig. 3 &Fig.4)
Fig. 1 Fig. 2 Fig. 3 Fig.4
Choose System Language:
1. Get into Settings, then click “Language & input” (Fig. 1)
2. Click “Languages”, then click “Add a language” (Fig. 2)
3. You can add the required system language (Fig. 3)
4. Drag the system language you just added up to the front (Fig. 4)-Please use a mouse to operate.
Fig. 1 Fig. 2

19
DISPLAYS2GO
Fig. 3 Fig. 4

20
DISPLAYS2GO
Technical Specifications
ITEM
SPECIFICATION
Panel
LCD size
32”
Panel Model
DV320FHM-NN0
Light source
LED
Resolution
1920(H)× 1080(V)
Brightness (typ.)/(min)
400nits (typ.)
Contrast (typ.)
1200:1 (typ.)
Response (ms)
8ms (typ.)
Pixel pitch
121.25 ㎛(H)× 363.75 ㎛(V)
Refresh rate
50/60Hz
Viewing angle
89° /89°
Life
30,000 hrs
Viewable area
698.4mm (H) × 392.85mm (V)
Display Color
16.7M
Power supply
Voltage
100V~240V, 50-60Hz
Power Consumption
51W
Environment
Operating temperature (°C)
32~122 °F (0~50°C)
Storage temperature (°C)
-4~140 °F (-20~60°C)
Storage humidity
10~80% RH Non-condensing
Operating humidity
10~80% RH Non-condensing
Maximum operating time (hrs/day)
18 hours
Functions
Operating system
Android 7.1
Processor
RK3288, quad-core
RAM
2G
Internal Storage
16G
Decoding resolution
1080P
Playback mode
Support loop, inter-cut, timer, shim, etc.
Table of contents
Other Displays2go Projection Screen manuals
Popular Projection Screen manuals by other brands

Draper
Draper E series Installation and operating instructions

Dragonfly
Dragonfly DF-TB-XXX-ALR Series installation manual

Elite Screens
Elite Screens isf CineWhite UHD-B Sable Frame B2 Series user guide

SI
SI Sensation Series installation guide

JohnsonSuisse
JohnsonSuisse daintree KSSDA26CHCLS installation guide

OS
OS РХ-090Н user manual