5. Operation
5.1 Analog Model
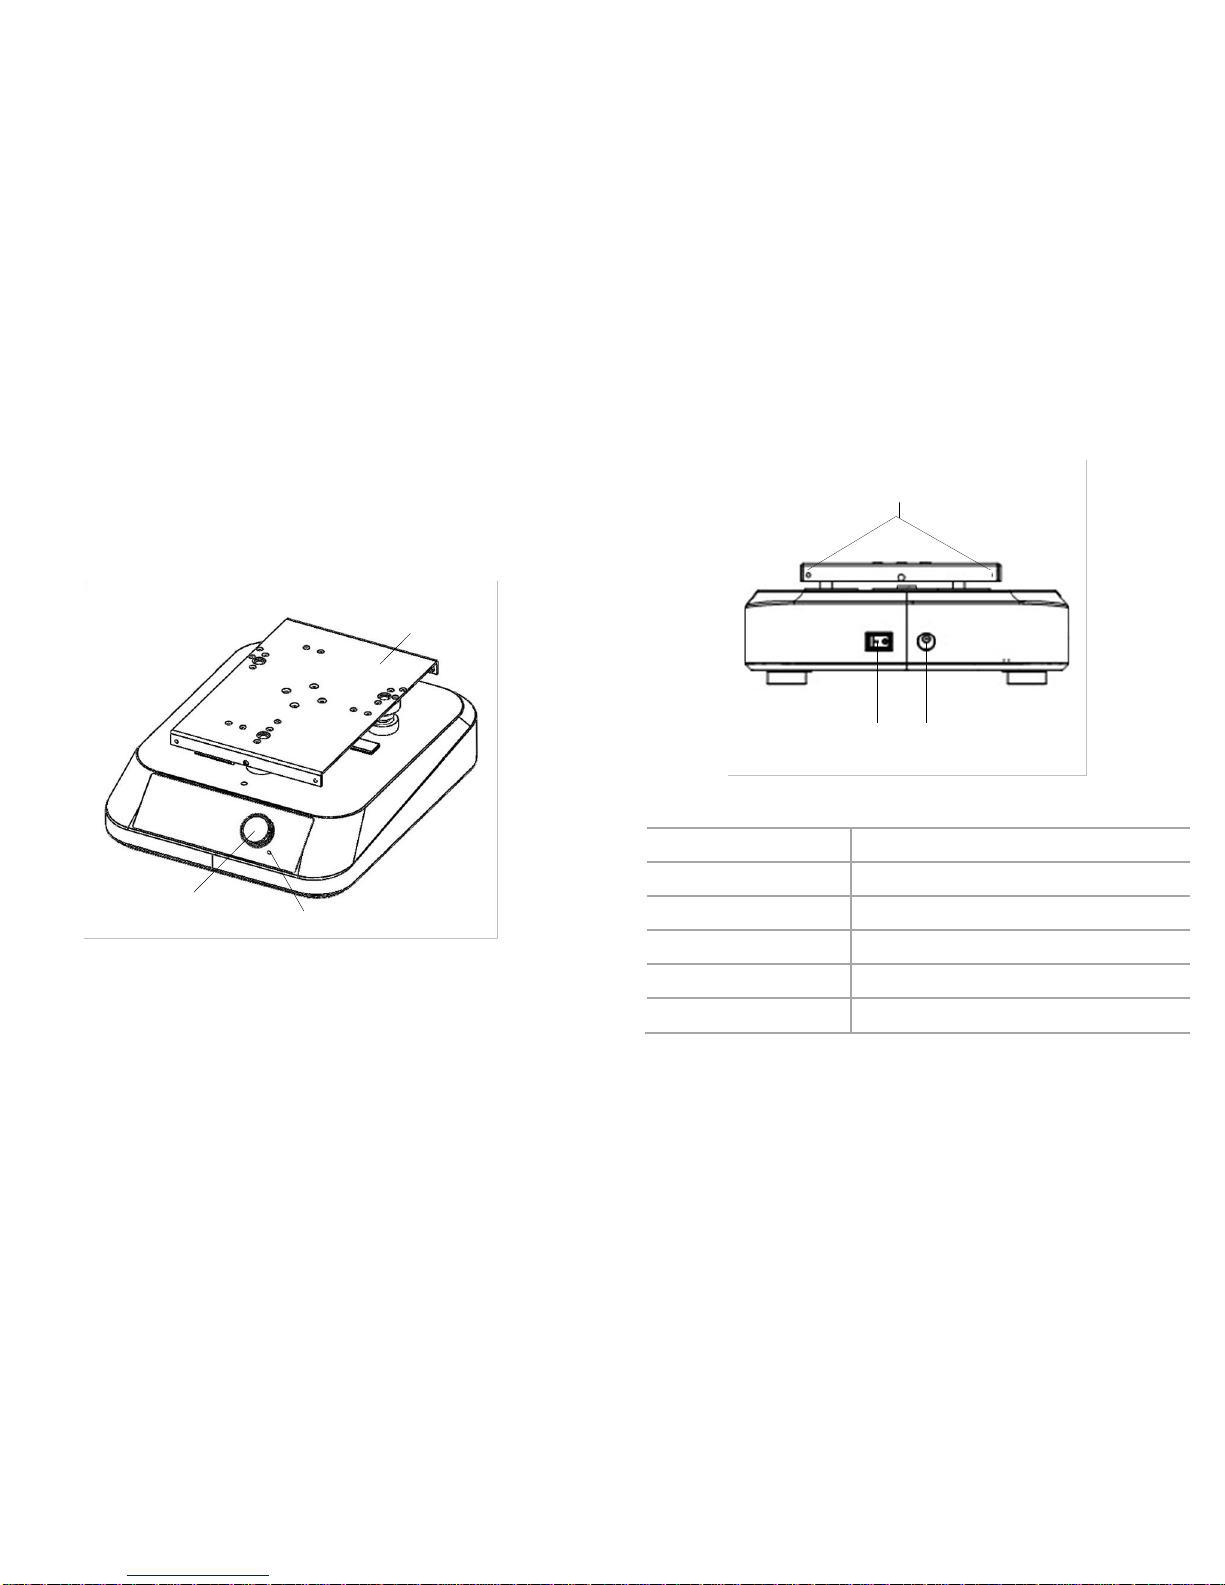
•Place the instrument in safe and stable surface, ensure
the required operating voltage and power supply
voltage matched.
•Connect the power cable.
•Install the platform.
•Switch ON the instrument.
•Rotate the speed control knob clockwise to set target
speed, and the shaking function will be switched on.
•Rotate the speed control knob to the left-most position
to switch off the shaking function.
•Switch OFF the instrument.
5.2 LED Digital Model
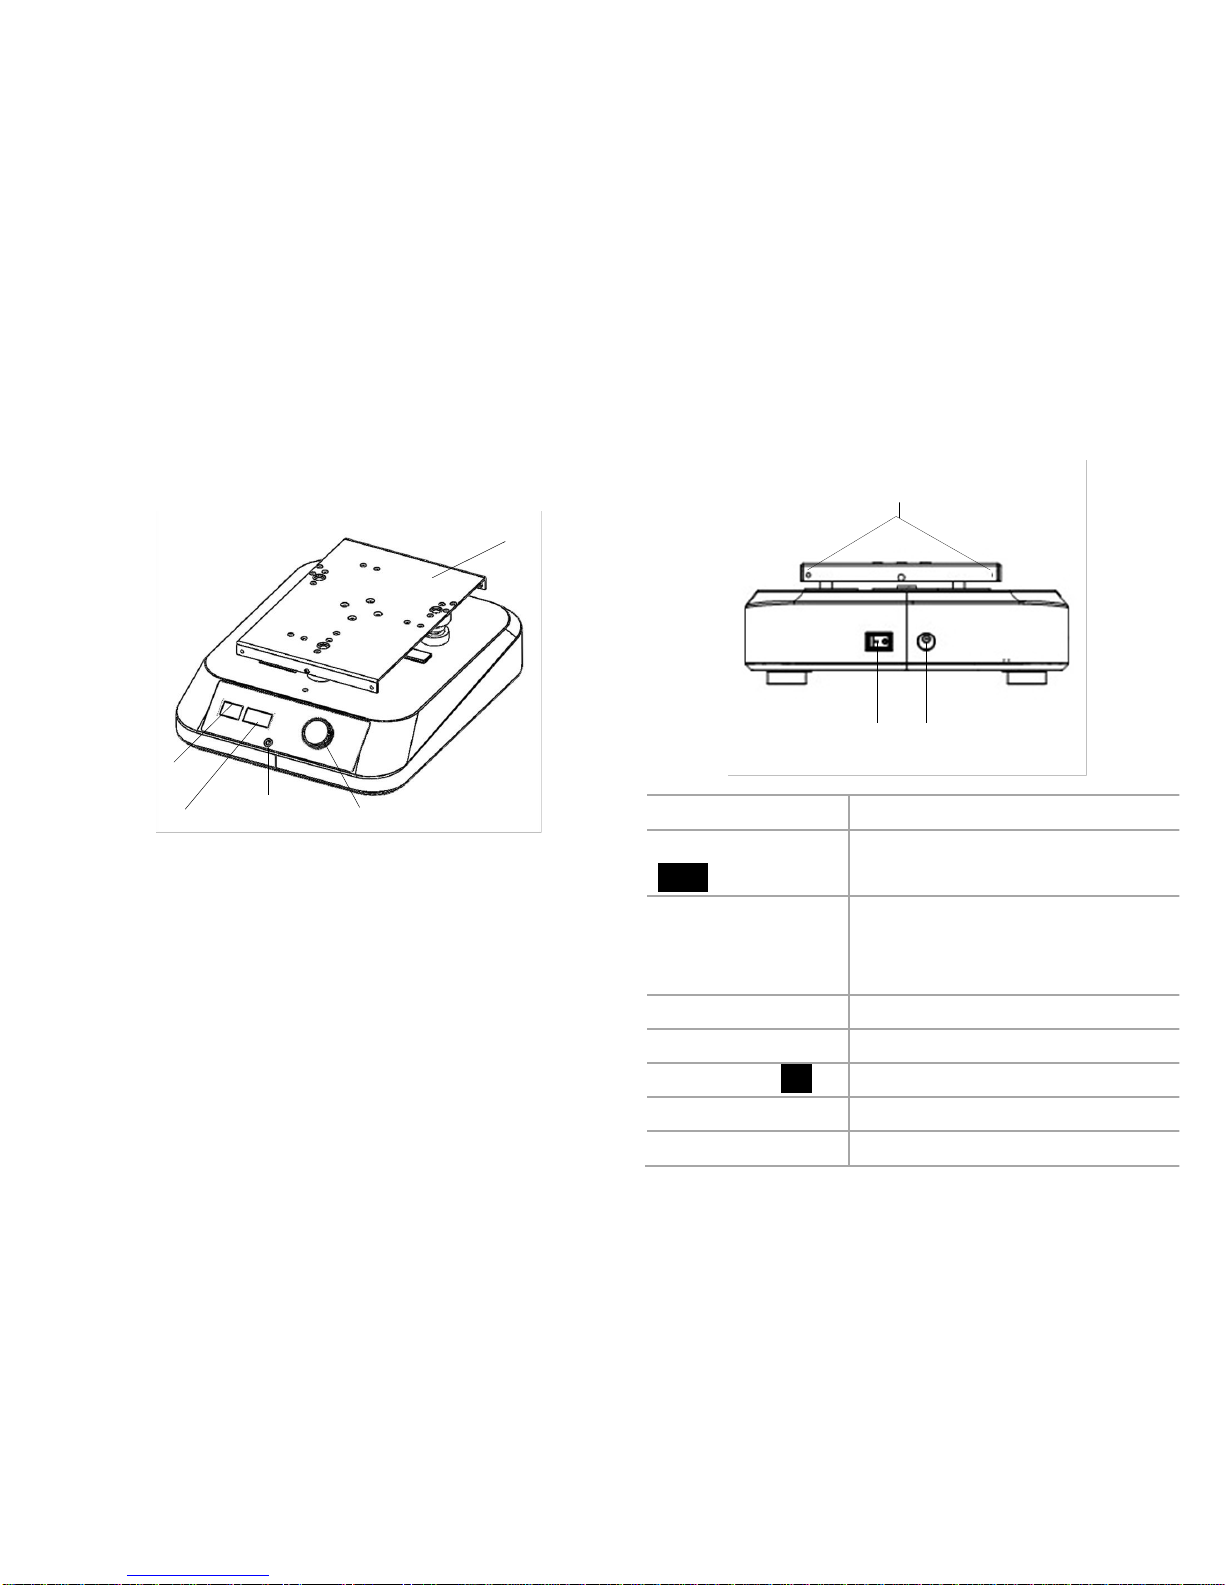
•Place the instrument in safe and stable surface, ensure
the required operating voltage and power supply
voltage matched.
•Connect the power cable.
•Install the platform.
•Switch ON the instrument.
•The instrument begins self-checking.
•When initialization is over, LED displays the last
running values of speed and timer.
•Rotate the speed/timer control knob to set target speed.
a. Press the mode switch button to choose the speed
or timer setup interface. When the character of LED
display is flashing, rotate the parameter adjusting knob
to set the target parameter. Press the knob to start the
motion.
b. During operation, motion can be stopped at any
time by pressing the parameter adjusting knob. If the
knob is pressed again, motion will start again and the
timer will continue to countdown. When the timer
reaches zero, the unit will be automatically halted.
c. When the timer is set to be 00:00, start the
continuous motion.
•Switch OFF the instrument.
If these operations above are normal, the instrument is
ready to operate. If not, the instrument may be damaged
during transportation, please contact technical support of
manufacturer/supplier.