DLI 9200 User manual
Rev. 3
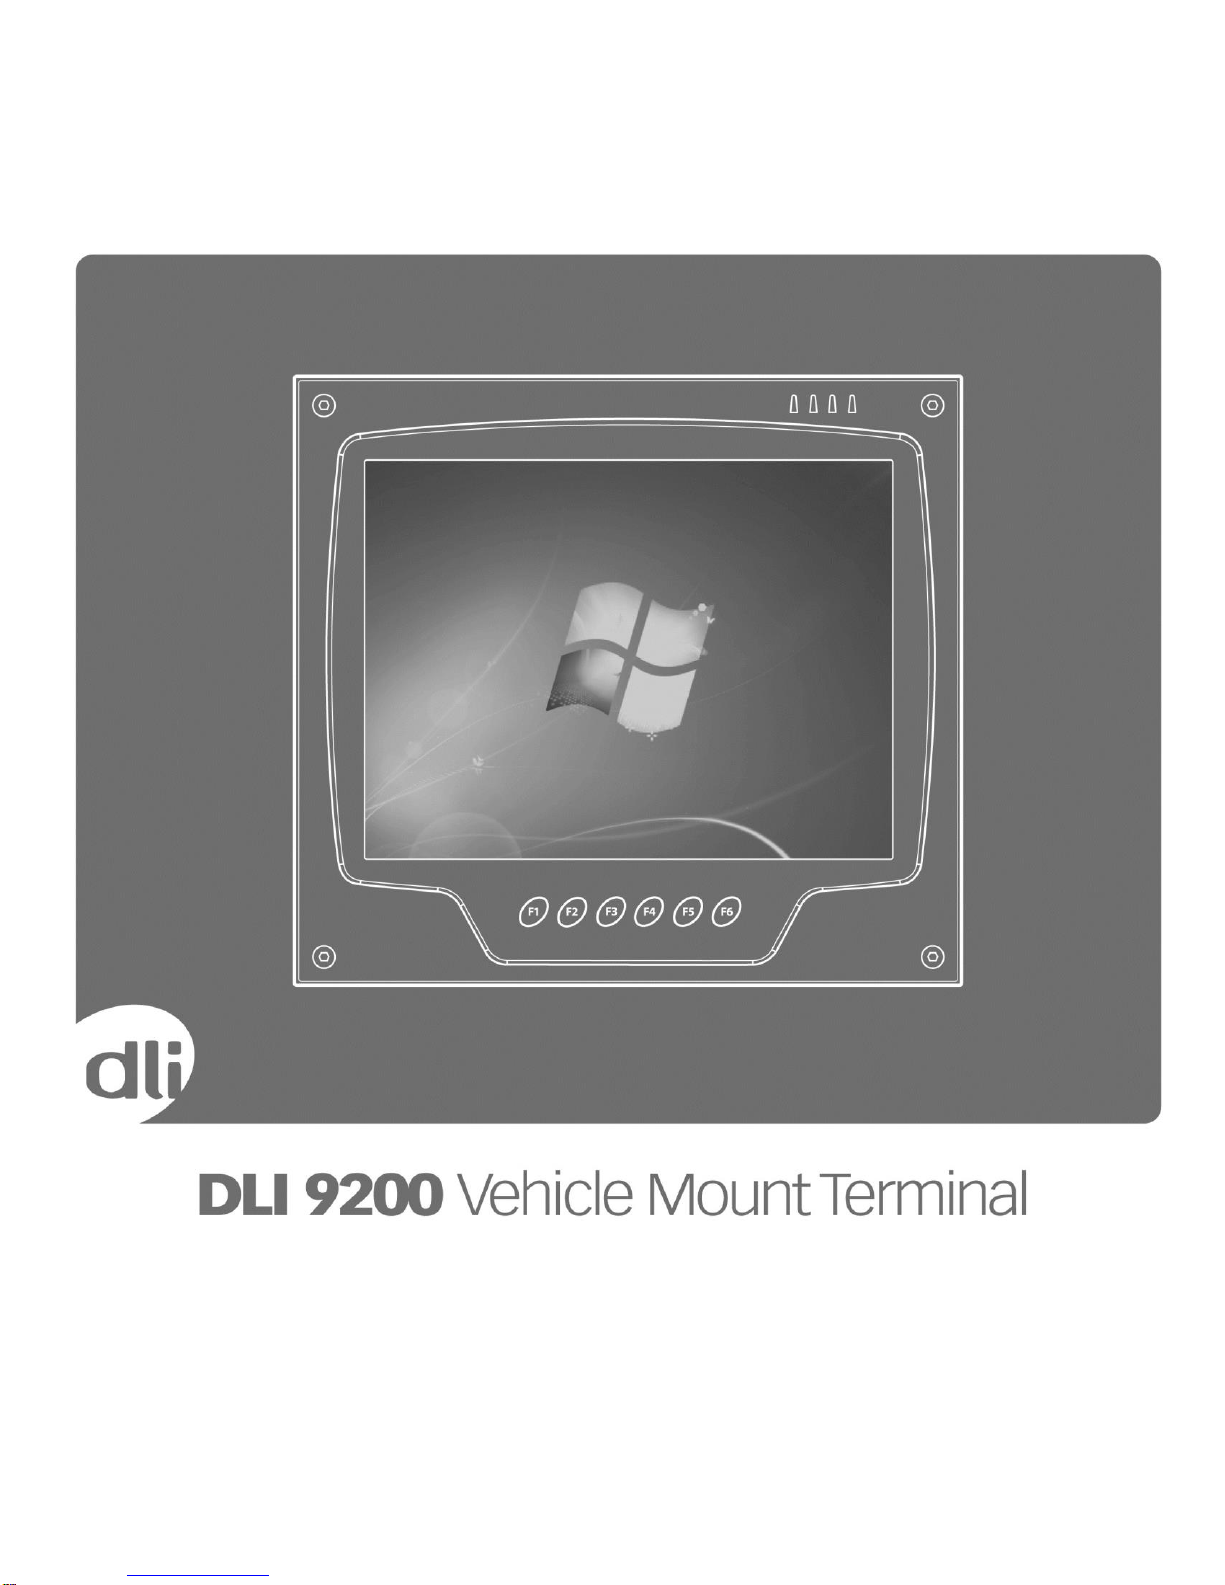
Product Manual

DLI 9200 PRODUCT MANUAL PAGE
2/39 Rev. 3
Disclaimer
Data Ltd., Inc. (DLI) reserves the right to make changes in specifications and other information
contained in this document without prior notice, and the reader should in all cases consult DLI
to determine whether any such changes have been made. The information in this publication
does not represent a commitment on the part of DLI.
DLI shall not be liable for technical or editorial errors or omissions contained herein: nor for
incidental or consequential damages resulting from the furnishing performance, or use of
this material.
This document contains proprietary information that is protected by copyright. All rights are
reserved. No part of this document may be photocopied, reproduced, or translated into another
language without the prior written consent of DLI.
© 2011 Data Ltd., Inc. All rights reserved.
Web Address: www.dataltd.com
Trademarks
DLI 9200 is a trademark or registered trademark of Data Ltd., Inc.
Windows and Windows logos are trademarks or registered trademarks of Microsoft Corporation.
The Bluetooth trademarks are owned by Bluetooth SIG, Inc., USA and licensed to DLI
The PenMount trademarks are owned by PenMount International Corp. and licensed to DLI
RAM Mount is a trademark of National Products Inc. in the United States and or other
countries.
Other product names mentioned in this manual may be trademarks or registered trademarks of
their respective companies and are hereby acknowledged.

DLI 9200 Product Manual Rev. 3
Table of Contents
Table of Contents…………………………………………………………………………………………………..03
Thank You!………………………………………………………….………………………………….................04
DLI 9200 Peripherals and Accessories…………………………………………………………………………..04
Hardware Overview……………………………………………………………………………………………...…05
Setting Up the DLI 9200 Terminal………………………………………………………………………………...09
Unpack the Carton and Verify its Contents………………………………………………………………………09
Battery Status LED…………………………………………………………………………………………………09
Charging the Battery in the DLI 9200…………………………………………………………………………….10
Power Management Utility………………………………………………………………………………………...11
Optional Auto Power On & Off Setup…………………………………………………………………………….11
Adjusting the Backlight……………………………………………………………………………………………..11
Using the Stylus…………………………………………………………………………………………………….13
Using the Programmable Keys……………………………………………………………………………………16
Using the Wi-Fi Radio……………………………………………………………………………………………...19
Using the Bluetooth Radio…………………………………………………………………………………………22
SIM Card Insertion………………………………………………………………………………………………….26
Using the RS-232 DB9M…………………………………………………………………………………………..26
Using the GPS………………………………………………………………………………………………………27
Installation Clearance & Airflow…………………………………………………………………………………...29
Technical Assistance……………………………………………………………………………………………….30
Product Service and Repair……………………………………………………………………………………….30
Shipping Your DLI Device…………………………………………………………………………………………31
Limited Warranty……………………………………………………………………………………………………33
FCC Compliance……………………………………………………………………………………………………36

DLI 9200 PRODUCT MANUAL PAGE
4/39 Rev. 3
Thank You!
Data Ltd Inc. would like to thank you for selecting the DLI 9200. The DLI 9200 was designed as
a forward thinking product that is modular in design and upgradeable. Wethank you, the
customer, for giving us the inspiration for the following features:
•
Impact Resistant Case
•
Integrated Backup Battery with 10~60V DC/DC Converter
•
Integrated four radio technology (WiFi, Bluetooth, GPS, and Cellular)
•
12” or 15” Industrial-rated touchscreen
•
Dual external WiFi antennas and external Bluetooth antenna
•
Boot media via SSD (Solid State Drive)
DLI 9200 Peripherals and Accessories
5421112020900P AC Adapter with Line Cord (not included)
6708260000000P Cigarette Lighter Adapter for charging the unit in a vehicle
3431182037500P Power cable, 3 prong locking connector with 5 AMP (bare leads)
5400020 DLI Surge Suppressor
46011140010010 WiFi Antenna

DLI 9200 PRODUCT MANUAL PAGE
5/39 Rev. 3
Hardware Overview
Front Panel
Battery LED
WiFi LED
Bluetooth LED
Power LED
Impact Resistant
Metal Case
Programmable Keyboard
LCD with Touch
Panel
Table of contents
Other DLI Automobile Accessories manuals

Popular Automobile Accessories manuals by other brands


ULTIMATE SPEED
ULTIMATE SPEED 279746 Assembly and Safety Advice

SSV Works
SSV Works DF-F65 manual

ULTIMATE SPEED
ULTIMATE SPEED CARBON Assembly and Safety Advice

Witter
Witter F174 Fitting instructions

WeatherTech
WeatherTech No-Drill installation instructions

TAUBENREUTHER
TAUBENREUTHER 1-336050 Installation instruction