10 ENGLISH
• Always switch off the mains disconnecting switch when leaving
the machine unattended.
• Comply with the requirements of the local water supply
company.
• For European countries:
According to EN12729 (BA), the appliance can also be con-
nected to the mains drinking water supply if a backow preventer
valve with drain facility is installed in the supply hose.
SPECIFICATIONS
Model: HP351 HP401
Max. feed volume 7.0 l/min 7.5 l/min
Water ow rate 5.5 l/min 6.0 l/min
Max. permissible pressure 12 MPa (120 bars) 13 MPa (130 bars)
Working pressure High mode 10 MPa (100 bars) 11 MPa (110 bars)
Low mode -8 MPa (80 bars)
Max. feed pressure 1 MPa (10 bars)
Max. feed temperature 40 °C
Max. suction height 1.0 m
Dimensions
(L x W x H)
292 mm x 358 mm x 830 mm
Weight 11.0 kg 12.7 kg
Motor protection IPX5
• Due to our continuing program of research and development, the specications herein are subject to change
without notice.
• Specications may differ from country to country.
• Weight according to EPTA-Procedure 01/2003
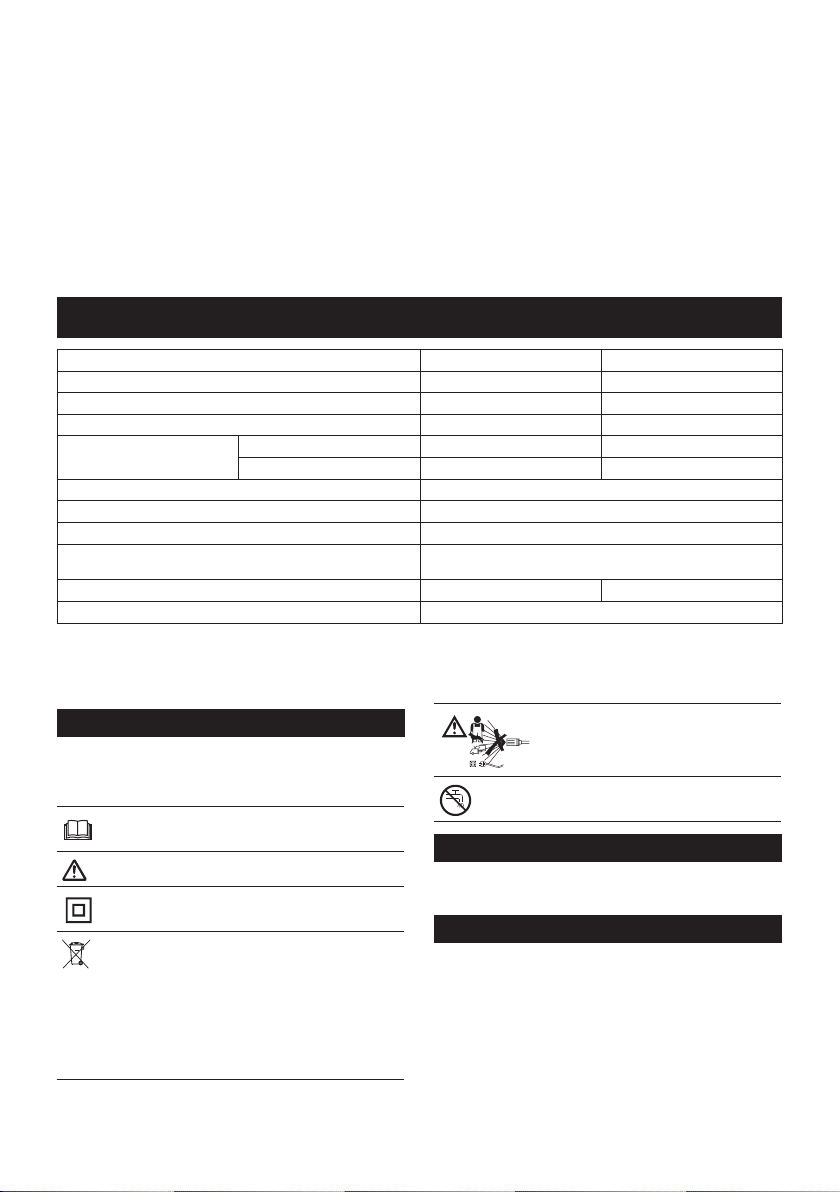
Symbols
The followings show the symbols used for the equip-
ment. Be sure that you understand their meaning before
use.
Read the instruction manual.
Take particular care and attention.
DOUBLE INSULATION
Only for EU countries
Do not dispose of electric equipment
together with household waste material! In
observance of the European Directive, on
Waste Electric and Electronic Equipment
and its implementation in accordance with
national law, electric equipment that have
reached the end of their life must be col-
lected separately and returned to an envi-
ronmentally compatible recycling facility.
Do not direct the jet at people including
yourself, animals, and live electrical
equipments.
Not suitable for connection to the potable
water mains.
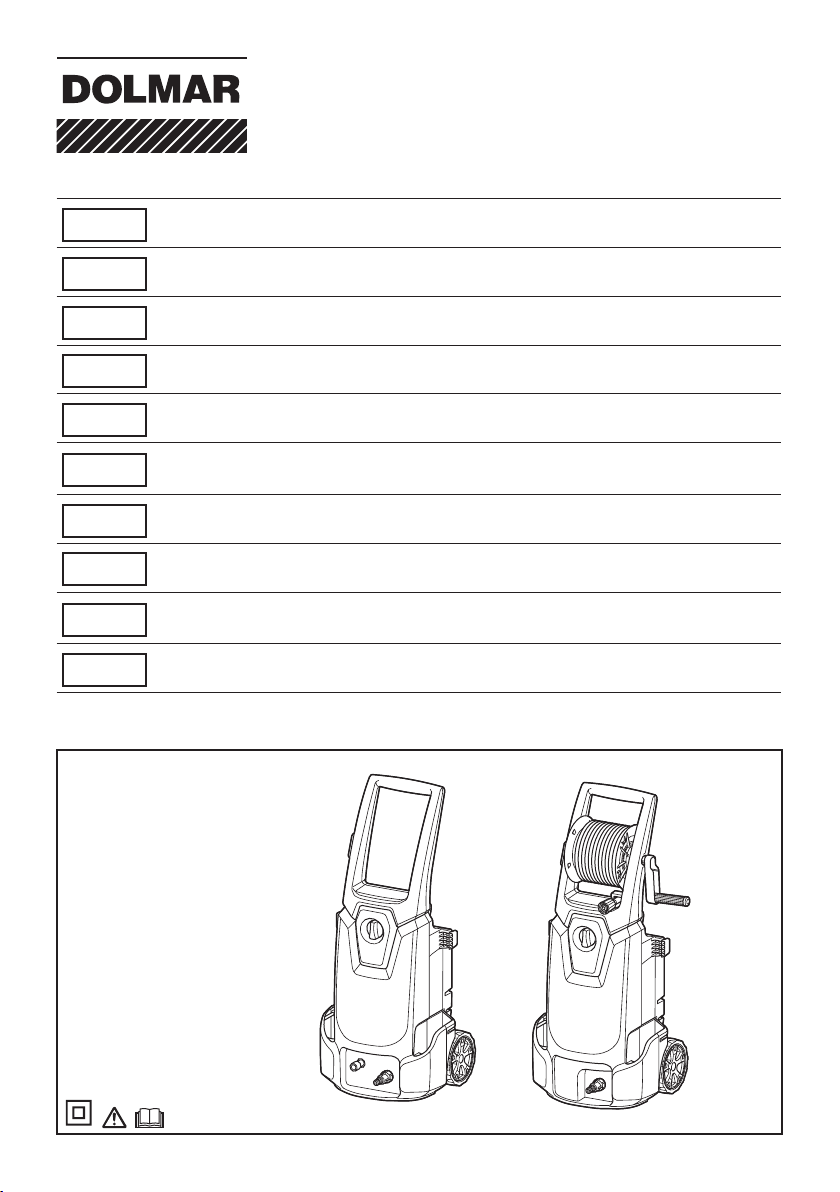
Intended use
This tool is intended for cleaning stubborn dirt by using
water jet. This tool is intended for household use.
Power supply
The tool should be connected only to a power supply of
the same voltage as indicated on the nameplate, and
can only be operated on single-phase AC supply. They
are double-insulated and can, therefore, also be used
from sockets without earth wire.