4445103456 7
Anbau verwenden
!
Vor dem ersten Gebrauch
Machen Sie sich mit dem Produkt vertraut, indem Sie einen Testaufbau
durchführen, bevor Sie das Produkt zum ersten Mal verwenden. Prüfen
Sie, ob die Lieferung vollständig ist.
Auswahl des Standorts
Wählen Sie einen ebenen Standort, der vor Wind geschützt ist:
1. Verwenden Sie gegebenenfalls einen Windschutz.
2. Wählen Sie einen schattigen Standort, um Schäden am Gewebe
durch UV-Strahlung zu vermeiden.
3. Vermeiden Sie das Aufstellen unter Bäumen, da herabfallende Äste,
Harz usw. das Produkt beschädigen können.
4. Entfernen Sie scharfe Steine und Unrat vom Standort, um eine
Beschädigung der Bodenplane zu vermeiden.
5. Bauen Sie das Produkt so auf, dass die Türen sich auf der vom Wind
abgewandten Seite befinden.
Anbau aufstellen
!
A
I
Beachten Sie beim Aufbau des Anbaus die folgenden Tipps:
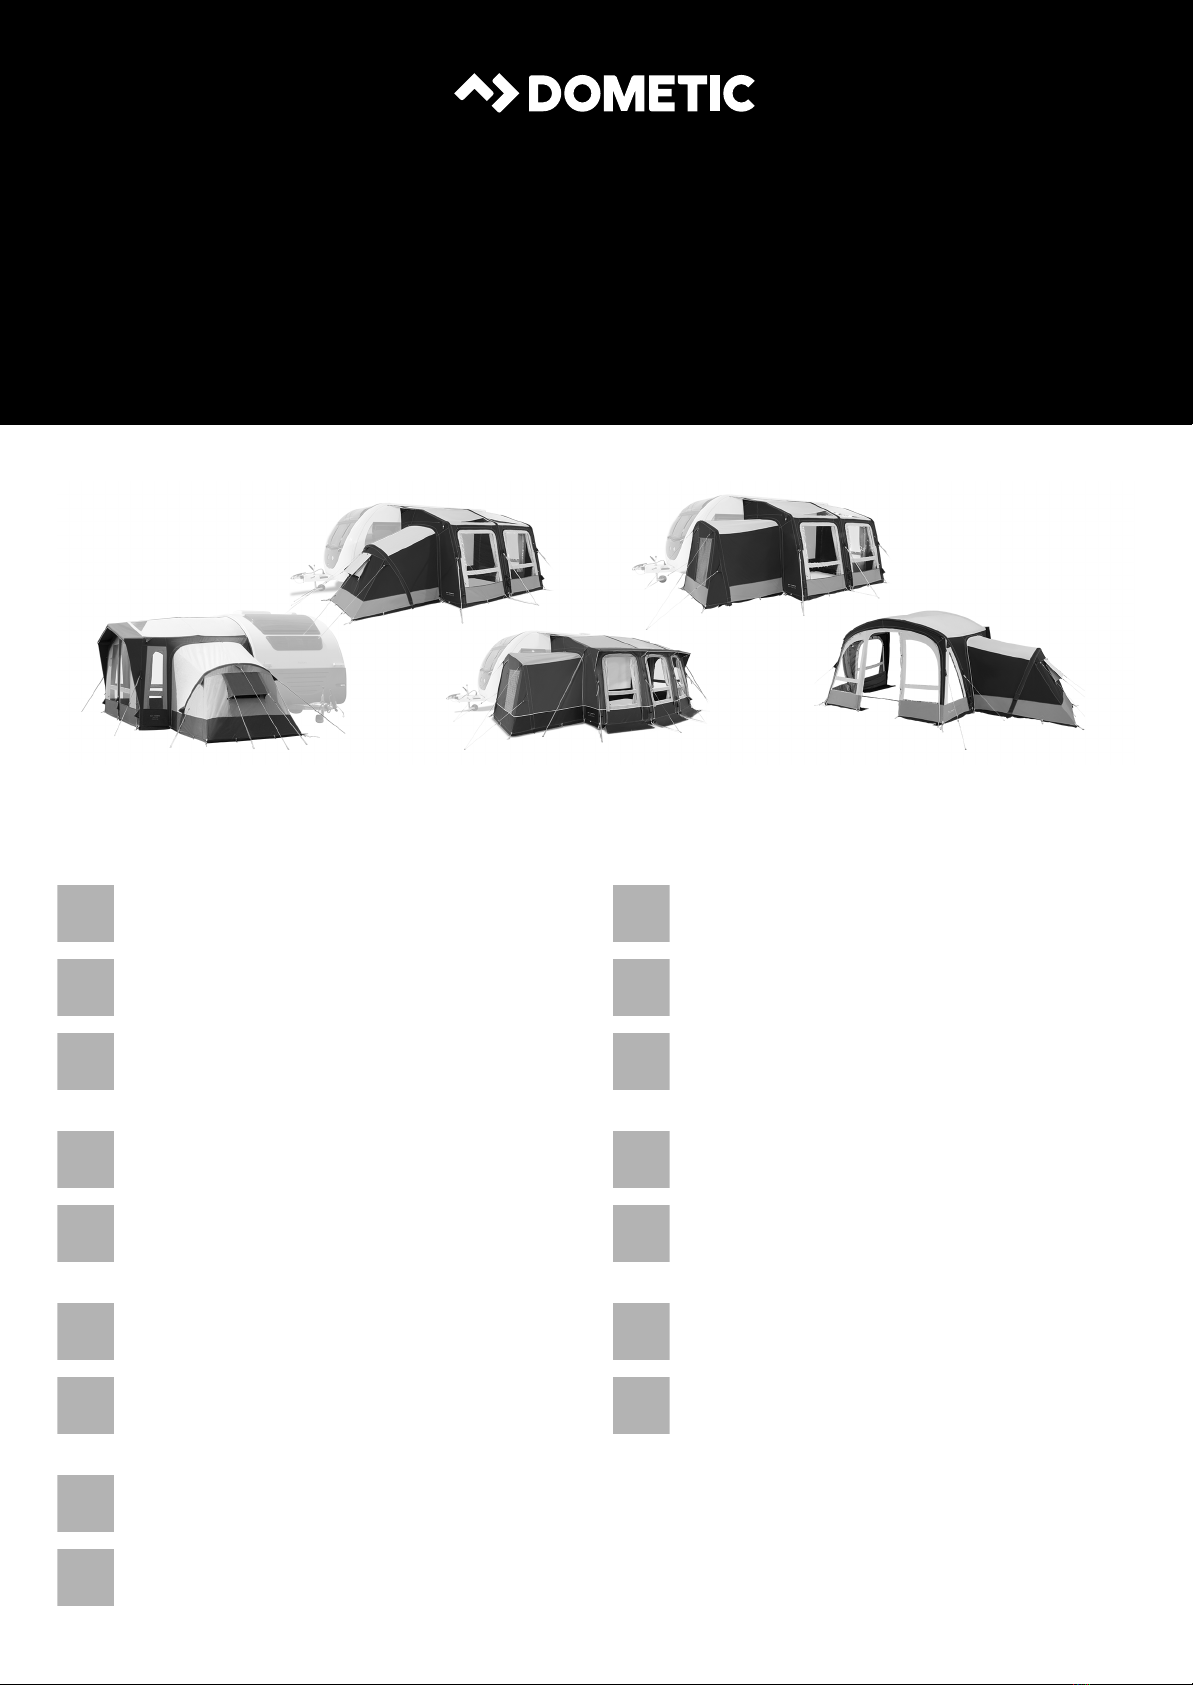
• Die Abbildungen geben einen allgemeinen Überblick über den Auf-
bau. Der tatsächliche Aufbau kann je nach Anbaumodell leicht variie-
ren.
• Holen Sie sich Unterstützung. Mit mehr Personen ist der Aufbau einfa-
cher.
• Nachdem Sie den Anbau aufgerichtet haben, überprüfen Sie die
Heringe an den Ecken und setzen Sie sie gegebenenfalls neu ein. Die
Bodenplane im Innenraum sollte straff und in rechteckiger Form aus-
gelegt sein.
• Verankern Sie die Abspannleinen so, dass der Anbau gespannt ist,
sich aber nicht verformt.
• Falls vorhanden, befestigen Sie die Sturmverspannung.
• Überprüfen Sie von Zeit zu Zeit die Abspannschnüre auf ausreichende
Spannung und ziehen Sie sie bei Bedarf mithilfe der Spanner nach.
DerAnbau lässt sichan einer Seitedes Vorzelts oder an beiden anbringen.
Die Seitenteile können auch umgekehrt angebracht werden.
Stellen Sie den Anbau wie folgt auf:
1. Um den Anbau vor Schmutz und Beschädigungen zu schützen, legen
Sie vor dem Auspacken eine Bodenplane oder Unterlage aus.
2. Packen Sie den Anbau aus.
3. Sortieren und bestimmen Sie die verschiedenen Komponenten.
4. Entfernen Sie das jeweilige Seitenteil von dem Vorzelt, indem Sie die
Heringe des Seitenteils lösen und dessen Reißverschlüsse öffnen.
5. Verbinden Sie den Anbau über den Reißverschluss mit der Boden-
plane.
6. Schrauben Sie die Verschlusskappe des Aufblasventils ab und setzen
Sie die Pumpendüse auf das Ventil auf.
7. Pumpen Sie die AirPoles auf. Der ideale Druck ist 0,62 bar (9 psi).
8. Drücken oder ziehen Sie nach dem Aufpumpen die Front des Anbaus
nach außen, sodass die AirPoles ihre korrekte Form und Position ein-
nehmen können.
9. Verankern Sie den Anbau mit den Heringen. Beginnen Sie dabei an
den Ecken, die dem Vorzelt und Anbau am nächsten liegen.
10. Nur für Pro AIR hohen Anbau und Pro AIR Vorzelterweiterung:
Befestigen Sie innen im Anbau die Strebe zwischen Vorzelt und
Anbau. Die Strebe sollte gespannt werden, um sicherzustellen, dass
das Dach straff ist.
11. Lösen Sie die Heringe der Abspannschnüre.
12. Stellen Sie sicher, dass die Seiten und das Dach des Anbaus straff
gespannt sind. Setzen Sie die Heringe bei Bedarf neu ein.
Aufbau des Anbaus fertigstellen(außer Pro AIR Vorzelterweiterung):
1. Das Innenzelt kann mit den mitgelieferten Schnallen und „O“-Ringen
an der Innenseite des Anbaus befestigt werden. Die vorderen beiden
Ecken der inneren Zeltbodenplane sollten verankert werden.
2. Die Trennwand kann mit den mitgelieferten „O“-Ringen an der Innen-
seite des Anbaus befestigt werden.
Anbau abbauen
A
1. Entfernen Sie Schmutz von der Außenseite.
2. Schließen Sie alle Fensterrollos und entfernen Sie Vorhänge.
3. Schließen Sie alle Türen und Öffnungen.
4. Entfernen Sie alle Schnüre und Gurte.
5. Entfernen Sie alle Heringe zwischen den Heringen an den Ecken.
6. Öffnen Sie die Ventile an jedem AirPole.
7. Warten Sie, bis der Großteil der Luft entwichen ist.
8. Entfernen Sie die Heringe an den Ecken.
9. Falten bzw. rollen Sie den Anbau zum Ventil hin, um mehr Luft abzu-
führen.
10. Wenn die Luft abgelassen ist, rollen Sie den Anbau so auf, dass er in
die Tragetasche passt.
11. Stellen Sie sicher, dass alle Teile sauber sind, bevor Sie sie in die Tra-
getasche packen.
12. Wenn der Anbau nass oder feucht ist, lassen Sie ihn so bald wie mög-
lich vollständig trocknen.
VORSICHT! Gefahr von Verletzungen und Sachschä-
den
Öffnen Sie niemals den Reißverschluss der Schutzhülle,
während ein AirPole aufgepumpt ist. Dies führt dazu, dass
der AirPole platzt.
VORSICHT! Gefahr von Verletzungen und Sachschä-
den
• Verwenden Sie keine Kompressoren, die zum Aufpum-
pen von Autoreifen bestimmt sind.
• Pumpen Sie die AirPoles nur unter Verwendung eines
Manometers mit einem Druck von 0,62 bar (9 psi) auf.
ACHTUNG! Materialschäden
• Öffnen oder schließen Sie die Reißverschlüsse nicht mit
Gewalt.
HINWEIS
• Der Anbau wird mit Schwerlast-Heringen geliefert.
Diese sind für viele Standorte geeignet. Bei manchen
Böden sind jedoch Spezialheringe erforderlich. Fragen
Sie Ihren Händler.
• Schlagen Sie die Heringe in einem Winkel von 45° vom
Anbau weg in den Boden ein.
• Richten Sie die Abspannschnüre an der Naht aus, von
der sie ausgehen.
ACHTUNG! Materialschäden
Wenden Sie beim Abbau des Anbaus keine Gewalt an.
Andernfalls könnten Sie Teile beschädigen.
DometicAwningAnnexe_IOM_4445103456_EMEA16_xxxx-xx-xx.book Seite 7 Mittwoch, 13. Oktober 2021 9:29 09