manuals.online logo
Brands
  1. Home
  2. •
  3. Brands
  4. •
  5. Dorel Home Products
  6. •
  7. Outdoor Furnishing
  8. •
  9. Dorel Home Products 88333 User manual

Dorel Home Products 88333 User manual

ASSEMBLY INSTRUCTIONS
INSTRUCTIONS D’ASSEMBLAGE
INSTRUCCIONES DE ENSAMBLAJE
PACKAGE DELIVERY BOX
BOÎTE DE LIVRAISON DE COLIS
CAJA DE ENTREGA DE PAQUETES
MODEL / MODÈLE / MODELO #88333
Distributed by/Distribuido por/Distribué par:
Cosco Home and Office: 2525 State St.
Columbus, IN USA 47201-7494
Consumer Relations/Relaciones del Consumidor
Service à la clientèle: 1-800-628-8321
[email protected]
Monday-Friday/Lunes-Viernes/Lundi-Vendredi
9am to 5pm CST/9:00 - 17:00 hrs CST/9h00 - 17h00 HNC
4358-7751C
!
READ & SAVE BELOW
INSTRUCTIONS BEFORE
ASSEMBLY
1. Please separate and identify all parts,
making sure that you have all of the parts
listed.
2. To avoid any scratches during assembly,
please assemble on a soft mat or similar
surface.
3. Follow step by step instructions.
4. Do not tighten screws until all the screws
are properly installed.
5. Tighten screws securely,
do not over-tighten.
!LIRE & CONSERVER
LES INSTRUCTIONS
CI-DESSOUS AVANT
D'ASSEMBLER
1. Séparez et identifiez toutes les pièces, en
vous assurant d'avoir toutes les pièces
indiquées.
2. Pour éviter les rayures pendant
l'assemblage, veuillez assembler sur une
carpette douce ou une surface similaire.
3. Suivez les instructions étape par étape.
4. Ne pas serrer les vis jusqu'à ce que toutes
les vis soient installées correctement.
5. Serrez les vis solidement, ne pas serrer
excessivement.
!
GUARDAR Y LEER
INSTRUCTIONS
ANTES DE ARMAR
1. Por favor separe e identifique todas las
partes, asegurándose que tiene todas las
piezas indicadas.
2. Para evitar cualquier rasguño durante
la asamblea, favor de armar sobre una
superficie suave.
3. Siga las instrucciones paso por paso.
4. No apretar los tornillos hasta que todos los
tornillos hayan sido instalados.
5. Apretar los tornillos seguramente,
no apretar en exceso.
2
CARE AND CLEANING:
1. To clean, wipe with damp cloth.
Do not use bleach, acid solvents or abrasive cleaners.
2. Please do not put any transparent glassy substance or similar
on the unit to avoid potential sunlight focusing damage.
3. Do not stand or climb on unit.
SOIN ET ENTRETIEN:
1. Pour nettoyer, essuyez avec un chiffon humide.
Ne pas utiliser d'eau de javel, de solvants acides ou de
nettoyants abrasifs.
2. S.V.P. Ne pas mettre de substance vitrée transparente ou
autre chose similaire sur le meuble afin d'éviter des
dommages potentiels causés par le soleil.
3. Ne pas monter ou grimper sur le meuble.
CUIDADO Y LIMPIEZA:
1. Para limpiar, limpie con un paño húmedo. No utilice
blanqueador, disolventes acidos o limpiadores abrasivos.
2. Favor de no ponga ninguna substancia
vidriosa transparente o similar en la unidad para evitar daño
potencial de enfoque de la luz del sol.
3. No se pare o suba en la unidad.
Tighten all the screws to 60% first,
then tighten to 100% once fully assembled.
Serrez toutes les vis à 60% d’abord puis serrez à 100%
une fois complètement assemblées.
Apriete todos los tornillos al 60% primero y luego apriete
al 100% una vez que esté completamente ensamblado.
PARTS / LES PIÈCES / PARTES
PART
PARTIE
PARTE
IMAGE
IMAGEN
IMAGE
DESCRIPTION
DESCRIPTION
DESCRIPCIÓN
QTY.
QTÉ.
CANT.
ALeft Panel
Panneau Gauche
Panel Izquierdo
1
BBack Panel
Panneau Arrière
Panel Posterior
1
CRight Panel
Panneau Droit
Panel Derecho
1
DFront Panel
Panneau Avant
Panel Frontal
1
EBottom Panel
Panneau Inférieur
Panel Inferior
1
FTop Panel
Panneau Supérieur
Panel Superior
1
GDelivery Plate
Plaque De Livraison
Placa De Entrega
1
HGeneric Plate
Plaque Générique
Placa Genérica
1
I8
J 1
K 1
L 1
M 1
AA 2
BB 8
CC 4
3
ASSEMBLY INSTRUCTIONS / INSTRUCTIONS D’ASSEMBLAGE / INSTRUCCIONES DE ENSAMBLAJE
1.
Insert A& Cinto B.
Pull up on A& Cand push down on B to lock.
Insérez A& Cdans B.
Tirez vers le haut sur A& Cet poussez vers le bas sur Bpour verrouiller.
Inserte A & Cen B.
Tire hacia arriba de A& Cy presione hacia abajo Bpara bloquear.
2.
Push down on part Gor Hto secure to part D.
Appuyez sur la partie Gou Hpour fixer à la partie D.
Empuje hacia abajo la parte Go Hpara asegurar a la parte D.
A
B
C
2
1
PLUG
PLUG
ENCHUE
PUSH
POUSSER
EMPUJE
2
1
A
C
D
1
2
4.
Insert Iconnectors into slots on pieces A,B,Cand D.
Place part Eface up onto Iconnectors.
Insérez les connecteurs Idans les fentes des parties A, B, Cet D.
Placez la partie Eface vers le haut sur les connecteurs I.
Inserte los connectores I en las ranuras de las piezas A, B, Cy D.
Coloque la parte Eboca arriba en los conectores I.
GOR/OU/O H
PUSH
POUSSER
EMPUJE
3.
Insert A& Cinto D.
Pull up on A& Cand push down on D to lock.
Insérez A& Cdans D.
Tirez vers le haut sur A& Cet poussez vers le bas sur Dpour verrouiller.
Inserte A& Cen D.
Tire hacia arriba de A& Cy presione hacia abajo Dpara bloquear.
C
A
B
D
E
I
I
E
2
1
PLUG
PLUG
ENCHUE
PUSH
POUSSER
EMPUJE
4
5.
Attach part Jto panel Fusing BB.
Fixez la partie Jau panneau Fen utilisant la partie BB.
Coloque la parte Jen los panel Fusando las parte BB.
F
J
BB
6.
Attach part Kto panel Dusing BB.
Fixez la partie Kau panneau Den utilisant la partie BB.
Coloque la parte Ken los panel Dusando las parte BB.
8.
Attach part Lto A and Mto Cwith part CC.
Attach Land M to panel Fusing BB.
Attachez la pièce Là Aet M à Cavec CC.
Fixez L et Mau panneau Fà l’aide de BB.
Conecte la parte La Ay Ma Ccon la parte CC.
Conecte Ly Mal panel Fusando CC.
L
M
A
BB
CC 1
2
1
2
7.
Attach panel Fonto panel B using (2) AA.
Attachez le panneau Fau panneau Ben utilisant (2) AA.
Fije el panel Fen el panel Busando (2) AA.
2
ALIGN
ALIGNER
ALINEAR PLUG
PLUG
ENCHUFE
1
F
B
LEFT
GAUCHE
IZQUIERDO
RIGHT
DROIT
DERECHO
ASSEMBLY INSTRUCTIONS / INSTRUCTIONS D’ASSEMBLAGE / INSTRUCCIONES DE ENSAMBLAJE
BB K
D

Other Dorel Home Products Outdoor Furnishing manuals

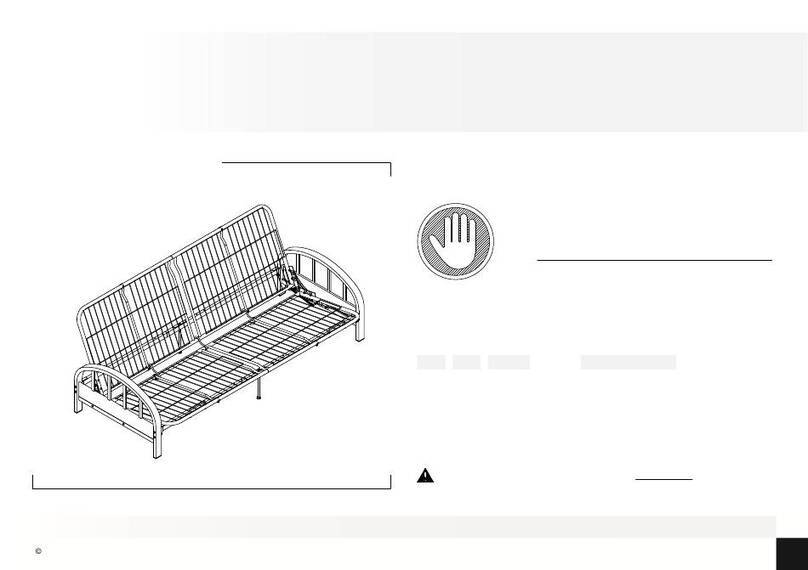
Dorel Home Products 2261659 User manual

Dorel Home Products

Dorel Home Products 2261659 User manual

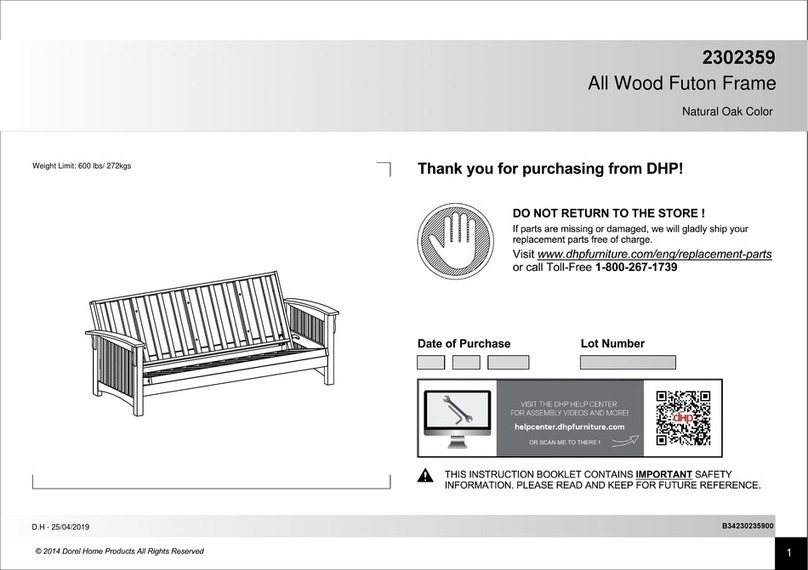
Dorel Home Products 2302359 User manual

Dorel Home Products

Dorel Home Products 2302359 User manual

Popular Outdoor Furnishing manuals by other brands

Cello Ronda instruction manual

Cello

Cello Ronda instruction manual

Outdoor living today 5' X 11' Breeze Walkway Assembly manual

Outdoor living today

Outdoor living today 5' X 11' Breeze Walkway Assembly manual

Courtyard Creations KTS200G Assembly instructions

Courtyard Creations

Courtyard Creations KTS200G Assembly instructions

modway EEI-1510 Assembly instructions

modway

modway EEI-1510 Assembly instructions

hanit TAUNUS Assembly instructions

hanit

hanit TAUNUS Assembly instructions

DURA 15030 General Instruction

DURA

DURA 15030 General Instruction

domi outdoor living LGMD1608 Assembly manual

domi outdoor living

domi outdoor living LGMD1608 Assembly manual

PHI VILLA THD7-326-118 Use and care guide

PHI VILLA

PHI VILLA THD7-326-118 Use and care guide

DURA SOLEIL DREAM 4052 manual

DURA SOLEIL

DURA SOLEIL DREAM 4052 manual

Sunnydaze Decor LAM-450 Assembly instructions

Sunnydaze Decor

Sunnydaze Decor LAM-450 Assembly instructions

Forever Redwood RUSTIC REDWOOD BENCH Assembly instructions

Forever Redwood

Forever Redwood RUSTIC REDWOOD BENCH Assembly instructions

Jysk ULLEHUSE 3700025 manual

Jysk

Jysk ULLEHUSE 3700025 manual

Sunjoy L-DN2235SST-B-C Assembly instruction

Sunjoy

Sunjoy L-DN2235SST-B-C Assembly instruction

Hanover Traditions TRADDN3PCSWG-R manual

Hanover

Hanover Traditions TRADDN3PCSWG-R manual

Sunjoy Monterey instruction manual

Sunjoy

Sunjoy Monterey instruction manual

Mimosa CORAL BAY LOUVRE PANEL GAZEBO Assembly instructions

Mimosa

Mimosa CORAL BAY LOUVRE PANEL GAZEBO Assembly instructions

Onduline Siena manual

Onduline

Onduline Siena manual

Outsunny 860-020GY manual

Outsunny

Outsunny 860-020GY manual

manuals.online logo
manuals.online logoBrands
  • About & Mission
  • Contact us
  • Privacy Policy
  • Terms and Conditions

Copyright 2025 Manuals.Online. All Rights Reserved.