Service
Do not return this product to the place of purchase. If your ride-on
toy needs service, repairs or replacement parts, call:
Pacic Cycle Consumer Relaons
Hours: 8:00 am – 5:00 pm (CST) Monday - Friday
Phone: 877-741-6154
For a complete list of replacement parts, please contact
Pacic Cycle Consumer Relaons. To order parts, please have
the model and serial number available, which can be found
underneath the seat on the baery cover.
FCC Statement
Any changes or modicaons to this unit not expressly approved
by the party responsible for compliance could void the user's
authority to operate the equipment.
NOTE: This equipment has been tested and found to comply with
the limits for a Class B digital device, pursuant to part 15 of the
FCC Rules. These limits are designed to provide reasonable
protecon against harmful interference in a residenal installaon.
This equipment generates, uses and can radiate radio frequency
energy and, if not installed and used in accordance with the
instrucons, may cause harmful interference to radio
communicaons.
However, there is no guarantee that interference will not occur in
a parcular installaon. If this equipment does cause harmful
interference to radio or television recepon, which can be
determined by turning the equipment o and on, the user is
encouraged to try to correct the interference by one or more of
the following measures:
• Reorient or relocate the receiving antenna.
• Increase the separaon between the equipment and receiver.
• Connect the equipment into an outlet on a circuit dierent from
that to which the receiver is connected.
• Consult the dealer or an experienced radio/TV technician for help.
14 15
Maintenance
Controls and Funcons
Baery Replacement and Disposal
The baery will eventually lose the ability to hold a charge.
Depending on the amount of use, and varying condions, the
baery should operate for one to three years. Follow these steps
to replace and dispose the baery.
Important! Recycle the dead baery responsibly. The baery
contains lead acid (electrolyte) and must be disposed of properly
and legally. It is illegal in most areas to incinerate lead acid
baeries or dispose of them in landlls. Take it to a federal or
state-approved lead acid baery recycler, such as an authorized
service center or your local automove baery retailer. Do not
throw the baery away with your regular household trash!
The ride-on toy should be checked for damage, missing or badly
worn parts before each use.
• Check the ghtness of the fasteners before each use.
• Check the ghtness of the wheels before each use.
• Ensure the baery is securely in place before each use.
• Store the ride-on toy indoors or cover it with a tarp to protect it
from the wet weather. Keep it away from sources of heat, such as
stoves and heaters.
• Do not leave the vehicle in the sun for long periods of me or
fading may occur. Store in shade or cover with tarp.
• Do not wash the vehicle with a hose.
• Do not wash the vehicle with soap and water.
• Clean the vehicle with a so, dry cloth. To restore shine to
plasc parts, use a non-wax furniture polish. Do not use car wax,
abrasive cleaners or wash the vehicle with soap and water.
Water will damage the motor, electrical system and baery.
This ride-on toy contains a sealed lead acid
NON SPILLABLE BATTERY. This baery must
be recycled.
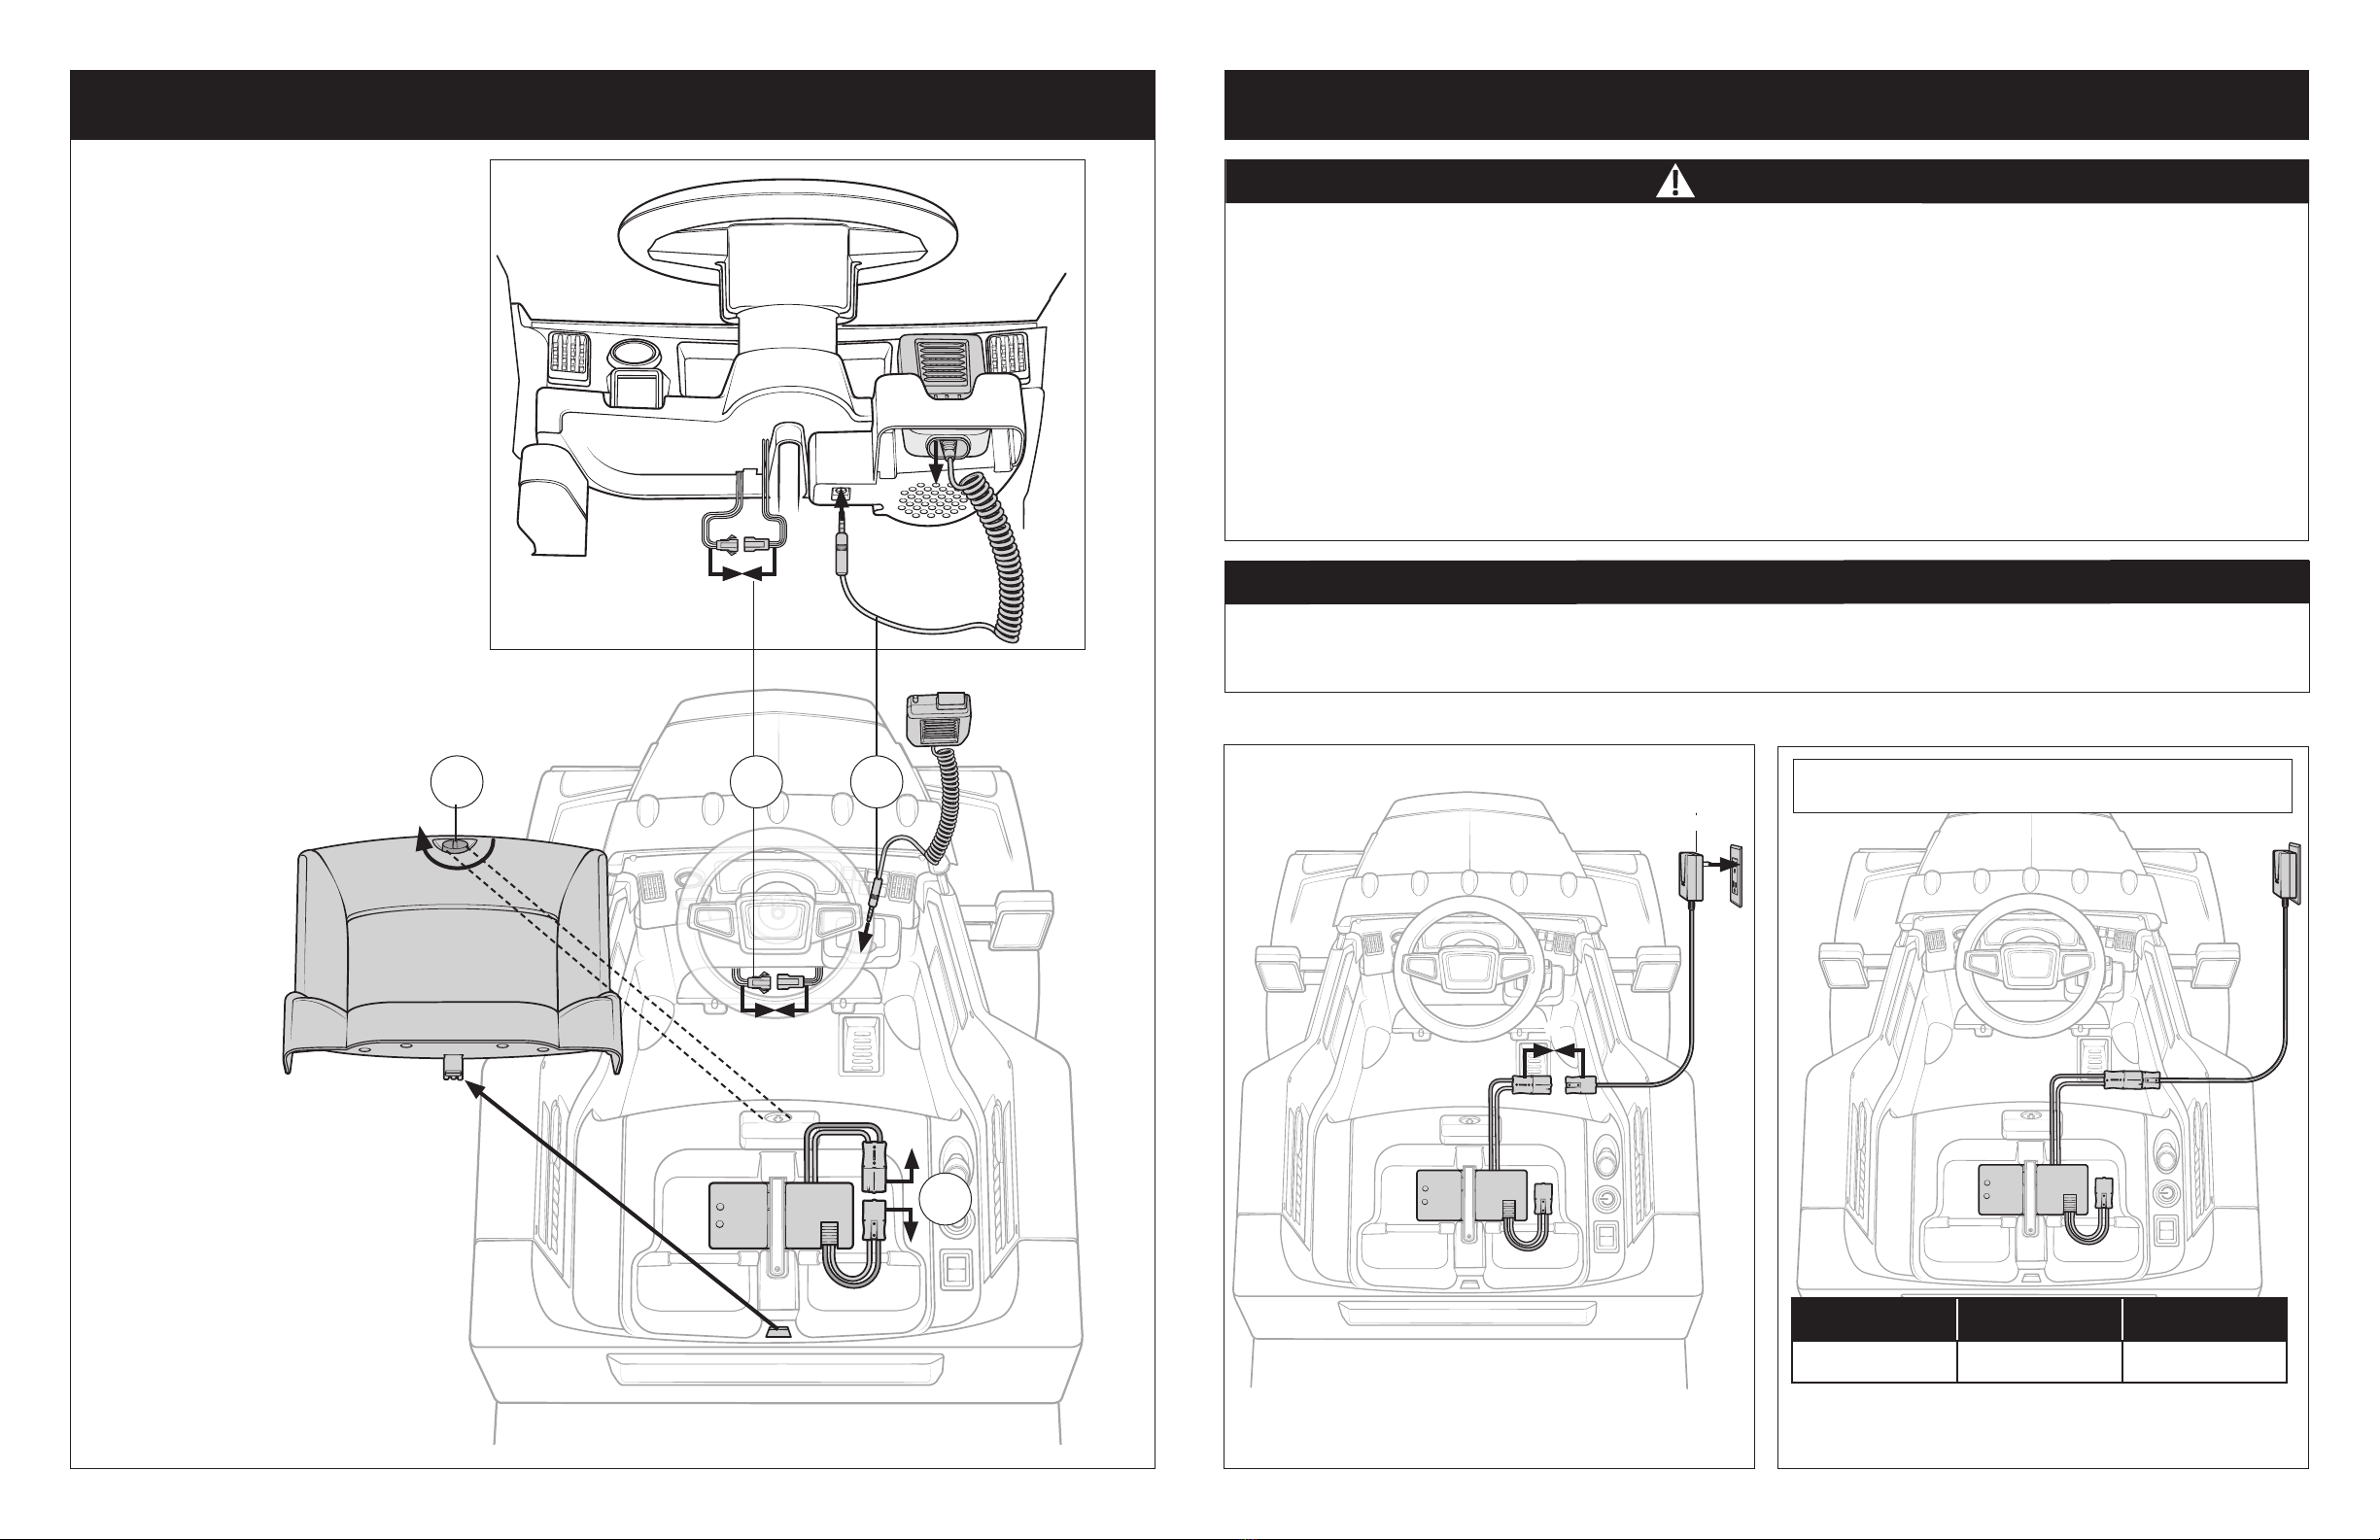
Horn
Press the pedal
to accelerate
Li foot o
pedal to stop
Air brake sound
Cab lights turn on
when the power
switch is pressed
Flip the trailer kick-stand
down when using the trailer
separately from the cab
PB Radio
Forward/Reverse
shi knob
On/O buon
High/low speed
2 MPH and 4 MPH
Note: The truck will
not operate in
reverse while in the
high speed seng.
❶
❷
❸
❹
❺