DOREMIDI MPC-10 User manual


1. Introduction
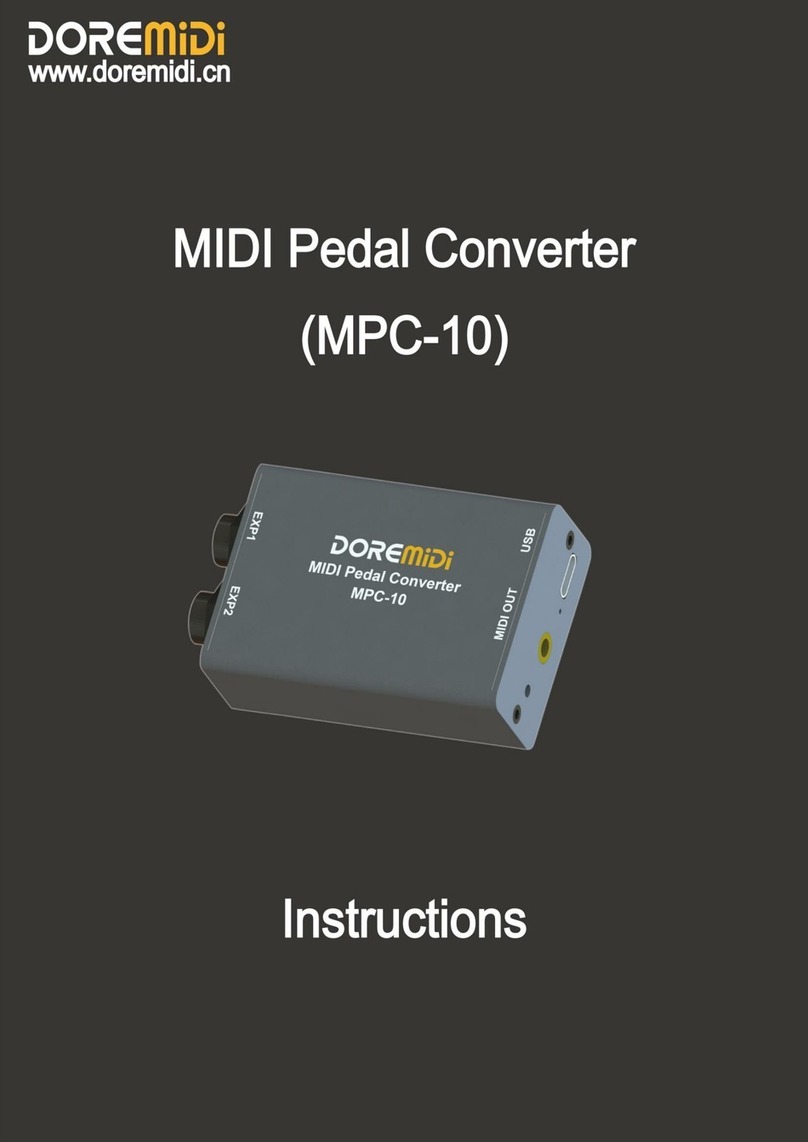
MIDI Pedal Converter (MPC-10) is a converter designed by DOREMiDi that can automatically
detect multiple types of instrument pedals to solve the problem of insufficient number of pedals
during performance. This product is compatible with positive polarity expression pedal, reverse
polarity expression pedal, sustain pedal, and dual-switch pedal, FSR Electronic Hi-Hat. It has MIDI
DIN and USB MIDI outputs, and is suitable for use in a variety of performance scenarios.
2. Appearance
❶EXP1, EXP2: 6.35 Pedal interface, used to connect external pedals.
❷USB: USB-C interface, with USB MIDI function, used to connect to a computer and supply
power to the product at the same time.
❸MIDI OUT: 3.5 interface, used to connect a 3.5 to MIDI five-pin cable to output MIDI messages.
❸Upgrade Key: Used for product firmware upgrade.
3. Product Parameters
Name
Description
Model
MPC-10
Size (L x W x H)
70*44*24mm
Weight
50g
Pedal Interface
Two 6.35 MIDI pedal interfaces, support automatic detection of pedal
type, including positive polarity expression pedal, reverse polarity
expression pedal, sustain pedal, dual switch pedal, FSR Electronic Hi-Hat
USB Interface
Standard USB MIDI interface, plug and play, no need to install drivers;
And power the product through this interface
USB compatibility
Compatible with Windows, Mac, iOS, Android and other systems
MIDI interface
3.5 MIDI output interface, use 3.5 to MIDI five-pin cable to convert to
standard MIDI DIN interface (included in the product package)
Indicator Light
Product power indicator, connected to the computer indicator
Firmware upgrade
Support firmware upgrade
Support MIDI type
CC (continuous controller), PC (program change), Note (note), Pitch Bend,
Channel Pressure

4. Steps for usage
1. Connection
Power supply: Use a 5V USB adapter to power the MPC-10 through the USB interface, or
directly connect to the computer through the USB interface, and power the MPC-10 through
the computer. The indicator light flashes when the power is only supplied, and the indicator
light is always on when it is connected to the computer.
MIDI DIN connection: Connect the MIDI OUT of the MPC-10 to the MIDI IN interface of the
MIDI device through a 3.5 to MIDI DIN 5-pin cable.
Pedal connection: Connect the pedal to the EXP1 or EXP2 interface of the MPC-10 through the
6.35 interface.
2. Set the MIDI message of the pedal
Before using the MPC-10, you need to use the Pedal Config Tool software to set up the pedal's
MIDI messages. Once set, the pedal's MIDI messages are output via USB and MIDI OUT. It is
recommended to connect the pedals before setting up. Please download the software from the
official website: www.doremidi.cn
(Note: If the pedal MIDI message is not set, the MPC-10 adopts the default value, the default value of the
expression/hi-hat pedal is MIDI CC = 21. The default value of the single switch type pedal is MIDI CC = 64
(sustain). The double switch pedal Default is MIDI CC = 64 (sustain), MIDI CC = 66 (Sostenuto).)
Here are the steps to set up the pedal's MIDI messages:
Connect the pedal: Connect the pedal to the EXP1 or EXP2 interface of MPC-10 through the
6.35mm interface.
Connect to a computer: Connect to a computer through a USB interface. After the connection
is successful, the indicator light is always on.
(Note: Generally speaking, computers come with MIDI drivers. If you find that your computer does not
have MIDI drivers, you need to install MIDI drivers. Installation method:
https://windowsreport.com/install-midi-drivers-pc/)
Open the configuration software (Pedal Config Tool V2.0) , as follows:

a. Software environment requirements: Windows 7 and above systems, MacOS.
b. Select the serial port number "COMxx" and click "Connect".
c. Click “CHECK” to get the current pedal settings.
d. Pedal Number: The serial number of the current pedal, which is selected according to the
interface that the pedal is inserted into, and displayed after connection. If a dual-switch pedal
is connected, the serial number will increase.
e. Message Number: One pedal can set 1~16 independent MIDI messages, which will be sent out
when the pedal is pressed.
f. Pedal Type: There are Expression pedal, Switch pedal, Hi-Hai pedal. After connecting the pedal,
click "CHECK" to get the pedal type. If the pedal is not connected, you can also directly select
the pedal type to set.
g. MIDI Channel: Set the channel of MIDI messages. There are 16 MIDI channels.
h. STATUS: Set the MIDI message type of the pedal. Different pedals have different MIDI message
types, such as:
STATUS
Pedal Type
CC
PC
NOTE
Pitch Bend
Channel Pressure
Expression Pedal
✔
✔
✔
✔
Switch Pedal
✔
✔
✔
Hi-Hat Pedal
✔
✔
i. DATA1/DATA2 Range: Set the range of pedal MIDI messages. When the pedal is pressed, the
product will send MIDI messages within the range.
j. Gain: Set the gain of MIDI messages, which can be set to OFF, 1~100. After setting, the MIDI
messages will increase in multiples of 1~100%, and the value is still within the range of
DATA1/DATA2 Range.
(Note: This parameter is generally used for the expression pedal/hi-hat pedal. After setting the gain, the
pedal can reach the maximum value without stepping down to the end)

k. MODE: Set the trigger mode of the switch pedal, with Single, Toggle, Reset, Increase, Decrease
five trigger modes:
MODE
Description
Single
Each time the pedal is pressed and released, the value of DATA1/DATA2 is
sent only once
Toggle
Each time the pedal is pressed and released, the values of the
DATA1/DATA2 Range are sent alternately
Reset
Press the pedal to send the value of the first data frame of DATA1/DATA2,
release the value of the second data frame of DATA1/DATA2
Increase
Each time the pedal is pressed and released, the value will increment in
the DATA1/DATA2 Range
Decrease
Each time the pedal is pressed and released, the value will decrease in the
DATA1/DATA2 Range
l. Trigger Level: It is used to set the velocity level that the hi-hat pedal is quickly stepped on. It
can be set to OFF, 1~127.
m. Press Note: When the pedal is pressed quickly and reaches the Trigger Level, the product
sends a Press Note.
n. Release Note: When the pedal is released quickly, the product will send a Release Note.
o. Set: After Set the parameters, click "Set" to set the pedal MIDI message.
p. Save File: Save the current pedal configuration content.
q. Open File: Load the configuration content of the pedal.
r. Pedal MIDI Data: MIDI message display box, after triggering the pedal, the pedal's MIDI
message will be displayed in the display box. STATUS are displayed in hexadecimal notation,
and CHAN, DATA1, DATA2 is displayed in decimal notation.

3. Example of pedal setting
Set expression pedal
Set the No. 2 pedal as an expression pedal, channel 1, and the CC controller is 21, as shown in
the figure:
Set the single switch type pedal
Set the No. 2 pedal as a sustain pedal, channel 1, the CC controller is 64, and the CC controller
value is 127, MODE = Reset, as shown in the figure:

Set the dual switch pedal
When setting up a dual switch type pedal, you need to connect the pedal to the product first,
and then click Connect. At this time, the product will detect the number of connected pedals,
select the corresponding pedal serial number to set.
Set the third pedal as a Sostenuto pedal, channel 1, the CC controller is 66, the CC controller is
127, and the MODE is Reset, as shown in the figure:
Set the Hi-hat pedal
Set the No. 2 pedal as a hi-hat pedal, channel 1, CC controller is 21, DATA2 Range is 0~127, as
shown in the figure:

5. Plug type of pedal
MPC-10 supports a 6.35mm plug, which can be connected to a positive expression pedal, a
reverse polarity expression pedal, a sustain pedal, a dual-switch pedal, and an electronic drum
hi-hat. The pedal plug is shown in the figure:
6. Precautions
1. This product contains a circuit board.
2. Rain or immersion in water may cause the product to malfunction.
3. Do not heat, press, or damage internal components.
4. Non-professional maintenance personnel are not allowed to disassemble the product.
5. The working voltage of the product is 5VDC, using a voltage lower or exceeding this voltage
may cause the product to fail to work or be damaged.

6. Q&A
Question: The pedal type detected on the configuration software is incorrect.
Answer:
Please make sure that the pedal has been connected to MPC-10 normally.
If you are connecting an expression pedal, please try to place the pedal in the middle range,
and then click "SENSE" to detect.
Question: Is it possible to set MIDI messages if no pedal is connected?
Answer: Yes, but only the expression pedal and sustain pedal can be set, and the dual pedal
function cannot be set. After setting, you must ensure that the corresponding pedal type is
connected correctly during use. (It is recommended to connect the pedal before setting, so as to
avoid setting errors)
Question: The USB cannot be connected to the computer.
After confirming the connection, whether the indicator light flashes;
Confirm whether the computer has a MIDI driver. Generally speaking, the computer comes
with a MIDI driver. If you find that the computer does not have a MIDI driver, you need to
install the MIDI driver. Installation method: https://windowsreport.com/install-midi-drivers-
pc/
If the problem is not resolved, please contact customer service.
Manufacturer: Shenzhen HuaShi Technology Co., Ltd.
Address: Room 9A, 9th Floor, Kechuang Building, Quanzhi Science and Technology Innovation Park,
Shajing Street, Baoan District, Shenzhen, Guangdong Province
Customer Service Email: info@doremidi.cn
Other manuals for MPC-10
1
Other DOREMIDI Media Converter manuals
Popular Media Converter manuals by other brands

MORNSUN
MORNSUN MBP300-2A27D27 manual

Progressive Dynamics
Progressive Dynamics PD9200 SERIES owner's manual

Manhattan
Manhattan 151443 instructions

ACT
ACT AC4455 Quick install

PCB Piezotronics
PCB Piezotronics 422E02 Installation and operating manual

Control Techniques
Control Techniques Unidrive M700 Installation sheet

Converters.TV
Converters.TV CDM-680 Operation manual

CYP
CYP CPT-387 Operation manual

Star Cooperation
Star Cooperation FlexMedia 1000BASE-T1 Instructions for use

Posital Fraba
Posital Fraba IXARC Instruction leaflet

EnvironmentalLights.com
EnvironmentalLights.com DMX-5-8A quick start guide

Trust
Trust Televiewer 1600 manual