manuals.online logo
Brands
  1. Home
  2. •
  3. Brands
  4. •
  5. dosatron
  6. •
  7. Water Pump
  8. •
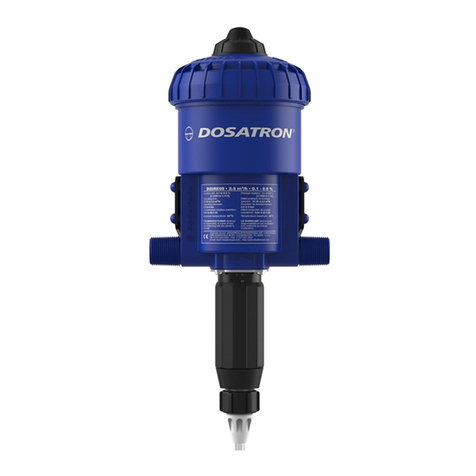
  9. dosatron D40MZ3000 User manual

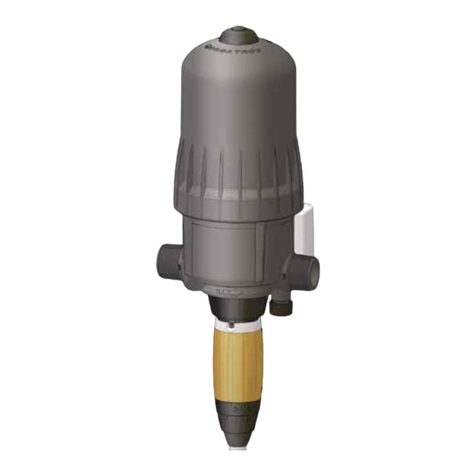
dosatron D40MZ3000 User manual

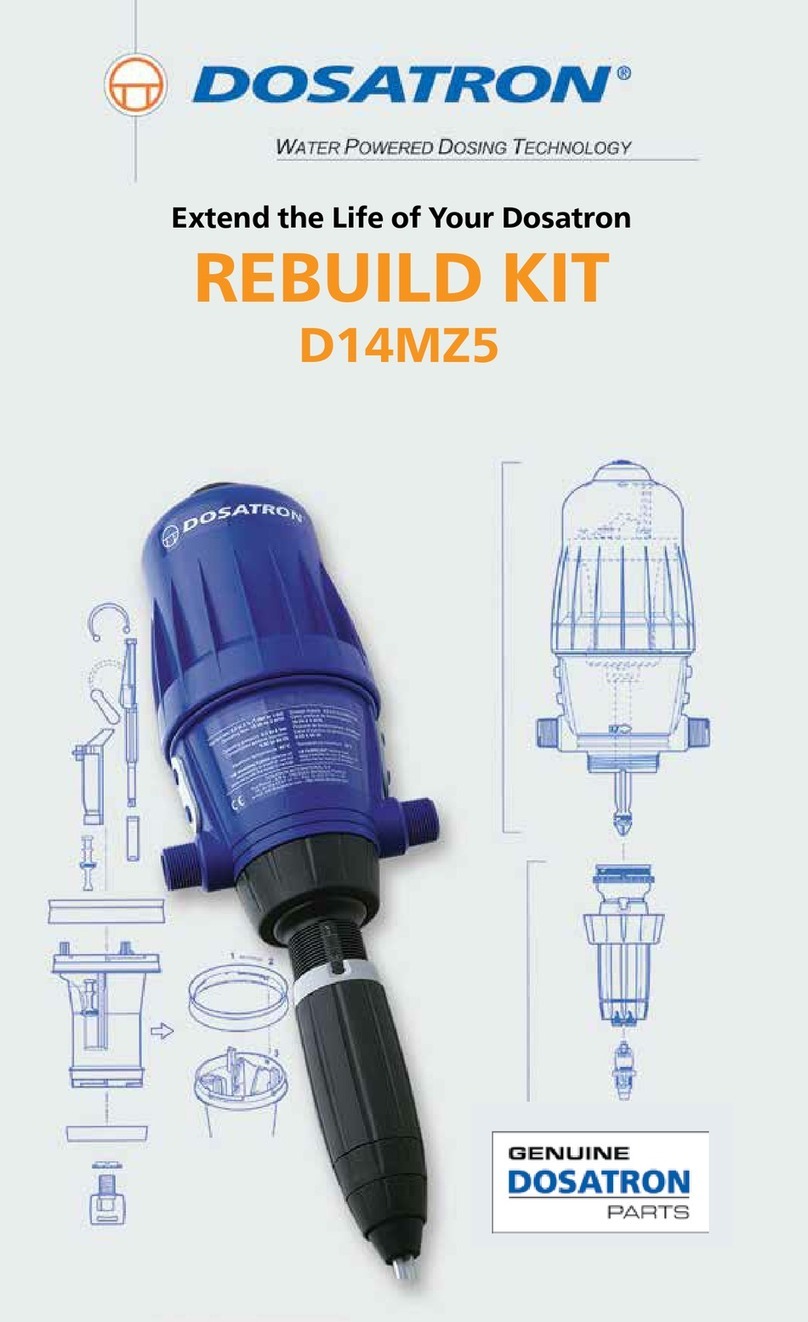
Rebuild Kit
D40MZ3000
Extend the Life of Your Dosatron
CHAT at www.dosatronusa.com
Dosatron D40MZ3000 Rebuild Kit
Part 1 - Piston Kit Contents:
PDI1216 - Omega Spring
PDI1086 - Connecting Rod
PDI1085 - Push Rod Seal
PDI1093 - Upper Flange
PDI1092 - Lower Flange
Remember to wear proper protection when performing maintenance
such as gloves, eyewear, and apron.
This kit is for the Dosatron D40MZ3000 and consists of two parts:
Part #: MKD40MZ3000AF • MKD40MZ3000K
• MKD40MZ3000VF
• Part 1 - Piston Kit • Part 2 - Seal Kit
Part 2 - Seal Kit Contents:
PJDI215 - Check Valve
JDI100 - Injection Sleeve O-ring
JDI120 - Injection Stem O-ring
JDI200 - Plunger Seal
20J006 - Upper Insert O-ring
1-800-523-8499 • 1-727-443-5404
Part 1 - Piston Kit Instrucons
Unscrew and remove the bell
housing, you may use a
universal strap wrench.
Pull the piston out of the body
and set the bell housing and
body aside.
Using an 8mm wrench, remove
the plunger from the piston by
rotating it a quarter of a turn
counterclockwise.
Dislodge the 4 black upper
valves by pushing out on the top
tab of each valve.
1
2
3
1
D40MZ3000
CHAT at www.dosatronusa.com
Raise the push rod carefully and
pull the piston's mechanism up
and out of black piston shell.
It will probably come out in
either two or three pieces. The
rst is the valve guide and the
others are the push rod, Omega
Spring and Connecting Rod.
Remove the Piston
Maintenance Kit (PPDI065)
items from the bag and
set aside.
4
5
6
2
VALVE GUIDEPUSH ROD
OMEGA
SPRING &
CONNECTING ROD
PUSH ROD
1-800-523-8499 • 1-727-443-5404
CHANGING THE PUSH ROD
SEAL, OMEGA SPRING AND
CONNECTING ROD:
Locate the Push Rod Seal and
twist it a quarter turn
counterclockwise and slide
down and o󰀨 the push rod.
Slide the NEW Push Rod Seal
(PDI1085) onto the push rod with
the tapered end on the push rod.
When in position, rotate the
Push Rod Seal a quarter turn
clockwise to lock into place.
Next, pick up the beige Omega
Spring (PDI1216) and black
Connecting Rod (PDI1086)
from the new kit.
Slide one end of the Omega
Spring into the channel on the
Connecting Rod (parts in the kit
may already be connected).
9
8
7
3
CHAT at www.dosatronusa.com
Snap the other end of the
Omega Springs into the push
rod as shown. Set the parts
aside and pick up the piston
assembly.
TO CHANGE THE PISTON
FLANGES:
UPPER FLANGE
On the Upper Flange, locate
the white tooth on the inside
of the lock ring.
Press down on the lock lever
directly next to the tooth.
10
11
12
4
1-800-523-8499 • 1-727-443-5404
Rotate the white lock
ring about ¾ of an inch
counterclockwise to unlock,
making sure the white tooth
slides above the black lever.
Slide the white lock ring and
Upper Flange up and o󰀨 the
black piston shell.
Pick up the NEW Upper Flange
(PDI1093) and slide it onto the
piston shell with the Vshape
opening facing downward, and
at edge facing up. Push down
until it sits on the ledge of the
black piston shell.
14
13
15
5
CHAT at www.dosatronusa.com
Hold the white lock ring with the
at edge facing down towards the
piston, and place the lock ring on
top of the NEW Upper Flange.
The tabs on the inside of the
lock ring should align with the
gaps around the edge of the
piston shell; and the white tooth
and black lock lever should be
close together.
Push down on the lock ring so
that the at edge touches the top
of the white Flange.
Then, rotate the lock ring ¾ of
an inch turn clockwise to lock it
into place.
LOWER FLANGE
Hold the piston upside down.
On the Lower Flange, locate the
white tooth on the inside of the
lock ring.
16
17
18
6
1-800-523-8499 • 1-727-443-5404
Press down on the lock lever
directly next to the tooth.
Rotate the lock ring about
½ of an inch clockwise to
unlock, making sure the white
tooth slides on top of the lever.
Slide the lock ring and Lower
Flange up and o󰀨 the black
piston shell.
20
19
21
7
CHAT at www.dosatronusa.com
Pick up the NEW Lower Flange
(PDI1092) and slide it onto the
piston shell, with the Vshape
opening facing downward and
at edge facing up. Push down
until it sits on the edge of the
black piston shell.
Hold the white lock ring with the
at edge facing down towards the
piston, and place the lock ring on
top of the NEW Lower Flange.
The tabs on the inside of the
lock ring should align with the
gaps around the edge of the
piston shell; and the white tooth
and black lock lever should be
close together.
Push down on the lock ring so
that the at edge touches the top
of the white Flange.
Then, rotate the lock ring 1/2 of
an inch turn counterclockwise to
lock it into place.
22
23
24
8
1-800-523-8499 • 1-727-443-5404
TO ASSEMBLE THE INSIDE
OF THE PISTON
Inside the piston shell are 8 holes
the same size, 4 for the lower
valves (center holes) and 4 for
the upper valves (top holes).
There is also a single smaller
hole for the push rod assembly.
Insert the push rod assembly
inside the smaller hole with the
top curved portion facing
outward (following the curve
of the piston).
25
26
27
9
CHAT at www.dosatronusa.com
Make sure the Connecting Rod
drops into the notches inside the
piston shell.
Align the valve rack next to the
push rod assembly making sure
the guide aligns with the black
posts on the piston shell, and the
lower valves align with the
4 center openings.
NOTE: You may have to lift the
push rod assembly and reposition
both assemblies inside the piston
shell simultaneously. Make sure the
Connecting Rod drops into the notches
inside the piston shell again.
28
10
Carefully begin pressing the
mechanism (both assemblies)
into place inside the piston shell
and double check the alignment
of both sections.
30
29
VALVE GUIDE
PUSH ROD
ASSEMBLY
1-800-523-8499 • 1-727-443-5404 11
Snap one of the upper valves into
the valve guide.
Now, test the piston assembly by
carefully pulling the push rod up
until you hear a click, then snap
the last 3 valves back on.
Insert the plunger back into
the piston and with the use of
the 8mm wrench, rotate it a
quarter of a turn clockwise to
lock it into place.
31
33
32
CHAT at www.dosatronusa.com
Insert the piston back into the
Dosatron injector and screw the
bell housing back on.
You have completed the steps to
replace the Piston Flange Kit on
your D40 Dosatron injector.
Continue with Part 2 - Seal Kit
instructions.
34
12
If you have any questions, call 1-800-523-8499 or
to CHAT visit www.dosatronusa.com.
35
1-800-523-8499 • 1-727-443-5404
Part 2 - Seal Kit Instrucons
Unscrew the suction hose nut
and remove the suction hose
and ferrule from the bottom of
the Dosatron unit.
Unscrew the injection stem nut,
slide it down and set aside.
Pull the injection stem
straight down from the body
of the injector.
1
2
3
D40MZ3000
13
CHAT at www.dosatronusa.com
Unscrew and remove the check
valve nut.
Grasp the white threaded
barb and pull the Check Valve
assembly straight out.
It might come out in two
pieces. Discard the old Check
Valve parts.
Unscrew and remove the
lock nut.
4
5
6
14
1-800-523-8499 • 1-727-443-5404
Remove the Cclamp by
spreading the opening and
sliding it down over the threads.
Unscrew and remove the
adjusting nut. Set aside.
Push the white injection stem
up and out of the graduated
injection sleeve.
9
8
7
15
CHAT at www.dosatronusa.com
Remove and replace the
Injection Sleeve O-Ring
(Part #: JDI100).
Unscrew the upper insert from
the top of the injection stem, then
ip the injection stem upside
down so the Upper Insert O-ring
comes o󰀨.
Discard and replace with the
NEW Upper Insert O-Ring
(Part #: 20J006).
Before placing the insert back
into the injection stem, remove
and replace the Injection Stem
O-Ring (Part #: JDI120).
10
11
12
16
UPPER
INSERT
UPPER
INSERT
O-RING
1-800-523-8499 • 1-727-443-5404
Screw the upper insert back into
the top of the injection stem.
Align the groove in the white
stem with the tooth inside the
lower portion of the injection
sleeve. Slide the stem down as
far as possible.
Thread the adjusting nut back
onto the injection sleeve.
14
13
15
17
CHAT at www.dosatronusa.com
Replace the Cclamp by sliding
it over the threads. Rotate until it
clicks into place.
Thread on the lock nut and
hand tighten.
Install the new Check Valve
Assembly (Part #: PJDI215)
into the stem.
16
17
18
18

Other dosatron Water Pump manuals

dosatron Dilution MDE0110MF1.5KIT User manual

dosatron

dosatron Dilution MDE0110MF1.5KIT User manual

dosatron D25RE09 Operating instructions

dosatron

dosatron D25RE09 Operating instructions

dosatron D14MZ5VAFII User manual

dosatron

dosatron D14MZ5VAFII User manual

dosatron GENUINE D14MZ5VVFII User manual

dosatron

dosatron GENUINE D14MZ5VVFII User manual

dosatron D25ALN User manual

dosatron

dosatron D25ALN User manual

dosatron D3 RE 3000 User manual

dosatron

dosatron D3 RE 3000 User manual

dosatron D25 Series Operating instructions

dosatron

dosatron D25 Series Operating instructions

dosatron INDUSTRY Series User manual

dosatron

dosatron INDUSTRY Series User manual

dosatron D14MZ520 Operator's manual

dosatron

dosatron D14MZ520 Operator's manual

dosatron D45 Series User manual

dosatron

dosatron D45 Series User manual

dosatron D14MZ5 User manual

dosatron

dosatron D14MZ5 User manual

dosatron D3 TRE 3000 User manual

dosatron

dosatron D3 TRE 3000 User manual

dosatron D 25 F User manual

dosatron

dosatron D 25 F User manual

dosatron D 07 RE 5 User manual

dosatron

dosatron D 07 RE 5 User manual

dosatron GREEN LINE D30GL02 Operator's manual

dosatron

dosatron GREEN LINE D30GL02 Operator's manual

dosatron D14MZ520 Operator's manual

dosatron

dosatron D14MZ520 Operator's manual
dosatron D25RE10 User manual

dosatron

dosatron D25RE10 User manual

dosatron ANIMAL HEALTH D25AL2-N User manual

dosatron

dosatron ANIMAL HEALTH D25AL2-N User manual

dosatron D14MZ10AFII User manual

dosatron

dosatron D14MZ10AFII User manual

dosatron D14MZ5VFII User manual

dosatron

dosatron D14MZ5VFII User manual

dosatron D9 Green Line Operator's manual

dosatron

dosatron D9 Green Line Operator's manual

dosatron D 20 SP User manual

dosatron

dosatron D 20 SP User manual
dosatron D 45 RE 3000 User manual

dosatron

dosatron D 45 RE 3000 User manual

dosatron D25F-11 GPM User manual

dosatron

dosatron D25F-11 GPM User manual

Popular Water Pump manuals by other brands

Magnetek IMPULSE VG+ Series 3 instruction manual

Magnetek

Magnetek IMPULSE VG+ Series 3 instruction manual

Lorentz pump PS600 BADU Top12 Installation, operation & maintenance manual

Lorentz pump

Lorentz pump PS600 BADU Top12 Installation, operation & maintenance manual

Carver Pump G2C Installation, operation and maintenance instructions

Carver Pump

Carver Pump G2C Installation, operation and maintenance instructions

Kamoer F4 PRO quick start guide

Kamoer

Kamoer F4 PRO quick start guide

Lavor EG-P 3600 instruction manual

Lavor

Lavor EG-P 3600 instruction manual

Zoeller Fusion Series owner's manual

Zoeller

Zoeller Fusion Series owner's manual

Samoa LARIUS GIOTTO Operating and maintenance manual

Samoa

Samoa LARIUS GIOTTO Operating and maintenance manual

Grundfos CR Series Installation and operating instructions

Grundfos

Grundfos CR Series Installation and operating instructions

Dutypoint ScubaTANK WX.A Operation and maintenance manual

Dutypoint

Dutypoint ScubaTANK WX.A Operation and maintenance manual

Danfoss H1 Series technical information

Danfoss

Danfoss H1 Series technical information

Server CP-5 manual

Server

Server CP-5 manual

Wilo Wilo-MVIE Series Installation and operating instructions

Wilo

Wilo Wilo-MVIE Series Installation and operating instructions

Lochinvar ARM3072PAB Specification sheet

Lochinvar

Lochinvar ARM3072PAB Specification sheet

Wacker Neuson PS2 500 Operator's manual

Wacker Neuson

Wacker Neuson PS2 500 Operator's manual

BUSCH COMBI COBRA DS 3161 B instruction manual

BUSCH

BUSCH COMBI COBRA DS 3161 B instruction manual

SymCom PumpSaver Plus installation instructions

SymCom

SymCom PumpSaver Plus installation instructions

Warren rupp Sandpiper PB 1/4 Service & operating manual

Warren rupp

Warren rupp Sandpiper PB 1/4 Service & operating manual

BEAMEX PGHH operating instructions

BEAMEX

BEAMEX PGHH operating instructions

manuals.online logo
manuals.online logoBrands
  • About & Mission
  • Contact us
  • Privacy Policy
  • Terms and Conditions

Copyright 2025 Manuals.Online. All Rights Reserved.