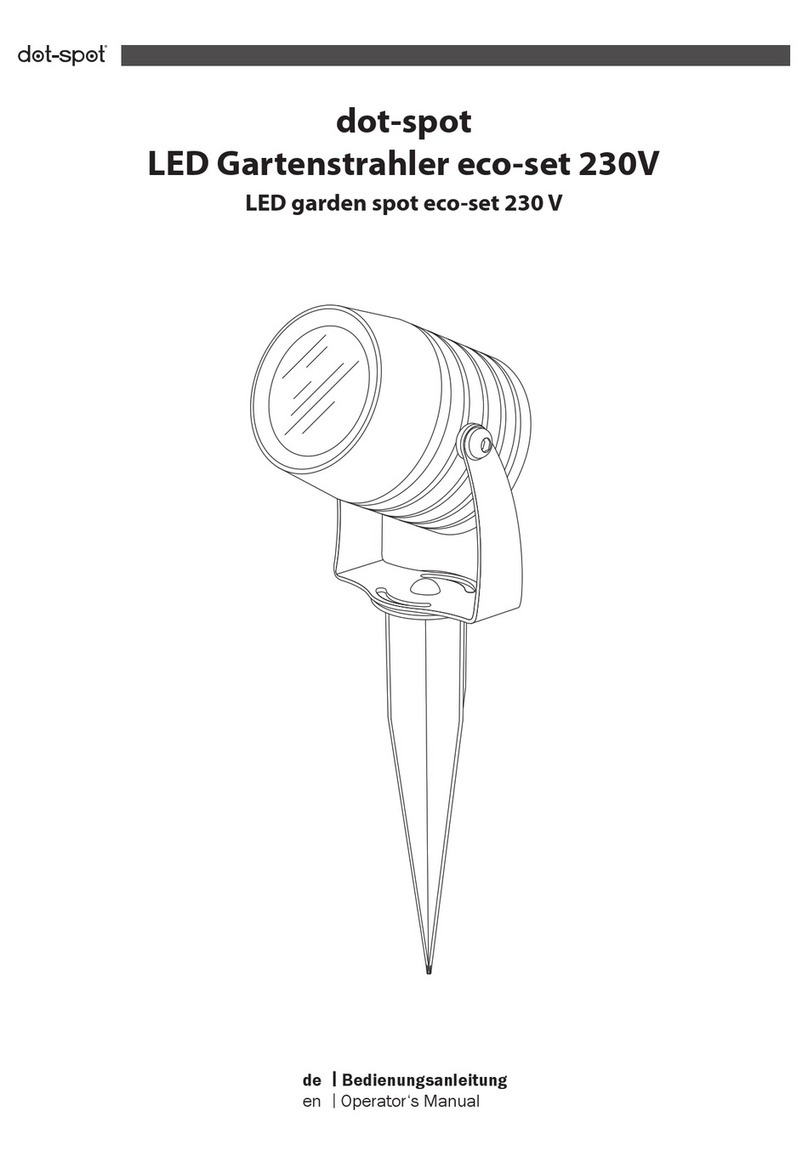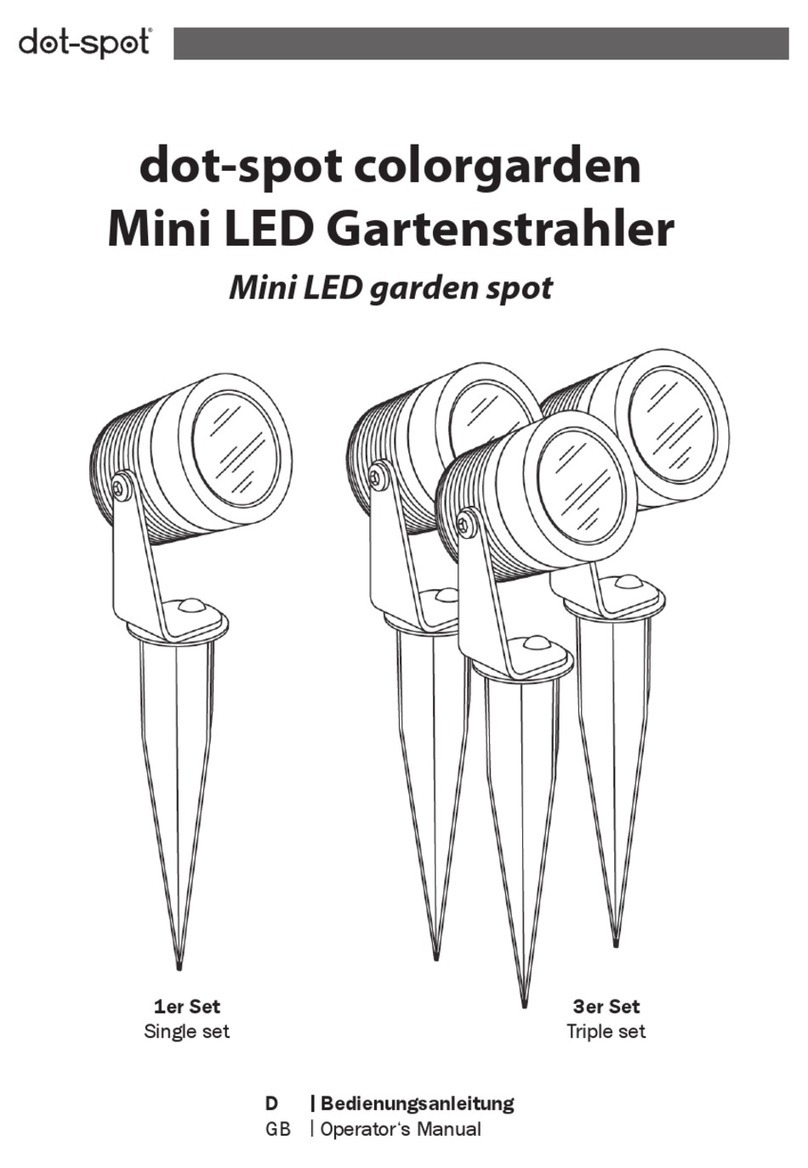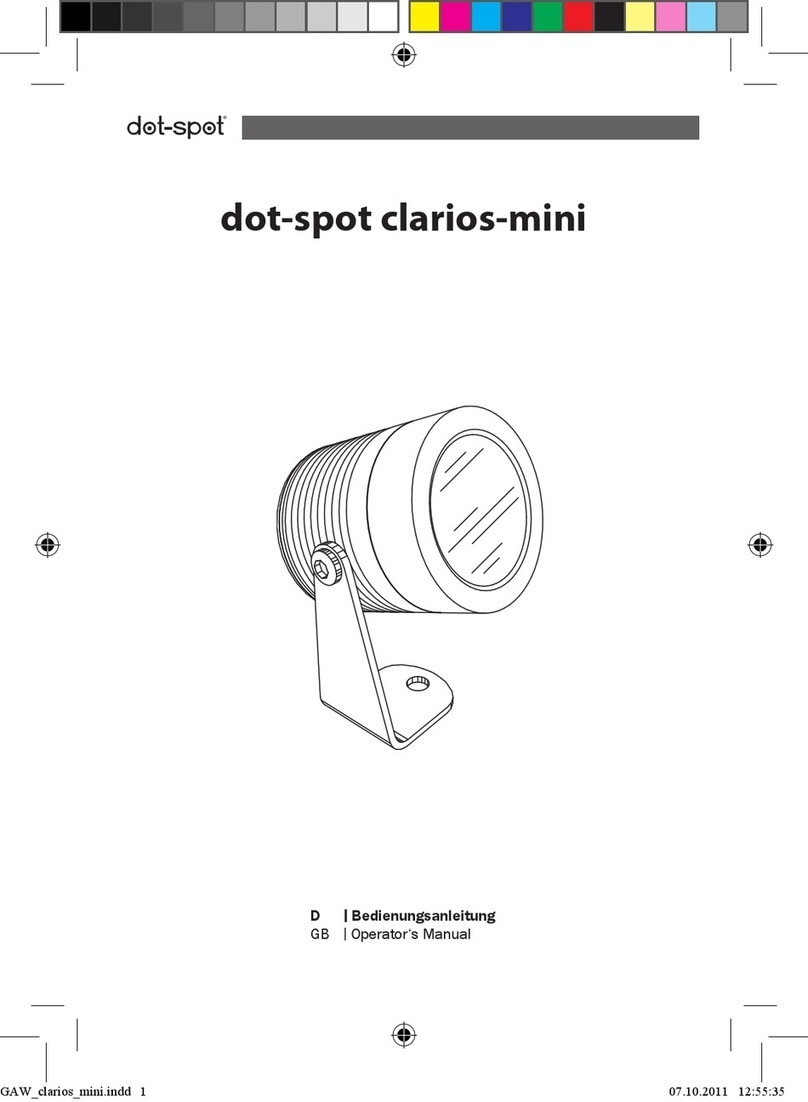
Danke!
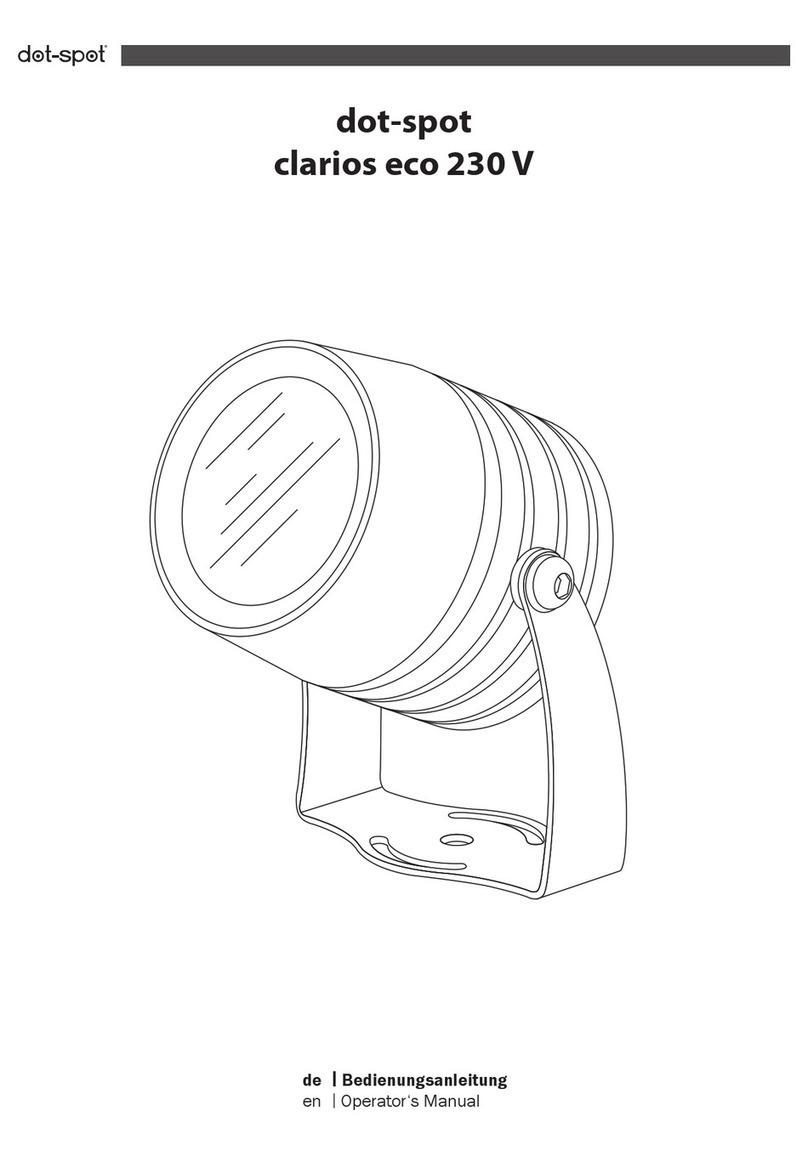
Vielen Dank, dass Sie sich für den dot-spot clarios Gartenstrahler entschieden haben. dot-spot
Produkte werden nach sehr hohen Qualitätsrichtlinien in Deutschland entwickelt und gefertigt. Die
hohe Qualität und lange Lebensdauer der Produkte sind ein aktiver Beitrag zur Ressourcenscho-
nung und zum Umweltschutz.
Inhaltsverzeichnis
Umgang mit der Gebrauchsanleitung
Lieferumfang
Montagewerkzeug
Montagezubehör (optional)
Produktbeschreibung
Technische Beschreibung
Technische Daten
Ausstattungsvarianten
Modell und Leistung
Lichtfarben
Optik
Anschluss
Sicherheit
Bestimmungsgemäßer Gebrauch
Hinweis auf Installation durch den Fachmann
Sicherheitshinweise
Montage
Vorbereitung
Mechanische Montage
Montage mit Erdspieß
Montage mit Montageverlängerung
Montage von anderem Zubehör
Anschluss
Freie Verkabelung
M12 Stecker und Verkabelungssystem
Einstellungdesexbeam
Betrieb
Wartung, Entsorgung
Pege
Leuchtmittel
Entsorgung
Störung, Fehlersuche und -behebung
Garantie
Service
Rücksendung
Servicestelle
de
Umgang mit der Gebrauchsanleitung
Lesen Sie diese Gebrauchsanleitung vollständig durch, bevor Sie den Strahler installie-
ren oder verwenden. Bewahren Sie die Anleitung gut auf. Falls Sie den Strahler an Dritte
weitergeben, geben Sie auch die Gebrauchsanleitung mit. Die Nichtbeachtung dieser An-
leitung kann zu Gefahren für Personen und Schäden an Gegenständen führen. Für Personen und
Sachschäden, die aufgrund der Nichtbeachtung dieser Gebrauchsanleitung entstehen, übernimmt
dot-spot keine Haftung.
Lieferumfang
1xLeuchteclarios (unterschiedliche Ausführungen)
1xBedienungsanleitung
1xBeipackbeutelmit:
1xMontagebügelzurBefestigungauffestenUntergründen
2xInnensechskant-LinsenkopfschraubeM6x10zurBefestigungderLeuchteimMontagebügel
2xSprengringM6zurSchraubensicherung
2xKunststoffunterlegscheibeM6
1xMontageschraube5x50,Kreuzschlitz-/PZ2-Antrieb
1xKunststoffdübelS8
1xInnensechskant-SchlüsselSW1,5zumEinstellendesex beam (nur bei clarios ex beam)
Montagewerkzeug
ZurMontagederLeuchteimMontagebügelwirdeinInnensechskant-SchlüsselSW4benötigt.
Bei der Verwendung der Montageschraube zur Befestigung des Montagebügels wird ein Schrau-
bendreheroderBit–AufsatzfürKreuzschlitz/PZGröße2benötigt.JenachMontageuntergrund
wirdeinBohrerØ3oder8mmbenötigt.
FürdieElektroinstallationbeiderVariantemitoffenemKabelende(Bestellnummern.33)istdas
benötigteWerkzeugvondergewähltenVerbindungstechnikabhängig.
Montagezubehör (optional)
Optional kann ein Edelstahl-Erdspieß und Montageverlängerungen in verschiedenen Längen zur
Anbringung in verschiedenen Höhen als Sonderzubehör geliefert werden.
ZumSchutzvorTierverbissisteinMarderschutzlieferbar:LängeproSetist50cm.
Für die Elektroninstallation sind umfangreiches Verkabelungszubehör im M12 Verkabelungs-
system,wasserdichteKabelverschraubungenundGel-BoxenfürfreieVerkabelung,sowieNetzteile
und Dimmer für M12 Verkabelungssystem und freie Verkabelung lieferbar.
Produktbeschreibung
EG-Konformitätserklärung
Hiermit erklärt dot-spot Gmbh & Co. KG dass die Leuchte clarios der Richtlinie 2004/108/EG
entsprichtundmitCEgelabeltist.DervollständigeTextderEU-Konformitätserklärungistunterder
folgenden Internetadresse verfügbar: www.dot-spot.de/clarios_ex_beam und www.dot-spot.de/
clarios_II
de
2 3
............................................................................................... 3
........................................................................................................................................ 3
............................................................................................................................... 3
................................................................................................................ 3
.......................................................................................................................... 3
4
................................................................................................................................. 4
........................................................................................................................ 5
5
5
5
6
.............................................................................................................................................. 6
6
6
6
................................................................................................................................................ 7
7
7
8
8
8
8
9
10
10
................................................................................................................................................. 11
........................................................................................................................ 11
11
11
11
............................................................................................. 12
.............................................................................................................................................. 12
12
13
13
