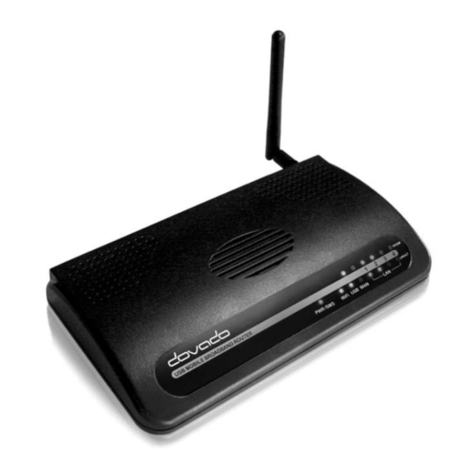
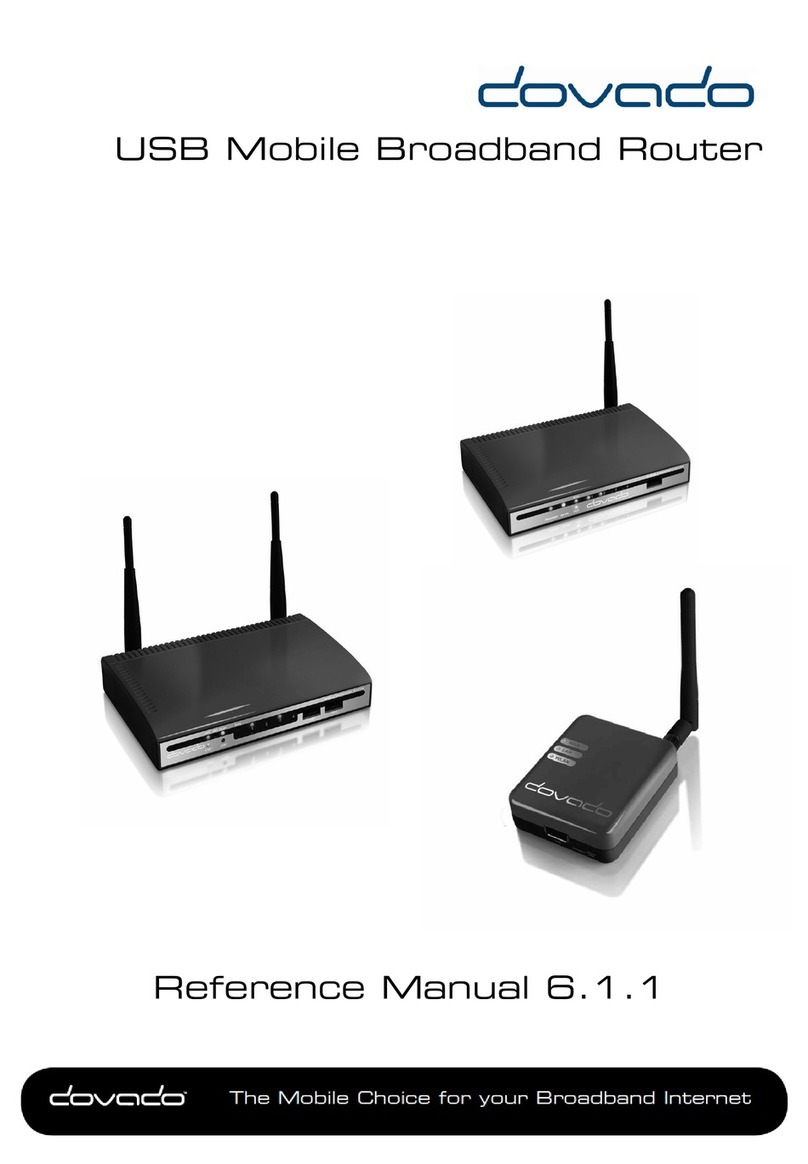
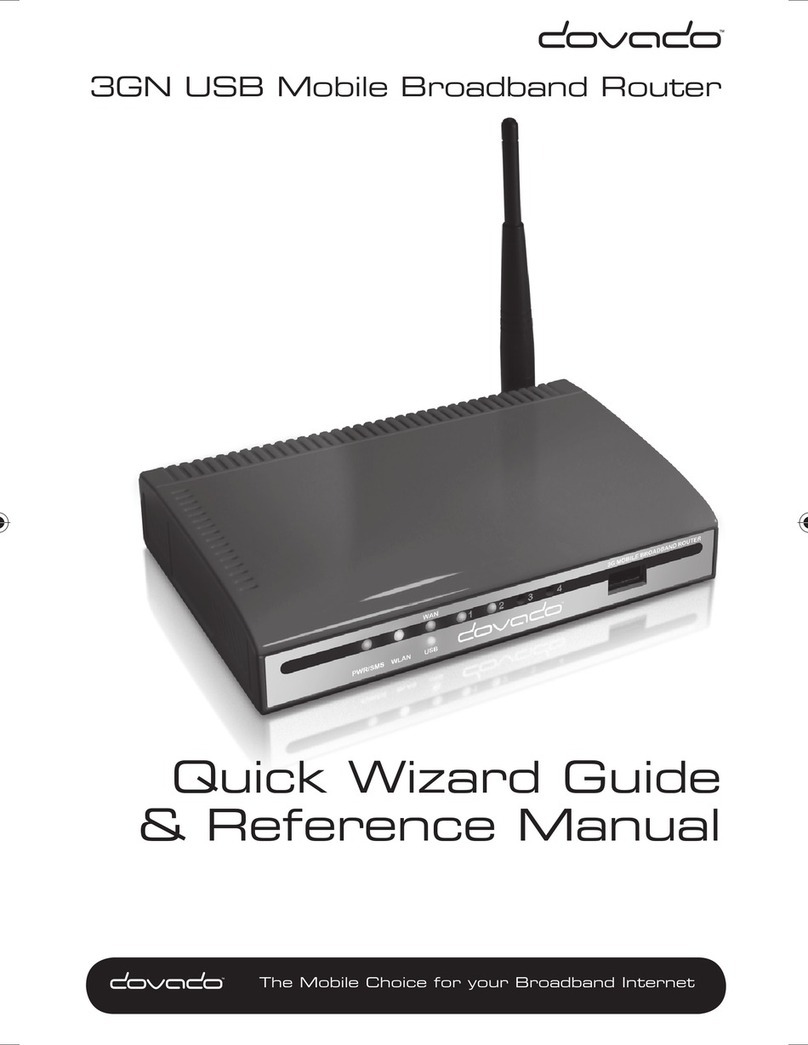
Dovado USB Mobile Broadband Router User manual

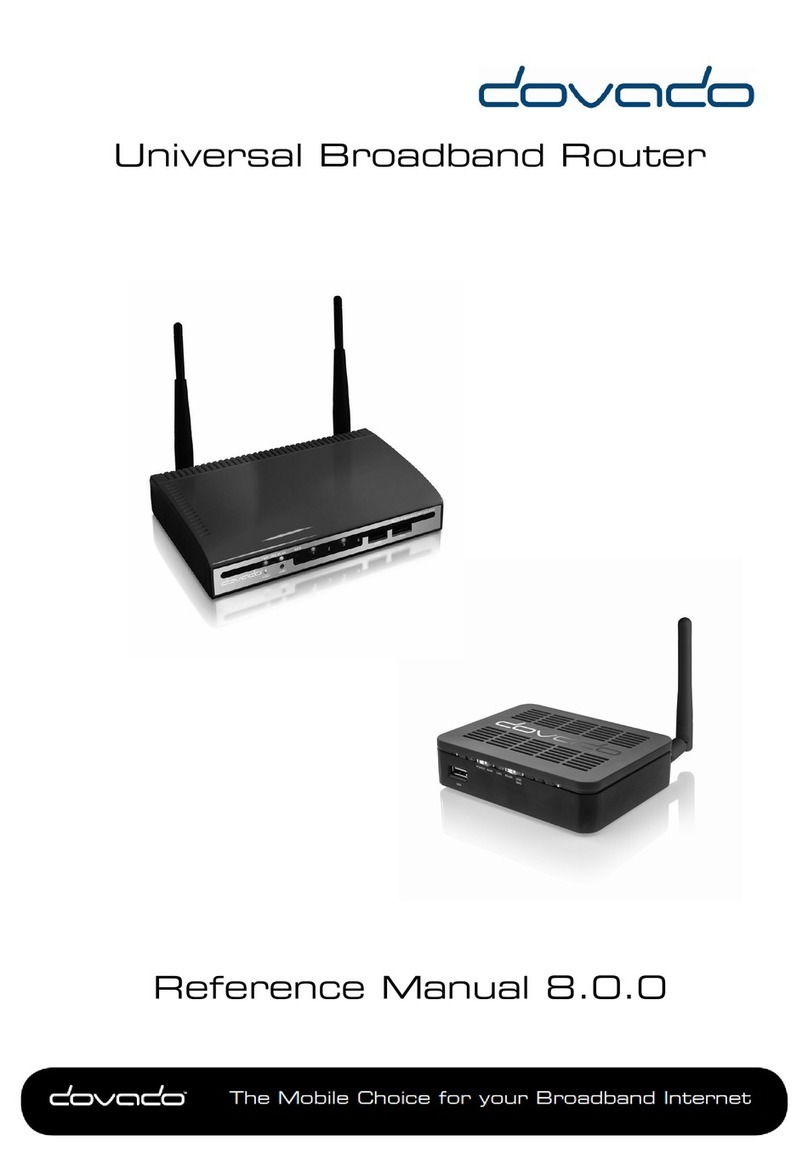
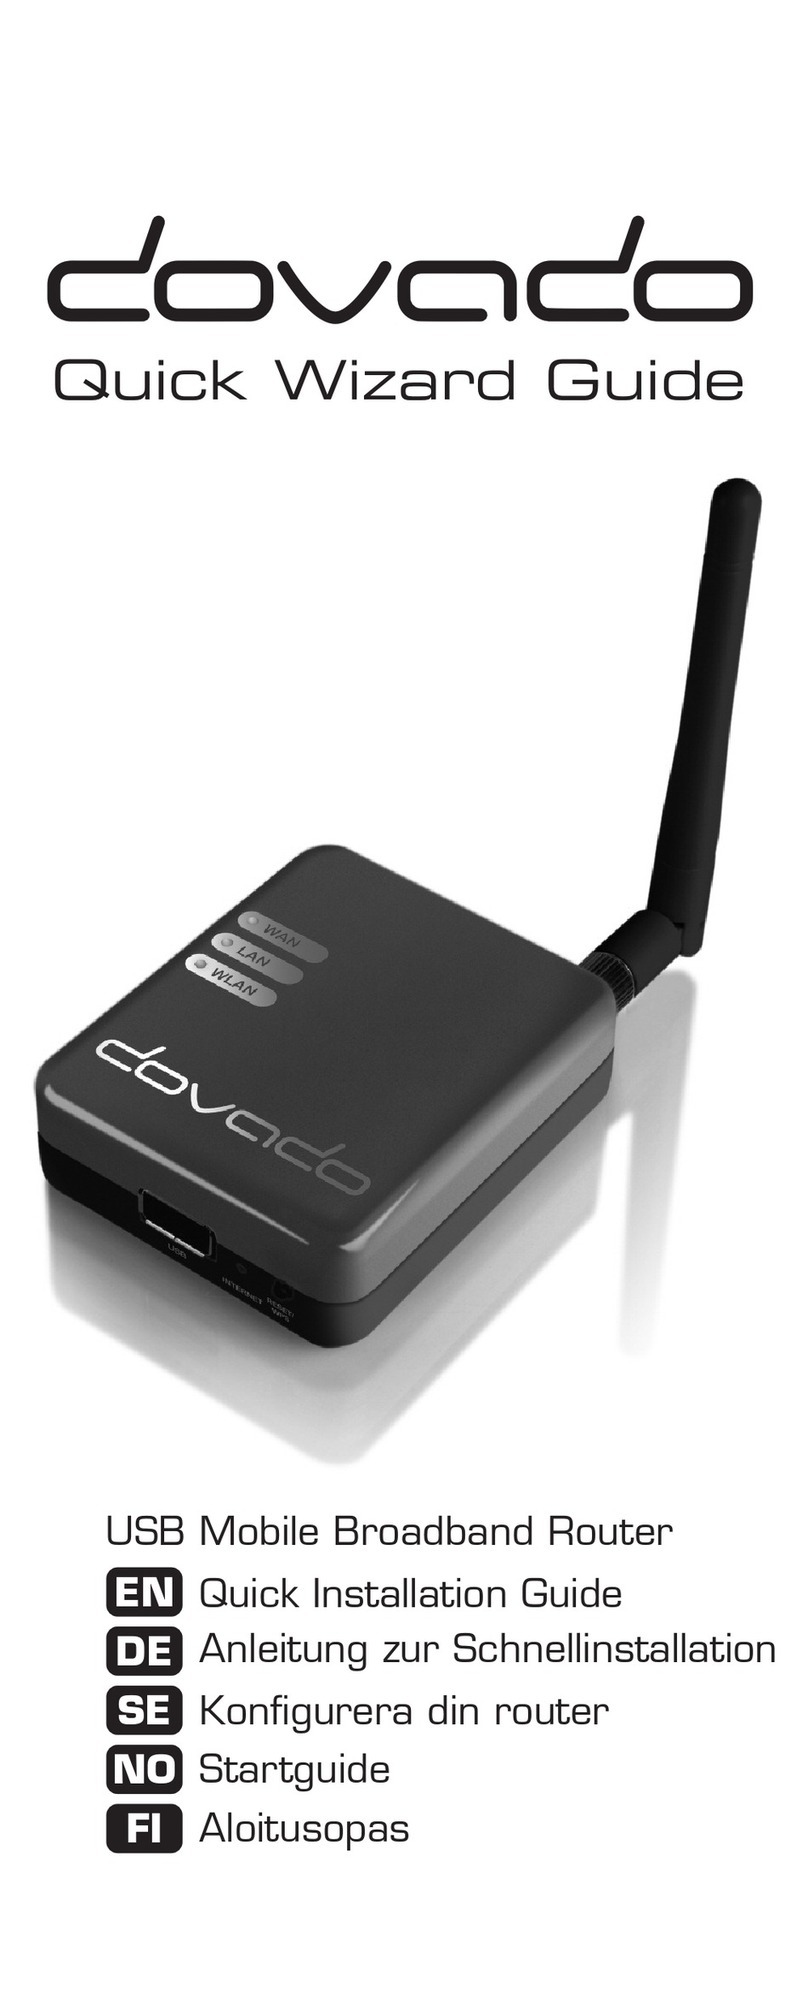
USB Mobile Broadband Router
Reference Manual
The Mobile Choice for your Broadband Internet
9249 Dovado TRN Reference manual.indd 19249 Dovado TRN Reference manual.indd 1 2011-02-21 13.102011-02-21 13.10

Table of Contents 2
Reference Manual
Table of Contents
Introduction 3
Package contents 3
Additional required items
Reference Manual 4
Hardware installation 4
Reset button 4
Modem 5
Connecting Status Overview Bar 7
Data Trac Usage Report 8
SMS Notication of Data Trac Usage 9
SMS Remote Control 10
Remote Commands 11
Notication SMS 12
Advanced Settings 13
WLAN Settings 14
LAN Settings 18
System Settings 20
Internet 22
WAN Port Settings 23
Connection Tracker 24
Upgrading the rmware 26
Congurations 27
Troubleshooting 28
Internet 28
Support 30
Technical specifications 30
Guidelines for safe and efficient use 31
Product care and maintenance 31
Limited warranty 32
9249 Dovado TRN Reference manual.indd 29249 Dovado TRN Reference manual.indd 2 2011-02-21 13.102011-02-21 13.10

Introduction 3
Introduction
Thank you for choosing the Dovado USB Mobile Broadband Router.
Package contents
Before continuing to the next section, make sure all of the listed items below are
included in your package. If something is missing, kindly contact your reseller.
• Router - USB Mobile Broadband router
• Power supply
• WLAN antenna
• Velcro pads, for optional surface mounting of the router
• Quick Wizard Guide and Reference Manual
Additional required items
In addition to the items above you will need a mobile broadband USB modem
in order for the product to work.This modem provides the wireless link to your
operator’s network and is sold separately.To use the Internet you need a computer.
!
ATTENTION: As the DOVADO portfolio of routers are con-
stantly being updated to support new modems, features as well as fixes,
it is advised that you remain updated with the latest firmware. To
download the latest firmware, please visit www.dovado.com/firmware
9249 Dovado TRN Reference manual.indd 39249 Dovado TRN Reference manual.indd 3 2011-02-21 13.102011-02-21 13.10

Introduction 4
The Reset button
The location of the reset button is at the back of the router. If you need to erase
all the inserted parameters and password, along with restoring the factory defaults
settings, then hold down the reset button for approximately 8 seconds. For restart
of the router just press the reset button quickly.
1. USB-port
2. Internet/SMS LED
3. Reset button
4. SMA connector for WiFi antenna
5. DC Power Input
6. LAN port
7. WAN port
6
3
21
5
4
7
9249 Dovado TRN Reference manual.indd 49249 Dovado TRN Reference manual.indd 4 2011-02-21 13.102011-02-21 13.10

Reference Manual 5
Modem
On the Modem->Modem Settings page, you will be able to insert all the valid
inputs in order to access the internet via your mobile operator. There are several
relevant bits of information which are necessary in order to complete this task
successfully:
• APN (Access Point Name). If you are not sure what your mobile operator’s
APN is, please contact them or check with your modem manual.
• PIN code.This is your PIN code provided with your SIM card which resides in
your USB modem.
• Username & Password: Some operators may require you to insert a username
and password along with APN information in order to authenticate towards
the mobile network. If you haven’t been provided this, then using only an APN
might be sufficient. If not, then please contact your operator.
9249 Dovado TRN Reference manual.indd 59249 Dovado TRN Reference manual.indd 5 2011-02-21 13.102011-02-21 13.10

Reference Manual 6
The following scenarios should assist you in enabling your router for Internet access,
depending on which type of USB modem you have inserted into the router.
If your scenario is not available in this guide, then please visit
www.dovado.com/support for latest update.
Once the information has been inserted, the unit will automatically try
to establish a connection to the operator’s network.A solid green light on the
Internet LED indicates a successful connection.
Note: Mobile operators typically have an Access Point Name (APN) as the key
relevant point of entry towards the mobile broadband network. Make sure to have
the name of your APN in advance of configuring your USB modem. If you are
using any other technology besides GPRS, EDGE, UMTS or HSPA, you might
not require an APN.
Scenario 1: 3G USB modem using a SIM card
• In the Modem->Modem Settings page, select to use SIM.
• Enter your operator Access Point Name and a PIN code if using one.
• Push
Save Modem Settings.
• Restart the router.
Scenario 2: 3G USB modem using a SIM card along with a username and
password
• In the Modem->Modem Settings page, select to use SIM.
• Enter your operator Access Point Name and a PIN code if using one.
• Push Save Modem Settings.
• Go to Modem->PPP and make sure that PPP is enabled.
• Enter your Username and Password
• Save PPP Settings.
• Restart the router.
9249 Dovado TRN Reference manual.indd 69249 Dovado TRN Reference manual.indd 6 2011-02-21 13.102011-02-21 13.10

Reference Manual 7
Connection Status Overview Bar
Atop of the user interface, a bar displays an overview of your Internet connection.
This information sits outside the security zone of your router, and does not need
to be accessed via an authorized login, thus saving time on checking the connec-
tion status.
The Connection Status Overview Bar shows the following information:
Date: Synchronized with a DOVADO NTP (Network Time Protocol) server
upon each new successful Internet connection.
Time: Displayed in a 24-hour format (HH:MM). In case the displayed time is
incorrect, you can set the time-zone in the SYSTEM->NTP page.
Signal: The latest measurement gathered by the USB modem upon connection is
displayed in a percentage value, along with the technology (2G, 3G or 4G).
The value is only updated after initiating a new connection.
Connection: Indicates whether your current Internet connection is via the inser-
ted USB modem or via an Ethernet WAN port. This is useful if your router has
been configured to perform automated failovers between one dropped Internet
connection to a secondary (backup) connection.
Connection Indicator: Green color indicates that the DOVADO router is con-
nected to the Internet via a USB modem. Red color indicates that it is discon-
nected from the Internet.
Traffic: Quickly displaying this month’s Internet consumption in gigabytes (GB)
on the downlink and uplink of both Internet interfaces (USB modem and Ether-
net WAN).
9249 Dovado TRN Reference manual.indd 79249 Dovado TRN Reference manual.indd 7 2011-02-21 13.102011-02-21 13.10

Reference Manual 8
Data Traffic Usage Report
It is possible to keep track of how much Internet traffic is consumed each new
calendar month.A log is also held for the previous month.The chart displays how
much data has been downloaded as well as uploaded per Internet interface, be it a
USB modem or Ethernet WAN port. A total is also calculated for the month per
interface. As these figures are automatically updated every few minutes, a forced
update can be manually requested by pushing the Update button.
9249 Dovado TRN Reference manual.indd 89249 Dovado TRN Reference manual.indd 8 2011-02-21 13.102011-02-21 13.10

Reference Manual 9
Notification of Data Traffic Usage
Upon enabling this feature, the router can send you an SMS and/or E-Mail
notification after a certain amount of data has been consumed by your Internet
connection. It will then continuously update each time it passes that interval, thus
providing you with an overview of your monthly data consumption.
The router can alert you after every 100MB, 250MB, 500MB and 1000MB of
downloaded or totally accumulated bi-directional traffic passed during the calen-
dar month.
Note: By using your USB modem directly in the computer, the router will only be
able to display the amount of data the router itself has consumed when the USB
modem is inserted into it. It will not display what the USB modem has consumed;
therefore, to acquire the most accurate accumulated figures, please contact your
Internet service operator.
To enable notification by SMS, go to SMS->REMOTE CONTROL, and select the
Traffic Limit Reached, located under Notification SMS.
To enable notification by E-Mail, go to SYSTEM->E-Mail, and enter your E-
Mail account configuration.
Then proceed to INTERNET->TRAFFIC, and select how often you would like to
be notified by SMS and/or E-Mail for an updated total of your calendar month’s
data consumption.You can also specify which kind of data to keep track of (down-
loaded only, or downloaded and uploaded; depending on your mobile broadband
subscription terms).
9249 Dovado TRN Reference manual.indd 99249 Dovado TRN Reference manual.indd 9 2011-02-21 13.102011-02-21 13.10
Reference Manual 10
SMS Remote Control
If your SIM card and 3G USB modem support SMS (see www.dovado.com) in
the router, then you’ll be able to employ this feature to remotely control the router
from your mobile phone. A short text command can be sent from your phone to
administer any of these tasks instantly.The configuration allows an unlimited range
of authorized mobile phone numbers to be inserted into the list.
9249 Dovado TRN Reference manual.indd 109249 Dovado TRN Reference manual.indd 10 2011-02-21 13.102011-02-21 13.10

Reference Manual 11
You can specify which number will be viable for sending commands, receiving
notifications, or both.To insert the number, use international dialing format (e.g.
+46 for Sweden, followed by the rest). For each number that is inserted with its
rights, click on Add to list. Note: For each number that is entered, and tagged with
a “Notification” tick mark, an individual SMS will be sent by the router in case of
any notification. By doing so, this will generate a larger load of SMS traffic to your
mobile broadband subscription.
Remote Commands
The short text commands are: Status, Restart, Disconnect, Connect (or
Reconnect).
Status: The router will reply to you stating that it’s either connected or discon-
nected from the Internet. It will also contain the IP address (if connected) of it’s
WAN/3G interface along with signal information.
Restart: The router will restart itself.
Disconnect: The router will disconnect itself from the mobile broadband net-
work. Internet connection will be dropped, though SMS will still be active.
Connect (or Reconnect) :The router will connect itself to the mobile broadband
network. Internet connection will be enabled.
9249 Dovado TRN Reference manual.indd 119249 Dovado TRN Reference manual.indd 11 2011-02-21 13.102011-02-21 13.10

Reference Manual 12
Notification SMS
Unexpected events which occur in regards to the Internet connection along with
the overall status of the router can be reported by SMS to all numbers listed for
“Notification”. Notification messages can be sent to recipients for the following
events:
Restart: In case the router was forced to restart itself after 3 unsuccessful connec-
tion attempts (based on the settings located in the Connection Tracker).A restart
can also be affected by an unexpected power failure.
Connection down: The Internet connection has been dropped.The router at this
point has acknowledged a drop,and is working on resolving this situation by either
redialing the connection, restarting itself or switching connection to the secondary
Internet interface (depending on what has been defined in the
INTERNET–>CONNECTION TRACKER site)
Connection up: An Internet connection has been established. It is very likely that
your router will be handed a new IP address from the operator.The SMS will
display the new IP address in case you would like to remotely connect to it for
administration purposes.
Traffic limit reached: More information for this is available on page 9.
Switched connection: In case your Connection Tracker has been configured to
automatically perform a connection failover between two interfaces, you will be
notified of this change, along with further information pertaining to that new
connection.
9249 Dovado TRN Reference manual.indd 129249 Dovado TRN Reference manual.indd 12 2011-02-21 13.102011-02-21 13.10

Advanced settings 13
Advanced Settings
The Dovado router has a built-in firewall. In this section you will learn more about
this and other security features.
Besides password protecting the router configuration pages it is possible to restrict
the Wireless LAN devices that may access your private network and the public
Internet through the router.You can use encryption and/ or MAC address filtering
in order to achieve this.
With encryption you can choose a key, which then all Wireless LAN clients need
to know in order to access your private network through the router.These settings
are found in WLAN->Authentication.
With MAC address filtering you can enter the MAC address of each client that
you want to grant access to your private network.This address is physically linked
to the network card in each client. These settings are found in WLAN->MAC
Address Control.
9249 Dovado TRN Reference manual.indd 139249 Dovado TRN Reference manual.indd 13 2011-02-21 13.102011-02-21 13.10

Advanced settings 14
WLAN Settings
Under WLAN->WLAN Properties are the settings for the wireless network.
Wireless Band drop-down menu lets you choose what wireless standard to use
in your private network. Possible choices are 802.11b with a maximum transfer
rate of 11Mbps, 802.11g with a maximum transfer rate of 54Mbps, 802.11n with
a maximum transfer rate of 150 Mbps or 802.11b+g+n if you have clients with
mixed types of network cards.
Channel drop-down menu lets you change the radio channel for the wireless
communication.This is useful if you experience poor performance that could be
as a result of interference from other wireless devices.
Data Rate drop-down menu is the setting for the transmission speed at the selec-
ted Wireless Band. If you experience problems at high data rates, then we recom-
mend that you select a lower data rate..
SSID (Service Set Identifier) is the name of the router that will appear in other
Wireless LAN clients when they perform a network search. Default value is DO-
VADO.
SSID Broadcast enables or disables transmission of the SSID from the router.
When disabled, other Wireless LAN clients will not find the router when they
perform a network search.
Fragment length is a setting that affects the quality of the wireless transmissions. If
you experience a high packet error rate you can decrease this value in small steps
to reduce this problem. Setting the fragment length too low may result in poor
performance.The default value is 2346.
9249 Dovado TRN Reference manual.indd 149249 Dovado TRN Reference manual.indd 14 2011-02-21 13.102011-02-21 13.10

Advanced settings 15
RTS length is a setting that affects the quality of the wireless transmissions. If you
experience inconsistent data flow you can decrease this value in small steps to
reduce this problem.The default value is 2311.
Wireless Radio enables or disables the WLAN. If you do not use any Wireless
LAN devices it is recommended that you select disable.
Click on Save WLAN Settings and then Restart for the changes to take effect.
WLAN->Authentication: The encryption settings for your private Wireless LAN.
Encryption is disabled by default. Choose Enable to show the available settings.
There are three types of encryption methods in the Authentication Type drop-
down menu, WEP Open System, WEP Shared Key and WPA-PSK.
WEP Open System encrypts all data that is sent over the wireless network but
does not use any authentication.This means it is still possible for all clients in range
to log onto the router, but without the correct key they will not be able to com-
municate with it.To activate this setting, choose WEP Open System from the
Authentication Type drop-down menu. Then choose a Key Type, either HEX
(range 0-9 and A-F) or ASCII (any character on the keyboard). Choose Key Size;
64 bits (for HEX this is 10 characters and for ASCII 5 characters) or 128 bits (for
HEX this is 26 characters and for ASCII 13 characters): the longer the key, the
stronger the encryption.The key is case sensitive.You have the possibility to define
4 keys at once so that you can easily change key to maintain security.
9249 Dovado TRN Reference manual.indd 159249 Dovado TRN Reference manual.indd 15 2011-02-21 13.102011-02-21 13.10

Advanced settings 16
WEP Shared Key is identical to WEP Open System except that this mode also
uses authentication.This is less suitable from a security perspective since it is pos-
sible to retrieve the key from the authentication process.
WPA-PSK is the third and strongest security option. Choose it from the Authen-
tication Type drop-down menu and then enter a pass phrase between 8 and 63
characters.All Wireless LAN clients must use the exact same pass phrase in order to
access your network. Due to the complexity and larger data overhead this option
may decrease the performance of the network.
Click on Save Authentication Settings and then Restart for the changes to take
effect.
9249 Dovado TRN Reference manual.indd 169249 Dovado TRN Reference manual.indd 16 2011-02-21 13.102011-02-21 13.10

Advanced settings 17
WLAN->MAC Address Control:
The settings for restricting access to your private network via white-listing of
authorized clients.
MAC Address Control enables or disables the MAC address filtering on the MAC
addresses under WLAN->MAC Address Control.
MAC Address control is a security function that limits which clients can access
your private network and the public Internet through your router. Enter the MAC
address of the client that you want to grant access to your network (the MAC
address of a client running Microsoft Windows can be obtained by clicking on the
Start button and then Run. Type cmd and press enter.Then type ipconfig /all in
the command prompt and press enter.The MAC address is found on the physical
address line). Click on Add to list. Note that the function is enabled or disabled
under WLAN->WLAN Properties. Disabling the function does not clear the MAC
Address Control List.
9249 Dovado TRN Reference manual.indd 179249 Dovado TRN Reference manual.indd 17 2011-02-21 13.102011-02-21 13.10

Advanced settings 18
LAN Settings
LAN->LAN Settings: The network settings for the router.
Network Settings allows you to change the default IP address for your router.
However, in most cases you do not need to change this setting. Note that the IP
address for the router is used on your private network only. It is not possible to
change the subnet mask. Click on Save LAN Settings and then Restart for the
changes to take effect.
LAN->DHCP: The settings for your private network.
DHCP Server allows you to enable or disable the built-in DHCP server. When
enabled, all clients on your private network will automatically obtain an IP address
from the range specified under Client IP Address Range (valid range is from 1
to 254).When disabled you have to manually enter an IP address from this range
into each client.
Client Network Information allows you to set a domain name for the router and
specify an additional DNS server.
Static Address Assignment can be used when you want a client to obtain the
same IP address each time it logs on to your private network.This setting works
no matter if the DHCP Server is enabled or disabled. Select how you want to
identify the client, by hostname or MAC address (it is possible to define 253 static
IP addresses based on MAC addresses and 256 based on hostnames).Type in the
hostname or the MAC address under Host Identifier and finally, set the desired
IP address under Internal Address. Please make sure not to assign the IP address
of the router to any of the clients. Click on Add and then Save DHCP Settings
when you are finished.
View DHCP Table is a function that shows the IP and MAC addresses of all clients
that are connected to the router.
9249 Dovado TRN Reference manual.indd 189249 Dovado TRN Reference manual.indd 18 2011-02-21 13.102011-02-21 13.10

Advanced settings 19
Click on Save DHCP Settings and then Restart for the changes to take effect.
LAN->Port Forwarding: The settings for manually unblocking certain commu-
nication ports in your private network.
Reserved Ports is a list of logical ports that cannot be used to access your pri-
vate network from the public Internet.
Port Forwarding to LAN lets you specify which ports clients on the public
Internet shall be able to communicate through, to clients on your private net-
work. Under Port Range, select a range (any range that does not contain the
ports listed under Reserved Ports) from 0-65535. Select the type of traffic
that should be let through on these ports, TCP or UDP, or Both. Finally, type in
the Destination Address, which is the IP address of the client on your private
network that you want to be accessible from the public Internet. Click on Add
when you are finished. Note that by default, no traffic is permitted inwards if the
request is initiated by an external user. However, clients on your private network
can always access the public Internet.
Click on Restart for the changes to take effect.
LAN->UPnP: The settings for Universal Plug and Play.
The router supports Universal Plug and Play. UPnP is a feature that enables client
application on devices behind the router to automatically trigger the opening of
TCP/UDP ports through the firewall in the router.
As a security precaution, this feature is disabled by default and can be enabled
manually.
9249 Dovado TRN Reference manual.indd 199249 Dovado TRN Reference manual.indd 19 2011-02-21 13.102011-02-21 13.10

Advanced settings 20
System Settings
System->Security: Option for changing the default password of the router.
Please enter the same password twice and press Save Password. The new
password will take effect upon restart.
Note: If you have misplaced or forgotten your password, you can reset it to
”password” by pushing the Reset button for appr. 8 seconds.
Warning: By pushing the Reset button, you will also be clearing out all the para-
meters and restoring everything back to the original factory default settings. Please
note that all your stored text messages (SMS) will be deleted as well.
System->Remote Management: The settings for enabling remote management
of the router from another location.
Web Access Port: Select which port you would like to access the router interface
page from the Internet. The Standard port is port 80, which is the regular port
for HTTP.
Example: Should you wish to access the settings on your router from elsewhere on
the internet, simply open a browser, type in
http://<ip address of router>:<port>.
For instance, http://183.168.0.35:4430.
Hostname lookup interval: Select how often a hostname entered in the Client
Access List should be updated. Frequent updates are needed if the IP-address be-
hind the hostname changes often.
Allowed Clients: The router will only allow access for clients visible in the Client
Access List.To put a client in the list, enter the corresponding IP-address or Host-
name (For instance 217.65.34.12 or myhost.dyndns.org) in the Host/IP-field and
click Add to list. Repeat the procedure in order to grant more clients access.
Access can be granted from anywhere on the Internet by marking ”Any Host” and
pressing ”Add to List”.
Show Mapping: Displays the router’s view of IP-addresses associated with hostna-
mes in the ”Client Access List”.
All changes will take effect upon restart of the router.
9249 Dovado TRN Reference manual.indd 209249 Dovado TRN Reference manual.indd 20 2011-02-21 13.102011-02-21 13.10
Other manuals for USB Mobile Broadband Router
4
This manual suits for next models
1
Table of contents
Other Dovado Wireless Router manuals

Dovado
Dovado Tiny Operator's manual

Dovado
Dovado USB Mobile Broadband Router User manual

Dovado
Dovado USB Mobile Broadband Router User manual

Dovado
Dovado 3GN User manual

Dovado
Dovado pro tinyac User manual

Dovado
Dovado USB Mobile Broadband Router User manual

Dovado
Dovado 3GN Operator's manual

Dovado
Dovado USB Mobile Broadband Router User manual