manuals.online logo
Brands
  1. Home
  2. •
  3. Brands
  4. •
  5. Dover
  6. •
  7. Water Pump
  8. •
  9. Dover Hydro Xtreme User manual

Dover Hydro Xtreme User manual

service guide
Hydro Xtreme Diaphragm Pump
To properly maintain your Hydro Xtreme diaphragm pump, you must service it after every 10,000 hours of operation. Hydro
Systems offers a comprehensive service kit with which you can refurbish your Hydro Xtreme pump. NOTE! The HYD710 style
pump and parts kit are used as the examples in this procedure, but if you have a chlorine dioxide pump the steps to perform
are the same even if the appearance of the pump and service parts are slightly different.
Step 1: Rinse pump and tubes with clean water
Run clean water through your unit in order to remove any
residual chemical that exists in the pump lines.
Step 2: Unplug pump and turn off water supply
Unplug the power cord of your Hydro Xtreme pump, and turn
off the water flow into which the chemical is being injected.
Safety Precautions
WARNING! Please read precautions thoroughly before operation. Meet all applicable local codes and regulations.
Thank you for purchasing Hydro Systems’ products!
Please use this equipment carefully and observe all warnings and cautions.
protective clothing and eyewear when dispensing chemicals or other materials or when working in the
vicinity of all chemicals, filling or emptying equipment, or changing metering tips.
observe safety and handling instructions of the chemical manufacturer.
direct discharge away from you or other persons or into approved containers.
dispense cleaners and chemicals in accordance with manufacturer’s instructions.
exercise CAUTION when maintaining your equipment.
reassemble equipment according to instruction procedures. Be sure all components are firmly screwed or
latched into position.
equipment clean to maintain proper operation.
WEAR
ALWAYS
KEEP
Safety First! Before you start any maintenance to the pump, make sure that you follow the necessary safety precau-
tions listed above and as outlined in the Hydro Xtreme Quick Start Guide that came with the pump.
Step 1:
Rinse
Pump
and
Tubes
Step 2:
Unplug
Pump,
Turn off
Water
Hydro
Xtreme
HYD710
Style: For
Hydrogen
Peroxide
& Sodium
Hyper-
chlorate HYD10098984 - Hydro Xtreme Service Kit, HYD710 style
Hydro
Xtreme
HYD712
Style: For
Chlorine
Dioxide
HYD10098997 - Hydro Xtreme Service Kit, HYD712 style
Step 3: Release Pressure with Relief Valve
Release any pressure that may have been built up in the pump
head, by rotating the relief valve clockwise by ninety degrees
or 1/4 turn.
Step 4: Remove Intake and Discharge Lines
Remove the intake hose from the chemical pickup (suction)
side of the pump, but unscrew the discharge line from the
injection fitting on the water line.
Step 5: Remove Diaphragm Assembly
a) Remove the four screws that hold the pump head to the
pump body. You must loosen the screws a little at a time
in an “X” pattern, like upper left, lower right, lower left then
upper right.
b) Once the screws are removed, take off the pump head,
and then the outer O-ring.
c) Now you can remove the diaphragm assembly components.
• the diaphragm
• the auxiliary ring
• the protective diaphragm
Rotate the diaphragm counter-clockwise to remove.
d) Carefully pull off the auxiliary ring, and set aside for
reassembly
e) Finally, you can remove the protective diaphragm. Take care
of the diaphragm, as it will be reused during assembly.
(The auxiliary ring and protective diaphragm are
both shown in the image to the right.)
Clean and inspect both parts before trying to rebuild the
pump, as these components are reused for assembly.
Step 3:
Release
Pressure
w/Relief
Valve
Step 4:
Remove
Intake &
Discharge
Lines
Step 5a:
Remove
Head
Screws
Loosen
Screws
in “X”
Pattern
1
1
2
23
4
Step 5b:
Remove
Pump
Head &
O-ring
Step 5d:
Remove
Auxiliary
Ring
Take care of these items, as
they are reused for assembly!
Step 5c:
Remove
Diaphragm
Step 5e:
Remove
Protective
Diaphragm
Protective
Diaphragm
Auxiliary
Ring
Step 6: Rebuild Diaphragm Assembly
a) To rebuild the diaphragm assembly, start by reinstalling
the original protective diaphragm, followed by the original
auxiliary ring.
(Note! The auxiliary ring is keyed. Please make sure it lines
up accordingly.)
b) Install the new diaphragm by screwing it in clockwise until it
is hand tight.
c) Once the diaphragm is secure, install the new outer O-ring
into its channel.
d) Finally, you can reinstall the pump head to the pump body.
Tighten the four screws a little at a time in an “X” pattern,
like upper left, lower right, lower left then upper right.
Step 6d:
Reinstall
Pump
Head
Tighten
Screws
in “X”
Pattern
1
1
2
23
4
Step 6c:
Install
New
Outer
O-ring
Step 6b:
Install
New
Diaphragm
Step 6a:
Reinstall
Protective
Diaphragm
and
Auxiliary
Ring
Step 7: Rebuild Pump Discharge Fitting
The discharge fitting on your Hydro Xtreme pump is at the top.
a) Start by loosening the compression nut (counter-clockwise),
with a 1 1/8” (290 mm) wrench or an adjustable wrench.
When loosened, unscrew the nut completely and set the
nut, the retaining ring and discharge tube aside.
b) Unscrew the rest of the discharge fitting from the pump
body, using the same size wrench. Remove it from the
pump and slide the O-ring, check valve(s) and spacer from
inside. Take care of the spacer, as it may have to be reused.
c) Replace the spacer, check valve(s) and O-ring with new
parts, and reassemble them into the discharge fitting.
NOTE: The black ring end of a check valve always faces the
flow, so here they are always towards the bottom.
NOTE: The new spacer should be the same size as the old
one. If not, re-use the old spacer and please notify Hydro
Systems of the discrepancy.
Step 7a:
Remove
Compres-
sion Nut,
Retaining
Ring and
Tubing
Step 7b:
Remove
Discharge
Fitting
Step 7c:
Rebuild
Discharge
Fitting with
New Parts This check-valve orientation is correct
only for the upper (discharge) fitting
Hydro Systems
3798 Round Bottom Road
Cincinnati, OH 45244
Phone 513.271.88OO
Toll Free 8OO.543.7184
Fax 513.271.O16O
Web hydrosystemsco.com
HYD10099324 Rev A 6/19
Limited Warranty
Seller warrants solely to Buyer the Products will be free from defects in material and workmanship under normal use and
service for a period of one year from the date of completion of manufacture. This limited warranty does not apply to (a) hoses;
(b) and products that have a normal life shorter than one year; or (c) failure in performance or damage caused by chemicals,
abrasive materials, corrosion, lightning, improper voltage supply, physical abuse, mishandling or misapplication. In the event
the Products are altered or repaired by Buyer without Seller’s prior written approval, all warranties will be void.
No other warranty, oral, express or implied, including any warranty of merchantability or fitness for any particular
purpose, is made for these products, and all other warranties are hereby expressly excluded.
Seller’s sole obligation under this warranty will be, at Seller’s option, to repair or replace F.O.B. Seller’s facility in Cincinnati,
Ohio any Products found to be other than as warranted.
Limitation of Liability
Seller’s warranty obligations and Buyer’s remedies are solely and exclusively as stated herein. Seller shall have no other
liability, direct or indirect, of any kind, including liability for special, incidental, or consequential damages or for any other claims
for damage or loss resulting from any cause whatsoever, whether based on negligence, strict liability, breach of contract or
breach of warranty.
warranty
Step 7: Rebuild Pump Discharge Fitting (continued)
d) Reassemble the (upper) discharge fitting, following the steps
of this section in reverse.
Be careful not to over-tighten the plastic fitting to the pump,
nor the compression nut.
Step 8: Rebuild Pump Intake Fitting
The steps to service the (lower) intake fitting are the same as
for the (upper) discharge fitting.
However, remember that the black ring end of the check-
valve(s) must be facing the flow, in this case that means always
toward the bottom.
Step 7d:
Finish
Rebuilding
Discharge
Fitting
Step 8:
Rebuild
Intake
Fitting as
you did the
Discharge
Fitting
This check-valve orientation is correct
only for the lower (intake) fitting

Other Dover Water Pump manuals

Dover PSG A40 User manual

Dover

Dover PSG A40 User manual

Dover PSG Mouvex P BA Series Specification sheet

Dover

Dover PSG Mouvex P BA Series Specification sheet

Dover PSG Wilden GP Series Instruction Manual

Dover

Dover PSG Wilden GP Series Instruction Manual

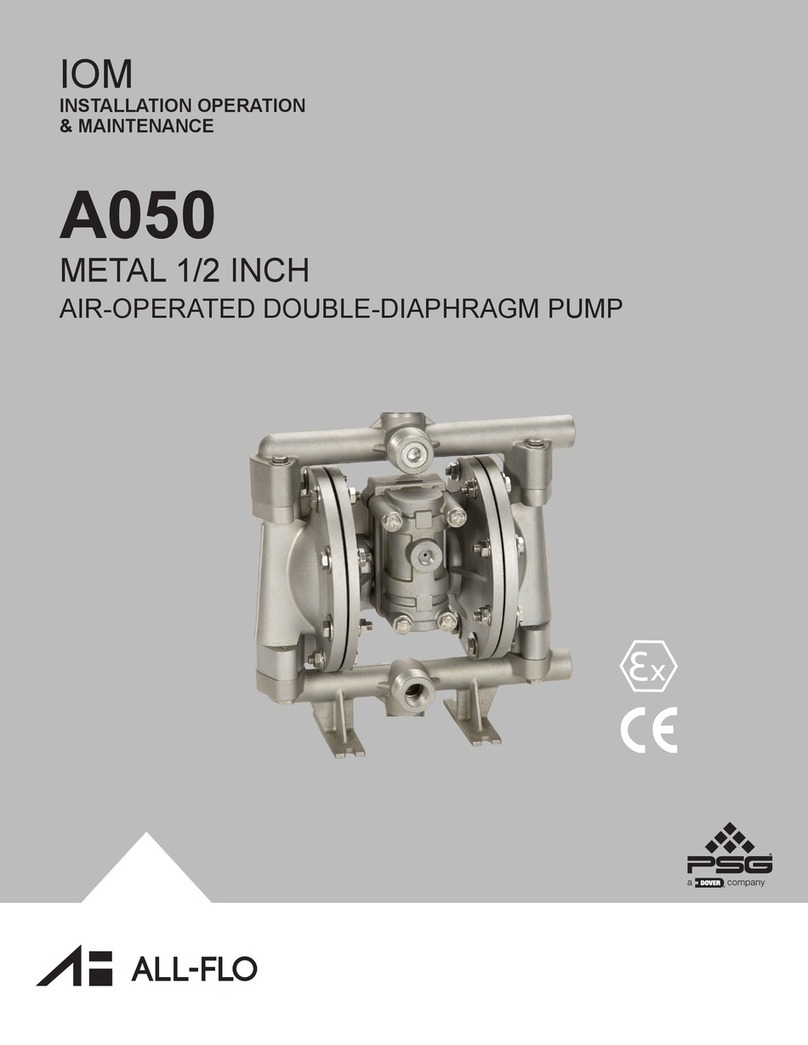
Dover PSG ALL-FLO A050 Owner's manual

Dover

Dover PSG ALL-FLO A050 Owner's manual

Dover PSG ALL-FLO G Series Owner's manual

Dover

Dover PSG ALL-FLO G Series Owner's manual

Dover PSG WILDEN HS430S User manual

Dover

Dover PSG WILDEN HS430S User manual

Dover DOVER PSG WILDEN PRO-FLO XPS820 AAAAA Series Installation guide

Dover

Dover DOVER PSG WILDEN PRO-FLO XPS820 AAAAA Series Installation guide

Dover PSG Wilden Pro-Flo PS220 User manual

Dover

Dover PSG Wilden Pro-Flo PS220 User manual

Dover Wilden Original Series Instruction Manual

Dover

Dover Wilden Original Series Instruction Manual

Dover Wilden Advanced Series Instruction Manual

Dover

Dover Wilden Advanced Series Instruction Manual

Dover Wilden Advanced P400 Instruction Manual

Dover

Dover Wilden Advanced P400 Instruction Manual

Dover PSG WILDEN XPR260 Instruction Manual

Dover

Dover PSG WILDEN XPR260 Instruction Manual

Dover PSG Wilden PX220 Instruction Manual

Dover

Dover PSG Wilden PX220 Instruction Manual

Dover Wilden Hornet HU38 Instruction Manual

Dover

Dover Wilden Hornet HU38 Instruction Manual

Dover PSG Wilden PRO-FLO P1500 Installation guide

Dover

Dover PSG Wilden PRO-FLO P1500 Installation guide

Dover PSG ALL-FLO C150 Owner's manual

Dover

Dover PSG ALL-FLO C150 Owner's manual

Dover PSG Wilden PS800 Instruction Manual

Dover

Dover PSG Wilden PS800 Instruction Manual

Dover PSG Wilden PR260 Manual

Dover

Dover PSG Wilden PR260 Manual

Dover PSG Wilden PS400 User manual

Dover

Dover PSG Wilden PS400 User manual

Dover PSG ALL_FLO A025 Owner's manual

Dover

Dover PSG ALL_FLO A025 Owner's manual

Dover WILDEN TURBOFLO T8 Instruction Manual

Dover

Dover WILDEN TURBOFLO T8 Instruction Manual

Dover PSG ALL-FLO IOM A025 Series Owner's manual

Dover

Dover PSG ALL-FLO IOM A025 Series Owner's manual

Dover PSG ALL-FLO MAX-PASS S Series Manual

Dover

Dover PSG ALL-FLO MAX-PASS S Series Manual

Dover PSG ALL-FLO A200 Manual

Dover

Dover PSG ALL-FLO A200 Manual

Popular Water Pump manuals by other brands

Watershed Innovations HYDRAPUMP SMART FLEX Instructional manual

Watershed Innovations

Watershed Innovations HYDRAPUMP SMART FLEX Instructional manual

Graco Modu-Flo AL-5M instructions

Graco

Graco Modu-Flo AL-5M instructions

Messner MultiSystem MPF 3000 operating instructions

Messner

Messner MultiSystem MPF 3000 operating instructions

Xylem Bell & Gossett WEHT0311M Installation, operation and maintenance instructions

Xylem

Xylem Bell & Gossett WEHT0311M Installation, operation and maintenance instructions

WilTec 50739 Operation manual

WilTec

WilTec 50739 Operation manual

Franklin Electric Little Giant 555702 HRK-360S instruction sheet

Franklin Electric

Franklin Electric Little Giant 555702 HRK-360S instruction sheet

Ingersoll-Rand PD02P Series Operator's manual

Ingersoll-Rand

Ingersoll-Rand PD02P Series Operator's manual

VS ZJ Series Operating	 instruction

VS

VS ZJ Series Operating instruction

Flotec FPZS50RP owner's manual

Flotec

Flotec FPZS50RP owner's manual

SKF Lincoln FlowMaster II User and maintenance instructions

SKF

SKF Lincoln FlowMaster II User and maintenance instructions

Xylem Lowara LSB Series Installation, operation and maintenance instructions

Xylem

Xylem Lowara LSB Series Installation, operation and maintenance instructions

Water Duro Pumps DCJ500 Operating & installation instructions

Water

Water Duro Pumps DCJ500 Operating & installation instructions

Action P490 Operating instructions & parts manual

Action

Action P490 Operating instructions & parts manual

Flo King Permacore Reusable Carbon Bag Disassembly. & Cleaning Instructions

Flo King

Flo King Permacore Reusable Carbon Bag Disassembly. & Cleaning Instructions

ARO ARO PD15P-X Operator's manual

ARO

ARO ARO PD15P-X Operator's manual

Pumptec 112V Series Operating instructions and parts manual

Pumptec

Pumptec 112V Series Operating instructions and parts manual

Virax 262070 user manual

Virax

Virax 262070 user manual

Neptun NPHW 5500 operating instructions

Neptun

Neptun NPHW 5500 operating instructions

manuals.online logo
manuals.online logoBrands
  • About & Mission
  • Contact us
  • Privacy Policy
  • Terms and Conditions

Copyright 2025 Manuals.Online. All Rights Reserved.