manuals.online logo
Brands
  1. Home
  2. •
  3. Brands
  4. •
  5. DT Research
  6. •
  7. Desktop
  8. •
  9. DT Research 584T Assembly instructions

DT Research 584T Assembly instructions

Medical-Cart Computer
BOG020321 DT58X ENG
582T/ 584T
Cleaning the Screen
• Ascreen cleaning solution that is alcohol-free and non-abrasive can be used to clean the
touch screen.
• Cleaning with a micro-fiber cloth is recommended.
• Please spread the solution onto the cloth and then clean the touch screen.
Cleaning the Anti-microbial Enclosure
• Use a soft/non-abrasive cloth moistened with water to clean the enclosure.
• If using a cleaner, an alcohol-free and oxide-free cleaning liquid is recommended.
• To prevent scratching the anti-microbial coating, please wipe gently.
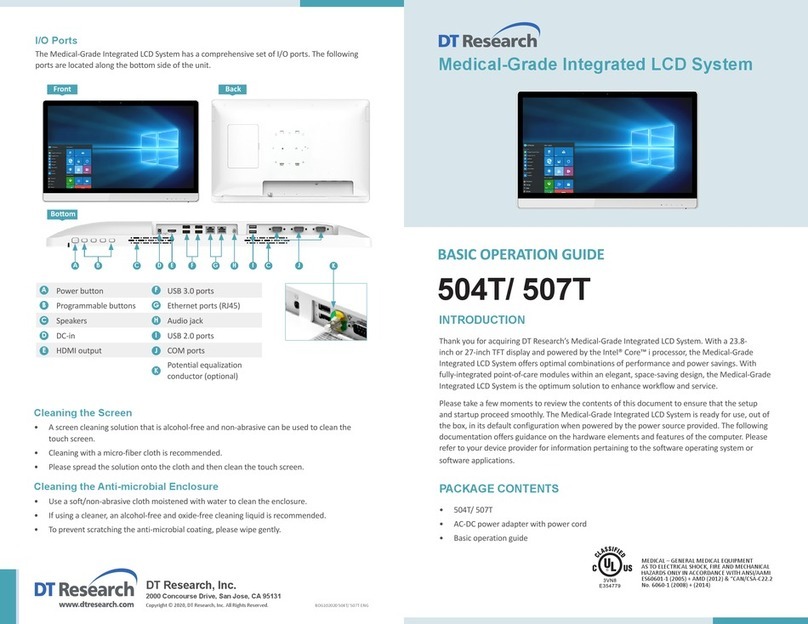
I/O Ports
The Medical-Cart Computer has a comprehensive set of I/O ports. The following ports are
located along the lower rear edge of the unit.
INTRODUCTION
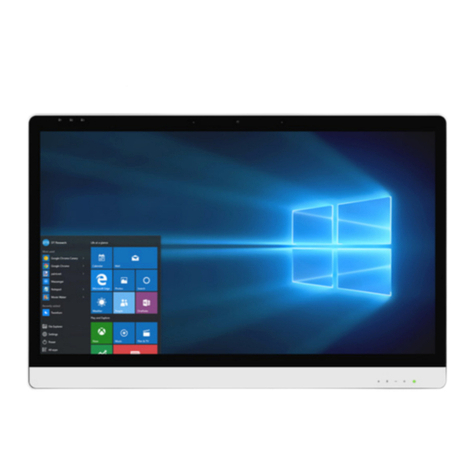
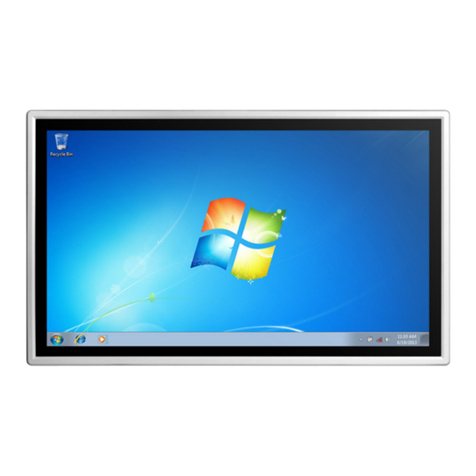
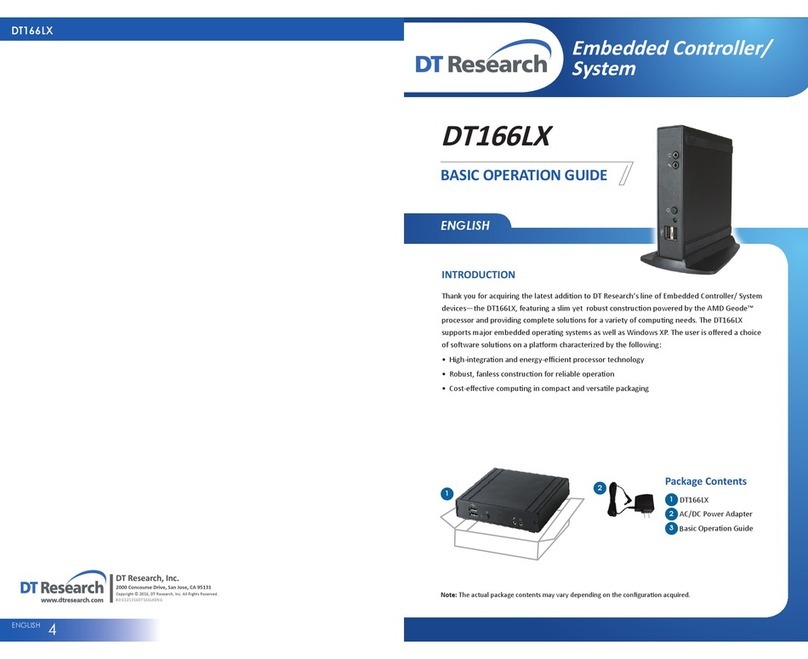
Thank you for acquiring DT Research’s Medical-Cart Computer. With a 22-inch or 24-inch display
and powered by the Intel® processor, the Medical-Cart Computer offers optimal combinations
of performance and power savings. With fully-integrated point-of-care modules within an
elegant, space-saving design, the Medical-Cart Computer is the optimum solution to enhance
workflow and service.
Please take a few moments to review the contents of this document to ensure that the setup
and startup proceed smoothly. The Medical-Cart Computer is ready for use, out of the box,
in its default configuration when powered by the power source provided. The following
documentation offers guidance on the hardware elements and features of the computer.
Please refer to your device provider for information pertaining to the software operating
system or software applications.
PACKAGE CONTENTS
• One 582T or 584T
• Three DR202 Li-ion batteries (optional)
• AC-DC power adapter with power cord
• Basic operation guide
DC-out USB ports
Audio jack Power
DC-in Function buttons
Ethernet port (RJ45) LED reading light
COM ports Battery packs (optional)
HDMI (1.4a)
A
B
C
D
E
G
H
I
F
J
K
Left Top
Bottom
Front Right
K
582T:
584T:
GF
E
H JI
D
C
B
A
GF
E
D
C
B
A
H JI
G
Power/Battery LED Status
• Blue indicates the battery is 25% to 100% charged
• Blinking blue indicates the battery is charging
• Orange indicates that the battery is between 11% to 25%
• Blinking Orange indicates that the battery is below 10%
2 3
PRECAUTIONS
• Always exercise care when operating and handling the Medical-Cart Computer.
• Never disassemble any portion of the enclosure, as this will void any product warranty on
the Medical-Cart Computer.
• Do not use any AC/DC adapter other than the one provided with the device or a replacement
acquired from the manufacturer.
• In the unlikely event that smoke, abnormal noise or strange odor is present, immediately
power down the Medical-Cart Computer and disconnect all power sources. Please report the
problem to your device provider immediately.
BASIC FEATURES
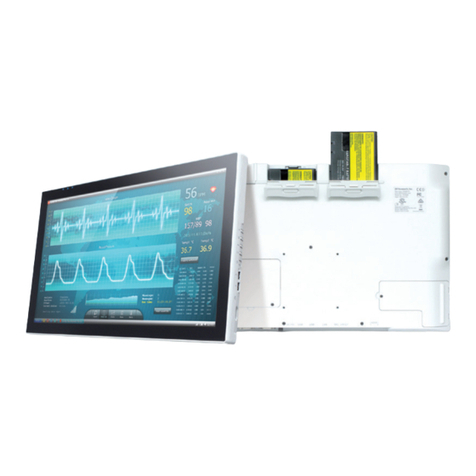
The Medical-Cart Computer integrates a bright 22” or 24” display with a high performance
system, USB ports, and integrated options such as capacitive touch, hot-swappable batteries, and
smart card reader for a comprehensive point-of-healthcare solution.
Powering ON and OFF
If your Medical-Cart Computer comes with the battery packs, please open the battery slot caps
and then put in the battery packs one by one. If not, please use the AC-DC adapter with the
Medical-Cart Computer for the power supply. To activate the Medical-Cart Computer, push and
quickly release the Power Button and the display will come on in a few seconds. To put in Standby
mode, push and quickly release the Power Button. To turn off for extended storage, power off the
device safely using any software function that “shuts down computer” provided in the software
operating system.
Wireless Networking
Wireless LAN
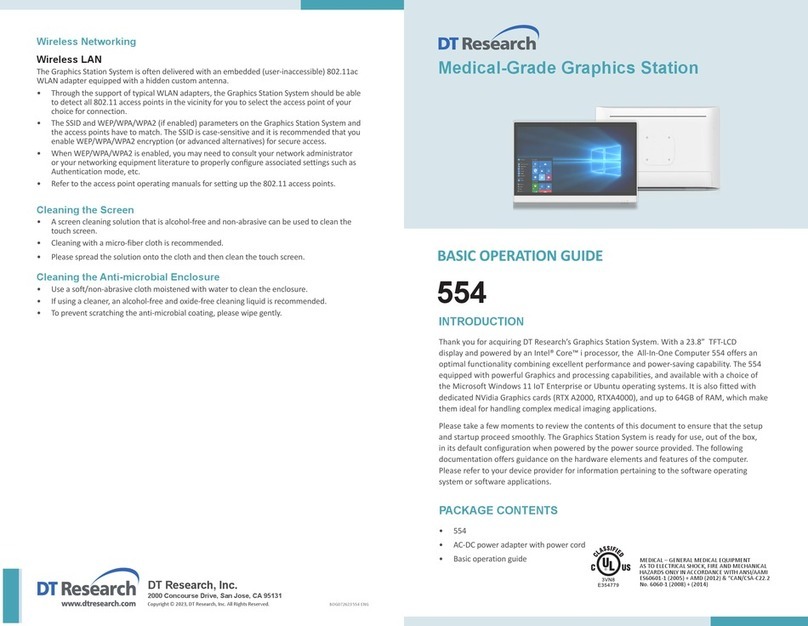
The Medical-Cart Computer is often delivered with an embedded (user-inaccessible) 802.11ax
WLAN adapter equipped with a hidden custom antenna.
• Through the support of typical WLAN adapters, the Medical-Grade Integrated LCD System
should be able to detect all 802.11 access points in the vicinity for you to select the access
point of your choice for connection.
• The SSID and WEP/WPA/WPA2 (if enabled) parameters on the Medical-Grade Integrated
LCD System and the access points have to match. The SSID is case-sensitive and it is
recommended that you enable WEP/WPA/WPA2 encryption (or advanced alternatives) for
secure access.
• When WEP/WPA/WPA2 is enabled, you may need to consult your network administrator
or your networking equipment literature to properly configure associated settings such as
Authentication mode, etc.
• Refer to the access point operating manuals for setting up the 802.11 access points.
NOTE:
The battery packs (optional) shipped with your device may be low in power—please use the
AC-DC adapter with the Medical-Cart Computer when setting up the device for the first time
to fully charge the battery packs. You may charge the battery packs with them attached to
the Medical-Cart Computer, or with the optional battery charger kit.
NOTE:
When the battery pack(s) is (are) charging, the blue-colored Battery LED should blink slowly.
If plugging in the AC-DC adapter does not trigger this blinking activity and the LED stays dark,
the battery pack(s) may have been drained substantially. Try unplugging/ replugging the
AC-DC adapter to the Medical-Cart Computer a few times to activate the charging process.
NOTE:
To conserve power, use (push and quick release) the Power Button to put the device in
“Standby” mode while not in use. Pushing briefly on the same button will wake up the
system within seconds.
NOTE:
Avoid using the Power Button (“hold 4+ seconds” feature) to turn off the device—this form
of hardware shutdown is intended to be a means of recovery from device lockups, and not as
normal operation.
Bluetooth
The Medical-Cart Computer features a built-in Bluetooth adapter that operates on the Microsoft
Windows Bluetooth protocol. The Bluetooth configuration application is invoked from the System
Tray or from the Control Panel. Follow the instructions and options provided within the applica-
tion to configure and invoke Bluetooth connectivity with the corresponding peripherals.
NOTE:
Bluetooth devices or accessories that are not compatible with the Microsoft Windows
Bluetooth protocol may not work with the Medical-Grade Integrated LCD System.
Ba�ery Indicator
NOTE:
If connecting an external monitor to the Medical-Cart Computer (via HDMI port), you must
power the Medical-Cart Computer with the provided AC-DC power adapter.
This manual suits for next models

1

Other DT Research Desktop manuals

DT Research DT592IC Assembly instructions

DT Research

DT Research DT592IC Assembly instructions

DT Research DT168 Assembly instructions

DT Research

DT Research DT168 Assembly instructions

DT Research 504T Assembly instructions

DT Research

DT Research 504T Assembly instructions

DT Research 504T Assembly instructions

DT Research

DT Research 504T Assembly instructions

DT Research 554 Assembly instructions

DT Research

DT Research 554 Assembly instructions

DT Research DT166LX Assembly instructions

DT Research

DT Research DT166LX Assembly instructions

DT Research SA1360 Assembly instructions

DT Research

DT Research SA1360 Assembly instructions

DT Research DT160 Assembly instructions

DT Research

DT Research DT160 Assembly instructions

DT Research 581T Assembly instructions

DT Research

DT Research 581T Assembly instructions

DT Research 594S Assembly instructions

DT Research

DT Research 594S Assembly instructions

DT Research DT590IC Assembly instructions

DT Research

DT Research DT590IC Assembly instructions

Popular Desktop manuals by other brands

Lenovo ThinkCentre M70s Gen 2 user guide

Lenovo

Lenovo ThinkCentre M70s Gen 2 user guide

IBM System/38 instruction manual

IBM

IBM System/38 instruction manual

Spacetronik SPP-104 quick start guide

Spacetronik

Spacetronik SPP-104 quick start guide

Dell Precision T5610 owner's manual

Dell

Dell Precision T5610 owner's manual

Dell OptiPlex 7020 quick start guide

Dell

Dell OptiPlex 7020 quick start guide

Dell OptiPlex 580 Service manual

Dell

Dell OptiPlex 580 Service manual

HP Compaq 303B Product End-of-Life Disassembly Instructions

HP

HP Compaq 303B Product End-of-Life Disassembly Instructions

Advantech UNO-137 V2 user manual

Advantech

Advantech UNO-137 V2 user manual

Lenovo ThinkStation P520c user guide

Lenovo

Lenovo ThinkStation P520c user guide

XPLORE TECHNOLOGIES iX104C6 quick start guide

XPLORE TECHNOLOGIES

XPLORE TECHNOLOGIES iX104C6 quick start guide

Tangent VITA 7500S user manual

Tangent

Tangent VITA 7500S user manual

HP Bc1500 - BladeSystem - Blade PC Quickspecs

HP

HP Bc1500 - BladeSystem - Blade PC Quickspecs

Sony MPK-THE using manual

Sony

Sony MPK-THE using manual

HP Compaq D315 Quick setup

HP

HP Compaq D315 Quick setup

HP Media Center m7100 - Desktop PC Quick setup

HP

HP Media Center m7100 - Desktop PC Quick setup

IBM 6151 Maintenance and service manual

IBM

IBM 6151 Maintenance and service manual

Digital Equipment VAX 4000 108 User information

Digital Equipment

Digital Equipment VAX 4000 108 User information

Shuttle DH32U Series user guide

Shuttle

Shuttle DH32U Series user guide

manuals.online logo
manuals.online logoBrands
  • About & Mission
  • Contact us
  • Privacy Policy
  • Terms and Conditions

Copyright 2025 Manuals.Online. All Rights Reserved.