3
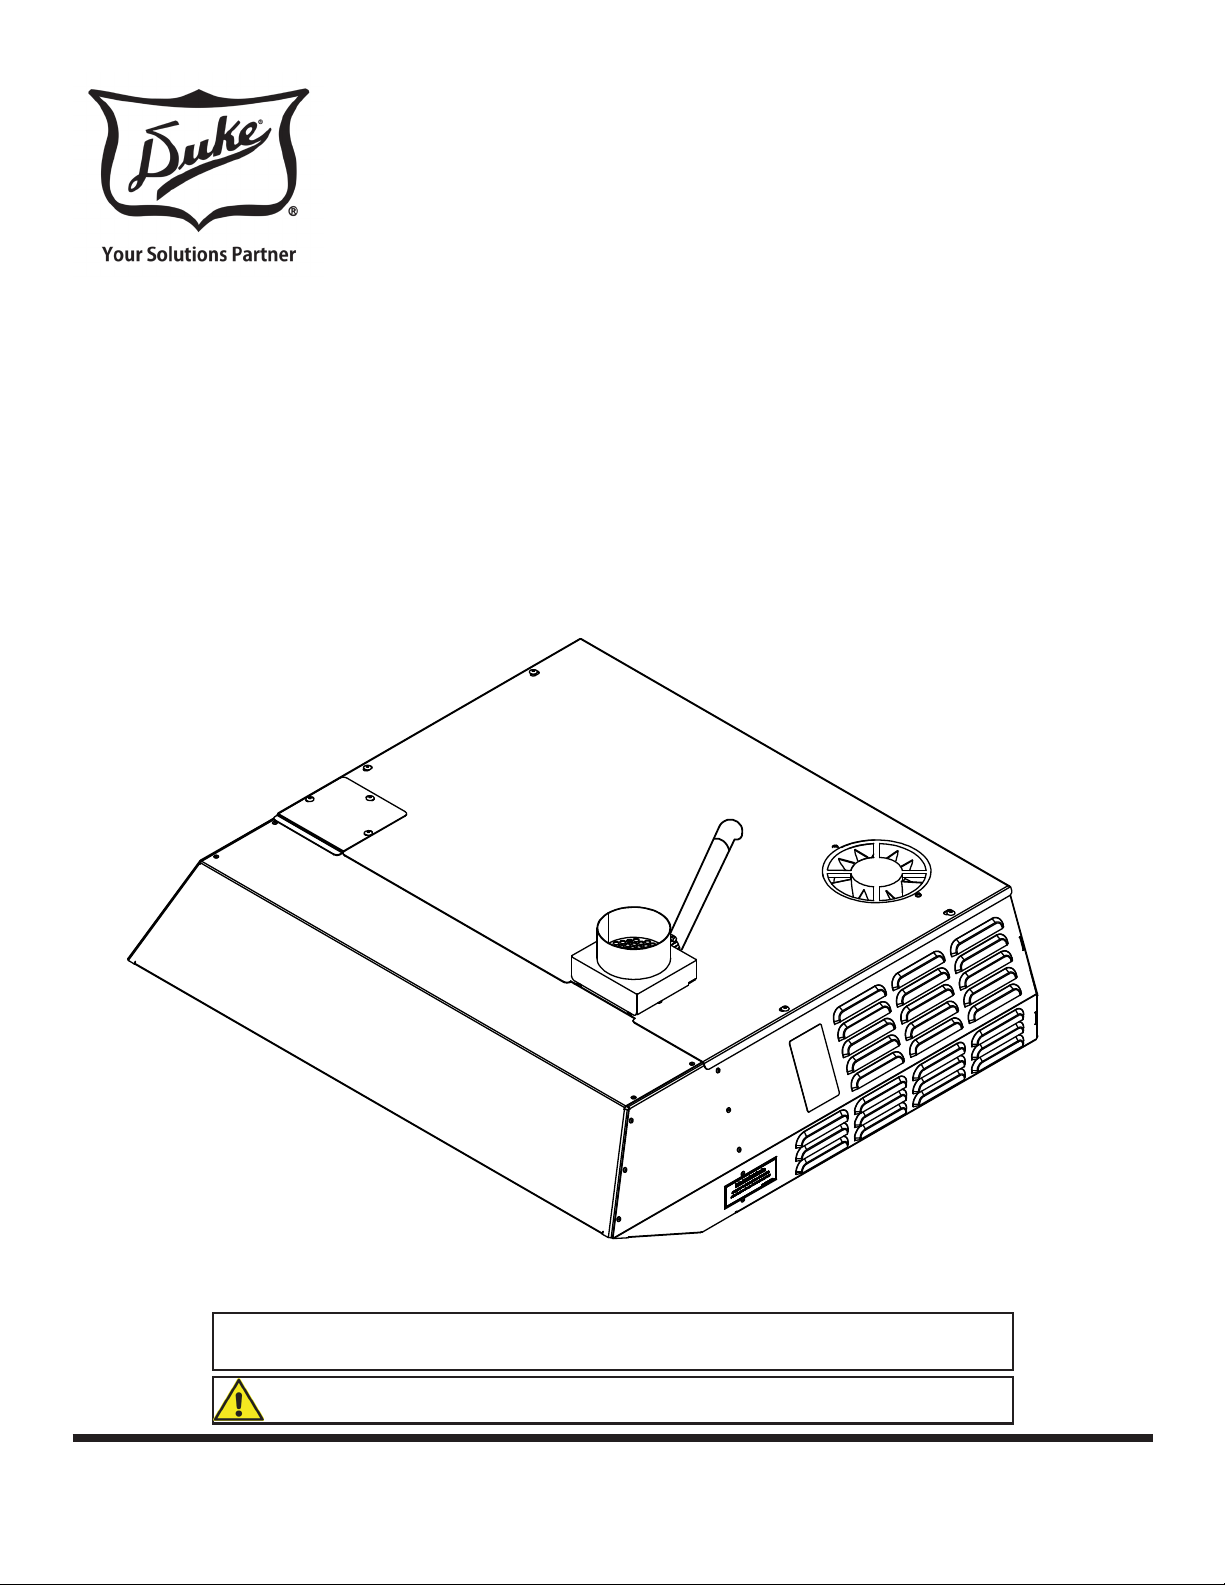
Operations and Installation Instructions for: CE Integrated Ventilation System
In addition to the warnings and cautions in this manual, use the following guidelines
for safe operation of the unit.
• Read all instructions before using equipment.
• For your safety, the equipment is furnished with a properly grounded cord
connector.
• Do not attempt to remove or disconnect the grounded connector.
• Install or locate the equipment only for its intended use as described in this
manual.
• Do not use corrosive chemicals in this equipment.
• Do not operate this equipment if it has a damaged cord or plug, if it is not working
properly, or if it has been damaged or dropped.
• This equipment should be serviced by qualied personnel only. Contact the
nearest Duke authorized service facility for adjustment or repair.
• Do not block or cover any openings on the unit.
• Do not immerse cord or plug in water.
• Keep cord away from heated surfaces.
• Do not allow cord to hang over edge of table or counter.
The following warnings and cautions appear throughout this manual and should
be carefully observed.
• Turn the unit o, disconnect the power source and allow unit to cool down before
performing any service or maintenance on the unit.
• The procedures in this manual may include the use of chemical products. You must
read the Material Safety Data Sheets before using any of these products.
• The unit should be grounded according to local electrical codes to prevent the
possibility of electrical shock. It requires a grounded receptacle with dedicated
electrical lines, protected by fuses or circuit breaker of the proper
rating, in accordance with all applicable regulations.
• Disposal of the unit must be in accordance with local environmental codes and/or
any other applicable codes.
• This appliance is not intended for use by persons (including children) with reduced
physical, sensory or mental capabilities, or lack of experience and knowledge,
unless they have been given supervision or instruction concerning use of the
appliance by a person responsible for their safety.