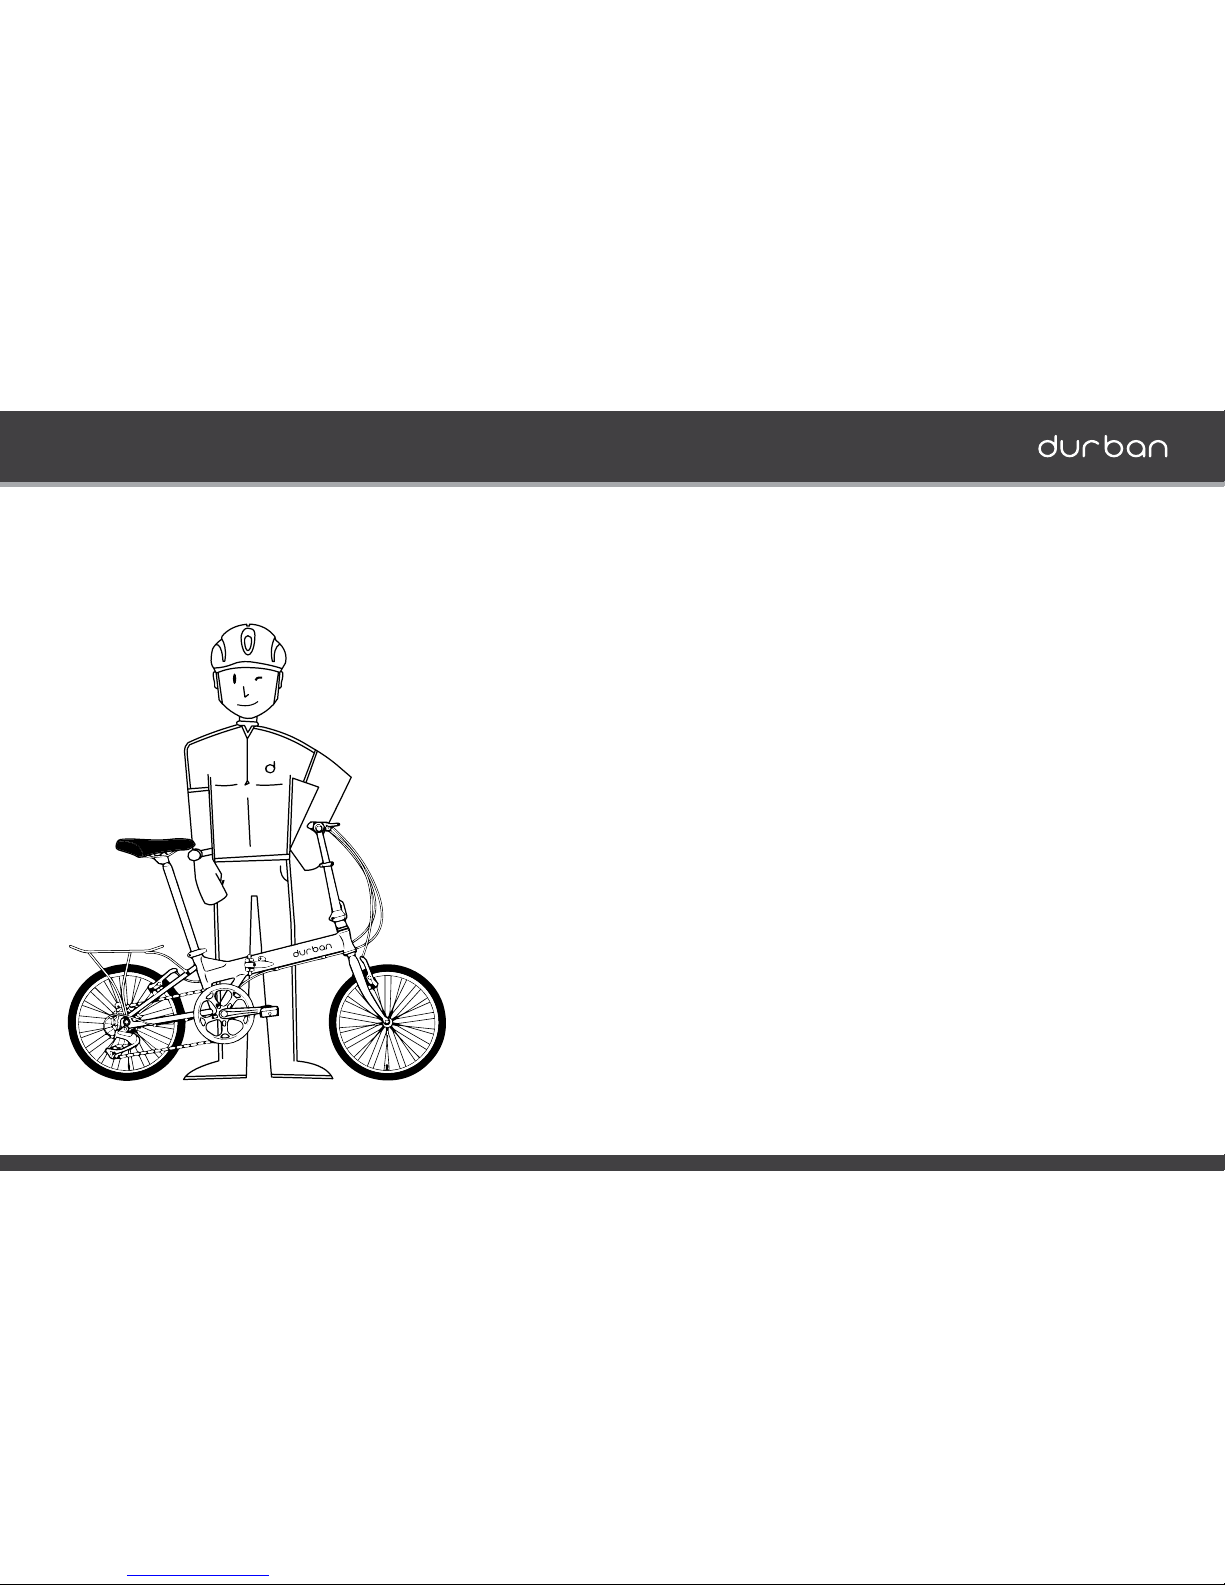
Durban Bay Pro User manual

User Manual
Bay Pro | Jump

Congratulations on purchasing a Durban folding bicycle!
You will soon be ready to unfold and go but rst we have a
few tips and tricks to help you get started.
Your Durban bicycle is simple to fold and unfold and soon it
will become your favorite way to get around town.
Included in this manual you will nd a lot of information
about your bike, its components, some maintenance tips,
and important safety instructions.
We hope you enjoy your new Durban as much as we enjoyed
designing it!
The Durban Team

Durban Bikes
Introduction
Important Notices
Suggested Height and Weight
Traffic Safety
Bicycle Components
Maintenance and Cleaning
Maintenance
Cleaning
Corrosion
Riding your Durban
Riding During Low Visibility
Riding Position
Using Brakes
Using Gears
Using Quick Releases and Latches
Bicycle Safety Checklist
Folding, Unfolding and Adjustments
Warranty
3
4
5
6
7
9
10
14

Durban Bikes
3
Here at Durban we believe bicycles are the future and we
want that future to be now. We started Durban to bring this
goal to every likeminded person in the world.
It is our dream to see people everywhere commuting on
bicycles and we are here to support that revolution. With our
unique bicycles and accessories we want to inspire people
like you to use bicycles more often.
Viva the bicycle revolution!
Let’s stay friends online! Please visit our website and social
media sites to stay up-to-date with the latest news and
developments from Durban.
Website
www.durbanbikes.com
Facebook
www.facebook.com/durbanbikesusa
Twitter
www.twitter.com/durbanbikesusa
Instagram
www.pinterest.com/durbanbikesusa
Imported and Distributed in the United States by:
Durban Bikes USA LLC
2041 Rosecrans, Suite 322
El Segundo, CA 90245
E-mail: [email protected]
Phone: 1-855-42-BIKES

4
Introduction
Folding bicycles have special components that
are different from regular bicycles. Please read
this manual carefully before using your bicycle.
We promise, it won’t be a waste of time.
Some models are packaged with the right pedal
detached. We recommend that the right pedal be
installed along with the initial check of the bicycle.
Tip for Installing Pedals
Note the shaft end of each pedal. On the
shaft of each pedal will be the letter “R”
(right) or “L” (left), defining which side of the bicy-
cle on which the pedal should be installed.
To install the pedals, start by threading the pedal
shaft into the pedal hole on the corresponding
crank arm using your hands.
The right pedal will be on the same side as the
chain. With a 15mm open-end wrench, tighten
the right pedal clockwise. Place the left pedal on
the other side and tighten in a counterclockwise
direction.
Suggested Height and Weight
You and your entire load must weigh less than 95
kg (210 lb) on bicycles with 20” wheels or 100 kg
(220 lb) on bicycles with 24’’ wheels.
If you are carrying extra weight or bags, make
sure that the bicycle is stable.
Our bicycles are designed for riders from 4’8” to
6’3” (1.40 to 1.90 meters) tall.
Traic Safety
This manual is for reference only and should not
be considered a complete guide. Please seek oth-
er sources of safety and local traffic laws before
riding your bicycle.
Always wear your helmet and stay alert while
riding.
Follow the flow of traffic and ride in desig-
nated bicycle lanes.
Keep yourself visible to cars and avoid riding
your bicycle in blind spots for drivers.
Make eye contact with drivers when possible;
signal your intentions.
Watch for holes in the road or sidewalk sur-
face and other hazards such as opening car
doors or children playing.
Some places require the use of lights and
other accessories, while cycling may be pro-
hibited in some areas. Check local laws and
regulations and obey them while riding.
Do not use headphones or sunglasses that
affect your vision while riding your bicycle.
Do not ride your bicycle while under the
influence of drugs or alcohol.
Our bicycles are designed for regular use on paved
roads by adult riders (13 years old and above).
Jumps or stunts can damage the bicycle and put the
rider at risk of injury or death.
WARNING
Your bicycle comes fully assembled and folded in
the box. Nevertheless, it is essential that a profes-
sional bicycle mechanic check this product before
you use it.
The mechanic should check and ensure that the
brakes, drive train, quick releases, bolts, pedals,
seat post, handle post, latches, wheels and all oth-
er components are properly installed and adjusted.
WARNING

5
1. Wheels
2. Rear Derailleur
3. Chain
4. Crank
5. Pedals
6. Seat post
7. Quick Release
8. Saddle
9. Frame
10. Frame Latch
11. Handle Post
12. Handle Post Latch
13. Handlebars
14. Brake Lever
15. Brakes
16. Headset
17. Fork
Bicycle Components
2 3 4 5 1
11
12
15
16
17
6 7 10 9
8
13 14

6
Maintenance and Cleaning
Maintenance
Do not perform maintenance or adjustment of the
bicycle or components without sufficient knowl-
edge or proper tools. Where necessary, take your
bicycle to a mechanic for repair or maintenance.
Bicycles are subject to wear and tear, as well as
high stress. Materials and various components
may be affected differently. If the lifetime of a
component is exceeded, it may suddenly fail.
Any crack, scratch or discoloration may indicate
that a component needs to be replaced. If you
see signs of wear and tear, address them imme-
diately.
Take your bicycle to a professional mechanic
for periodic maintenance. How frequently you
take your bicycle to a mechanic for maintenance
depends on how you use the bicycle, but we rec-
ommend you to do that at least twice per year.
Cleaning
When cleaning your bicycle, do not use a water
jet or other high-pressure water hose. Clean with
mild soap or detergent and rinse with water.
Rinse all parts well and avoid spraying water on
parts such as steering box, crank, seat post and
saddle rails. After cleaning, dry the bicycle with a
rag and lubricate contact points to guard against
corrosion.
Corrosion
Tip
One of the biggest causes of corrosion is
accumulation on bicycle components of salt
and sand from the beaches.
Salt is responsible for the acceleration of cor-
rosion and sand is abrasive (so it wears down me-
chanical parts). To avoid this, you need to clean
your bicycle every time you take it to the beach.

7
Riding your Durban
Riding During Low Visibility
Riding during low light or low visibility – at night,
dawn, dusk or in the rain and fog – is much more
dangerous than riding during normal light condi-
tions. Adults should always use lights, reflectors
and reflective clothing while riding during low
visibility.
Reflectors only work if they are clean, whole and
assembled correctly. Do not obstruct reflectors
with baggy clothes or bags. Moreover, they only
reflect light in some directions, so you need lights
and other accessories. Ask your dealer for advice
and make sure that the lights you use conform to
legal requirements.
Riding Position
The best riding position is one in which you feel
comfortable. A bad tted bicycle can lead to back
pain or joint pain. Make sure your saddle and han-
dlebars are at the correct height and that you can
reach the brakes and shifter comfortably.
For most people, the sole of the foot on the pedal
should be positioned directly over the pedal axle.
The saddle can be moved up and down, forward
and backward and tilted up and down, so try to
move it to get the best t. A badly positioned sad-
dle can damage nerves and blood vessels.
When riding, your hips should remain stationary
and your knees should extend to between 20° and
25° short of the locked position.
The saddle should be parallel to the ground, but if
it is not comfortable, bend the tip down to relieve
pressure in the groin, or up to distribute your
weight over a larger area of the saddle.
Moving the seat back makes you exercise the
gluteus muscles more intensely and works your
upper thighs. In general, the front of the knees
should not exceed the pedal axle. After reaching a
comfortable position, check the seat height again.
Using Brakes
Different countries have different standards for
which brake lever (right or left) controls which
brake (front or rear). Be sure you understand well
what lever controls which brake before using.
Braking distances increase in wet weather, so
slow down when it is raining, brake more gently
and make sure you brake in advance.
Brakes lose their effectiveness when you skid or
the wheel locks up, so apply pressure progres-
sively without allowing your brakes to lock the
wheel of the bicycle or your bicycle to skid.
Skidding does not slow you quicker, and you lose
control of speed and direction when you skid.
Brakes are more efficient before skidding, there-
fore relieve brake pressure if you start skidding.
If you squeeze down on the front brake without
thinking, you will fly over the handlebars or a rear
wheel may squirm behind you. In that situation,
tilt your body backwards and slightly loosen the
front brake.
Riding with worn or poorly adjusted brakes is
dangerous. Keep brake pad surfaces clean and
free of brake oils or lubricants. Replace worn
brakes.

8
Riding your Durban
Using Gears
Bicycle gears are numbered from 1 upwards,
with 1 being the lowest (lighter) gear. If engaged,
the grip shifter on the right controls the rear
derailleur. The bicycle has six or seven gears. The
lower gears are used for going slower or uphill,
and the higher gears are used for going faster or
downhill. Test the gears in a safe place.
Before riding, go through all the gears and make
sure that they are all fully functioning. If gear shif-
ting is not smooth, we recommend you consult
your professional mechanic. If the rear derailleur
is malfunctioning, do not use the highest and
lowest gears because the chain may come off.
Make sure chain and cables are lubricated pro-
perly before riding.
Using Quick Releases and Latches
Quick releases hold wheels, seat post, handlebar
and handle post in place. When adjusted proper-
ly, the seat post, handle post and handlebars will
not rotate and the wheels will not come off.
Before riding, make sure that all quick releases
are tightly fastened. Lift each wheel and drop
to verify that it is tightly fastened to the frame
and fork. Gently try to rotate the handlebars and
saddle to check for firmness.
Slightly lift the bicycle and drop to test for tre-
mor, shake and stability of the frame (especially
the latches of the frame and the handle post).
Tip
To make your latch adjust to last longer,
you can apply a drop of threadlocker on the
screws used to adjust the latches after you find
the optimal adjust. We recommend you to use
LOCTITE© 270 or a similar threadlocker on our
bicycles
Please take your bicycle to a professional mecha-
nic if you are not sure about quick releases and
latches operation or maintenance.
Make sure the frame latch and handle post latch
are properly adjusted and tightly closed before
riding the bicycle. Failing to do so can result in
injury or death.
WARNING
Do not over tighten the stem bolt, handle post bolt,
handle post quick release or any other clamping
device.
WARNING

Bicycle Safety Checklist
Check tire pressure, wheel alignment, spoke
tension, and if the spindle bearings are tight.
Check for wear and tear on the rims and
other wheel components.
Check brake function. Check if the
handlebars, handlebar stem, handle post
and handlebar are adjusted properly and
undamaged.
Check for loose links in the chain and that
the chain rotates freely through the gears.
Make sure there is no metal fatigue on the
crank and the cables are operating smoothly
and without damage.
Ensure that the quick releases and bolts
are fastened tightly and adjusted properly.
Slightly lift the bicycle and drop to test for
tremor, shake and stability of the frame (es-
pecially the hinges and latches of the frame
and the handle post).
Check that the tires are properly inated and
there is no wear and tear.
The bicycle should be clean and without
wear. Look for discolored spots, scratches
or wear, especially on the brake pads, which
contact the rim.
Check that the wheels are secure. They
should not slide on the hub axle. Then, use
your hands to squeeze every pair of spokes.
If the spoke tensions are different, align your
wheel. Finally, rotate both wheels to make
sure they turn smoothly, are aligned and do
not touch the brake pads.
Make sure that your wheels will not come
o, holding each end of the bicycle in the air
and hitting the wheel downward from above.
Test your brakes by standing over your
bicycle and activating both brakes, and then
rock the bicycle forward and backward. The
bicycle should not roll and the brake pads
should remain firmly in place.
Make sure that the brake pads are aligned
with the rim and check for wear on both.
9
• This checklist is a quick way to check if your
bicycle is ready for use.
• If your bicycle fails at any time, do not ride it and
schedule a maintenance check-up with a profes-
sional bicycle mechanic.
WARNING

Folding, Unfolding and Adjustments
Step 1
Fold Pedal *
A - Press the pedal to unlock
B - Fold Pedal
* Only bicycles with foldable pedals.
Step 2
Lowering the Saddle
A - Unlock the seat post quick release
B - Lower the saddle
C - Lock the seat post quick release when the saddle is in a lowered position
A B C
Tip
The saddle should be slightly turned to the left to avoid contacting of
the handle post when the bicycle is folded.
10

Folding, Unfolding and Adjustments
Step 3
Fold Handle Post
A, B - Unlock the security lock
C - Pull the latch lever
D - Fold the handle post until it is parallel with the front wheel
A B C D
Step 4
Fold Frame
A, B - Unlock the security lock
C - Pull the latch lever
D - Fold the frame using both hands
A B C
11

Folding, Unfolding and Adjustments
Adjusting the Handle Post
For your convenience adjust the height of the handle post using the
following steps:
A - Unlock the handle post quick release
B - Adjust the handlebar up or down
C - Lock the handle post quick release at the desired height
A B C
Unfolding
To unfold your bicycle repeat steps 1-4 in reverse order.
12

Folding, Unfolding and Adjustments
13
Handlepost
Follow the steps in this guide to fold the handle-
post. Use an Allen key to adjust the screws on the
handlepost latch as the illustration below.
The pressure increases with the screws tightening.
Adjust the screws until you nd the ideal pressure.
Excessive pressure can prevent the latch to lock.
Forcing to close may damage the system. When
properly adjusted, the handlepost must have no play
or movement.
Frame Latch
Follow the steps in this guide to fold the handle-
post. Use an Allen key to adjust the screws on the
handlepost latch as the illustration below.
The pressure increases with the screws tightening.
Adjust the screws until you nd the ideal pressure.
Excessive pressure can prevent the latch to lock.
Forcing to close may damage the system. When
properly adjusted, the handlepost must have no play
or movement.
• The correct adjust of the folding latches is very
important for user safety.
• Any looseness or movement may indicate the
need for an adjustment. For this adjustment, you
will need an Allen key.
• If this adjustment does not solve the problem,
please seek professional service immediately.
• Follow the instructions on this page to ensure a
correct adjustment of your Folding Latches.
ADJUSTING
THE FOLDING LATCHES

Durban Bikes Limited Warranty
A. GENERAL PROVISIONS
Durban Bikes USA LLC (“Durban”) will repair or
replace, at its option, any defective part of the bi-
cycle covered by this Limited Warranty.
Warranty service must be only performed by a
dealer or a service center authorized by Durban.
Bicycle checks, adjustments, lubrication and pre-
ventive maintenance are not covered by this Lim-
ited Warranty.
The Owner will be responsible for the transporta-
tion of product to and from the dealer’s or service
center’s place of business. This warranty gives you
specific legal rights and you may have other rights
which vary from state to state.
B. WHAT IS WARRANTED
Bicycle Frame and Parts are warranted against de-
fective materials and workmanship for a period of
1 (one) year from the purchase date, subject to the
terms and conditions of this Limited Warranty.
C. CONDITIONS OF WARRANTY
Before your first ride, the bicycle must be checked
and adjusted by a professional bicycle techni-
cian. The Owner shall demonstrate reasonable
care and use of the bicycle and follow preventive
maintenance, storage, and lubrication schedules
as required by use, climate and other pertinent
factors. Carefully read your manual before riding
you bicycle.
D. WHAT IS NOT WARRANTED
The warranty does not cover:
• Normal wear and tear or anything you break ac-
cidentally or deliberately;
• Improper assembly or follow-up maintenance;
• Installation of parts or accessories not originally
intended or compatible with the bicycle as sold;
• Damage or failure due to accident, abuse, ne-
glect, misuse or theft;
• Modification of the frame, fork, or components;
E. WARRANTY SERVICE
The Owner should immediately stop riding the bi-
cycle if a defect becomes known. To secure war-
ranty service, the purchaser must report the prod-
uct defect and request repair within the applicable
warranty term.
The Owner must present evidence of the initial
check and adjustments of the bicycle made by a
professional bicycle technician as well as the pur-
chase date.
Durban Bikes USA LLC
2041 Rosecrans, Suite 322
El Segundo, CA 90245
Email: [email protected]
Phone: 1-855-42-BIKES
14

www.durbanbikes.com
This manual suits for next models
6
Table of contents