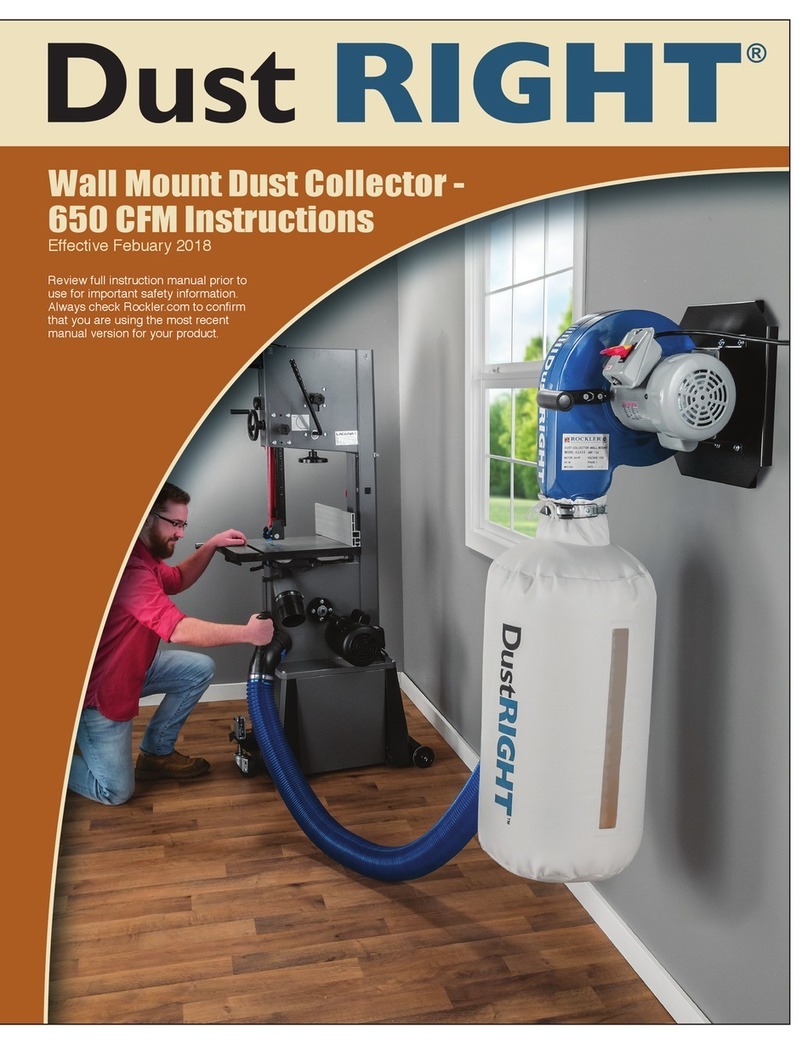
Dust Right Separator User manual

Review full instruction manual prior to
use for important safety information.
AlwayscheckRockler.comtoconfirm
that you are using the most recent
manual version for your product.
Instructions

2
>Always confirm that you are using the most recent
version of the Instructions and safety warnings for
your product. To find the most recent version, find the
product page on Rockler.com and click on the link to
the Instructions.
>For any tool used in conjunction with this product,
always read, understand and follow the instructions
andsafetywarningsintheowner’smanualforthattool.
Ifyoudonothavetheowner’smanual,obtainonefrom
thetool’smanufacturerbeforeusingitwiththisproduct.
>Before using this product, review and verify that all tools
tobeusedwithithavesafetyequipmentinstalledand
areinproperworkingorderasdefinedbythetools’
owner’smanuals.
>Do not use this product until you have read and
are confident you understand:
• Product Specific Safety Warnings (p. 3);
• Parts List (pp. 4);
• Assembly(pp.5-6);
• Dust Right®SeparatorTroubleshooting(pp.6-7).
>Remain alert and use good judgment when using this
tool. Do not use this tool if you are in any way impaired
bymedications,alcohol,drugsorfatigue.
>Dress appropriately and remove all jewelry, secure
looseclothingandtieuplonghairbeforeusingthistool.
> Itisthesoleresponsibilityofthepurchaserofthis
product to ensure that any third party whom you
allow to use this product reads and complies with all
the instructions and safety precautions outlined in
this manual prior to use.
>Maintain these instructions and warnings as long as you
owntheproduct.Keepthisbookletinaplacewhereit
willbereadilyavailableforreference.
>Theuserassumesallriskandresponsibilityforthe
proper use of this product and for ensuring product
suitabilityforintendedapplication.
>Always wear safety glasses in compliance with ANSI
safety standards and hearing protection and follow all
standard shop safety practices, including:
•Keep your work area well lit and clean;
• Unplugallpowertoolsbeforemakingany
adjustments or changing accessories;
•Use dust collection tools and dust face masks to
reduce exposure to dust;
• Useaccessorysafetyequipmentsuchas
featherboards,pushsticksandpushblocks
whenever appropriate;
•Do not use power tools in explosive
environments (e.g., in the presence of
flammableliquids,fumesordust);
• Keepchildrenandbystandersawayfrom
the tool operating area;
•Maintain proper footing at all times and
do not overreach;
•Do not force the tool.
>These warnings and instructions do not represent the
totalofallinformationavailableregardingtoolsafety,
useandtechnique.Pleasereadthefullmanualbefore
using this product and always seek out opportunities
to learn more and improve your skills and knowledge.
Thisproductisdesignedforspecificapplicationsasdefinedintheinstructionsandshouldnotbemodifiedand/or
used for any other applications. Before using the Dust Right®Separator, read, understand and follow all instructions
and safety information provided. KEEP THESE INSTRUCTIONS FOR FUTURE REFERENCE.
GENERAL SAFETY WARNINGS
Drilling, sawing, sanding or machining
wood products can expose you to wood dust, a
substanceknownottheStateofCaliforniatocause
cancer. Avoid inhaling wood dust or use a dust mask
or other safeguards for personal protection. For more
informationgotowww.P65Warnings.ca.gov/wood.

3
> Keep away from all ignition sources including heat,
sparks and flame.
>Never use the Dust Right®Separator to vacuum
flammableorcombustibleliquids,gasesorother
related materials as it can cause injury or death due
to fire or explosion.
>Nevervacuumburningorsmokingmaterialssucha
cigarettes, matches or hot ash. Smoldering waste may
laterburstintoflames.
>Do not use this product for anything except wood dust.
Materials such as metal shavings, metal dust, screws,
glass, plastic or rock can cause sparks resulting in an
explosionofthewooddustand/ordamage.
> Nevervacuumtoxicmaterialsdeemedtobe
carinogenic,combustibleorinanywayhazardous.
Materialsofthistypeincludeasbestos,arsenic,barium,
beryllium,leadandpesticides.
Note:Thisisanincompletelistanditistheuser’s
responsibilitytoconsultwithhazardouswaste
professionalsiftheyareindoubtaboutmaterials
they wish to evacuate.
>Neverleavewooddustinabuildingorvehiclewhereit
maybecomehazardousifleftunchecked.
> Always dispose of waste in a fire safe area.
>The Dust Right®Separator is not a toy. Do not allow
children to play on or near the system. Pay close
attentionwhenusedbyornearchildren.
>Pay close attention to the fill line on your Dust Right®
Separator.Besuretoemptythecanisterbeforeit
accumulatestoalevelabovethefillline.Optimum
operationcanbeachievewithregulardisposalof
wasteinthemethodsprescribedinthismanual.
>Do not use the product in any other way than what
isdescribedinthismanual.
PRODUCT SPECIFIC SAFETY WARNINGS

4
G
E
F
A
D
B
H
E
Quantity
A Separator Lid 1
B SeparatorCanisterTop 1
C SeparatorCanisterBottom 1
D 36"FlexForm™Hose 1
E Threaded Hose Fittings 2
F UpperChipSeparatorPort 2
G LowerChipSeparatorPort 2
H Casters 5
PARTS LIST - DUST RIGHT®SEPARATOR
C

5
Assembly
1. Align arrows in separator canister Top (B) and
Separator Canister Bottom (C) and snap pieces
together to create the full canister. Fig. 1.
2. Insert the five casters (H) into the corresponding
sockets on the bottom of the canister. Fig. 2.
3. Position the lower Chip Separator Ports (G) underneath
the lid with the indents on the Lower Port aligned with
the indents on the lid. Fig. 3. Be sure the Lower Ports
are pointing in opposite directions. Fig. 4. Then
Thread the Upper Chip Separator Port (F) to the
Lower Port (G), sandwiching the lid (A) in between.
4. Secure the Separator Lid (A) to canister by aligning
the lid tab with any one of the 3 tab cutouts in the
Canister’s top rim. Rotate clockwise to secure,
reverse to remove. Fig. 5.
5. Thread both hose fittings (E) to either end of the
FlexForm™hose (D).
Note: Threading is reversed on these fittings.
6. Insert one end of the FlexForm™hose (E) into
Chip Separator Port (G) and the other end into
your shop vacuum. Fig. 6.
Note: Either end can be used as the input or
output ports.
Fig. 5
Fig. 4 - Underside of lid shown
A
G
Fig. 6
Fig. 3
Fig. 2Fig. 1
FE
D
A
G
F
Triangle
indent
C
H
B
C
Align
arrows
Tab cut-out
Lid tab

6
Fig. 7
Shop vac
Separator
canister
Existing shop vacuum
hose or 21⁄2" shop hose
FlexForm™hose
Fig. 8
7. Insert one end of your existing shop vacuum hose
in the open Separator port, and attach the other end
to your power tool dust port or a shop cleanup
handle/wand. Fig. 7.
Tip: Some shop vac hose fittings are slightly under
21⁄4". In this case a couple wraps of tape will make
a tighter fit. Fig. 8.
8. For best results, do not fill past the fill line on the
Separator bucket. Fig. 9.
Dust Right®Separator Troubleshooting
Too much dust and dirt is getting to your
vacuum’s filter:
1. Small amounts of dust and fine dust will appear in
your vacuum’s filter. This is normal.
Tape
Shop vac hose

7
Power tool Clean up wand
Fig. 9
2. Check for air leaks. Even a small leak can
affect performance.
3. Check to make sure debris has not collected above
the fill line in the canister.
Suction power seems lower than it should:
1. Check for clogs in your hoses.
2. Make sure you start with a clean filter.
Fill line
Check Rockler.com for updates to these instrutions. If you have
further questions, please contact our Technical Support Department
at 1-800-260-9663 or support@rockler.com

Distributed by Rockler Companies, Inc.
©2017 Rockler Woodworking and Hardware
45556
Rev 05/17
Table of contents
Other Dust Right Dust Collector manuals
Popular Dust Collector manuals by other brands

Scheppach
Scheppach HD12 instruction manual

King Industrial
King Industrial KC-4045C instruction manual

Jet
Jet DC-1100CK Operating instructions and parts manual

OHM ELECTRIC
OHM ELECTRIC MIST CATCH OMC-N205 instruction manual

Oneida Air Systems
Oneida Air Systems XCKM013000 owner's manual

Jet
Jet DC-1200FS owner's manual