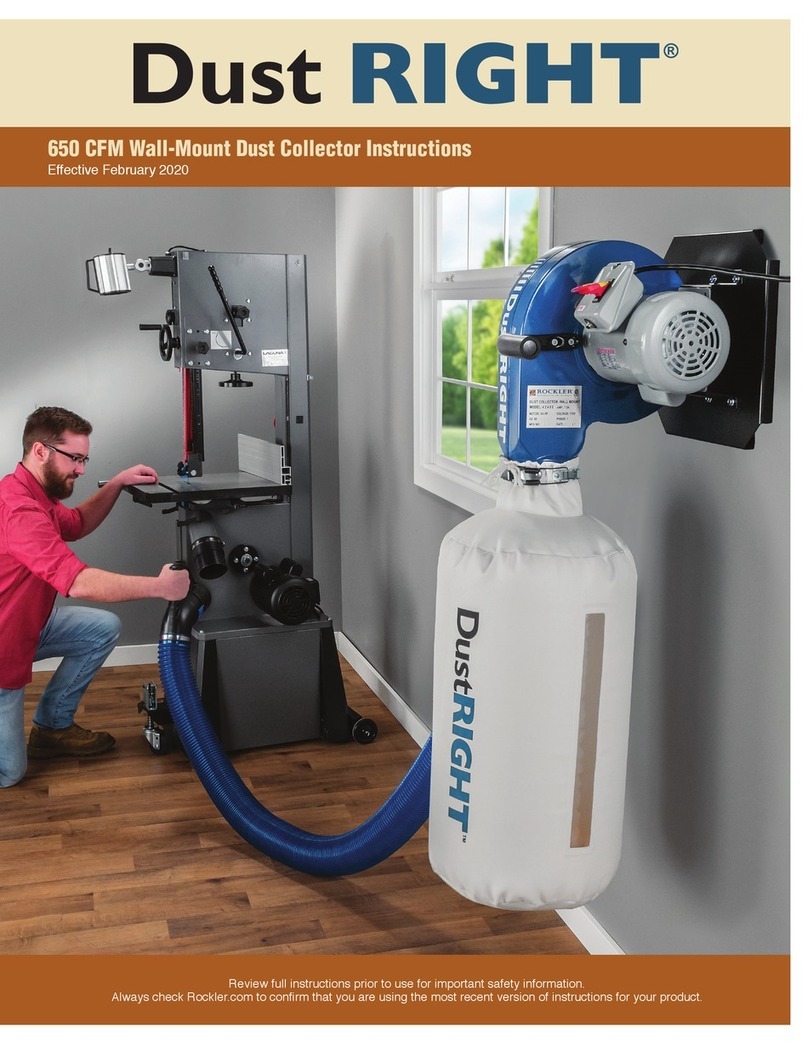
Dust Right 650 CFM User manual

Review full instruction manual prior to
use for important safety information.
AlwayscheckRockler.comtoconfirm
that you are using the most recent
manual version for your product.
Wall Mount Dust Collector -
650 CFM Instructions
Effective Febuary 2018

2
This product is designed for specific applications as defined in the instructions and should not be modified and/or used for any
other applications. Before using the 650 CFM Wall Mount Dust Collector, read, understand and follow all instructions and safety
information provided. KEEP THESE INSTRUCTIONS FOR FUTURE REFERENCE.
GENERAL SAFETY WARNINGS
>Always confirm that you are using the most recent
version of the Instructions and safety warnings for
your product. To find the most recent version, find
the product page on Rockler.com and click on the
link to the Instructions.
>For any tool used in conjunction with this product,
always read, understand and follow the instructions
andsafetywarningsintheowner’smanualforthattool.
Ifyoudonothavetheowner’smanual,obtainonefrom
thetool’smanufacturerbeforeusingitwiththisproduct.
>Before using this product, review and verify that all
tools to be used with it have safety equipment
installed and are in proper working order as
definedbythetools’owner’smanuals.
>Do not use this product until you have read and
are confident you understand:
• Product Specific Safety Warnings (p. 3);
• Parts List (p. 4);
• Assembly (p. 5);
• Z-Bracket Mounting (p. 5);
• Grounding Instructions (p. 6).
>Do not use this product in any manner other than
what is described in these instructions. Use only
recommended accessories.
>Do not modify the product in any way unless instructed
to by the instructions.
>Remain alert and use good judgment when using
this product. Do not use this product if you are in any way
impaired by medications, alcohol, drugs or fatigue.
>Dress appropriately and remove all jewelry, secure
loose clothing and tie up long hair before using
this product.
>It is the sole responsibility of the purchaser of this
product to ensure that any third party whom you
allow to use this product reads and complies with all the
instructions and safety precautions outlined in this
manual prior to use.
>Maintain these instructions and warnings as long as
you own the product. Keep this booklet in a place where
it will be readily available for reference.
>The user assumes all risk and responsibility for the
proper use of this product and for ensuring product
suitability for intended application.
>Always wear safety glasses in compliance with ANSI
safety standards and hearing protection and follow all
standard shop safety practices, including:
•Keep your work area well lit and clean;
• Unplug all power tools before making any
adjustments or changing accessories;
•Use dust collection tools and dust face masks to
reduce exposure to dust;
•Use accessory safety equipment such as
featherboards, push sticks and push blocks
whenever appropriate;
•Do not use power tools in explosive
environments (e.g., in the presence of
flammable liquids, fumes or dust);
•Keep children and bystanders away from
the tool operating area;
•Maintain proper footing at all times and
do not overreach;
•Do not force woodworking tools.
>These warnings and instructions do not represent the
total of all information available regarding tool safety,
use and technique. Please read the full manual before
using this product and always seek out opportunities to
learn more and improve your skills and knowledge.
Drilling, sawing, sanding or machining
wood products can expose you to wood dust, a substance
known ot the State of California to cause cancer. Avoid
inhaling wood dust or use a dust mask or other safeguards
for personal protection. For more information go to www.
P65Warnings.ca.gov/wood.
BP0118
Danger indicates a hazardous situation that, if not avoided, will result in death or serious injury.
Warning indicates a hazardous situation that, if not avoided, could result in death or serious injury.
Caution indicates a hazardous situation that, if not avoided, may result in minor or moderate injury
or property damage.
Notice indicates important or helpful information and/or user tips.

3
> Do NOT use this Dust Collection System near flammable or
combustible liquids, gases, gasoline or other fuels, lighter
fluid, cleaners, oil-based paints, natural gas, hydrogen, or
explosive dusts like coal dust, magnesium dust, grain dust
and gun powder.
>Do NOT vacuum anything that is burning or smoking, such
as cigarettes, matches or hot ashes.
>To avoid health hazards from vapors or dust, do NOT
vacuum toxic materials.
>Do NOT use outdoors or on wet surfaces.
>Route vacuum hose and electric cord out of traffic areas.
Do NOT roll other tools or equipment over cord.
>Do NOT use without filter/dust bag and/or chip bag in place.
>Turn off controls before unplugging.
>To avoid injury from accidental starting, unplug power cord
before changing or cleaning filter/dust bag or chip bag.
>Do NOT handle plug-in with wet hands.
>Do NOT unplug by pulling on cord. Grasp the plug,
NOT the cord.
>Do NOT use with damaged cord, plug or other parts. Do NOT
use your Dust Collection System if it is missing parts or has
been dropped, damaged, left outdoors or dropped into water.
>Do NOT pull or carry by cord, use cord as handle, close a
door on cord, or pull cord around sharp edges or corners.
>Keep cord away from heated surfaces.
>Do NOT put any object into ventilation openings. Do NOT
vacuum with any ventilation openings blocked. Keep free of
dust, lint, hair or anything that may reduce air flow.
>Keep hair, loose clothing, fingers and all parts of body away
from openings and moving parts.
>Never leave tool running and unattended.
>Extension cords in poor condition or that are too small can
pose fire and shock hazards. When using an extension cord,
be sure it is in good condition and properly rated.
>Connect unit to a properly grounded outlet only.
>Empty bag regularly. Do NOT fill the bag more than 1/2 full.
>Wear safety glasses and a dust mask/respirator
while emptying the bag.
PRODUCT SPECIFIC SAFETY WARNINGS

4
Quantity
1 Base 1
2 Moter Assembly 1
3 Motor Bracket 1
4 Bag 1
5 Bag Clamp 1
7 Handle 1
8 1/4"-20 x 1" L Flathead Screw 2
9 1/4"-20 x 1/2" L Flanged Hex Head Screw 8
10 1/4"-20 Nut 8
11 Z-Bracket 1
12 #10 x 11⁄2" Wood Screws 3
13 Hex Wrench (Not Shown) 1
PARTS LIST
5
4
11
1
9
9
7
9
2
3
9
12
10
10
8

5
4. At each end, drill two 1/8" pilot holes through the studs
and into the end of the cleat and drive two #10 x 3"
screws (not included).
5. Attach the second 2 x 4 mounting cleat about 8" down from the
bottom of the first, using the same method. Fig. 1.
6. Position the Z-Bracket (11) on the top cleat as desired, use a
level to make sure it’s straight, and use the holes in the bracket
to mark locations for pilot holes.
7. Drill 1/8" x 11⁄4" deep pilot holes at each location.
8. Secure the Z-Bracket (11) to the top cleat with the
included #10 x 11⁄2" Wood Screws (12). Fully tighten,
but don’t overtighten. Fig. 2.
9. Fit the Dust Right®Wall Mount Dust Collector onto the
Z-Bracket (11), making sure the bracket is between the
left and right limit stoppers. Fig. 2.
Assembly
1. Attach the Handle (7) to the blower with the two included
1/4"-20 x 1" long Flathead Screws (8).
2. Use four of the included 1/4"-20 x 1/2" long Flanged Hex Head
Screws (9) and the included Hex Wrench (13) to attach the
motor to the black Motor Bracket (3).
3. Use four of the included 1/4"-20 x 1/2" long Flanged Hex
Head Screws (9) and the included Hex Wrench (13) to attach
the black Motor Bracket (3) to the larger black Base (1).
Z-Bracket Mounting on an Exposed-stud Wall
1. Determine where you want to mount your Wall Mount Dust
Collector; installation will be easiest if the location is between
two wooden wall studs.
2. Measure the distance between the two wall studs at the
desired location and cut two lengths of 2 x 4 material matching
that distance. You will mount the Z-Bracket (11) to one of these
cleats; the other will support the bottom of the larger black
Base (1) on the dust collector.
3. Place one of the cleats between the studs at the desired
mounting height, and use a level to make sure it’s straight.
Clamp it in place if necessary. Fig. 1.
Fig. 1 Fig. 2
8"
Cleat
Cleat
Studs
Limit
Stopper
11
12
1

6
Z-Bracket Mounting on a Finished Wall
1. Determine where you want to mount your Wall Mount
Dust Collector.
2. Use a stud finder to locate two wooden wall studs. Mark
the locations.
3. Measure the distance between the two wall studs and cut two
pieces of 2 x 4 material long enough to span both studs. You
will screw these cleats to the wall studs and then mount the
Z-Bracket (11) to one of these cleats; the other cleat will
support the bottom of the larger black Base (1) on the
dust collector. Fig. 3.
4. Place one of the cleats at the desired mounting height, and
use a level to make sure it’s straight.
5. At each end of the cleat, drill two 1/8" pilot holes through
the cleat and into the studs and drive two #10 x 3"
screws (not included).
4. Attach the second 2 x 4 mounting cleat about 8" down from
the bottom of the first, using the same methods. Fig. 3.
5. Position the Z-Bracket (11) on the top cleat as desired, use a
level to make sure it’s straight, and use the holes in the bracket
to mark locations for pilot holes.
6. Drill 1/8" x 11⁄4" deep pilot holes at each location.
7. Secure the Z-Bracket (11) to the top cleat with the
included #10 x 11⁄2" Wood Screws (12). Fully tighten,
but don’t overtighten. Fig. 4.
8. Fit the Dust Right®Wall Mount Dust Collector onto the
Z-Bracket (11), making sure the bracket is between the left
and right limit stoppers. Fig. 4.
Fig. 3 Fig. 4
8"
Cleat
Cleat
Stud locations
Limit
Stopper
11
12
1

Check Rockler.com for updates. If you have further questions, please
contact our Technical Support Department at 1-800-260-9663
or support@rockler.com
7
The type of electrical plug and receptacle
differs from country to country.
Grounding Plug
Cover of
grounded
outlet box
Grounding Instructions
Fig. 5
When using your Dust Collection System, follow basic safety
precautions as well as the following guidelines:
• This tool is equipped with an electric cord having an
equipment-grounding conductor and a grounding plug.
The plug must be plugged into a matching outlet that is
properly installed and grounded in accordance with all
local codes and ordinances.
• Do not modify the plug provided if it will not fit the outlet.
Have the proper outlet installed by a qualified electrician.
• Check with a qualified electrician or service-person if you
are in doubt as to whether the tool is properly grounded.
• Use only 3-wire extension cords that have 3-prong
grounding plugs and 3-pole receptacles that accept
the tool’s plug.
• Repair or replace damaged or worn cord immediately.
• This tool must be used with outlets like the one
illustrated in Fig. 5.

Distributed by Rockler Companies, Inc.
Medina, Mn 55340
58860
Rev 02/18
Table of contents
Other Dust Right Dust Collector manuals
Popular Dust Collector manuals by other brands

HOLZMANN MASCHINEN
HOLZMANN MASCHINEN ABS 1500FF user manual

Clemco
Clemco CDF-4 manual

Oneida Air Systems
Oneida Air Systems Dust Gorilla Pro owner's manual

King Canada
King Canada KC-1105C instruction manual

Magna-Matic
Magna-Matic MAG-200 Series installation instructions

Makita
Makita DX16 instruction manual