For customer service call 888.389.2732 Page 2
PLATINUM PRESSURE FEED
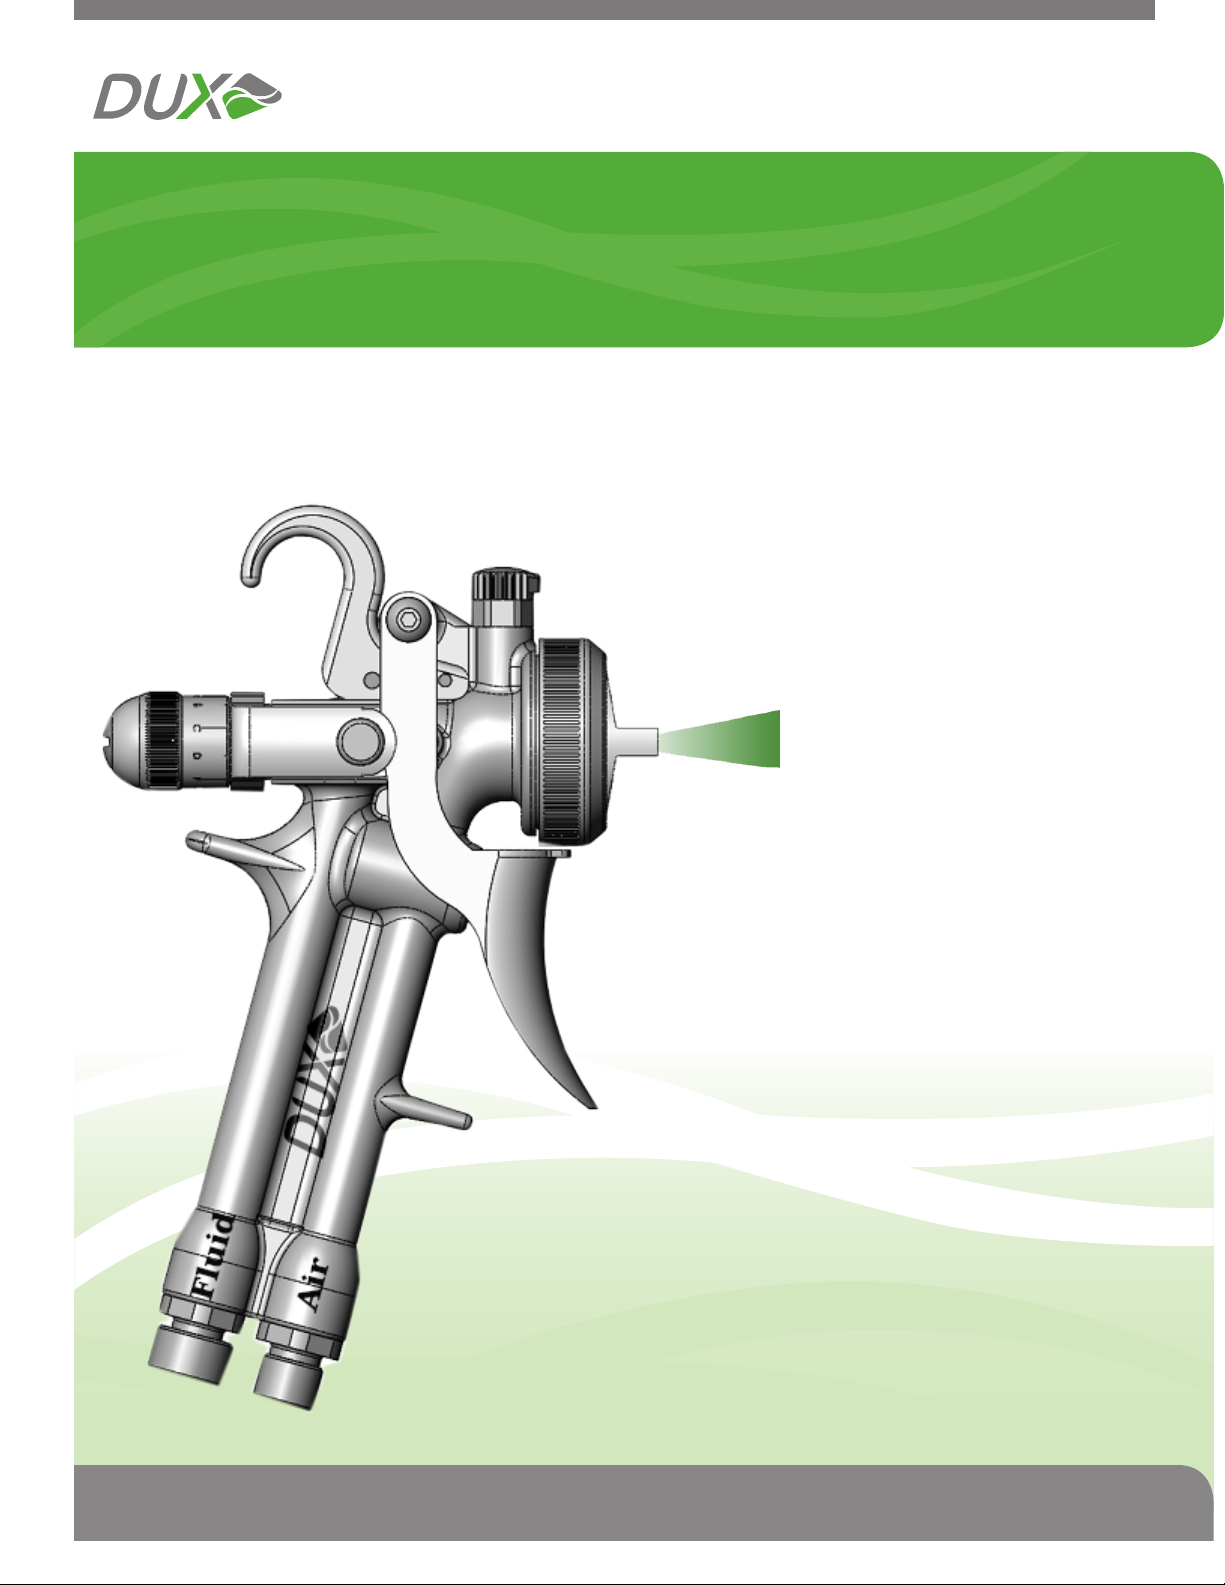
The DUX Platinum Pressure Feed
INSPIRED BY FORMULA RACE CAR
ENGINES.
Once again, DUX has reinvented the spray gun
from the inside out! Built upon the success of the
original DUX Pressure Feed spray gun, the new
“Platinum” series gun is the next step for-ward in
spray gun evolution. We’ve maintained our pat-
ented Advanced Laminar Airow technology, but
we’ve added more user friendly features and a new
coating with embedded PTFE for easier cleaning
and longer parts life.
As always, nishers can spray nearly any type of
uid, onto nearly any surface with a single gun,
while reducing coatings waste and improving nish
quality.
TECHNOLOGY THAT’S EASY TO USE
AND EASY ON US.
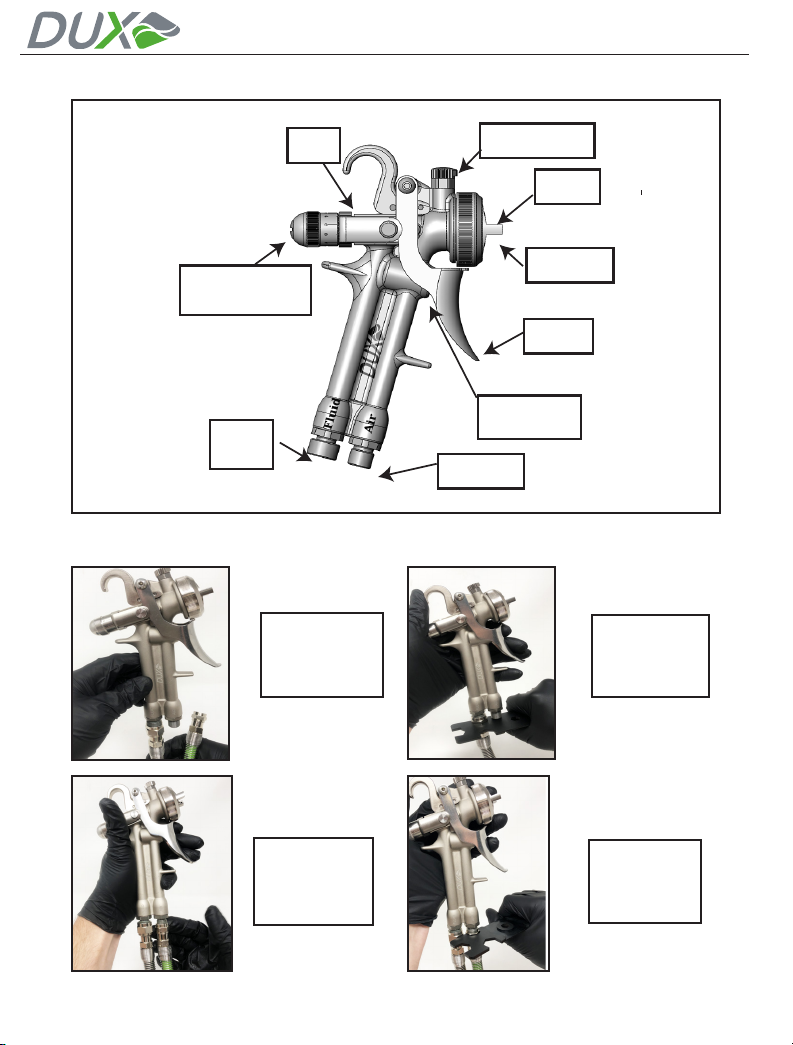
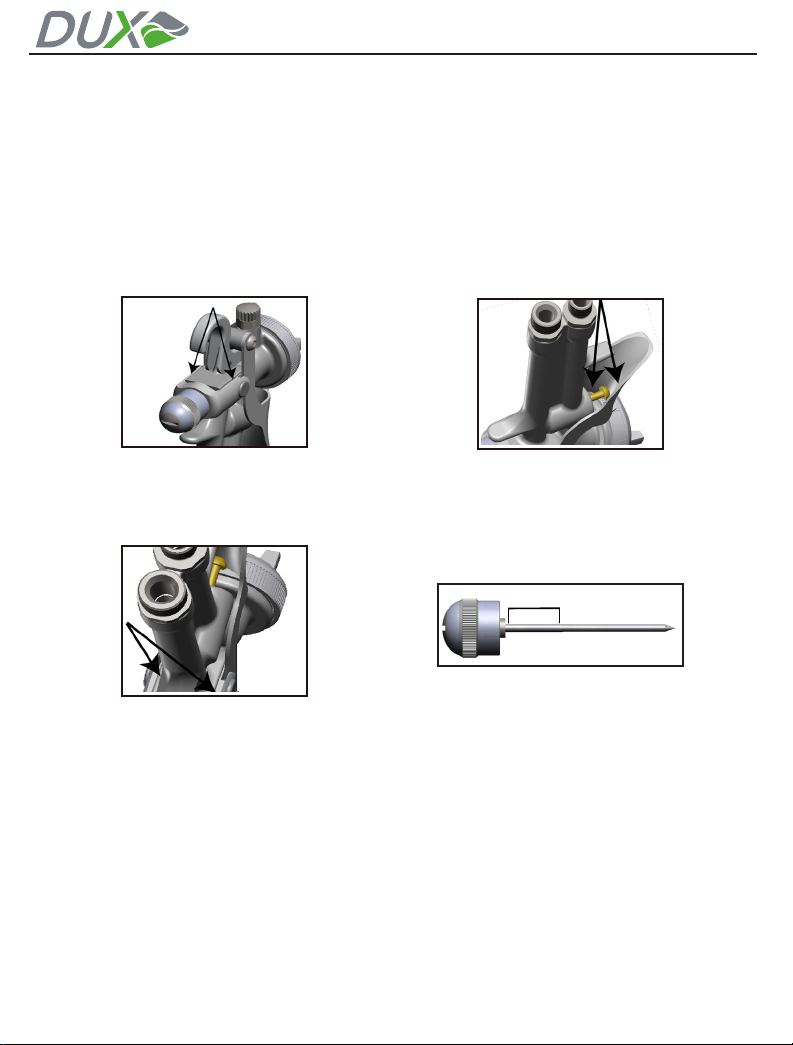
Most pressure feed spray guns incorporate a front-
heavy body design with uid hose connections
near the tip of the gun. Over the course of a long
work day, the extra weight causes arm fatigue and
uneven spray patterns that impact nish quality.
The DUX Platinum Pressure Feed gun, however,
is designed with much shorter air passages, an
upright handle, and uid and air connections lo-
cated at the base of the gun. This creates a lighter,
more compact and balanced gun that’s easier to
maneuver in small spaces.
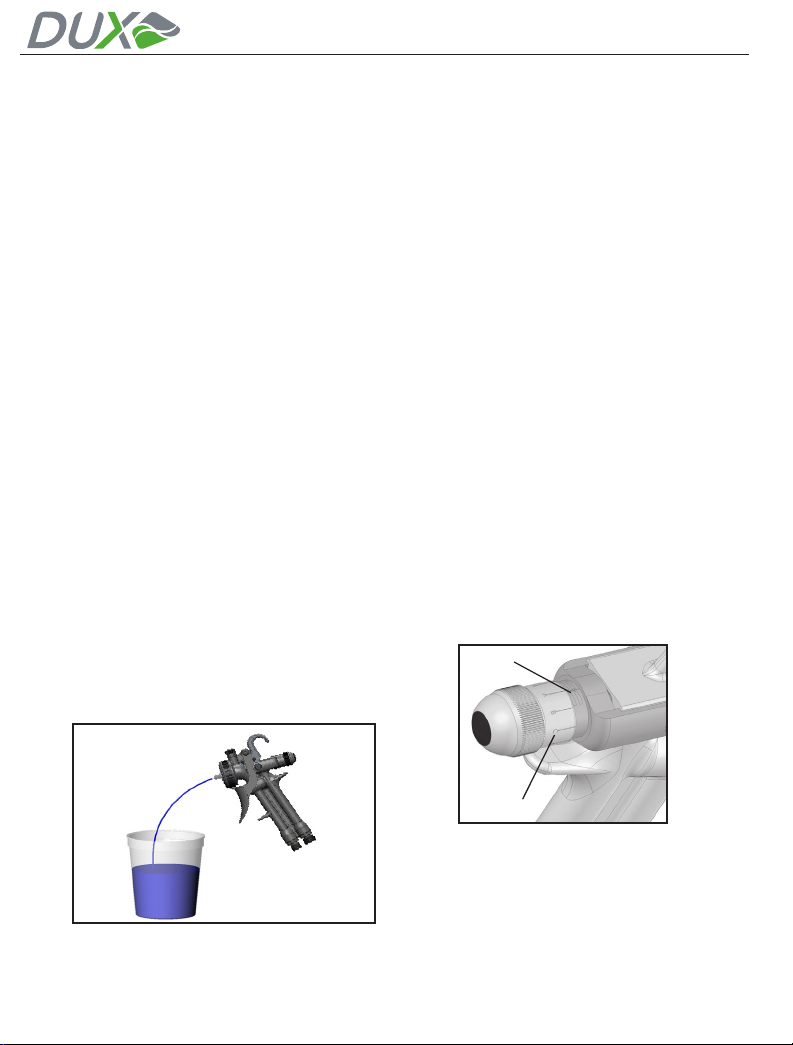
Lower operating pressures also result in mas-
sive reductions of unhealthy paint booth fog and
overspray. This drastically improves the work
environment for everyone involved.
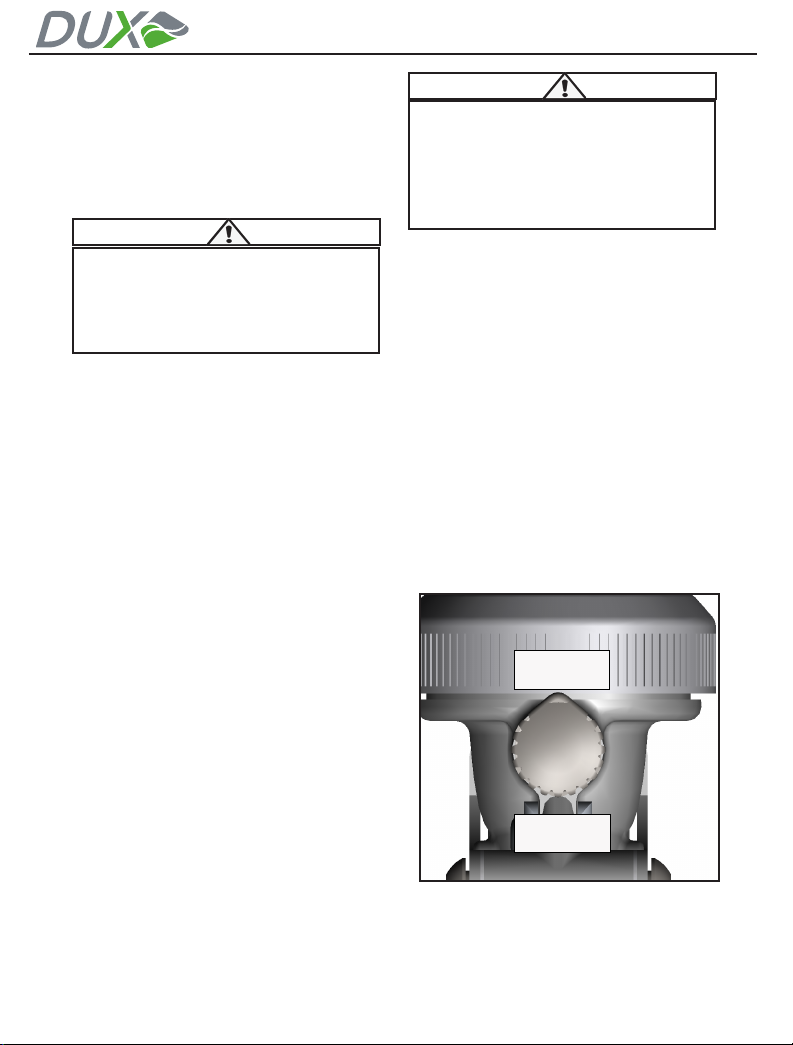
Patent Information
The design and technology forming the basis
of this product is the condential information of
DUX Technologies Inc., a Washington corpora-
tion. The relevant US Patent Numbers are: US
6,793,157; US 6,425,533, and U.S. 7,004,404.
DUX Technologies Inc. may have additional
patents, patent applications, trademarks,
copyrights, or other intellectual property rights
covering subject matter in this document.
Except as expressly provided in any written
license agreement from DUX Technologies Inc.,
this document does not grant you any license
to or rights in any such patents, trademarks,
copyrights, or other intellectual property.
© 2018 DUX Inc. All rights reserved.
DUX, DUX, DUX Pressure Feed, and DUX
Platinum Pressure Feed are either registered
trademarks or trademarks of DUX Technologies
Inc. in the United States and/or other countries.
Please note that your Pressure Feed
Spray Gun was shipped with the follow-
ing contents:
• Pressure Feed Spray Gun
• Fluid Tip
• Air Cap
• PTFE Grease Lubricant
• Dux Multi-Tool
• Cleaning Brushes
•
If anything is missing or you would like to
order additional parts, please contact Dux at:
Dux Technologies, Inc.
P.O. Box 1314
Seahurst, WA 98062
Tel: 888.289.2732
Fax: 888.876.1233
Website: www.DuxTechnologiesInc.com
Email: Customer.Service@DuxTechnologiesInc.com