MENU OPTIONS
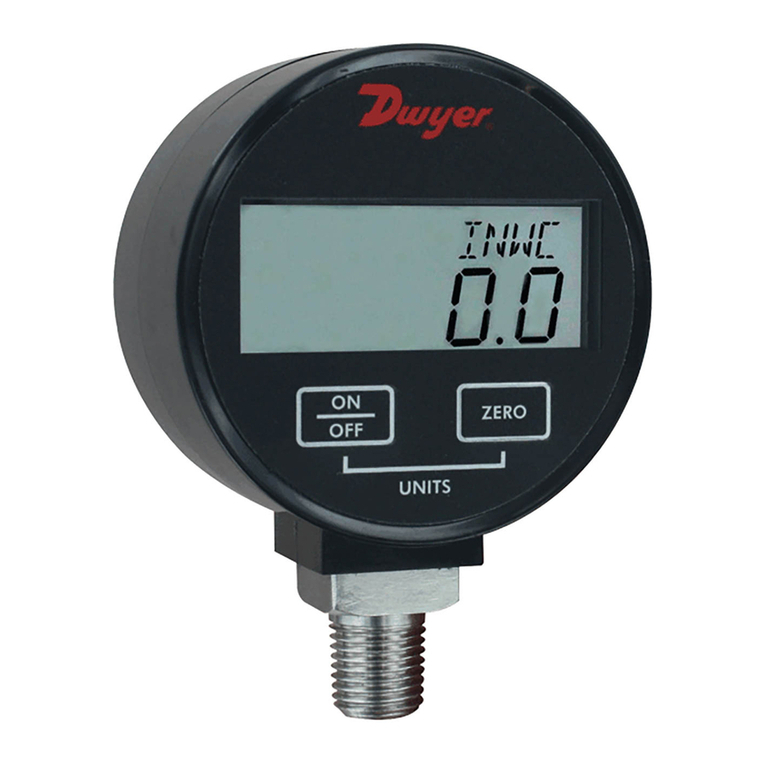
UNIT:14 engineering units are available: psi, inHg, ftSw (feet of sea
water), Bar, mBar, kPa, mPa, mmHg, cmH2O, mmH2O, kg/cm2,
and inH2O with three temperature options: 20°C, 60°C, and 4°C.
Step 1: Press the CONFIG key until the word UNITS appears.
Step 2: Press ENTER.
Step 3: Press the CONFIG key once to select ENGLISH or again
to select METRIC.
Step 4: Press ENTER to finalize selection of ENGLISH or METRIC.
Step 5: Press the CONFIG key to select engineering unit.
Step 6: Press ENTER to finalize the selection.
Note: For the in H2O temperature options, use the CONFIG key to select
the desired temperature, and then press ENTER to finalize the UNIT selec-
tion.
UPDATE: This option allows for changing the rate at which pres-
sure is updated on the display screen. The default rate updates the
display at the maximum rate of 10 updates per second. The other
available update rates include 5, 2, or 1 updates per second.
Note: Due to the variation in processes, the UPDATE rate should be spe-
cific to the application.
To use the UPDATE option:
Step 1: Press the CONFIG key on the keypad until the word
UPDATE appears.
Step 2: Press ENTER.
Step 3: Press the CONFIG key to select the desired update rate.
Step 4: Press ENTER to finalize the selection.
AUTO OFF: This option sets the amount of time before the gage
will turn itself off after no activity on the keypad has occurred dur-
ing the programmed time. The available options are NEVER
(default), 2, 5, 15, or 30 minutes.
To use the AUTO OFF option:
Step 1: Press the CONFIG key until the word AUTO OFF appears.
Step 2: Press ENTER.
Step 3: Press the CONFIG key to select desired AUTO OFF time.
Step 4: Press ENTER to finalize the selection.
BACKLIGHT: This menu option allows you to select the amount
of time the display’s backlight will remain on after the BACKLIGHT
key is pressed. The available options include ON/OFF (default), 10
seconds, 30 seconds, 1 minute, and 5 minutes. With the ON/OFF
option, the backlight will remain lit when the BACKLIGHT key is
pressed, until it is pressed again.
Note: Leaving the backlight on will decrease the battery life.
To use the BACKLIGHT option:
Step 1: Press the CONFIG key until the word BACKLIGHT
appears.
Step 2: Press ENTER.
Step 3: Press the CONFIG key to select one of the available time
options.
Step 4: Press ENTER to finalize the selection.
LANGUAGE: This menu option allows for selection of the lan-
guage to be used on the gage display. English is the default set-
ting but the other options available include French, Spanish,
German, Italian, Portuguese, and Dutch.
To use the LANGUAGE option:
Step 1: Press the CONFIG key until the word LANGUAGE
appears.
Step 2: Press ENTER.
Step 3: Press the CONFIG key to select one of the available
LANGUAGE options.
Step 4: Press ENTER to finalize the selection.
DAMPING: This menu option allows process pressure measure-
ments to be averaged. This option is particularly useful to stabilize
minor process pressure fluctuations. The available options include
averaging NONE (default), AVG 2, AVG 4, AVG 6, or AVG 8 read-
ings at a time.
To use the DAMPING option:
Step 1: Press the CONFIG key until the word DAMPING appears.
Step 2: Press ENTER.
Step 3: Press the CONFIG key to select one of the available
DAMPING options.
Step 4: Press ENTER to finalize the selection.
CONTRAST: This menu item allows for selection of the BACK-
LIGHT contrast level. There are seven options available including
1, 2, 3, 4 (default), 5, 6, and 7.
To use the CONTRAST option:
Step 1: Press the CONFIG key until the word CONTRAST
appears.
Step 2: Press ENTER.
Step 3: Press the CONFIG key to select one of the available
CONTRAST options.
Step 4: Press ENTER to finalize your selection.
CALIBRAT: The calibration feature allows for recalibration of the
zero and span settings. The factory default password has been
set at 00000. This password does not allow access to the cali-
bration mode. To access the calibration mode, it is necessary to
configure a user defined password. Once the user password is
configured, it will be saved as the default password that allows
access to gage calibration.
To access the factory default password:
Step 1: Press the CONFIG key until the word CALIBRAT appears.
Step 2: Press ENTER.
Step 3: The letters/asterisks…PW***** appear.
Step 4: Press the CONFIG key. A 0 appears in the first position.
Step 5: Press ENTER once.
Step 6: Press the CONFIG key until 0 appears. 0 will appear in the
second position.
Step 7: Press ENTER.
Step 8: Use this format until all the asterisks are replaced with 0.
There should now be a total of five 0’s on the display. The zero in
the fifth position should be blinking.
Step 9: Press ENTER. The display will now prompt to SET PW
(set password).
Step 10: Press ENTER.
Page 3
DCG iom 3/17/05 11:23 AM Page 3
