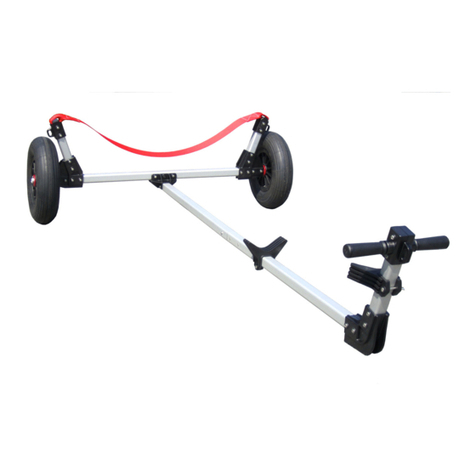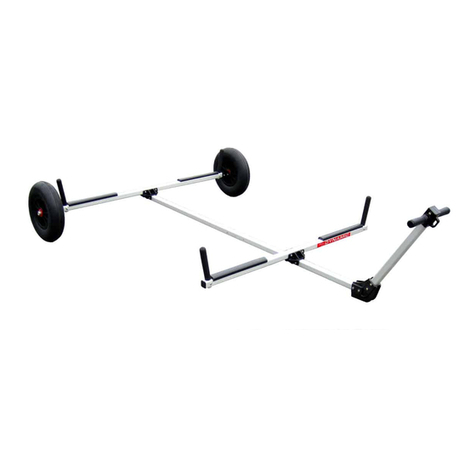
1. Connect)axle)tube)to)tongue)tube)assembly)
with)the)cross)fitting.))Make)sure)Dynamic)
label)on)axle)tube)faces)aft.)
2. For)a)quick)dolly?breakdown,)use)2)hex)head)
bolts)and)wing)nuts)as)shown)in)picture.)
3. Slide)wheels)onto)wheel)shafts)while)
depressing)snap)button.)
4. Wheels)can)be)secured)on)the)dolly)by)
inserting)enclosed)short)flat)head)machine)
screws)under)the)snap)buttons.)
5. Tire)pressure)should)not)exceed)15)psi.))For)
soft)sand)conditions,)reduce)tire)pressure)to)
increase)tire)footprint.)
6. Wheels(are(not(for(highway(use.(
Step(1:((Axle(Tube(&(Wheel(Shaft(Assembly(
1. Connect)both)side)tubes)and)wheel)shafts)to)axle)
tube)through)axle)fittings.))Make)sure)the)Dynamic)
label)faces)aft.)
2. Connect)sling)to)side)tubes)through)sling)fittings.))
Step(2:((Tongue(&(Bow(Tube(Assembly(
1. Slide)aft)tongue)tube)over)splice)tube,)which)is)riveted)into)the)forward)tongue)tube,)
until)snap)button)is)engaged.))
2. Slide)V?fitting)over)forward)tongue)tube)and)secure)in)place)with)a)hex)head)bolt)and)
wing)nut.))
3. Connect)bow)tube)to)forward)tongue)tube)through)elbow)fitting.))Make)sure)the)
Dynamic)address)label)on)the)bow)tube)faces)aft.)
4. Attach)handle)fitting)to)bow)tube.)
5. Slide)handle)tube)through)handle)fitting)until)
centered.))With)the)palm)of)your)hand,)gently)
tap)both)handle)grips)onto)handle)tube)from)
both)ends.)
Tools(Required:))Philips)Screwdriver))
)
Wing Nuts for Quick Disconnect
401?683?0427.)275)High)Point)Ave,)Portsmouth)RI)
02871)
info@dynamicdollies.com)
)
www.dynamicdollies.com(
© Dynamic Dollies & Racks LLC


