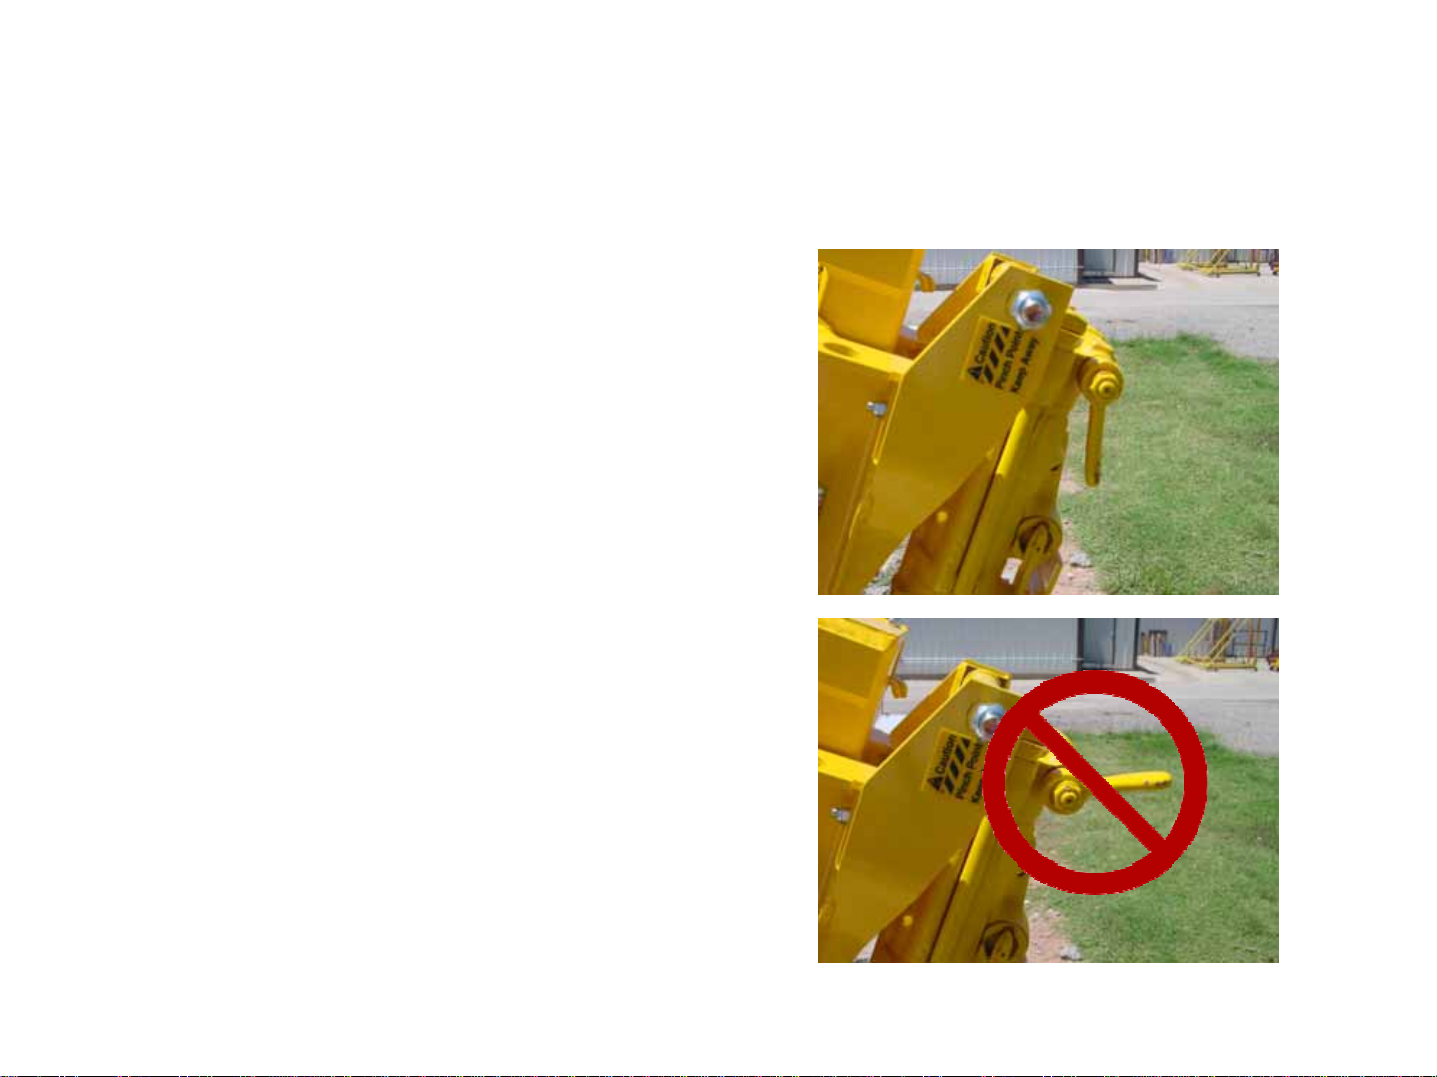
INSTALLING THE DRILL BITS
System Under Pressure: Shut off air
supply and disconnect air hose before
disassembling or disconnecting parts.
(to remove pressure from system, have air
supply disconnected from drill unit, and turn
the power switches to the “On” position)
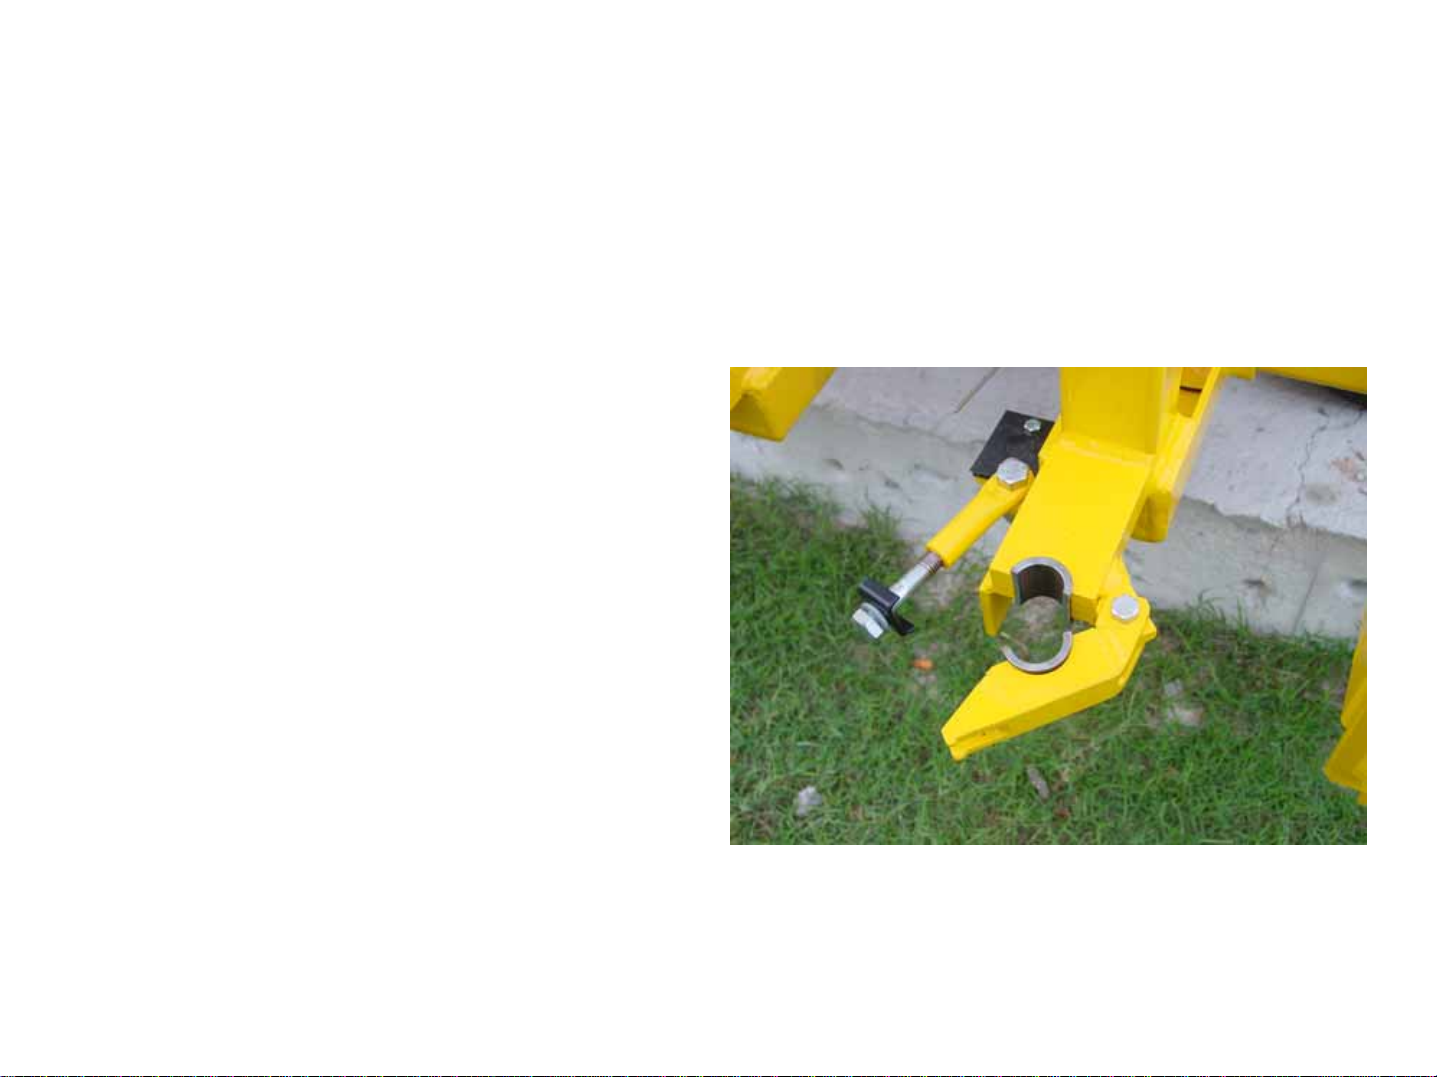
• IMPORTANT: The chuck size of the
drill bits must match the chuck size of
the drill. Look for the decal on the side
of the drill motor to confirm the chuck
size. Most E-Z Drill models come
standard with 7/8”x 3 ¼” chuck.
However, a 7/8” x 4 ¼” chuck and 1” x
4 ¼” chuck are available on request.
• All 210 series E-Z Drill models use 6”
of the usable length of the bit (i.e. a
24” bit will drill up to 18” deep; an 18”
bits will drill up to 12” deep.