manuals.online logo
Brands
  1. Home
  2. •
  3. Brands
  4. •
  5. Earlex
  6. •
  7. Power Tools
  8. •
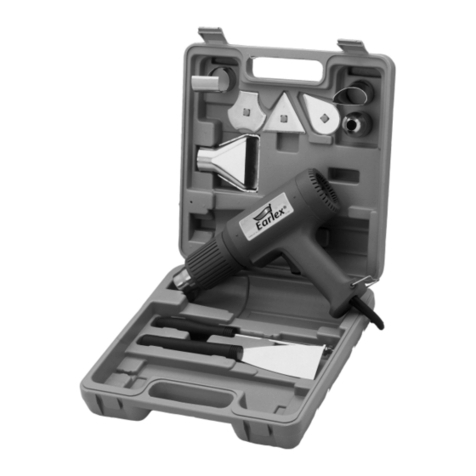
  9. Earlex HG15 User manual

Earlex HG15 User manual

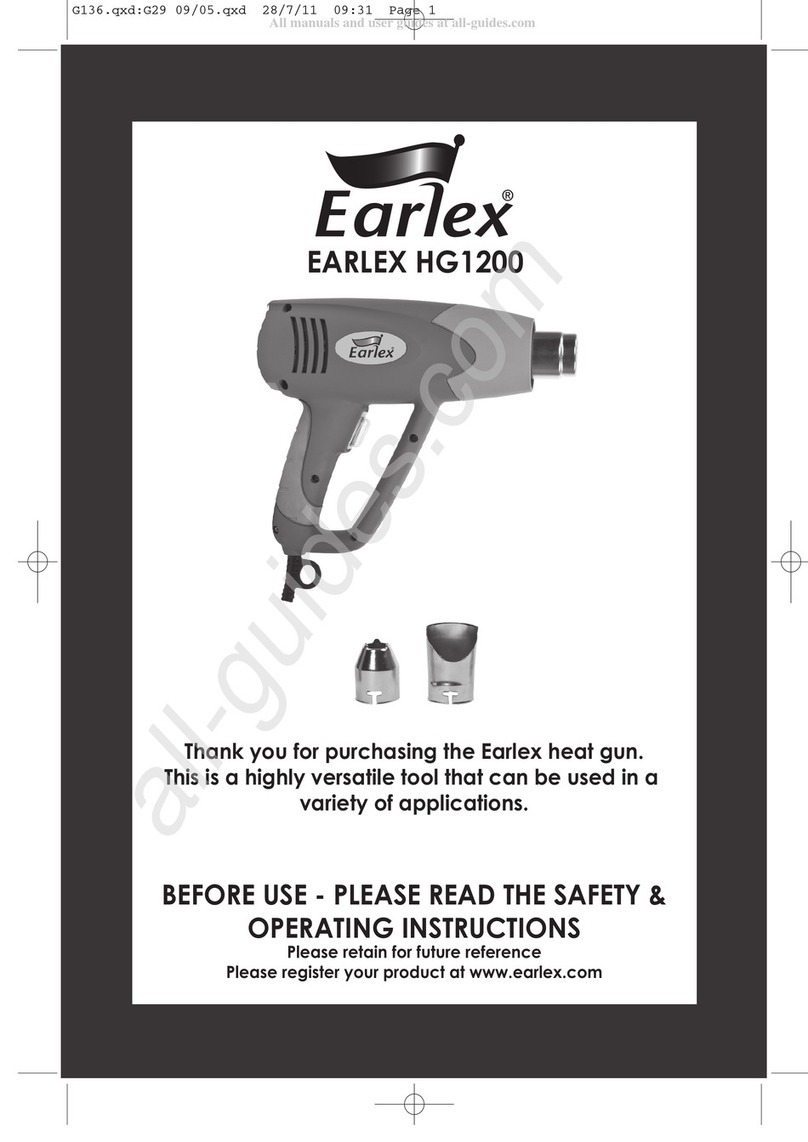
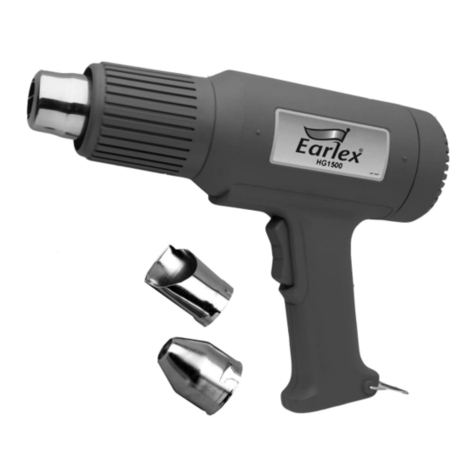
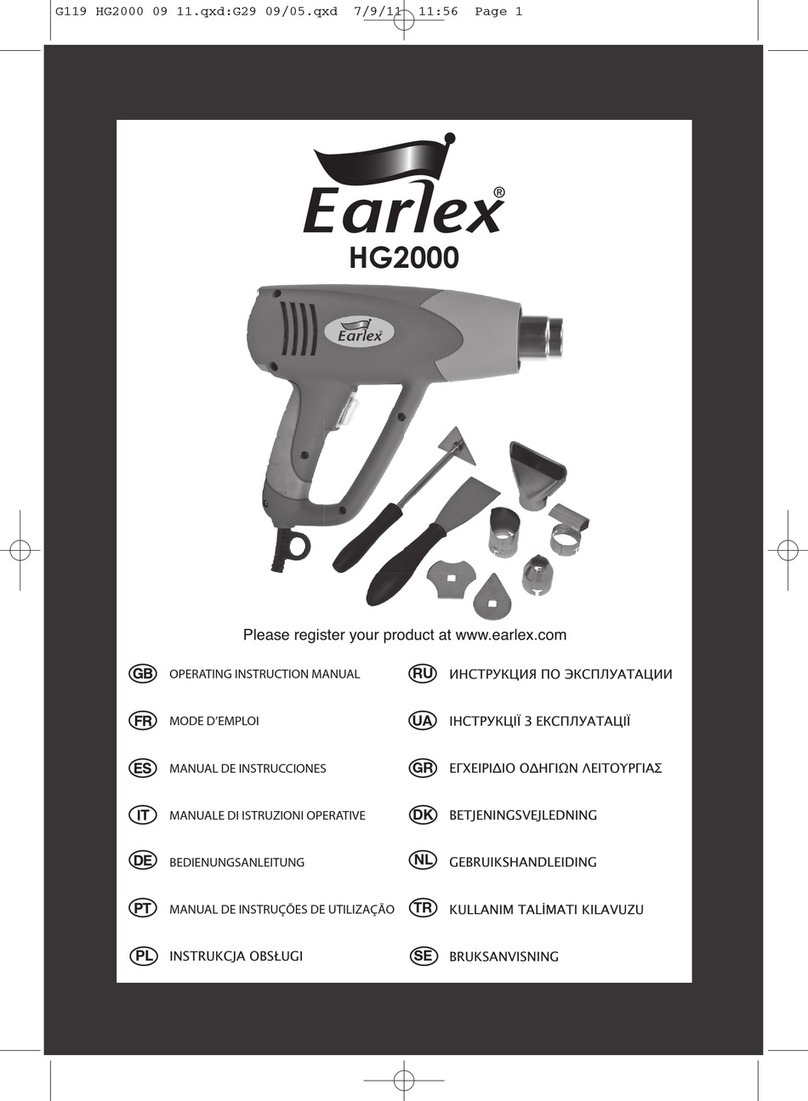
EARLEX HG15
Thank you for purchasing the Earlex Heat Gun.
This is a highly versatile tool that can be used in a
variety of applications.
BEFORE USE - PLEASE READ THE SAFETY &
OPERATING INSTRUCTIONS
Please retain for future reference
www.earlex.co.uk
HG1500.qxd:G29 09/05.qxd 22/3/10 16:14 Page 1
All manuals and user guides at all-guides.com
all-guides.com
SAFETY OPERATING INSTRUCTIONS
TECHNICA SPECIFICATION
Power Supply 230V 50 z~
Max. Output 1500 Watts
Temp at Outlet Position 1) 330°C*
Position 2) 510°C*
Weight
(excl. nozzles) 750g
*MAX. temperatures achieved with
concentrator nozzle.
ABOUT THE HG15
The G15 is a highly versatile electric heat
gun which can be used for many different
applications, such as:
Removal of paint
Defrosting metal water pipes
Forming and welding plastic
Reducing heat shrinking tubing
Soldering
TO OBTAIN THE BEST RESU TS FROM
YOUR HEAT GUN P EASE READ THE
INSTRUCTIONS CAREFU Y BEFORE
USE.
HEAT SETTINGS
The eat Gun has two settings:
1. Low heat (Switch down) - for use
where the work surface or
surroundings must not be allowed to
get too hot.
Setting~330°C.
2. igh heat (Switch Up) - for faster heat
up time of the work surface where
you can also operate the gun at a
greater distance.
Setting~510°C.
2
PLEASE READ BEFORE USE
DO NOT
Touch the nozzle.
Change/rotate the nozzle while the unit is
turned on.
Leave the heat gun unattended when it is
switched on.
Allow children to operate or play with the
heat gun.
Carry the heat gun by the mains cable.
Allow heat to be directed onto the mains
cable.
Use the heat gun as a hair dryer.
Restrict air flow from the nozzle outlet or
fan inlets.
Allow the heat gun to become damp or be
operated in damp conditions.
Use the heat gun close to inflammable
materials, heat may be conducted to
combustible materials which are out of
sight.
Apply to the same place for a long time.
Under any circumstances aim the heat gun
at another person or animal.
Use in presence of explosive atmosphere.
Danger of burns - Always wear a pair of
heavy grade, non PVC type work gloves.
Danger of fire or explosion if the
appliance is not used with care.
When changing the nozzle, switch off and
allow the accessory and nozzle to cool.
After use stand the heat gun up vertically
(on its rear end) and allow to completely
cool down.
A hot nozzle can cause damage.
Before every use check the condition of
the plug and cable. If these are damaged in
any way do not use. Repairs must be
carried out by a fully qualified electrician.
Always ensure there is adequate
ventilation as gases and vapours may be
given off when stripping paint. Ensure that
protective goggles and masks are used.
Poisonous or inflammable gases may be
produced when working with paints
(especially older type lead paints),
varnishes, plastics and similar materials.
Ensure the heat gun switch is in the off
position when connecting to the mains.
Ensure children and pets are excluded
from the work area.
It is recommended a RCD (residual
current device) rated at 30mA is fitted
into the mains socket for added protection
against electric shock.
This product is intended for ʻhouseholdʼ
use only.
This appliance is not intended for use by
persons (including children) with reduced
physical, sensory or mental capabilities,
or lack of experience and knowledge,
unless they have been given supervision
or instruction concerning use of the
appliance by a person responsible for
their safety.
!
Re-Set thermal cut out – This heat g n is fitted with a resettable c t-o t. If yo find the fan
is on b t the heating element is off, hold the g n away from the work piece and allow the fan
to cool the element. It sho ld re-set in approx. 1min.

HG1500.qxd:G29 09/05.qxd 22/3/10 16:14 Page 2
All manuals and user guides at all-guides.com
OPERATION
Before starting work it is advisable to test
the work surface for the ideal
temperature to use. The table below
gives an indication of the likely heat
settings required but always start with
the low heat setting. All applications, with
the exception of removing paint from
window frames, can be performed
without using a nozzle, however for best
results nozzles are recommended.
Nozzles
The gun is supplied with 2 different
shaped nozzles, which can be used as
follows.
Concentrator
Nozzle - G84
Directs a
concentrated heat
flow to the work
surface.
Ideal for removing
paint in awkward
corners, crevices,
mouldings,
beading or
architraves.
Glass Protection
Nozzle - G89
Deflects the heat
away from glass
or other fragile
areas.
Ideal for window-
sills, ledges,
frames and
skirting boards.
Removing Paint - General
Do not heat the paint for too long as
this will burn the paint, making it
difficult to remove.
1.Choose the required nozzle and fit
onto the heat outlet.
2. old the gun with nozzle approximately
50mm (2”) from surface of paintwork.
3.Starting with the low heat setting, move
the gun slowly backwards and forwards
until the paint blisters and bubbles.
4.Immediately remove the paint with a
scraper or shavehook.
5.Aim to heat the paint just ahead of the
scraper so that you can develop a
continuous action.
Removing Paint from
Window Frames
WARNING – Glass can break easily
when heated.
1.Use the glass protection nozzle.
2.Ensure the nozzle is facing the correct
way to deflect heat away from the
glass before you switch on the heat
gun.
3.Rotate the gun/nozzle 90º as you move
to horizontal or vertical bead (take care
it could be hot!).
4.Paint can be removed by using a
shavehook and/or a soft, wire brush.
Maintenance
Always allow the machine to cool down
(before storing) and disconnect from the
power supply. The heat gun should be
cleaned before being stored away by
wiping over with a clean damp cloth. DO
NOT USE
CHEMICA S. Ensure that the ventilation
slots are not blocked.
Trouble Shooting
If a problem occurs always switch off
the unit immediately at the mains.
My Unit fails to work?
Check the fuse in the plug is sound and
rated 13 amps.
If an extension cable is used it must be
fully unwound and rated at least 10
amps capacity.
3
Concentrator Nozzle
Glass
Protection Nozzle
G84
G89
ow High
Welding Plastic Paint Stripping
Bending Plastic Defrosting Pipes
eat shrinking
plastic
Removes vinyl
floor tiles
Soldering
Lighting BBQʼs
Suggested Ratings
HG1500.qxd:G29 09/05.qxd 22/3/10 16:14 Page 3
All manuals and user guides at all-guides.com
EC Declaration of Conformity
We declare that the unit: G15 conforms to: 2006/95/EC EN60335-2-45, 2004/108/EC,
EN61000-3-2, EN61000-3-3,EN55014-1, EN55014-2 & EMF 50366
Tim opper - Technical Director
MAINS CONNECTION
This unit is a Class II appliance which means it is double insulated for your protection, no earthing wire is
necessary.
If the supply cord is damaged, it must be replaced by Earlex Ltd or our appointed agents.
Please read the following safety instructions before use.
1. If the plug is cut off from the mains lead then the plug must be disposed of safely.
NEVER under any circumstances insert such a plug into a 13 amp socket.
2. A replacement fuse must be rated at 13 amp. These must be manufactured and approved to BS 1362.
3. IF IN ANY DOUBT CONTACT AN E ECTRICIAN.
If you need to fit a plug to the mains lead, this should be fitted in accordance with the wiring instructions
below, and will need to be used with a 13 amp fuse. If in doubt consult an electrician.
If you are using an extension lead it must be rated at a minimum of 10 amps and fully unwound. Do not
operate with a lead rated at less than 10 amps as this will cause premature component failure which is not
covered by the guarantee.
As the colours of the wires in the mains lead of the application may not correspond with the coloured
markings identifying the terminals in your plug, proceed as follows:
The wire which is coloured blue must be connected to the terminal which
is marked with the letter N or coloured black.The wire which is coloured
brown must be connected to the terminal which is marked
with the letter L or coloured red.
GUARANTEE
This heat gun is guaranteed for a period of 12 months against faulty manufacture or materials. It is not
guaranteed for industrial or hire purposes. The nozzles are classed as consumables and are not covered
by guarantee. This guarantee does not affect your statutory rights. In the event of any problem occurring
please contact us on our elpline on
01483 - 454666
Monday-Friday 08:30 -17:00 (Excluding Bank Holidays) or e-mail: enquiries@earlex.co.uk
Earlex Limited,
Opus Park, Moorfield Road, Guildford, Surrey, GU1 1SZ, UK
Tel: +44 (0) 1483 454666. Fax: +44 (0) 1483 454548.
Email: enquiries@earlex.co.uk Web: www.earlex.co.uk
For information on other products in the Earlex range, please contact us at the address below or visit our
website at: www.earlex.co.uk
©Earlex Ltd. 2010
INFORMATION ON THE DISPOSA OF WASTE E ECTRICA EQUIPMENT KNOWN AS WEEE
Your attention is brought to new directives applicable to the disposal of this electrical
equipment, where in accordance with the legislation this product must not be disposed of in
your normal household waste. Instead it is your responsibility to dispose of this type of waste
by handing it over to special designated collection points for recovery and recycling. This
product is marked with a ʻWheelie binʼ symbol with a cross on it to remind you of this action.
The objective of this directive is to help conserve resources and ensure that it is recycled in
a manner that protects human health and the environment. For more information about
where you can drop off your waste please contact your local authority, take back facilities
are free of charge.
G91 03/10
Earlex reserves the right to modify or improve this prod ct witho t prior notice.
Colo rs may vary from those shown.
HG1500.qxd:G29 09/05.qxd 22/3/10 16:14 Page 4
All manuals and user guides at all-guides.com

Other Earlex Power Tools manuals

Earlex HG 2000K User manual

Earlex

Earlex HG 2000K User manual

Earlex HG2000 Quick start guide

Earlex

Earlex HG2000 Quick start guide

Earlex HEAT GUN HG 1500 User manual

Earlex

Earlex HEAT GUN HG 1500 User manual

Earlex HG2000 User manual

Earlex

Earlex HG2000 User manual

Earlex HG2000 Instruction Manual

Earlex

Earlex HG2000 Instruction Manual

Earlex HG1500 User manual

Earlex

Earlex HG1500 User manual

Earlex HG20 User manual

Earlex

Earlex HG20 User manual

Earlex HG1200 Maintenance and service guide

Earlex

Earlex HG1200 Maintenance and service guide

Earlex HG15 User manual

Earlex

Earlex HG15 User manual

Earlex HG1500 Quick start guide

Earlex

Earlex HG1500 Quick start guide

Earlex HG1500 User manual

Earlex

Earlex HG1500 User manual

Earlex HEAT GUN KIT HG 1600K User manual

Earlex

Earlex HEAT GUN KIT HG 1600K User manual

Earlex HG 2000K User manual

Earlex

Earlex HG 2000K User manual

Earlex HG2000 User manual

Earlex

Earlex HG2000 User manual

Earlex SS76 User manual

Earlex

Earlex SS76 User manual

Earlex HG 2000K User manual

Earlex

Earlex HG 2000K User manual

Earlex HEAT GUN KIT HG 1800K User manual

Earlex

Earlex HEAT GUN KIT HG 1800K User manual

Earlex HG 1500 User manual

Earlex

Earlex HG 1500 User manual

Earlex HG 1600K User manual

Earlex

Earlex HG 1600K User manual

Earlex HG1200 User manual

Earlex

Earlex HG1200 User manual

Earlex HG 1600K User manual

Earlex

Earlex HG 1600K User manual

Popular Power Tools manuals by other brands

Metabo DSE 300 INTEC - Original instructions

Metabo

Metabo DSE 300 INTEC - Original instructions

Energizer EZ20VSJIN-A user guide

Energizer

Energizer EZ20VSJIN-A user guide

Far Group Kraftex P 13E manual

Far Group

Far Group Kraftex P 13E manual

Matco Tools MT1857 manual

Matco Tools

Matco Tools MT1857 manual

Bosch PST 750 PE Original instructions

Bosch

Bosch PST 750 PE Original instructions

Presto 8-inch Diamond Sharpening Steel instructions

Presto

Presto 8-inch Diamond Sharpening Steel instructions

RHINO Pro Series 301250 owner's manual

RHINO

RHINO Pro Series 301250 owner's manual

DINO PAOLI DP 255 BG Operating and maintenance manual

DINO PAOLI

DINO PAOLI DP 255 BG Operating and maintenance manual

Hitachi Koki NV 90AG Handling instructions

Hitachi Koki

Hitachi Koki NV 90AG Handling instructions

ITATOOLS ITA44 Operation manual and parts list

ITATOOLS

ITATOOLS ITA44 Operation manual and parts list

Makita DTW284 instruction manual

Makita

Makita DTW284 instruction manual

Yokota YEX-120A/L manual

Yokota

Yokota YEX-120A/L manual

Bosch Professional TSR 1800-LI Original instructions

Bosch

Bosch Professional TSR 1800-LI Original instructions

TE Connectivity NanoMQS 2280687-1 instruction sheet

TE Connectivity

TE Connectivity NanoMQS 2280687-1 instruction sheet

Desoutter EFBCA15-900-10S-ES Product instructions

Desoutter

Desoutter EFBCA15-900-10S-ES Product instructions

Unimac NALFLRUMCA2XH user manual

Unimac

Unimac NALFLRUMCA2XH user manual

Michigan Pneumatic Tool MP-HS-1SC manual

Michigan Pneumatic Tool

Michigan Pneumatic Tool MP-HS-1SC manual

Craftsman 351.181710 Operator's manual

Craftsman

Craftsman 351.181710 Operator's manual

manuals.online logo
manuals.online logoBrands
  • About & Mission
  • Contact us
  • Privacy Policy
  • Terms and Conditions

Copyright 2025 Manuals.Online. All Rights Reserved.