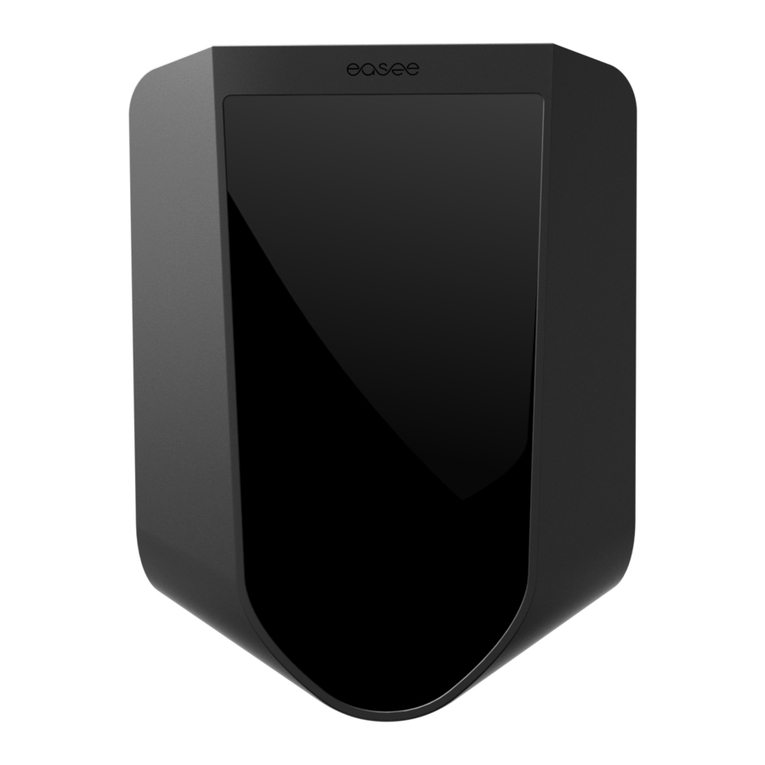
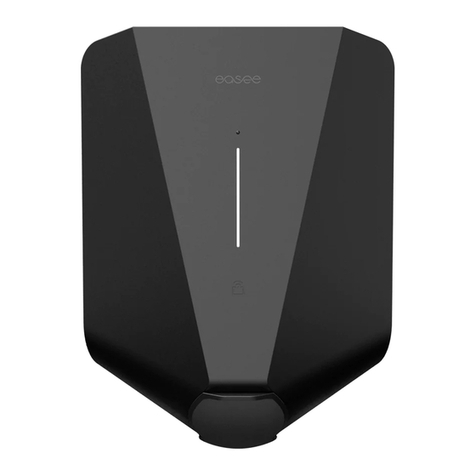
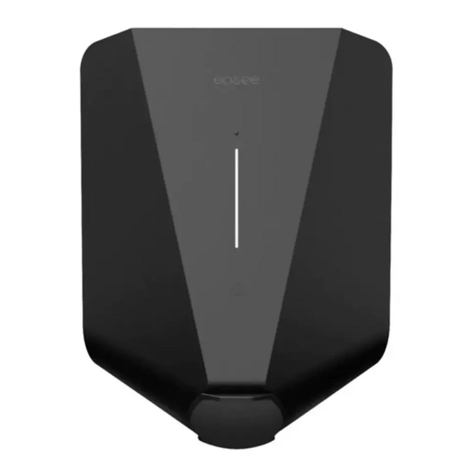
Easee Chargeberry User manual

User Guide

5
7
8
10
12
14
15
16
19
20
24
26
28
29
30
Easee was founded in January 2018. The
company’s founder-team has a background
in development, production and sale of
products in several dierent industries.
Their core competence is the development
of super-compact power electronics,
industrial design and production. The team
also has several years of experience in the
charging industry, where they have played
a central role in the development of one
of the foremost charging solutions in the
world today.
Early on we saw the need to develop a
charger for the domestic market and
we couldn’t just sit by and watch this
opportunity leave us.
It had to be small, powerful and sexy. The
solution also had to become part of the
future electrical grid. The product should
not only provide you with a wonderful
experience, it should also promote the
huge electric car growth we see today,
without overloading the power grid.
We’ve been through our entire emotional
registry to give you the best customer
experience, and we’ve really put our soul
into the development of the product. This
is something we will continue doing for as
long as you remain our customer!
We really hope that you will appreciate
your new charging robot.
Safety Instructions
Content in the box
A smart energy valve
Planning of installation
Your house, power grid and EV
How do I charge?
Smart charging
Charging robot features
Charging robot interface
Wi interface
Technical specication
Load balancing
Residual current device
Practical details
Troubleshooting

4
THIS DOCUMENT CONTAINS INFORMATION
THAT IS SUBJECT TO CHANGE WITHOUT
NOTICE.
The latest version of this publication can be
downloaded at easee.no
No part of this publication may be
reproduced or transmitted in any form or
by any means, electronic or mechanical,
including, but not limited to, copying,
recording, retrieving data, or computer
networks without the written permission of
Easee AS.
Easee and all other Easee product names
and slogans are trademarks or registered
trademarks of Easee AS. Easee products
can be protected by one or more patents.
All other products and services mentioned
may be trademarks or service marks of
their respective owners.
March 2019 - Version 2.00
© 2018-2019 by Easee AS. All rights
reserved.

5
• Pin code must be stored and will be used by electricians. The pin code can
be found on the front of the chargeberry and should be glued to the back
of this manual after use.
• The product should only be installed, repaired or maintained by authorized
electricians and in accordance with NEK400.
• All applicable local, regional and national regulations must be respected
when you install, repair or maintain this device.
• Do not use a damaged product.
• Do not use an extension cord with the charging cable.
• Do not touch the Type 2 connectors or put foreign bodies into them.
• If the charging robot lights up red an error has occurred - read more under
troubleshooting.
• The charging robot must be installed on a permanent location. The
electronics and backplate are not designed to be able to be connected in
and out an unlimited number of times.
Safety Instructions
Read these instructions thoroughly and get to know the product
before installing it.

6

7
Chargeberry
(Electronics)
BackplateFront cover
Content in the box
x2x3x3 x4 x1x5
Installation kit

8
A smart energy valve for your
house and the power grid
We decided to develop a charger that could also be a smart energy device
for the home.
Therefore we chose to build the product from scratch and put together
technology in a new and revolutionary way. We did this to give you a super-
smart charger, but also to save space, costs - and last but not least the
environment.
The result was a charger that not only replaces the outlet, but also gives
you more power, smarter control and a higher level of security.
All chargers have integrated 4G. You can have up to 3 chargers per circuit -
yet it’s super simple for the electrician to install.
The products are also designed to be the DNA of the future electrical grid
where they can fully autonomously distribute the energy available at any
given time in the network.
It is 70% smaller and lighter than similar solutions, it weighs only 1.5kg
and thus saves the environment at least 4kg of copper and plastic per
manufactured charger.
Our products are developed and manufactured in Norway.

9

10
Planning of installation
In advance of starting the installation, it is important that you consider the
present and future charging needs. First and foremost, the Easee Charging
Robot is a product to be installed by an authorized electrician, and a
declaration of conformity must always be provided upon completion by
your installer.
Things you should know before you begin the installation
• What is the power rating of the main protective device or fuse.
• How much power can be set aside for charging electric car.
• Which type of electric connection supplies the house.
• Can you use existing infrastructure or you need to add new cable.
• Calculate the cable length from the fuse box to the charger robot.
• Assess the need for the number of charging points now and in the
future.
Select protection device and cable type
It is recommended that an external ground fault protection device is
installed in accordance with local wiring regulations to protect the supply
cable.
See examples of cable types in the table on page 13.
IMPORTANT!
Protection device and cable selection must be recommended and approved by an authorized
electrician in accordance with local wiring regulations.

11
Our recommendations
• Select a 3 phase cable in situations where it is possible.
• Consider the need for an additional backplates if the customer plans to
acquire more electric vehicles in the future.
• Prepare for dynamic load balancing with the house/building.
• Always plan for maximum capacity to the charging system.
If these points are followed, this will give the customer a more future proof
solution with great exibility and freedom.
Parallel connection
For installation of several charging robots, we recommend having the cable entry
as shown in the gure below. For only one charging robot, use the center hole in
the top for a symmetrical and neat installation. It is also possible to have cable
entry from the back so that the cable is completely hidden.
Inn

12
Your house, power grid
and electric vehicle
The charging robot will never be the bottleneck. It automatically adapts
to the power grid, the electric car and the capacity of your house. In the
diagrams below you can see what charging eect you can achieve in your
installation and situation.
Fuse
Ampere (A)
230V IT/TT 400V TN
1-phase (kW) 1-phase (kW)3-phase (kW) 3-phase (kW)
10 2.3 2.34 6.9
20 4.6 4.68 13.8
32 7.4 7.412.8 22
6 1.4 1.42.4 4.2
16 3.7 3.76.4 11
24 5.8 5.810 17.3
Tesla model S/X can charge up to 8.5kW on 3-phase IT networks
Tesla model 3 can charge up to 11kW on 3-phase IT networks
Renault Zoe requires a transformer on an IT network

13
Cabel
Description
Thickness
Number of phases and conductors Used normally up to
10APFXP 3G1.5 1-phase, (2+PE), 1.5mm2
25APFXP 3G4 1-phase, (2+PE), 4mm2
32A
50A
PFXP 4G6
PFXP 3G10
3-phase, (3+PE), 6mm2
1-phase, (2+PE), 10mm2
16APFXP 3G2.5 1-phase, (2+PE), 2.5mm2
32A
32A
PFXP 3G6
PFXP 5G6
1-phase, (2+PE), 6mm2
3-phase, (4+PE), 6mm2
Amperage
Examples of cable types

14
Hvordan lader jeg?
Connect the charging cable to the charging robot and your electric
car. Charging will start automatically.
If the car does not start charging, check that charging is activated in your
car and that the connectors are properly plugged in. If charging still does
not start, check what it might be under troubleshooting on page 30.
The charger will automatically adapt to the electric car, the power
grid and your fuse rating.
1.
2.

15
Smart charging
Through your new charging robot it is possible to postpone the charging of
the electric car to times of the day, where it will be cheaper to charge.
Smart charging will also help to release electrical capacity in the house at
times when power is often needed for other things than charging, such as
cooking and water heating.
This is how it works
Electricity prices vary 24 hours a day, and sometimes there is a loss of
electricity in the market or an overload of the electricity grid.
By planning and steering when your electric car is being charged, your
electricity supplier can trade your electricity in a smarter way. This gives
you the opportunity of a lower price on electricity when smart charging,
depending on which deal you have with your power supplier.

16
Charging robot features
Charging socket
Type2 (EU standard)
RFiD area
Light strip
Touch button

17
Touch button
With the touch button it’s possible to override smart charging in those
situations where you need fast charging immediately, if you have smart
charging enabled.
Hold your nger on the indicator ball on the front cover for 2 seconds. The
charging robot will then cancel the smart charging mode and start charging -
the light will then go from blue to white. To reactivate smart charging, hold the
touch button for 2 seconds again.
Light strip
The LED strip communicates the status of the charger at all times. Read more
about this on page 19 - Charging robot interface.
RFID area
The integrated RFID reader enables access control of the charger and
identication of dierent users. You can use this to lock and unlock the
charger using RFID tags you have added.
Charging socket
The Type2 charging socket is completely universal and allows you to charge
any type of electric vehicle using the appropriate charging cable (Type 1 or
Type 2). This makes it is possible to change cars without having to redo the
installation and your charger.
Furthermore, it is possible to permanently lock the cable, so you don’t have to
worry about it being stolen.

18

19
Charging robot interface
Status
Standby
Car connected, all OK
Charging in progress
Car connected, all OK
(Smart charging enabled)
Smart charging in progress
RCD, incorrectly connected
wires
High temp. in the charger
Updating software
(Updating can take up to 15
minutes)
Light in the bottom of the light strip
(A main unit has more light lit in the bottom)
White - constant light in the light strip
White - pulsating light in the light strip
Blue - constant light in the light strip
Blue - pulsating light in the light strip
Red - constant light in the light strip
(Audio - in case of incorrectly connected)
Red - pulsating light in the light strip
At startup, the LEDs turn on one by one.
If there is a software update, one or
more LEDs will ash green while this is in
progress.
OBS! The car must be disconnected
Light description

20
To be able to control your charging robot, you must use a smartphone and
connect it to the charger’s Wi-Fi network. The name of the Wi-Fi network
begins with ”Easee ...” and is activated by holding the touch button until the
light strip turns green and you hear a conrmation tone.
After connecting, open the browser and type ”192.168.4.1” into the URL.
Then your 4-digit PIN code must be entered.
You can nd the PIN code on the front of the chargeberry or on
the back of this booklet. (If the electrician has glued it in)
Wi interface
Table of contents
Other Easee Batteries Charger manuals

Easee
Easee Charge User manual

Easee
Easee Ready Assembly instructions

Easee
Easee Charge Lite Assembly instructions

Easee
Easee Ready Troubleshooting guide

Easee
Easee Equalizer User manual

Easee
Easee Equalizer User manual

Easee
Easee One User manual

Easee
Easee Home Troubleshooting guide

Easee
Easee Charging Robot Assembly instructions

Easee
Easee Equalizer Amp User guide