manuals.online logo
Brands
  1. Home
  2. •
  3. Brands
  4. •
  5. Easy Track
  6. •
  7. Indoor Furnishing
  8. •
  9. Easy Track RA1200C User manual

Easy Track RA1200C User manual

RA1200C
AS EASY AS IT GETS.
AS EASY AS IT GETS.
AS EASY AS IT GETS.
RA1200C
AS EASY AS IT GETS.
AS EASY AS IT GETS.
AS EASY AS IT GETS.
RA1200C
Gather the tools you'll need.
SCREWDRIVER
LEVEL
If you have any questions, or you’re missing parts,
call our customer care department.
1-800-562-4257
MONDAY – FRIDAY
8AM TO 5PM EST
Belt/Tie Rack
INSTALLATION
Reúne las herramientas
que necesitarás.
DESTORNILLADOR
NIVEL
Si tienes alguna pregunta o te falta alguna pieza,
comunícate con nuestro departamento de servicio
al cliente.
1-800-562-4257
LUNES A VIERNES
8AM A 5PM HORA DEL ESTE
Rassemblez les outils dont
vous avez besoin.
TOURNEVIS
NIVEAU
Si vous avez des questions ou s’il manque des
pièces, ou communiquez avec notre service
à la clientèle.
1-800-562-4257
DU LUNDI AU VENDREDI
DE 8 H À 17 H, HNE
Support à Ceintures/Cravates
INSTALLATION
AS EASY AS IT GETS.
AS EASY AS IT GETS.
AS EASY AS IT GETS.
Perchero Para Cinturones/Corbatas
INSTALACIÓN
Extend the Belt/Tie Rack slide. Hold rack at desired
height and align the 6th hole from the end of the slide
in the back of the vertical panel. Attach using euro
screw.
Level the Belt/Tie Rack. Drive a #6 x 1⁄2" flat head
screw through the front hole of the slide into the vertical
panel.
TIP
Hole in vertical panel is not predrilled. The Belt/Tie
Rack can also be mounted to a wall or door using
a different screw.
1
2
Extiende el perchero para cinturones/corbatas. Sostén
el perchero a la altura deseada y alinea el 6to agujero
del extremo de la guía de deslizamiento en la parte
posterior del panel vertical. Sujeta con un tornillo euro.
Nivela el perchero para cinturones/corbatas. Coloca
un tornillo de cabeza plana #6 x ½" en el orificio frontal
de la guía de deslizamiento sobre el panel vertical.
CONSEJO
El orificio en el panel vertical no está previamente perforado.
El perchero para cinturones/corbatas también se puede
montar sobre una pared o puerta con un tornillo diferente.
1
2
Allongez la coulisse du porte-cravates et ceintures.
Tenez le porte-cravates et ceintures à la hauteur désirée, et
alignez le 6e trou à partir de l’extrémité de la coulisse,à
l’arrière du panneau vertical. Fixez à l’aide d’une vis euro.
Mettez le porte-cravates et ceintures au niveau. Posez une vis
à tête plate (nº 6 x 1⁄2po) dans le trou avant
de la coulisse et sur le panneau vertical.
CONSEIL
Le trou dans le panneau vertical n’est pas prépercé.
Le porte-cravates et ceintures peut aussi être fixé à un
mur ou à une porte, à l’aide d’une autre sorte de vis.
1
2
The Stow Company 3311 Windquest Drive Holland, MI 49424 © The Stow Company Printed in U.S.A.
p: 800.562.4257 616.399.3311 f: 616.399.8784 www.easytrack.com Item #RA1200C-INS 12/11
1
2
Support à
ceintures illustré
Coulisse
#6 x 1⁄2"
Vis à Tête Plate
Vis Euros
1
2
1
2
Rack Slide
Belt Rack Shown
1
2
#6 x 1⁄2"
Flat Head Screws
Euro Screws
1
2
Se muestra perchero
para cinturones
1
2
Tornillos Euro
#6 x 1⁄2"
Tornillos de
Cabeza Plana
Guía de Deslizamiento
del Perchero

Other Easy Track Indoor Furnishing manuals

Easy Track RB1448 User manual

Easy Track

Easy Track RB1448 User manual

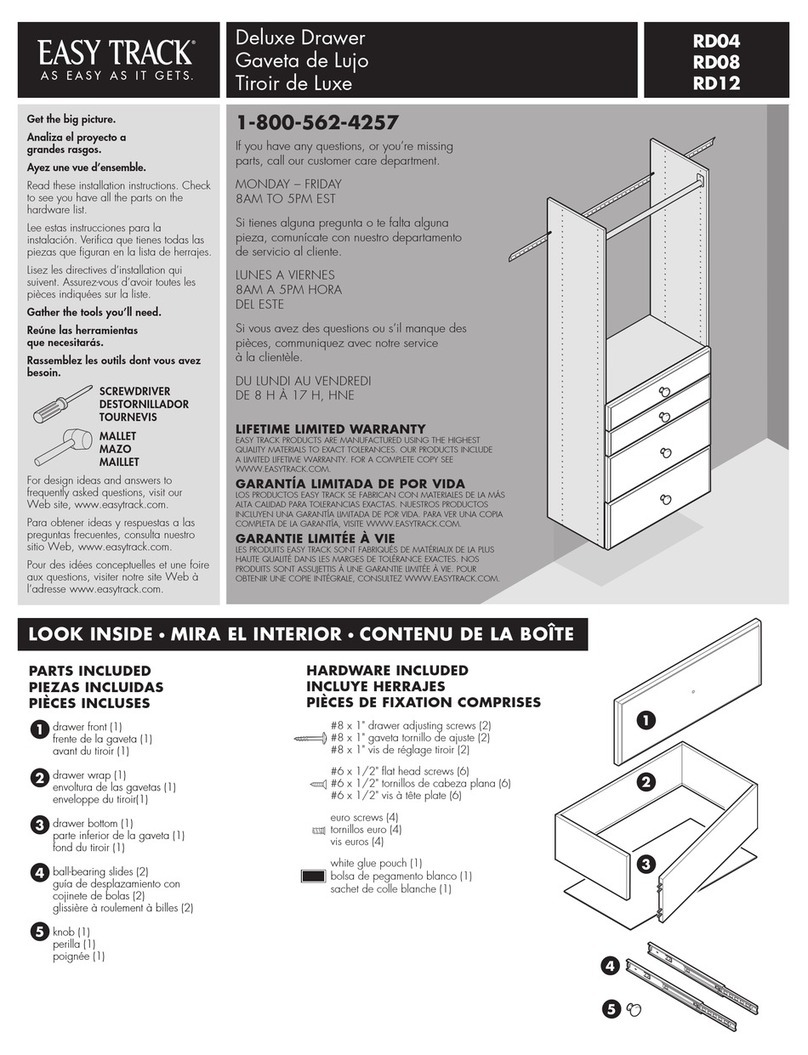
Easy Track Deluxe Drawer User manual

Easy Track

Easy Track Deluxe Drawer User manual

Easy Track RB1460 User manual

Easy Track

Easy Track RB1460 User manual

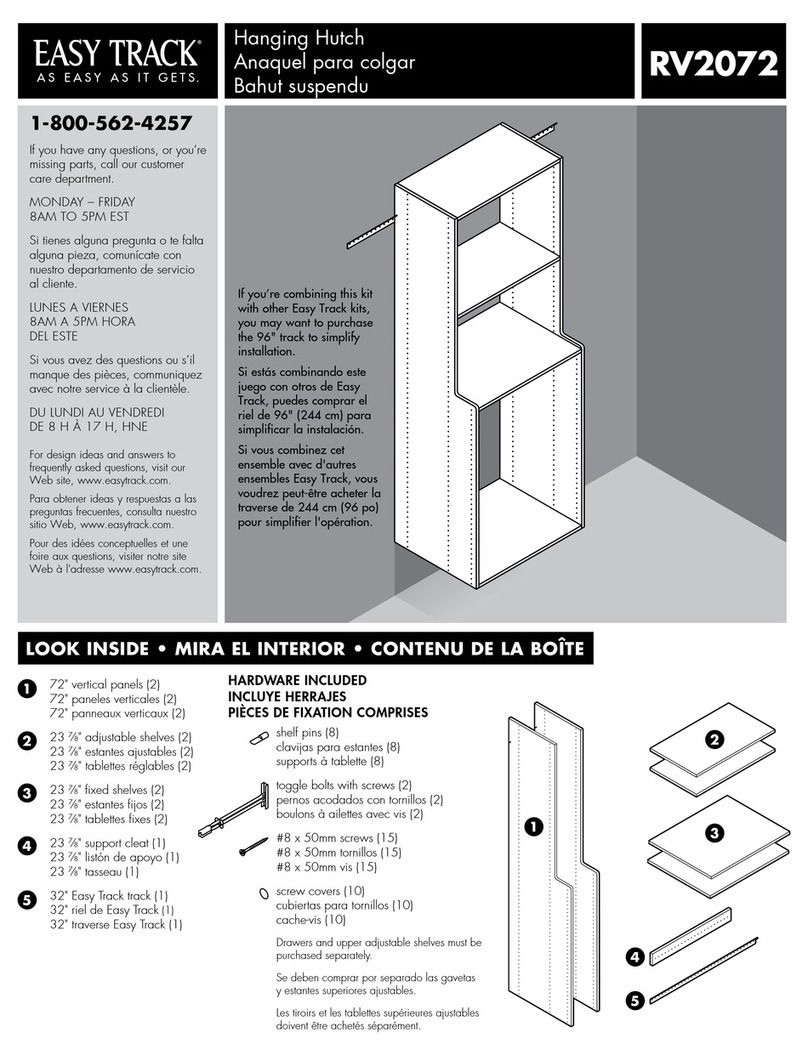
Easy Track RV2072 User manual

Easy Track

Easy Track RV2072 User manual

Easy Track Deluxe RD04 User manual

Easy Track

Easy Track Deluxe RD04 User manual

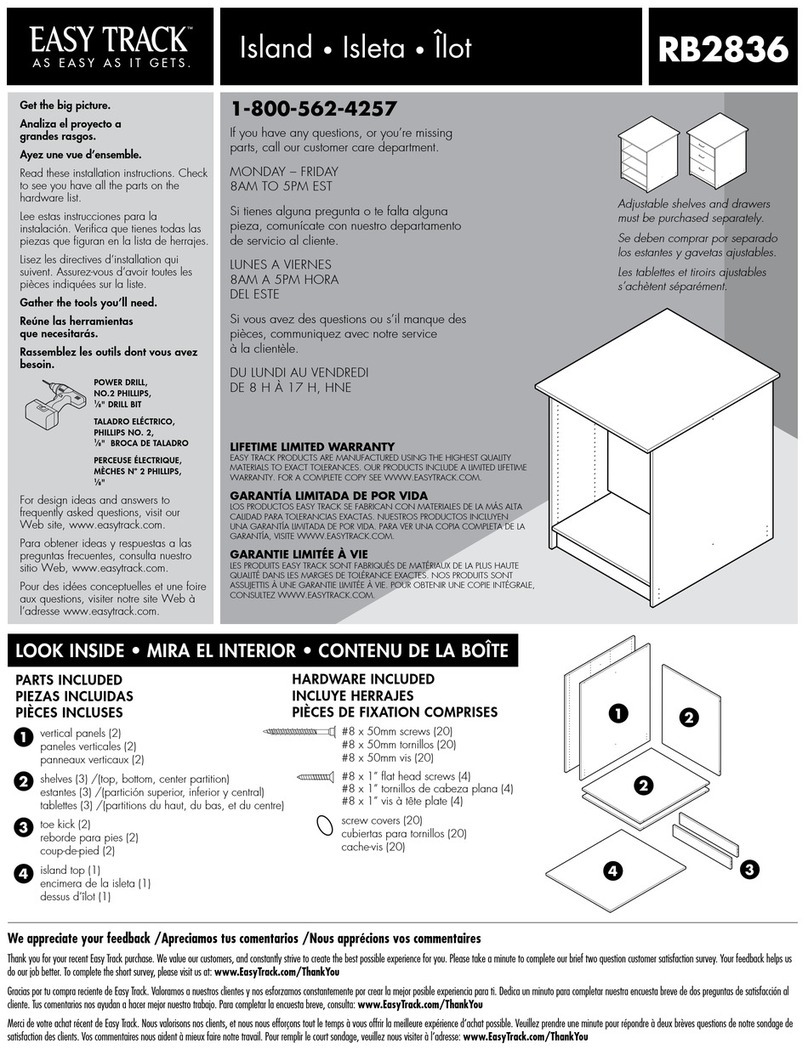
Easy Track Island User manual

Easy Track

Easy Track Island User manual

Easy Track RS3003 User manual

Easy Track

Easy Track RS3003 User manual

Popular Indoor Furnishing manuals by other brands

Regency LWMS3015 Assembly instructions

Regency

Regency LWMS3015 Assembly instructions

Furniture of America CM7751C Assembly instructions

Furniture of America

Furniture of America CM7751C Assembly instructions

Safavieh Furniture Estella CNS5731 manual

Safavieh Furniture

Safavieh Furniture Estella CNS5731 manual

PLACES OF STYLE Ovalfuss Assembly instruction

PLACES OF STYLE

PLACES OF STYLE Ovalfuss Assembly instruction

Trasman 1138 Bo1 Assembly manual

Trasman

Trasman 1138 Bo1 Assembly manual

Costway JV10856 manual

Costway

Costway JV10856 manual

moss DESIGN Caisson Credenza Assembly instructions

moss DESIGN

moss DESIGN Caisson Credenza Assembly instructions

Aquaglide FULL DECK 15.0 owner's manual

Aquaglide

Aquaglide FULL DECK 15.0 owner's manual

AREBOS AR-HE-SW30 user manual

AREBOS

AREBOS AR-HE-SW30 user manual

Till-Hilft Fulda 87005.330 Assembly instructions

Till-Hilft

Till-Hilft Fulda 87005.330 Assembly instructions

Twoey Outside 2010 quick start guide

Twoey Outside

Twoey Outside 2010 quick start guide

Hettich Easys 200 operating instructions

Hettich

Hettich Easys 200 operating instructions

The bedboss RELAX 404 Series owner's manual

The bedboss

The bedboss RELAX 404 Series owner's manual

Oeseder Möbelindustrie Bern 991 720 Assembly instructions

Oeseder Möbelindustrie

Oeseder Möbelindustrie Bern 991 720 Assembly instructions

Costway HW68469 user manual

Costway

Costway HW68469 user manual

Next ALIX A27743 Assembly instructions

Next

Next ALIX A27743 Assembly instructions

BROSA Hans Assembly guide

BROSA

BROSA Hans Assembly guide

Prodigg MINIKA PBA015T-FUR installation manual

Prodigg

Prodigg MINIKA PBA015T-FUR installation manual

manuals.online logo
manuals.online logoBrands
  • About & Mission
  • Contact us
  • Privacy Policy
  • Terms and Conditions

Copyright 2025 Manuals.Online. All Rights Reserved.