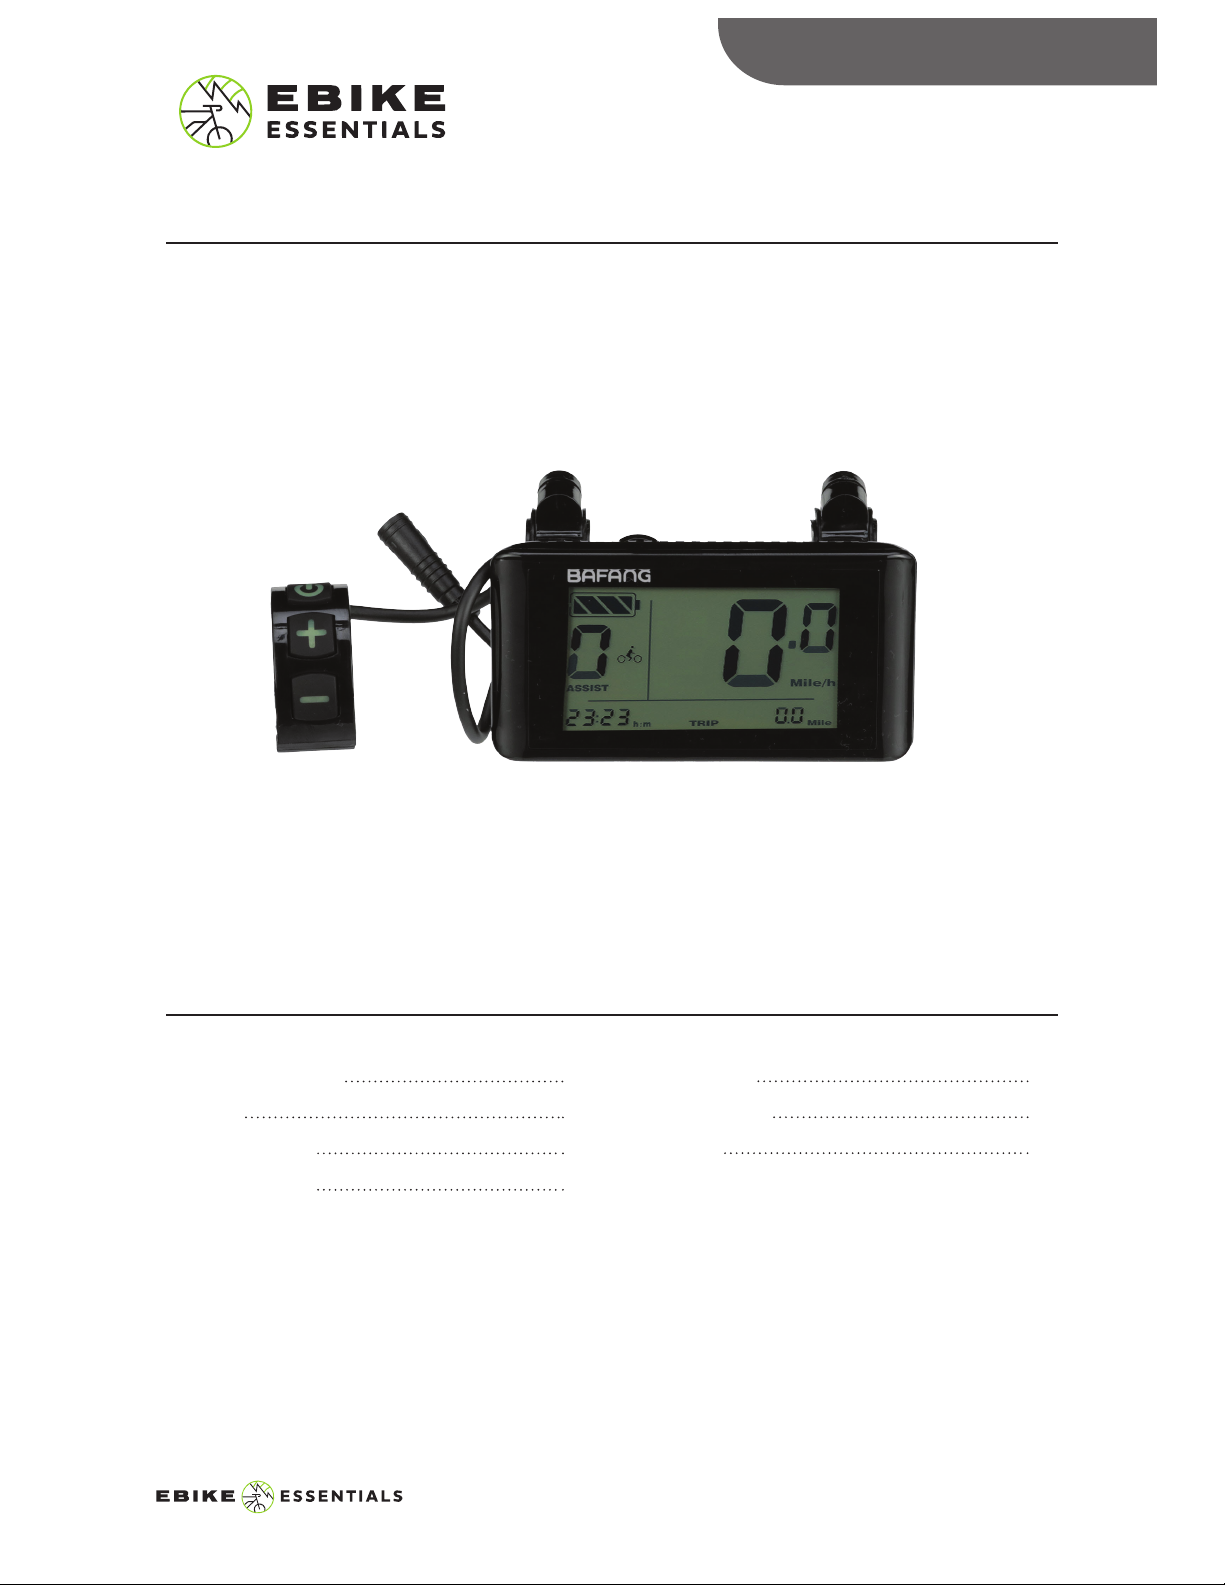
Press and hold the power button to start
the display. To enter Advanced Settings, you
will first need to go into Settings.
When in the above Settings, press and contine
holding the and button simultaneously,
then rapidly press the power button eight
times. Do not release the and buttons
while pressing the power button.
Preparation:
Press the or button to change the
hour, then press the power button to
save and go to the minute setting, Press the
or button to set the minutes.
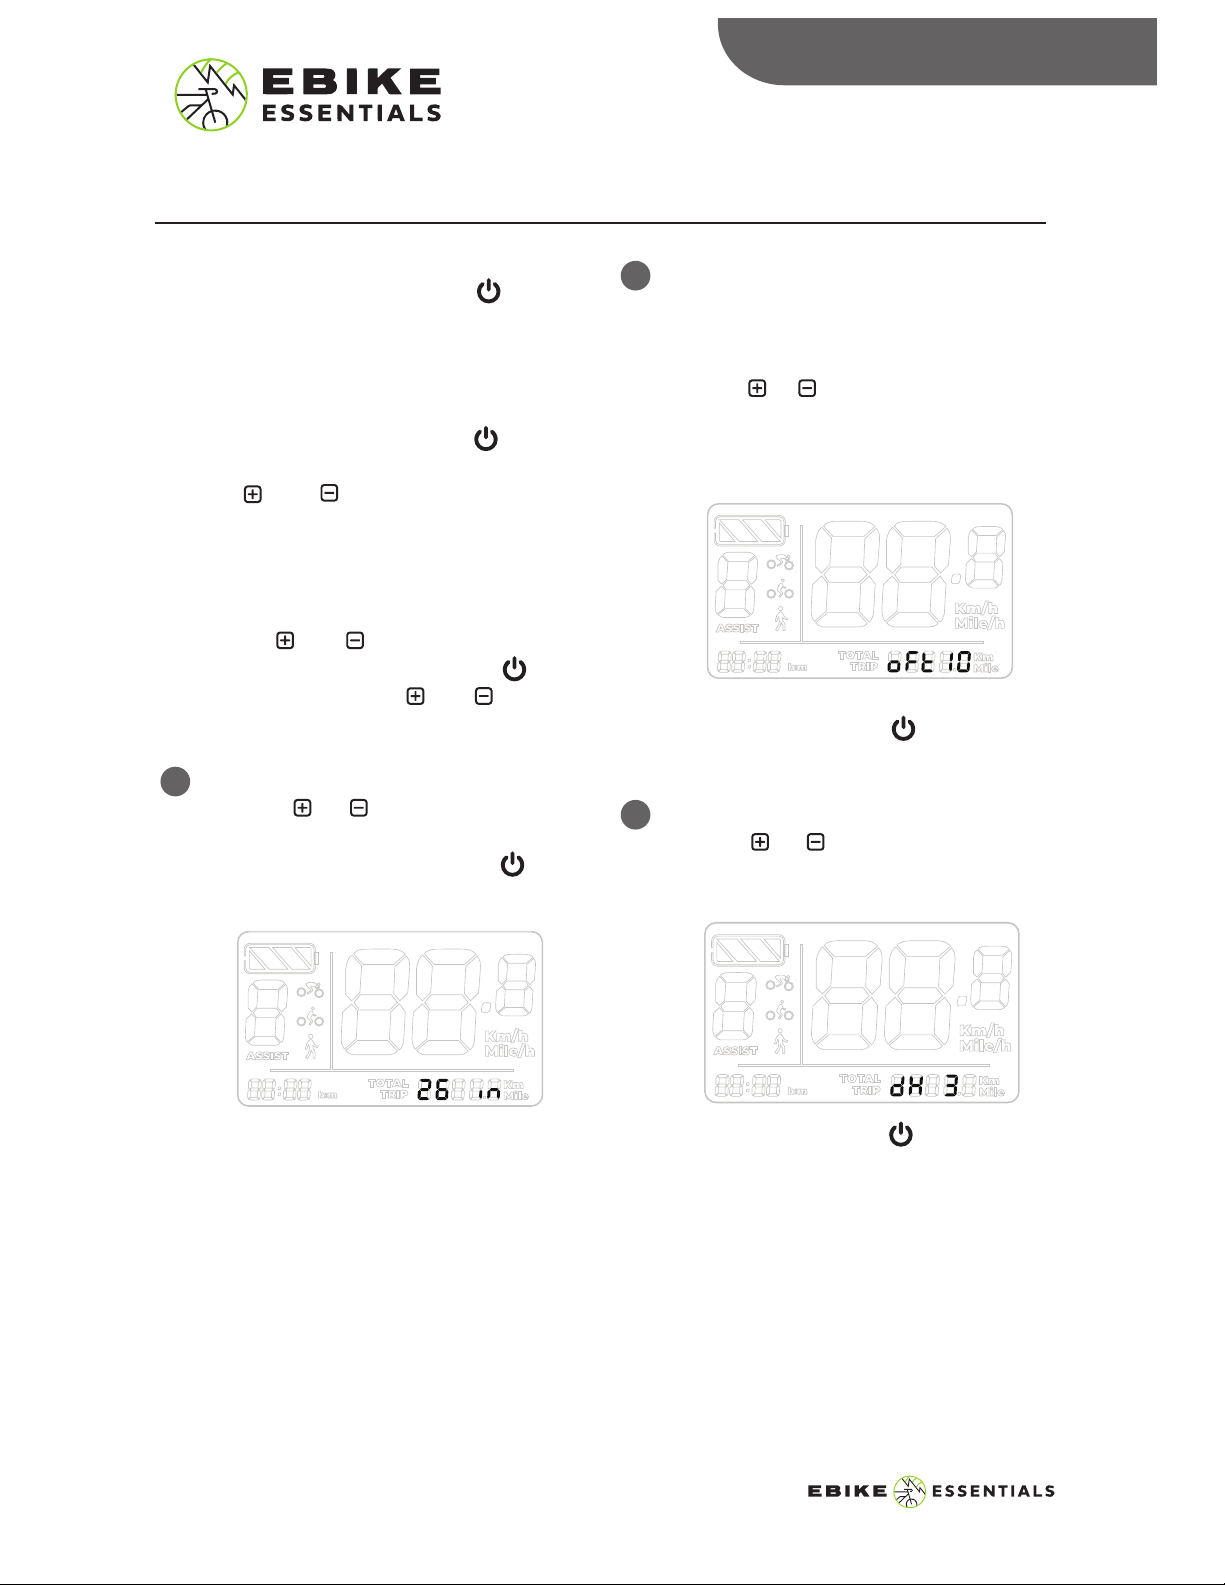
ADVANCED SETTINGS
ADVANCED SETTINGS
To Enter Settings:
To Enter Advanced Settings:
Press and hold the power button to turn
on the display. To enter settings, press and
hold the and buttons simultaneously
unit the setting screen appears.
1Wheel Size:
Press the or button to change the
wheel size between the range of 8 to 32
inches. Press the power button to
save and go to Auto Off Function Setting.
Make sure to select the correct wheel size
for accurate speed and TRIP info.
Available Wheel Sizes are:
8, 9, 10, 11, 12, 13, 14, 15, 16, 17, 18, 19,
20, 21, 22, 23, 24, 25, 26, 700c, 28, 29,
30, 31, 32
2Auto Off Function (oFt):
This is the amount of time of inactivity
before the system turns off.
Press the or button to change the time
between the range of 0 to 60 minutes.
Display will sleep and switch off after no
operation on system for the selected time.
Press the power button to save and go
to pedal assist setting.
Press the power button to save and
return to home display screen.
Note: The number of pedal assist levels (3,
5, or 9) you set in your display divides the
total power of the motor among the
number of pedal assist levels.
* We highly recommend setting your display
to 9 Pedal Assist Levels to have access to
more incremental and available power
levels.
2Pedal Assist Setting (dH):
Press the or button to change the
number of pedal assist levels between 3, 5
and 9.
8C961 MANUAL © Copyright Ebike Essentials. All Rights Reserved.
www.Bafangusadirect.com