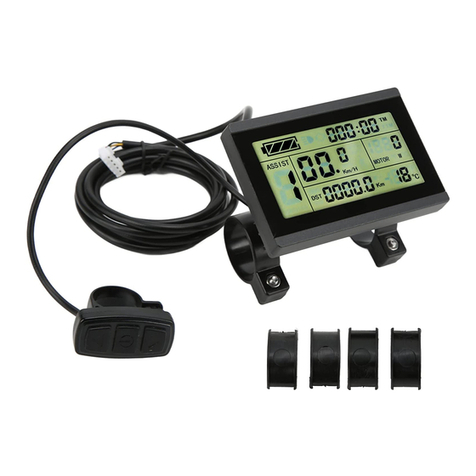
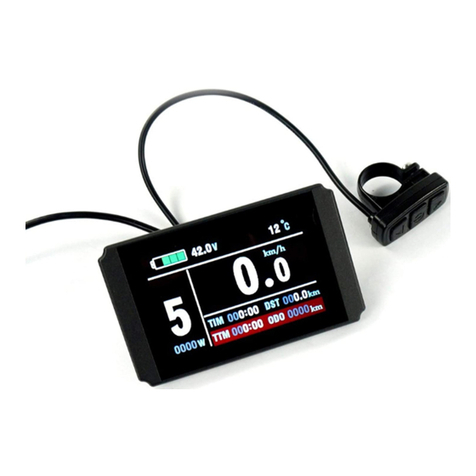
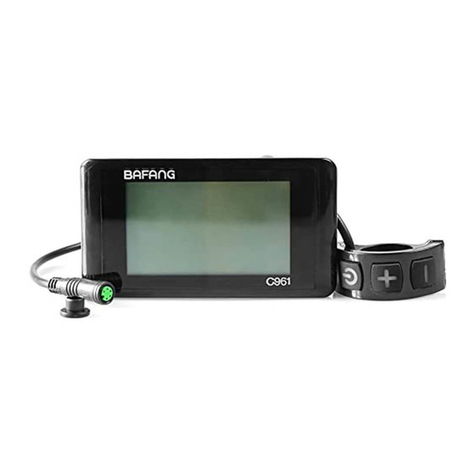
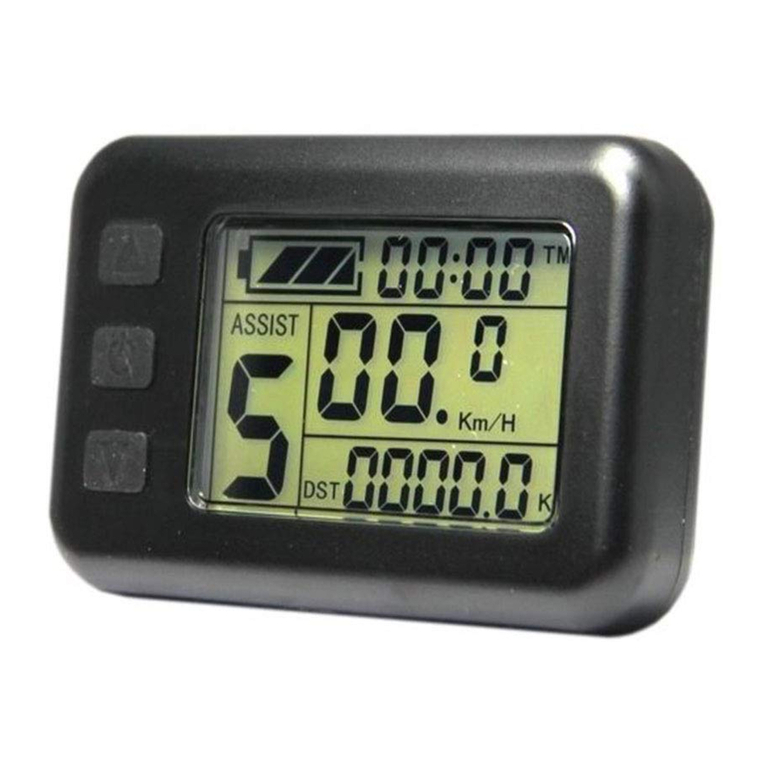
eBike EKD01 User manual

1/20
EKD01-AKSM Displayer Manual

2/20
Directory
B02NU-AKSM DISPLAYER MANUAL..............................................................................................1
DIRECTORY............................................................................................................................................ 2
I. PRODUCT INTRODUCTION ................................................................................................................ 3
1. Name ............................................................................................................................................... 3
2. Product model .............................................................................................................................. 3
3. Product appearance.................................................................................................................... 3
4. Product Specifications................................................................................................................ 3
5. Lordinterface ................................................................................................................................. 4
6. Button definition .......................................................................................................................... 5
7. General Operations..................................................................................................................... 6
II. INFORMATION VIEWING AND SETTING ............................................................................................8
1. Display settings............................................................................................................................. 8
2. Information viewing.................................................................................................................. 10
3. Language selection ................................................................................................................... 12
4. Theme menu ............................................................................................................................... 12
5. Password settings ...................................................................................................................... 13
6. Bluetooth connection............................................................................................................... 15
7. Factory reset ................................................................................................................................ 19
ERROR CODE COMPARISON TABLE ....................................................................................................... 20
Note: Due to the upgrade of the company's products, the product display content
you get may be different from the manual, but it will not affect your normal use.

3/20
I. Product introduction
1. Name
Smart Displayer instrument.
2. Product model
B02NU-AKSM
3. Product appearance
4. Product Specifications

5. Lordinterface

5/20
①Headlight indicator: The headlight indicator graphic will light up when
the headlight is on.
②Navigation indicator: If the BIKEGO app is connected to the instrument,
the symbol will light up when navigation begins. (Live navigation requires
payment).
③Maintenance tip: Electronic systems have some ability to self-diagnose
and report limited faults. The failure is reported as an error code displayed on
the screen.
④Brake indicator: This icon lights up when the vehicle performs a brake
operation.
⑤Bluetooth indicator: After the APP is successfully connected to the
instrument, the symbol will light up.
⑥Battery Level graphic: The Battery Level graph is a graphical
representation of the remaining charge in the battery. After the battery is
charged, more bars will appear in the graph. When the battery runs out, fewer
bars appear.
⑦Real-time speed: Displays the current speed at which the e-bike is
traveling.
⑧Gear indicator: Displays the current assist gear of the electric bike.
⑨Single mileage: The number of miles in a single trip.
⑩Total Mileage: The total number of miles traveled by the vehicle.
⑪Average: The average speed of the trip.
6. Button definition
The B02NU-AKSM has 3 buttons. Includes Power key
The key
,plus key +, minus key -.
definition is shown in the following figure:

6/20
7. General Operations
B02NU-AKSM provides 4 themes and 3 languages for users to set up, this
manual uses Theme 1 (English version) as an example.
"Press and hold the key >2.5 seconds" is replaced with "long press", "long
key <0.5 seconds" is replaced with "tap".
①On/Off
Press " " to power on/off the monitor. In the shutdown state, the current of
the display is less than 1uA. The boot screen is shown in the following figure.
(You need to enter the password before entering the main screen, the default
password is 0000).
②Gear level selection
After entering the main display, click "+" or "-" to increase or decrease the
gear level and change the motor output power, the default gear of the
instrument is 0-5 (support customization); No power output in 0 gears, 1 is the

7/20
lowest power, and 5 is the highest power. When the monitor is powered on, the
default setting is Gear 0. The gear level selection screen is shown in the
following figure:
③Headlight/backlight switch
Turn on the light: Press and hold "+" when the light is off, the headlight indicator
lights up, and the brightness of the display dims.
Turn off the lights: When the light is on, press and hold the "+" key, the headlight
indicator becomes dimmed, and the display brightness becomes brighter.
The headlight switch interface is shown in the figure below:
④Boost mode
In any gear, long press "-" to enter boost mode, the speed is 6km/h, when
entering boost mode, the icon "" is in dynamic, release the button" - "exit boost
disappears, and the speed returns to zero.iconmode, boost
The interface is shown in the following figure:
In boost mode,
the indicator is displayed dynamically. When the speed
is lower than 6km/h, release the "-" to exit the boost state. If there is no
operation within 5 seconds under static, it will automatically jump to 0 gear.

8/20
II. Information viewing and setting
1. Display settings
Click " " to enter the settings menu, use "+" or "-" to move the cursor up
and down, select "Display Settings", "Information", "Language", "Theme", " Password",
"Bluetooth", "Reset Factory Settings" and "Exit", and click " " to operate.
The interface is shown in the following figure:
The unit conversion is shown in the following figure.
Note: The default units are imperia
①Imperial and metric unit conversion
Enter the "Display Settings" menu, select "Units", click " " to enter the
settings, use "+" or "-" to move the cursor up and down after entering the
settings, select "Metric"/"Imperial", click "Back" to exit "Units", exit the main
interface through "Return" →. (The entry and exit procedures for other settings
are similar and will not be repeated).
l.
②Automatic shutdown operation
Go to the "Auto Off" menu and select "OFF", "1 minute", "2 minutes", "3 minutes",
"4 minutes", "5 minutes", "6 minutes", "7 minutes", "8 minutes", "9 minutes", "10
minutes" ("OFF" means to turn off the function, "1min-10min" means the time of
automatic shutdown, respectively.
Note: Any operation within the auto-off time will be timed again, and no

9/20
shutdown will occur until the non-operational time reaches the auto-off time.
③Mileage reset
Go to the "ODO Reset" menu and select "No"/"Yes".
It will be reset automatically when the mileage reaches the maximum
(655km) (maximum varies by protocol), or go to the menu and select "Yes" to
clear all mileage. The interface is shown in the following figure:
On the main interface, press and hold the "+" and "-" keys at the same time to
achieve zero TRIP and AVG, as shown in the following figure:
④Backlight brightness setting
Go to the "Brightness" menu and select "30%"/"50%"/"75%"/"100%".
The interface is shown in the following figure:
⑤BT Rssi Level – Bluetooth distance level setting, level 5 is the maximum

10/20
range, 4-1 range decreases in order, as shown in the following figure:
Note: This varies slightly from phone to phone.
⑥Boot Gear gear number selection, default 5 gears, at this time the
instrument 0-5 gears are adjustable; When switching to 3 gears, the instrument
0-3 gears are adjustable; When switching to 9 gears, the instrument 0-9 gears
are adjustable, as shown in the figure below
2. Information viewing
①Wheel Size Information - Go to the Wheel Size menu, the default wheel
diameter is 26" (660mm) and the setting range is 16" (410mm) - 29" (740mm).
As shown in the following figure:
②Speed Limit Information - Go to the Speed Limit menu. When the unit is
kilometers (metric), the default speed limit is 99 km/h; WHEN THE UNITS ARE
IMPERIAL, THE DEFAULT SPEED LIMIT IS 61.88MPH. 0~99km/h optional.
As shown in the following figure:

11/20
③Display Information – Go to the Display Information menu to display the
software and hardware version numbers (varies by product).
As shown in the following figure:
④Error Code – Go to the Error Code menu, "E-CODE 0" refers to the last error
message, and "E-CODE 9" refers to the tenth error message. Records can have up to
10. Press "+" or "-" to toggle. Error code "00" indicates no error. For the meaning
of the other codes, see the error code definition table. As shown in the following
figure:
⑤Battery information: Battery information is not adjustable, exit to the main
interface through "Back". (The software and hardware version number may
change due to different batches of the product, so it is indicated by "--") as shown
below

12/20
⑥ Electricity style: There isa percentage ofactual voltage display, default
percentage charge
As shown in the following figure:
3. Language selection
B02NU-AKSM is available in 8languages for users to choose from. Go to the
"Language" menu and select a different language switch.
The interface is shown in the following figure:
4. Theme menu
B02NU-AKSM offers 4 different themes for users to choose from. Go to the
"Theme" menu and switch between "Theme 1" - "Theme 2" - "Theme 3" - "Theme 4".
The interface is shown in the following figure:

13/20
5. Password settings
The interface is shown in the following figure
①Start password off/on. Enter the "Password" menu, select and enter the
"Startup Password" (status is on/off) menu, and the interface prompts you to
enter the password. At this time, use the "+" or "-" keys to switch the numbers
"0-9" and press " "to enter the number. After entering, you will be prompted
to turn off/on the password function. Then the interface will jump to the original
menu automatically.
:
②Reset Password – Go to the Reset Password menu.
1. The interface prompts "Please enter your old password". At this time, use
the "+" or "-" keys to switch the numbers "0-9" and click " " to enter the
number.
2. After entering, the interface prompts "Please enter your password".
Repeat once to enter a new password.
3. After entering, the interface prompts "Please confirm password". Repeat

14/20
this once.
Note: If you want to enable the password feature, you need to enter a new
password after modification.
Do not change the initial password arbitrarily.
After modification, the interface will automatically jump to the original
menu .
As shown in the figure below:
③Bluetooth unlock setting (turned off by default, needs to be turned on
manually).
Go to the Bluetooth Unlock menu, click "+" or "-" to select On/Off ("On"
means to enable it, "Off" means to disable it). If Bluetooth unlock is enabled when
the mobile app is not connected, a Bluetooth QR code interface will pop up for you to
bind.
The result is as follows:

15/20
6. Bluetooth connection
The operation is as follows
Short press " " to enter the menu interface, enter the " Bluetooth " menu,
click " " to enter the Bluetooth QR code interface. You can scan the QR code
through the mobile APP to bind the device. After binding, you will automatically
jump to the home screen and the Bluetooth indicator lights up.
Note: App information
Android SDK 9 and above
Domestic: https://www.pgyer.com/LST2 Abroad:
https://apkpure.com/cn/bikego/com.huiye.ebike
IOS SDK 12 and above
https://apps.apple.com/cn/app/bikego/id1615694432
(using the iPhone as an example):

16/20

17/20
After connecting the Bluetooth of the display screen successfully, click "GO" on the
main interface of the APP to enter the navigation interface to select the destination,
and when you start navigation, the display changes as follows (real-time
navigation requires payment):

18/20
Navigation indicator: The symbol lights up to indicate that it is now in the
navigation interface.
Bluetooth indicator: The symbol lights up to indicate that the mobile app is
now connected to the instrument.
Current hint and distances: Turn tips and distances during the current drive.
Next turn tips and distances: Next turn tips and distances during driving.
Mileage to destination: Indicates the total distance from your current location
to your destination.
Users sign up for the first time with 200 map searches, 5 navigation
projections, and a 1$ 5$ 10$ package option. As shown below:
Real-time
speed
Total mileage Single mileage
Mileage
to
destination
Next turn tips
and distances
Navigation is
open
Current hint and
distance
Average
The app is
connected

19/20
7. Factory reset
Short press " "to enter the menu interface, click " " to enter the factory
reset interface. Select confirm, after a short press on " ", the instrument
restarts and restores factory settings; Select cancel, briefly press "", and return to
the previous menu, as shown in the following figure:

20/20
Error code comparison table
Error code
Description of the fault
Troubleshooting methods
"04"
The speed control put has no
homing
Check that the handle is in
place
"05"
Speed regulation put failure
Check the handlebar
"07"
Overvoltage protection
Check the battery voltage
"08"
The motor Hall signal line is
faulty
Check the motor module
"09"
Motor phase line failure
Check the motor module
"11"
Controller temperature sensor
failure
Check the controller
"12"
Current sensor failure
Check the controller
"13"
Battery internal temperature
failure
Check the battery
"14"
Temperature failure in the
motor
Check the motor
"21"
Speed sensor failure
Check where the speed
sensor is installed
"22" BMS communication failure Replace the battery
"30"
Communication failure
Check the controller
connector
Table of contents
Other eBike Bicycle Accessories manuals