manuals.online logo
Brands
  1. Home
  2. •
  3. Brands
  4. •
  5. ecoey
  6. •
  7. Security Sensor
  8. •
  9. ecoey FJ122-H14 User manual

ecoey FJ122-H14 User manual

User Manual
Model: FJ122-H14
WiFi Door-Window Detector
• Power: DC3V(CR17450×1)
• Standby Current: ≤10µA
• Trigger Current: ≤600mA
• Battery life: 1 year
• Installation distance:
Less than 10mm between mainframe and magnet
• Installation mode: 3M glue
• Frequency: Wi-Fi 2.4GHz
• Environment: -10℃~60℃, ≤95%RH Non-condensate
• Environmental standards: RoHS, CE, RCM
PRODUCT OVERVIEW
PRODUCT FEATURES
The FJ122-H14 Door & Window Detector adopts the design of split magnetic sensor
technology used to detect the status of doors and windows in real time. According to the
changes in status of doors and windows, you can achieve intelligent lighting or security
alarm systems. It can bring convenience to your home while protecting the security of your
family and your assets.
Built-in Wi-Fi wireless transmission module, high sensitivity compatible, fast response
time
and no wiring making it the perfect solution for any home or installation. Through the
TUYA App, alarm notifications and other automation functions can be realised.
Step 1: Press and push the front cover
toward the opposite direction of the LED.
Step 2: Then you can see the battery house,
correctly load the battery according to the
instructions of the electrodes.
• Wi-Fi protocol can be added to TUYA App intelligent security system.
• Standby power consumption is less than 10μA making for long battery life.
• Real time display of battery level.
• High sensitivity and quick response time.
• Simple installation without wiring.
INSTALLATION INSTRUCTION
Installation Method
Product Installation
• If installed on a door, the mainframe is mounted on the door frame.
• If installed on a window, the mainframe is mounted on the windows frame.
• The distance between the mainframe and the magnet should be < 8mm after the
installation.
• The detector is best installed in a position where there is no height difference
between the door (window) and the door frame (window frame).
LED
OPERATION INSTRUCTION
Join the TUYA App
This product needs to be added to the TUYA APP intelligent system, which requires
the installation and registration to the TUYA App. There are two ways to connect to
your local Wi-Fi Network (Wi-Fi 2.4GHz Router is required).
The configuration processis as follows.
Smart Configuration mode:
1 - After the device is powered on, the LED flashes for 3 mes (initilisation) and then
automa cally requests to enter the network. If the network access fails, the LED will
flash rapidly, which indicates that the device has entered the smart configuration
mode.
2 - Aer step 1, open the Smart Life App, successively click button in the upper
right corner of the home page →Security & Sensors →Contact Sensor (Wi-Fi) →Confirm
indicator rapidly blinking. Enter Wi-Fi password, click Confirm, wait for the
networking
to succeed. If successful, the door-window detector LED will flash 10 times.
AP Configuration mode:
1 - If the Smart configuration mode fails to access the network, remove the battery
and power on again. After the product completes initialization, the LED will flash
slowly, indicates that the device has entered the AP configuration mode.
2 - After step 1, open the Smart Life App, successively click button in the upper
right corner of the home page →Security & Sensors →Contact Sensor (Wi-Fi) →Other Mode
(in the upper right corner) →AP Mode →Confirm indicator slowly blinks →and then enter
Wi-Fi password, click Confirm →
Connect your mobile phone to the device's hotspot
→select SmartLife-xxx, then wait for the networking. When successful, the door-
window detector LED will flash 10 times.
After adding successfully, the open/close status of the door-window detector can
be displayed in the app in real time.
Sensor detection mode description
When the sensor is powered on, the red indicator light starts to flash for 3 times
and the sensor enters the preheating mode. After 16 seconds, the preheating is
completed and enters the distribution network mode. After the router is connected
successfully, the device enters the test mode. In the test mode, each time the sensor
detects that the door is open or closed, it will immediately enter the next detection
state. The test mode will last for 5 minutes. After 5 minutes, the sensor automatically
enters the power-saving mode. In the power-saving mode, each time the sensor
detects the door is open, it will wait 10 minutes to enter next detection state for
detecting door open/closed again. If the sensor is repeatedly triggered within 10
minutes, the sensor will not enter the next detecting state until 10 minutes later. If
there is no trigger during 10 minutes, the sensor will re-enter the detection state.
Note: If you need to enter the test mode again, remove the sensor battery, wait for
one minute, install it again to enter the test mode again.
Sensor detection mode description
Figure 1 Door frame and door not level. Figure 2 Door frame is level.
1) Door open 2) Door Close
1
Mainframe
3
3M Glue 2 Magnet
3 3M Glue
2
Magnet
1
Mainframe
Slowly blink 3 times
Flashes rapidly twice per second
Flashes slowly once per 3 seconds
Flash 10 times rapidly
Flash once
lnitialization after power on.
Smart Configuration mode
AP Configuration mode
Connect the router successfully
Door open/close
Indicator Function
Other ecoey Security Sensor manuals

ecoey FJ100A-H14 User manual

ecoey

ecoey FJ100A-H14 User manual

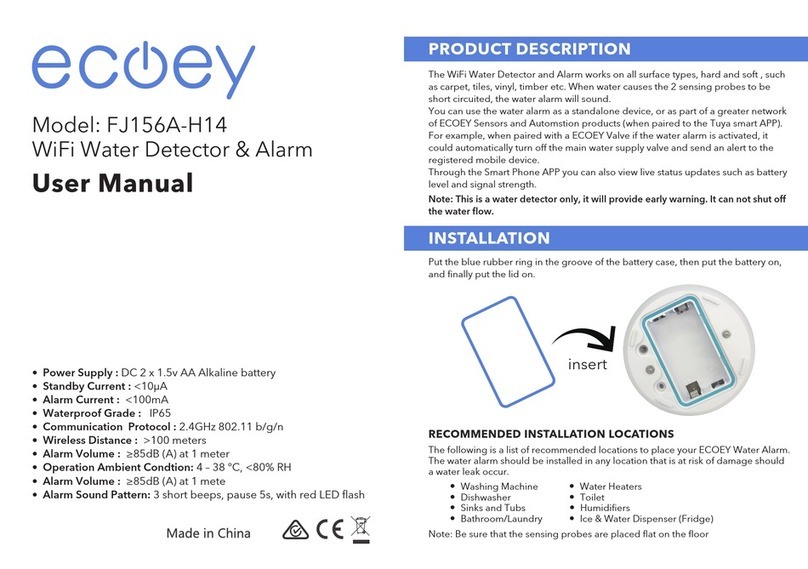
ecoey FJ156A-H14 User manual

ecoey

ecoey FJ156A-H14 User manual

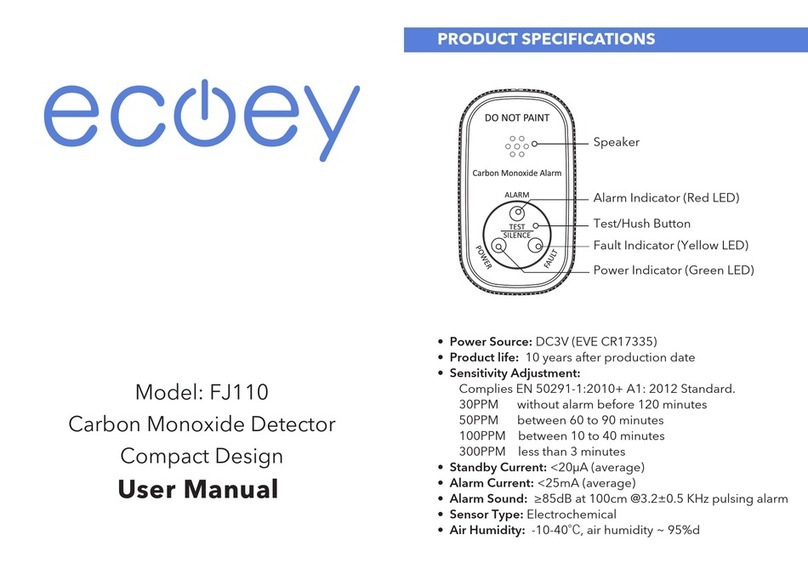
ecoey FJ110 User manual

ecoey

ecoey FJ110 User manual

Popular Security Sensor manuals by other brands

Gilson VERITY 1910 MS user guide

Gilson

Gilson VERITY 1910 MS user guide

STEINEL PROFESSIONAL HF 3360 DALI manual

STEINEL PROFESSIONAL

STEINEL PROFESSIONAL HF 3360 DALI manual

Response Electronics SAP E Installation and operating instructions

Response Electronics

Response Electronics SAP E Installation and operating instructions

Lowenstein Medical JOYCE SilkGel Instructions for use

Lowenstein Medical

Lowenstein Medical JOYCE SilkGel Instructions for use

Aerox 4110-725 SERIES OPERATING INSTRUCTIONS AND EQUIPMENT LIMITATIONS

Aerox

Aerox 4110-725 SERIES OPERATING INSTRUCTIONS AND EQUIPMENT LIMITATIONS

Falltech 8039S User Information Sheet

Falltech

Falltech 8039S User Information Sheet

HME DU3 Installation & maintenance instructions

HME

HME DU3 Installation & maintenance instructions

Radionics D9580 installation instructions

Radionics

Radionics D9580 installation instructions

Global Fire Equipment ZEOS-AD manual

Global Fire Equipment

Global Fire Equipment ZEOS-AD manual

Honeywell FSL100-IR3 Technical handbook

Honeywell

Honeywell FSL100-IR3 Technical handbook

System Sensor B401BR Installation and maintenance instructions

System Sensor

System Sensor B401BR Installation and maintenance instructions

Visonic SR-740 HEX PG2 installation instructions

Visonic

Visonic SR-740 HEX PG2 installation instructions

PCB Piezotronics M109C11 Installation and operating manual

PCB Piezotronics

PCB Piezotronics M109C11 Installation and operating manual

Carrier Graviner Mk6 INSPECTION & CLEANING INSTRUCTIONS

Carrier

Carrier Graviner Mk6 INSPECTION & CLEANING INSTRUCTIONS

STEINEL IR Quattro HD-2 IP manual

STEINEL

STEINEL IR Quattro HD-2 IP manual

Optex WX Shield Series installation instructions

Optex

Optex WX Shield Series installation instructions

Xulux BT-PIR108 Install manual

Xulux

Xulux BT-PIR108 Install manual

System Sensor DH400 Installation and maintenance instructions

System Sensor

System Sensor DH400 Installation and maintenance instructions

manuals.online logo
manuals.online logoBrands
  • About & Mission
  • Contact us
  • Privacy Policy
  • Terms and Conditions

Copyright 2025 Manuals.Online. All Rights Reserved.