manuals.online logo
Brands
  1. Home
  2. •
  3. Brands
  4. •
  5. Ecolink
  6. •
  7. Security Sensor
  8. •
  9. Ecolink ClearSky CS-242 Manual

Ecolink ClearSky CS-242 Manual

CS-242 ClearSky® Outdoor Wireless Contact Sensor
Installation Instructions & User Manual
Specifications
Frequency: 345 MHz Operating Temperature: -40°to 60°C
Battery: 2X 1.5V AA Lithium Cell Operating Humidity: 5-95% RH non condensing
Battery life: up to 10 years Compatible with ClearSky receivers
Magnet gap: 2 inch max Supervisory signal interval: 60 min (approx.)
Package Contents
1x Sensor
1x Magnet
2x 1” Screws for Sensor Mount
2x 1.5” Screws for Magnet Mount
2x Lithium AA Batteries
1x Manual
Component Identification
Enrolling
To enroll the sensor, set your panel into program mode, refer to your specific alarm panel manual
for details on these menus. When prompted by the panel, trigger the sensor by moving the
magnet in and out of range of the sensor. The panel will beep when you have successfully learned
in a sensor.
External Input: An external contact may also be connected to the
CS-242 with the supplied wiring connector. The external input is
located in the main sensor body near the battery terminals.
N.C is for a normally closed switch. COM is for common
terminal. N.O is for normally opened switch.
Main Sensor Body
Rubber insert
Back mounting plate
Magnet
N.C. COM. N.O.
N.C. COM. N.O.
Installation
Mounting Sensor & Magnet
Use screws or cable ties to secure the contact and the magnet.
1. Determine mounting location for sensor and magnet. Take into consideration the magnet
mounting location. The magnet must be facing the main sensor body marked by the 2 lines.
2. If using the external input, please refer to External Wiring with External Input directions.
3. Remove the back mounting plate from the main sensor body.
4. Using the mounting plate as a template, draw 2 circles for drill locations.
5. Drill two pilot hole of 3/32” at drill locations
6. Place the back mounting plate back in desired mounting location and fasten the screws into
the pilot holes.
7. Use magnet mounting holes to draw 2 circles for magnet drill locations
8. Drill two pilot holes of 3/32” at drill locations
9. Place the magnet onto desired mounting location and fasten the screws into the mounting
holes
Note: Suggested mounting hardware for curved surfaces
Self-locking stainless steel strap ties or extra heavy duty outdoor nylon ties. The cable tie
mounting point allows up to a 0.5 inch width cable tie.
Cable Tie
Mounting
Points
External Wiring with External Input
Note: Use a minimum of 22AWG jacked cable wire or 26AWG solid copper leads.
Maximum wire length cannot exceed 5 feet.
1. Strip cable jacket back approx. 6 inches to allow enough length when removing the
sensor body from back mounting plate and rubber insert.
2. Push cable through the hole on the back mounting plate.
3. Push wire through the wire holes on the rubber insert.
4. Connect the wires on the terminal block in the main sensor body.
Replacing the Battery
When the battery is low a signal will be sent to the
control panel. To replace the battery:
1. Detach the sensor from the back mounting
plate by unscrewing the front screw.
2. Remove the rubber insert and replace the
Lithium AA batteries type in the correct positive
and negative orientation.
3. Re-install the rubber insert and re-fasten the
sensor to the back mounting plate.
Note: Removing the sensor from the mounting plate
will trigger a zone tamper signal to the control panel.
N.C. COM. N.O.
FCC Compliance Statement
This device complies with part 15 of the FCC Rules. Operation is subject to the following two conditions: (1)
This device may not cause harmful interference, and (2) this device must accept any interference received,
including interference that may cause undesired operation.
This equipment has been tested and found to comply with the limits for Class B digital devices, pursuant
to Part 15 of the FCC Rules. These limits are designed to provide reasonable protection against harmful
interference in a residential installation. This equipment generates uses and can radiate radio frequency
energy and, if not installed and used in accordance with the instruction manual, may cause harmful
interference to radio communications. However, there is no guarantee that interference will not occur in a
particular installation. If this equipment does cause harmful interference to radio or television reception,
which can be determined by turning the equipment off and on, the user is
encouraged to try to correct the interference by one or more of the following measures:
•Re-orient or relocate the receiving antenna
•Increase the separation between the equipment and receiver
•Connect the equipment to an outlet on a different circuit from the receiver
•Consult the dealer or an experienced radio/TV contractor for help.
Warning: Changes or modifications not expressly approved by Ecolink Intelligent Technology Inc. could void
the user’s authority to operate the equipment.
This device complies with Industry Canada licence-exempt RSS standard(s). Operation is subject to the
following two conditions: (1) this device may not cause interference, and (2) this device must accept any
interference, including interference that may cause undesired operation of the device.
C’et appareil est conforme la norme d'Industrie Canada exempts de licence RSS. Son fonctionnement est
soumis aux deux conditions suivantes: (1) c’et appareil ne peut pas provoquer d'interférences, et (2) c’et
appareil doit accepter toute interférence, y compris les interférences qui peuvent causer un mauvais
fonctionnement de la dispositif.
FCC ID: XQC-WST242 IC: 9863B-WST242
Warranty
Ecolink Intelligent Technology Inc. warrants that for a period of 1 years from the date of purchase that this
product is free from defects in material and workmanship. This warranty does not apply to damage caused by
shipping or handling, or damage caused by accident, abuse, misuse, misapplication, ordinary wear, improper
maintenance, failure to follow instructions or as a result of any unauthorized modifications.
If there is a defect in materials and workmanship under normal use within the warranty period Ecolink
Intelligent Technology Inc. shall, at its option, repair or replace the defective equipment upon return of
the equipment to the original point of purchase.
The foregoing warranty shall apply only to the original buyer, and is and shall be in lieu of any and all other
warranties, whether expressed or implied and of all other obligations or liabilities on the part of Ecolink
Intelligent Technology Inc. neither assumes responsibility for, nor authorizes any other person
purporting to act on its behalf to modify or to change this warranty, nor to assume for it any other warranty or
liability concerning this product.
The maximum liability for Ecolink Intelligent Technology Inc. under all circumstances for any warranty issue
shall be limited to a replacement of the defective product . It is recommended that the customer check their
equipment on a regular basis for proper operation.
© 2021 Ecolink Intelligent Technology Inc. PN CS242 R1.00
REV DATE: 09/28/2021
2055 Corte Del Nogal
Carlsbad, California 92011
1-855-632-6546
www.discoverecolink.com

Other Ecolink Security Sensor manuals

Ecolink WST-702 User manual

Ecolink

Ecolink WST-702 User manual

Ecolink WST-702 User manual

Ecolink

Ecolink WST-702 User manual

Ecolink WST-612 Guide

Ecolink

Ecolink WST-612 Guide

Ecolink CS-732 User manual

Ecolink

Ecolink CS-732 User manual

Ecolink NanoFIL User manual

Ecolink

Ecolink NanoFIL User manual

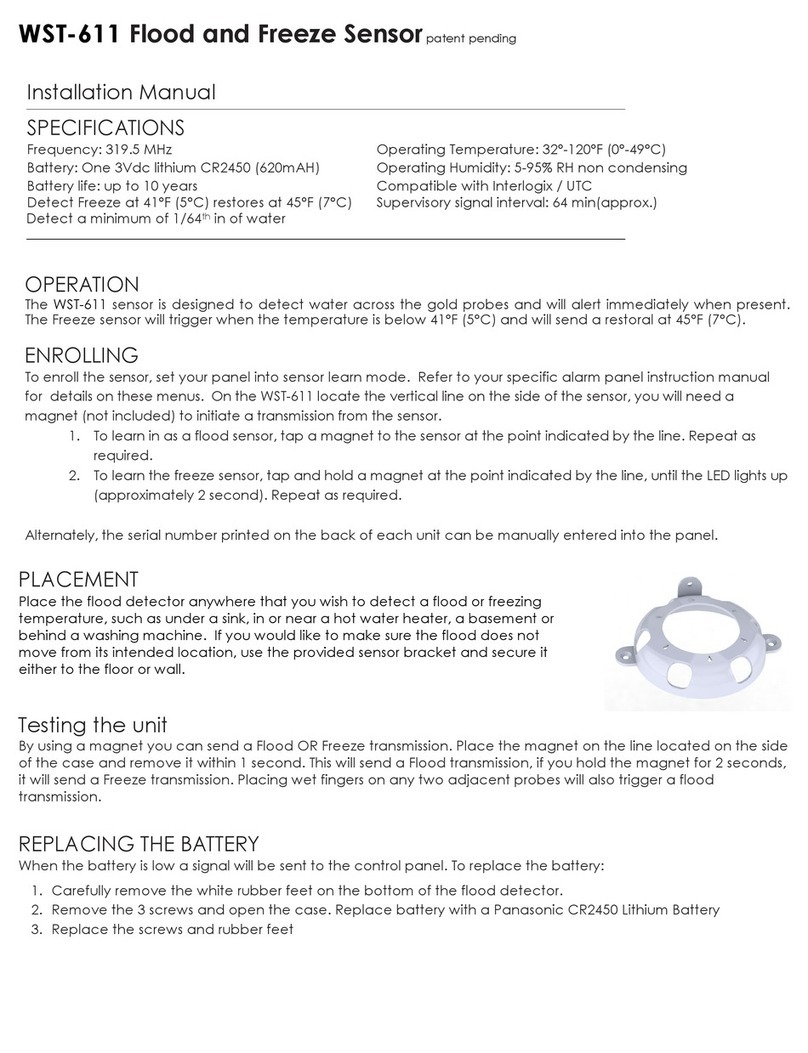
Ecolink WST-611 User manual

Ecolink

Ecolink WST-611 User manual

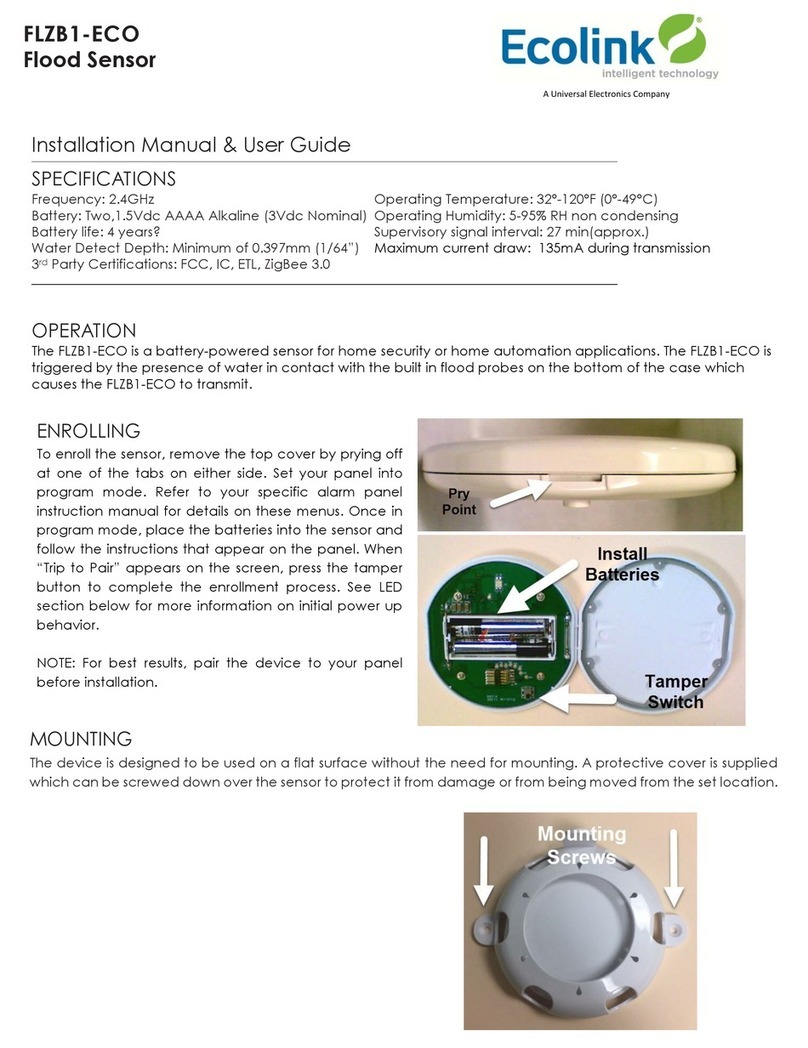
Ecolink FLZB1-ECO Guide

Ecolink

Ecolink FLZB1-ECO Guide

Ecolink Firefly WST-602 User manual

Ecolink

Ecolink Firefly WST-602 User manual

Ecolink TX-E611 Assembly instructions

Ecolink

Ecolink TX-E611 Assembly instructions

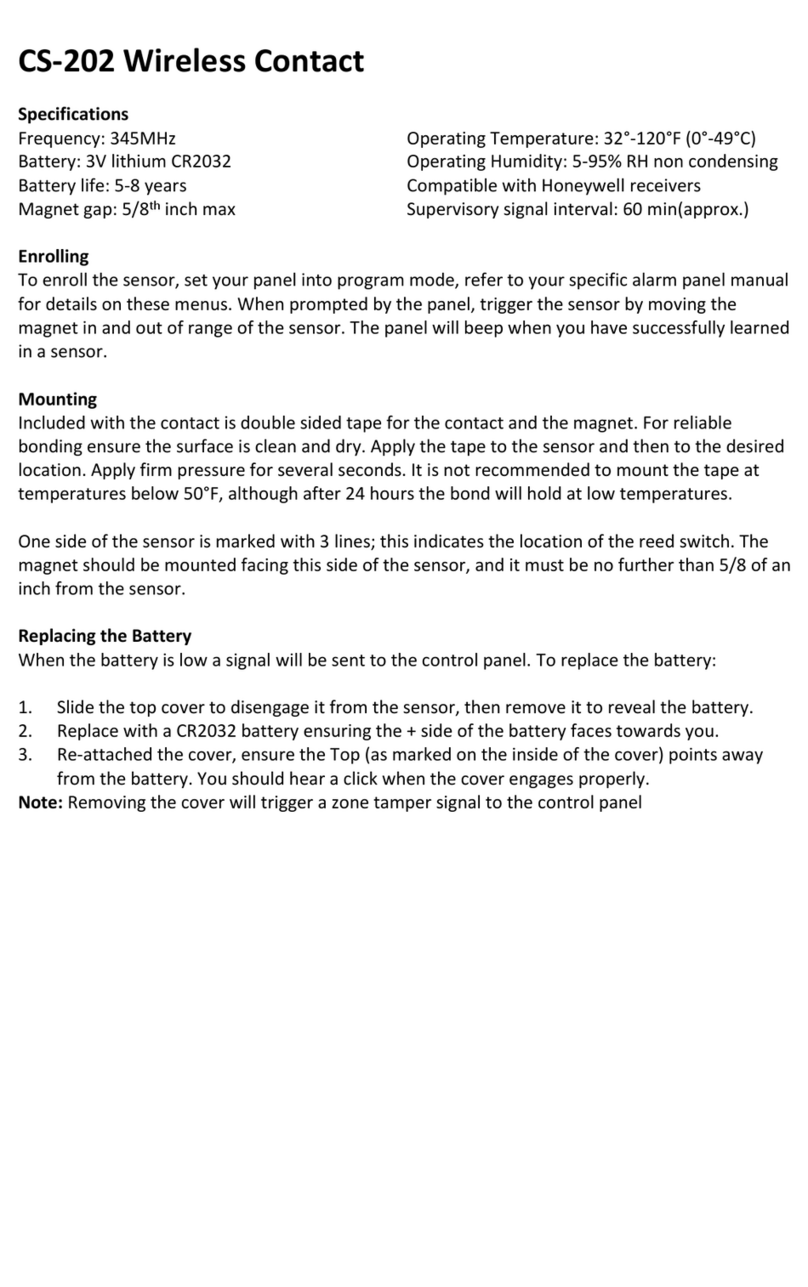
Ecolink CS-202 User manual

Ecolink

Ecolink CS-202 User manual

Ecolink PIR-ZWAVE2 User manual

Ecolink

Ecolink PIR-ZWAVE2 User manual

Ecolink Firefighter FF-ZWAVE5 User manual

Ecolink

Ecolink Firefighter FF-ZWAVE5 User manual

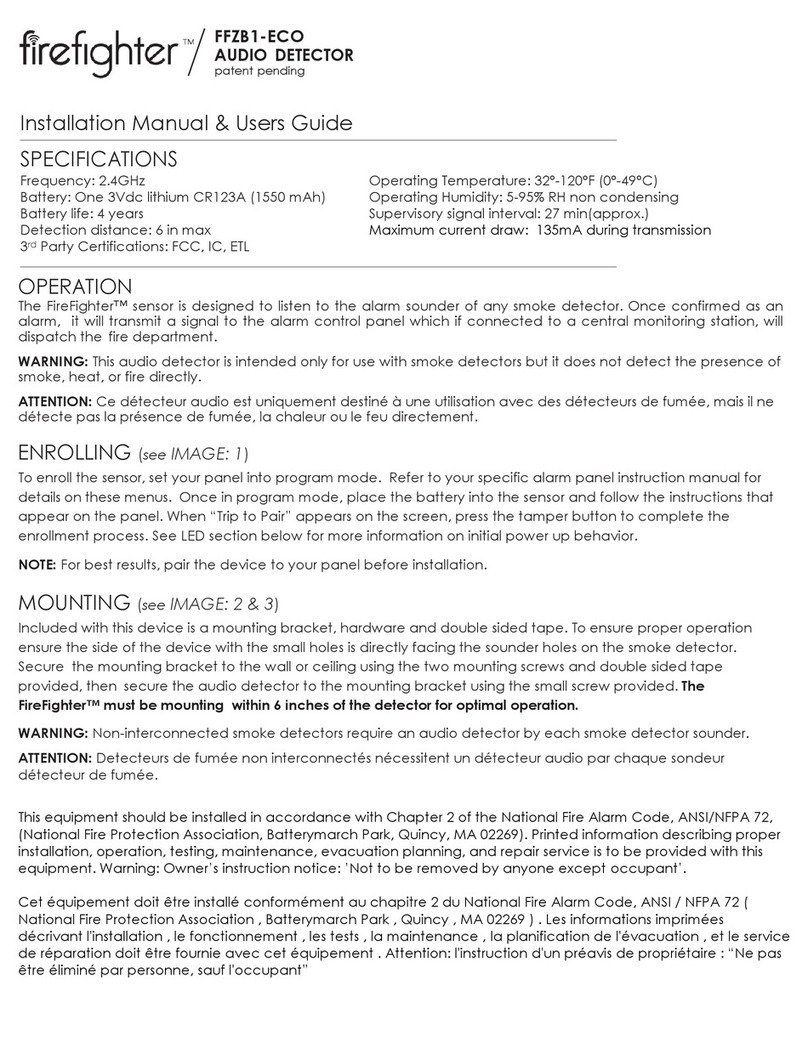
Ecolink Firefighter FFZB1-ECO Guide

Ecolink

Ecolink Firefighter FFZB1-ECO Guide

Ecolink WST-601 Guide

Ecolink

Ecolink WST-601 Guide

Ecolink FireFighter CS-602 Guide

Ecolink

Ecolink FireFighter CS-602 Guide

Ecolink firefighter User manual

Ecolink

Ecolink firefighter User manual

Ecolink WST-302 User manual

Ecolink

Ecolink WST-302 User manual

Ecolink URC4470BC0-X-R User manual

Ecolink

Ecolink URC4470BC0-X-R User manual

Ecolink WST-712 User manual

Ecolink

Ecolink WST-712 User manual

Ecolink Firefighter CS-600 Guide

Ecolink

Ecolink Firefighter CS-600 Guide

Ecolink WST-621v2 User manual

Ecolink

Ecolink WST-621v2 User manual

Ecolink WST-740 Manual

Ecolink

Ecolink WST-740 Manual

Popular Security Sensor manuals by other brands

Wetekom 25 44 41 instruction manual

Wetekom

Wetekom 25 44 41 instruction manual

Dorlen Water Alert SS-1 instructions

Dorlen

Dorlen Water Alert SS-1 instructions

B.E.G. LUXOMAT PD2N-KNX-BA Mounting instructions

B.E.G. LUXOMAT

B.E.G. LUXOMAT PD2N-KNX-BA Mounting instructions

Alert-it Care Systems P162B User/installer handbook

Alert-it Care Systems

Alert-it Care Systems P162B User/installer handbook

Edwards ELD500 Series instruction manual

Edwards

Edwards ELD500 Series instruction manual

Nobile 9109011005 Mounting and operation instructions

Nobile

Nobile 9109011005 Mounting and operation instructions

BFT CELLULA 50 installation manual

BFT

BFT CELLULA 50 installation manual

Evikon PluraSens E2658-CH4 user manual

Evikon

Evikon PluraSens E2658-CH4 user manual

Rae DL-ATG operating instructions

Rae

Rae DL-ATG operating instructions

Panasonic SF4B V2 series Quick instruction manual

Panasonic

Panasonic SF4B V2 series Quick instruction manual

Elkron PRO MEDEA KP710D user manual

Elkron

Elkron PRO MEDEA KP710D user manual

Satel micra MXD-300 user manual

Satel

Satel micra MXD-300 user manual

B.E.G. LUXOMAT PD2-M-DALI/DSI Installation and operating instruction

B.E.G.

B.E.G. LUXOMAT PD2-M-DALI/DSI Installation and operating instruction

Theben 201 0 090 installation manual

Theben

Theben 201 0 090 installation manual

netvox RA02A user manual

netvox

netvox RA02A user manual

Rivers Edge GRIP RAIL operating manual

Rivers Edge

Rivers Edge GRIP RAIL operating manual

SICK Prime KTX-WP91141242ZZZZ manual

SICK

SICK Prime KTX-WP91141242ZZZZ manual

DSC LC-100PI Installation instructions and use

DSC

DSC LC-100PI Installation instructions and use

manuals.online logo
manuals.online logoBrands
  • About & Mission
  • Contact us
  • Privacy Policy
  • Terms and Conditions

Copyright 2025 Manuals.Online. All Rights Reserved.