manuals.online logo
Brands
  1. Home
  2. •
  3. Brands
  4. •
  5. Ecolink
  6. •
  7. Security Sensor
  8. •
  9. Ecolink CS-732 User manual

Ecolink CS-732 User manual

Problem
Solution
Attempt to pair the sensor is unsuccessful.
Please refer to control panel manuals for pairing.
The sensor and the control panel does not
communicate.
Perform the signal strength testing procedure
described in the control panel installation
manual. Make sure that the signal is sufficient.
If
necessar
y
,
replace the sensor’s
ba
tter
y
.
The sensor sends a Low Battery
indication.
To
ensure continuous proper operation,
replace the battery within two weeks of the
first Low
Ba
tter
y
indication.
© 2018 Ecolink Intelligent Technology Inc. CS-732 R1.00
4.
TROUBLESHOO
TING
If you encounter one of the following problems with the CS-732,
use the following solutions to
resolve
the problem:
CS-732
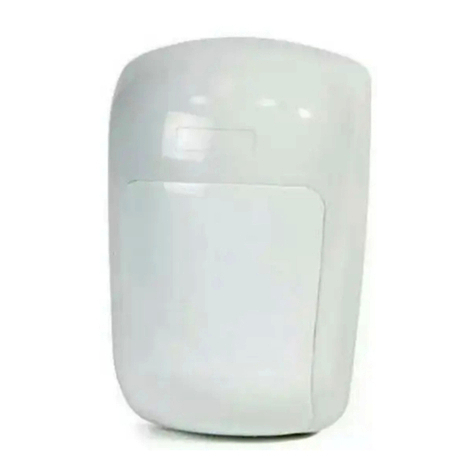
ClearSky Occupancy Sensor 345 MHz
Installation Instructions
1. INTRODUCTION
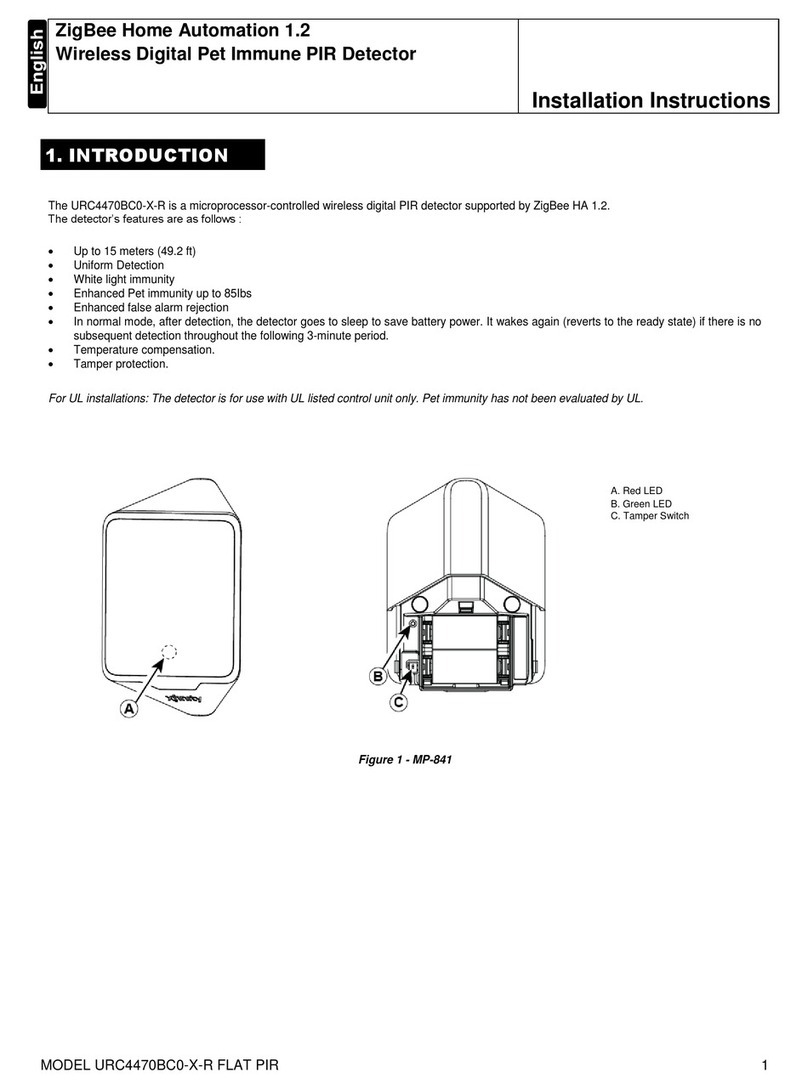
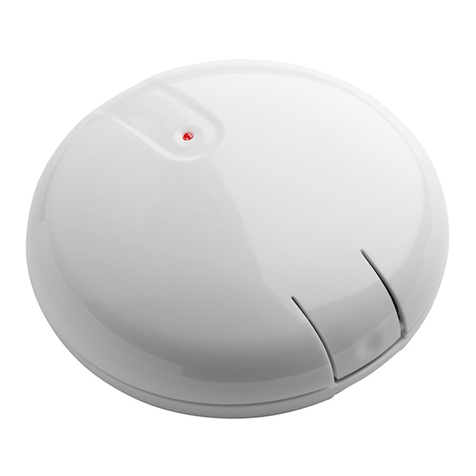
The CS-732
is a microprocessor-controlled
wireless digital PIR occupancy sensor
supported by ClearSky 345 MHz.
5. COMPLIANCE WITH STAND
ARDS
FCC Statement: This equipment has been tested and found to comply with the limits for a Class B
digital
device, pursuant to Part
15 of the FCC Rules. These limits are designed to provide reasonable
protection
against harmful interference in a residential
installation. This equipment generates, uses and can radiate radio
frequency energy and, if not installed and used in accordance
with the instructions, may cause
harmful
interference to radio communications. However, there is no guarantee that interference
will not occur in a particular installation. If this equipment does cause harmful interference to radio or television
reception,
which
can be determined by turning the equipment off and on, the user is encouraged to try to correct the interference by one
of the following measures:
•
Reorient
or
relocate
the
receiving
antenna.
•
Increase
the
separation between
the
equipment
and receiver.
•
Connect
the
equipment
into
an
outlet
on
a
circuit
dif
ferent
from
tha
t
to
which
the
receiver
is
connected.
•
Consult
the
dealer
or an
experienced radio/TV technician
for help.
Warning:
Changes or modifications not expressly approved by the Ecolink Intelligent Technology Inc.
could void the user’s
authority to operate the equipment.
This device complies with Industry Canada license-exempt RSS standard(s). Operation is subject to
the following two conditions: (1) this device may not cause interference, and (2) this device must
accept any interference, including interference that may cause undesired operation of the device.
Cet appareil est conforme avec Industrie Canada exempts de licence standard RSS (s). Son
fonctionnement est soumis aux deux conditions suivantes: (1) cet appareil ne doit pas provoquer
d'interférences et (2) cet appareil doit accepter toute interférence, y compris celles pouvant causer un
mauvais fonctionnement de l'appareil.
In accordance with FCC requirements of human exposure to radiofrequency fields, the radiating
element shall be installed such that a minimum separation distance of 20 cm is maintained from the
general population.
Conformément aux exigences d'Industrie Canada en matière d'exposition humaine aux champs de
radiofréquences, l'élément rayonnant doit être installé de telle sorte qu'une distance minimale de 20
cm soit maintenue par rapport à la population générale.
FCC ID: XQC-CS732
ICID: 9863B-CS732
2.
SPECIFICA
TIONS
Detector Type: Two
-
Dual element low-noise pyroelectric sensor
Optical Data:
18
parabolic mirrors for long range
18
parabolic mirrors for close range
Max. Coverage: 15 x 15 m, (49.2 x 49.2 ft)
/ 90°
ELECTRICAL
Internal
Batteries:
Two 3V Lithium batteries, type CR-123A.
Nominal Battery
Capacity:
1400 mAh per
ba
tter
y
Battery Life: 5 years
FUNCTIONAL
Occupancy
Transmission:
Once the occupancy sensor is in normal operating mode (after exiting the 15 minute walk
test mode) the occupancy sensor will send an occupied transmission to the control panel
upon motion detection. The sensor will not re-send occupied transmission signal until after
approximately 3 continuous minutes without motion has been observed by the sensor. After
approximately continuous 3 minutes without motion, the sensor will send an unoccupied
transmission signal to the control panel and resume normal occupancy detection.
Visual
Indications:
Upon installing the batteries or removing the pull tab, the red LED
will flash for approximately 1 to 2 minutes
during
the power-up stabilization period.
The sensor will then automatically enter the 15 minute walk test
mode. During the 15 minute walk test mode, the red LED lights for about 3 seconds upon
motion d
etection
prior to transmission of the occupancy signal. The LED does not light upon transmissions or detection
after
the 15 minute walk test mode has ended.
WIRELESS
Supported
Network:
ClearSky
Frequency: 345 MHz
Tamper
Alert:
Reported when a tamper event occurs and in
any subsequent message,until the tamper switch is restored
MOUNTING
Height:
1.8-2.4 m (6
-
8 ft).
Installation
Options:
Surface or corner
ENVIRONMENT
AL
Operating Temperatures -10˚ C to 55˚ C (14˚ F to 131˚ F)
Storage Temperatures -20˚ C to 65˚ C ( -4˚ F to 149˚ F)
PHY
SIC
AL
Size (H x W x D) 83 x 61 x 42 mm (3.27 x 2.4 x
1.66”)
Weight (with battery) 90 g (3.17 oz)
Color White
2055 Corte Del Nogal
Carlsbad, California 92011
1-855-632-6546
www.discoverecolink.com
3.
INST
ALLA
TION
3.1 General Guidance
1. Do not install near heating and cooling sources.
2. Do not aim detector at windows due to risk of drafts.
3. Do not install outdoors.
4. Do not install where direct sunlight can strike the
unit.
5. Do not install near high-voltage electrical lines.
6. Do not install behind any obstructions.
7. Do not mount on unstable surfaces.
Figure 2. General
Guidelines
3.4 Activating and Pairing the
Detector
To
pair the detector to the control panel, you must set the panel to pairing mode.
1. First set the control panel to pairing mode
.
2. To activate, pull the activation strip that protrudes from the back of the detector or insert the batteries.
3. If required, manually enter in the serial number of the sensor to the control panel.
4.
Verify from the control panel that the sensor has been paired.
Note: Pairing should be performed before
installation.
Note: Serial number is the 6 digits located in the battery compartment
underneath the QR code.
3.2
Installation
Procedur
e
3.5 Rebooting the
Detector
To
reboot the detector, complete the following steps:
1. Remove the battery cover
.
2. Remove the batteries for 3 seconds and reinstall them
.
3. Close the battery cover
.
1.
Separate detector from bracket. Figure 3.
2.
Remove the bracket.
3.
Mount bracket to wall using the center
screw holes (B) or corner screw holes (A1 &
A2). Figure 4.
4.
Install new batteries OR if batteries are
installed, remove the activation strip.
5.
Remount the detector by sliding it down
onto the bracket until a click is heard.
Figure 5.
6.
The unit is ready for walk test.
3.6
Unpair
the
Detector
from Panel
1. Follow control panel instructions to remove the sensor from the network.
3.7
W
alk
T
esting
3.3
Replacing
the
Batteries
While the occupancy sensor is in the 15 minute walk test mode
,
walk across the far end of coverage
pattern in both directions. The LED should light for 2-3
seconds
each time your motion is detected.
1. Press upward to separate the detector
from
the bracket.
2. Replace the ba
tteries.
3. Put back the detector on the bracket.
Note: It is recommended to wait
approximately 1 minute after battery
removal before inserting the new
battery.
CAUTION! Risk of explosion if
battery is replace by an incorrect
type. Dispose of used battery
according to the manufacturer’s
instructions.
Important!
Instruct the user to walk test at
least once a week to verify proper function of
the detector
.
Note:
After battery insertion or closing the
cover (which results in closing the tamper
switch)the LED
flashes for 1 to 2 minutes and
the detector goes into walk-test mode for
15 minutes. In walk test mode
the LED
lights
for every motion detected. After 15 minutes
the detector automatically enters normal
mode
in which the LED
will not blink after
detection.
Figure 7 –Coverage Pattern Walk-Test
Note: Rebooting the detector will put it in walk test mode for 15 minutes.

Other Ecolink Security Sensor manuals

Ecolink WST-621v2 User manual

Ecolink

Ecolink WST-621v2 User manual

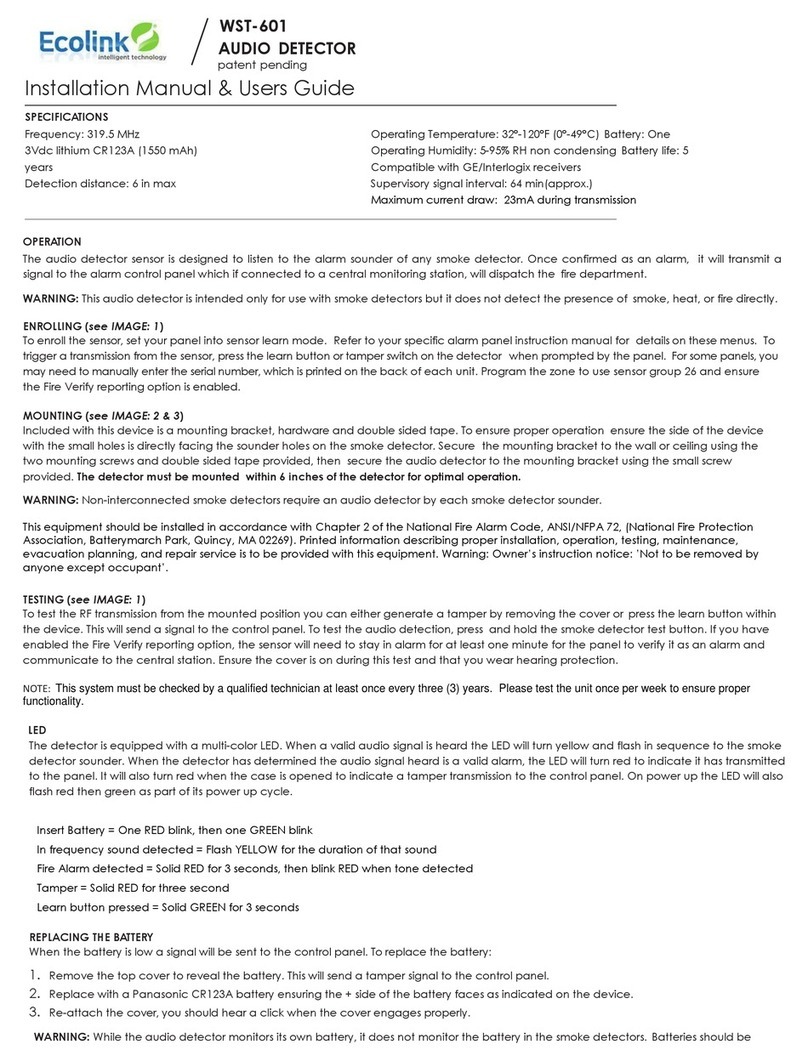
Ecolink WST-601 Guide

Ecolink

Ecolink WST-601 Guide

Ecolink WST-702 User manual

Ecolink

Ecolink WST-702 User manual

Ecolink WST-702 User manual

Ecolink

Ecolink WST-702 User manual

Ecolink Firefly WST-602 User manual

Ecolink

Ecolink Firefly WST-602 User manual

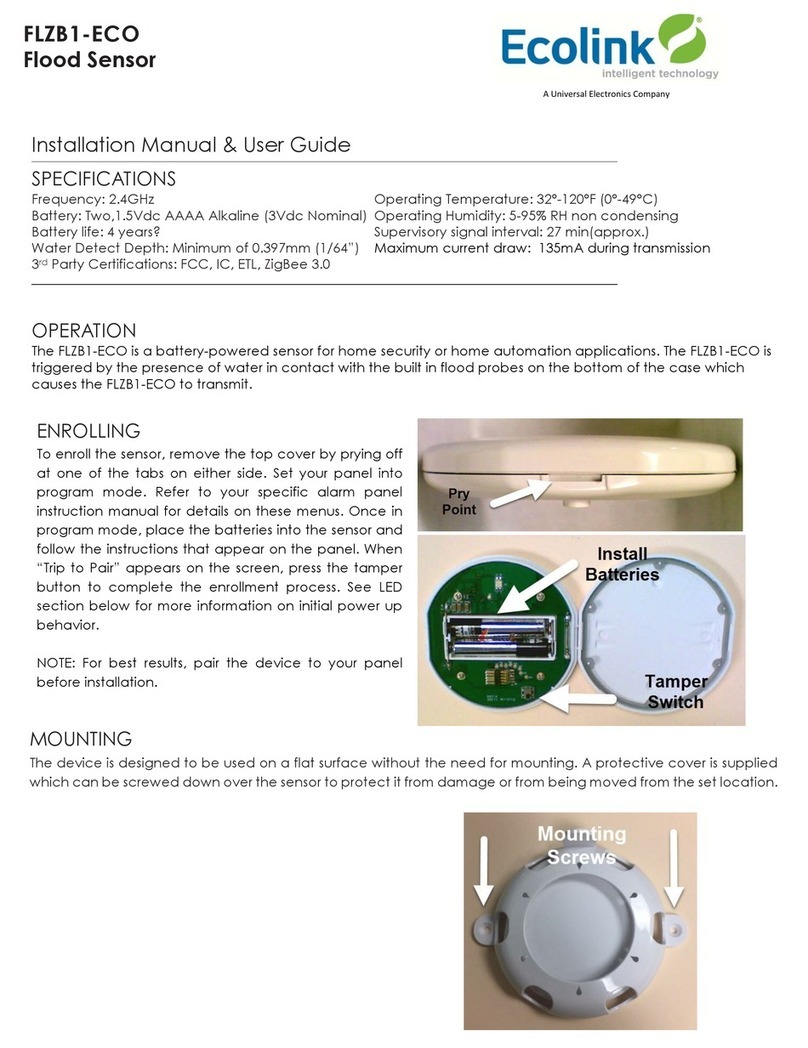
Ecolink FLZB1-ECO Guide

Ecolink

Ecolink FLZB1-ECO Guide

Ecolink WST-712 User manual

Ecolink

Ecolink WST-712 User manual

Ecolink PIR-ZWAVE2 User manual

Ecolink

Ecolink PIR-ZWAVE2 User manual

Ecolink WST-612 Guide

Ecolink

Ecolink WST-612 Guide

Ecolink Firefighter FF-ZWAVE5 User manual

Ecolink

Ecolink Firefighter FF-ZWAVE5 User manual

Ecolink WST-302 User manual

Ecolink

Ecolink WST-302 User manual

Ecolink NanoFIL User manual

Ecolink

Ecolink NanoFIL User manual

Ecolink FireFighter CS-602 Guide

Ecolink

Ecolink FireFighter CS-602 Guide

Ecolink Firefighter FFZB1-ECO Guide

Ecolink

Ecolink Firefighter FFZB1-ECO Guide

Ecolink ClearSky CS-242 Manual

Ecolink

Ecolink ClearSky CS-242 Manual

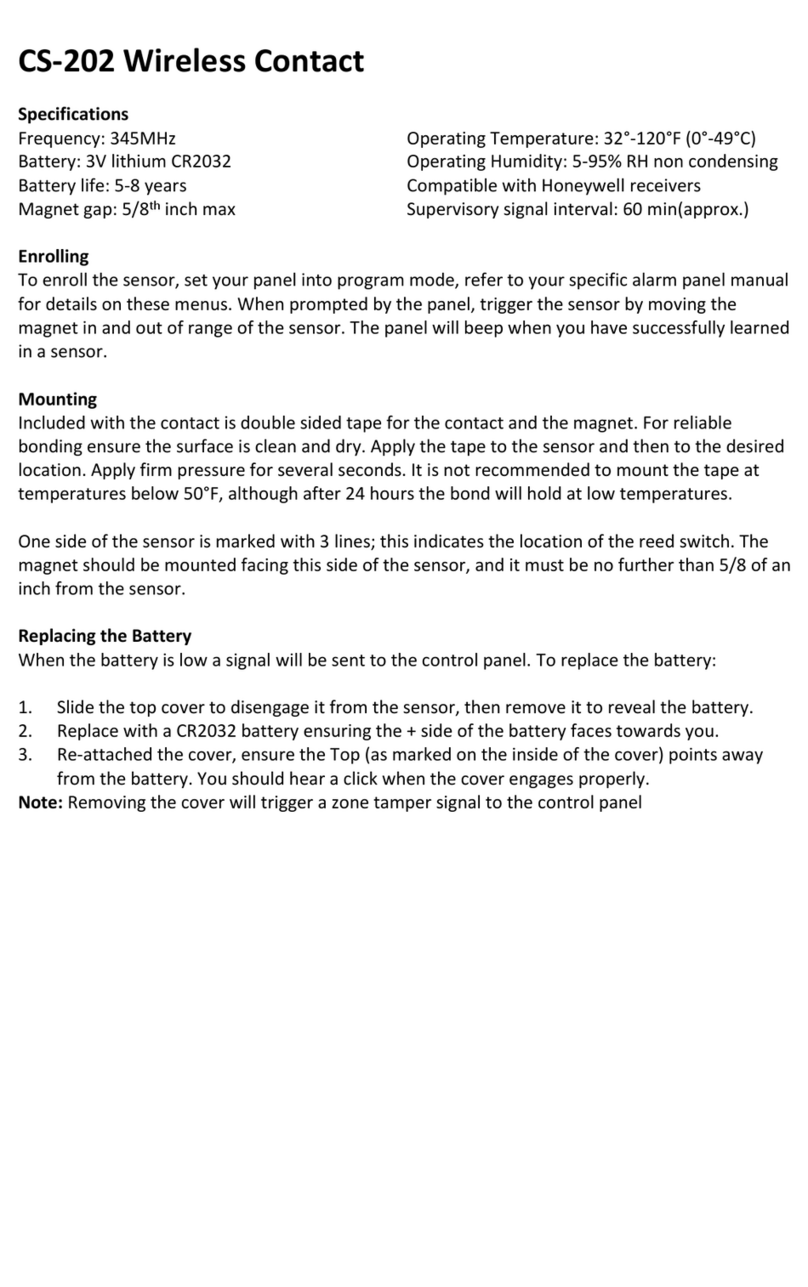
Ecolink CS-202 User manual

Ecolink

Ecolink CS-202 User manual

Ecolink TX-E611 Assembly instructions

Ecolink

Ecolink TX-E611 Assembly instructions

Ecolink URC4470BC0-X-R User manual

Ecolink

Ecolink URC4470BC0-X-R User manual

Ecolink WST-611 User manual

Ecolink

Ecolink WST-611 User manual

Ecolink Firefighter CS-600 Guide

Ecolink

Ecolink Firefighter CS-600 Guide

Ecolink firefighter User manual

Ecolink

Ecolink firefighter User manual

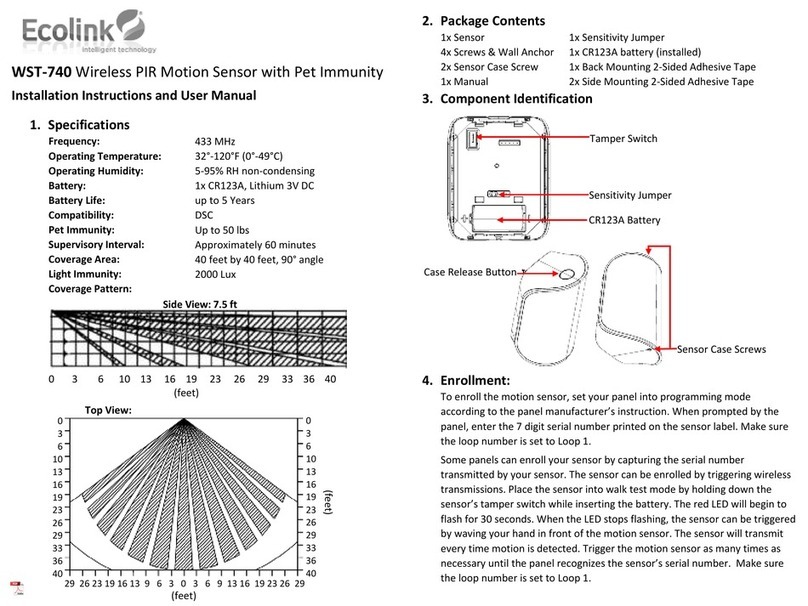
Ecolink WST-740 Manual

Ecolink

Ecolink WST-740 Manual

Popular Security Sensor manuals by other brands

SwannOne Motion Sensor quick start guide

SwannOne

SwannOne Motion Sensor quick start guide

GBC 68.0010.69/I user manual

GBC

GBC 68.0010.69/I user manual

Autonics CR Series product manual

Autonics

Autonics CR Series product manual

Pilz PSEN cs3.1a/b operating manual

Pilz

Pilz PSEN cs3.1a/b operating manual

Argus Security A2000L Installation

Argus Security

Argus Security A2000L Installation

LST 16589 Specification sheet

LST

LST 16589 Specification sheet

FLIR VP50-2 user manual

FLIR

FLIR VP50-2 user manual

System Sensor WFD Series Installation and maintenance instructions

System Sensor

System Sensor WFD Series Installation and maintenance instructions

Pilz PNOZ mmc2p operating manual

Pilz

Pilz PNOZ mmc2p operating manual

Axis T8331-E installation guide

Axis

Axis T8331-E installation guide

ELRO FW380111R instruction manual

ELRO

ELRO FW380111R instruction manual

DAITEM SH271AX installation manual

DAITEM

DAITEM SH271AX installation manual

Honeywell Viewguard DUAL AM FAI Mounting and Connection Instructions

Honeywell

Honeywell Viewguard DUAL AM FAI Mounting and Connection Instructions

Siemens QRB Series quick start guide

Siemens

Siemens QRB Series quick start guide

Greenlee GT-11 instruction manual

Greenlee

Greenlee GT-11 instruction manual

Nice HSDIM10 installation instructions

Nice

Nice HSDIM10 installation instructions

Dräger X-plore 5500 Instructions for use

Dräger

Dräger X-plore 5500 Instructions for use

GST DC-9103 quick start guide

GST

GST DC-9103 quick start guide

manuals.online logo
manuals.online logoBrands
  • About & Mission
  • Contact us
  • Privacy Policy
  • Terms and Conditions

Copyright 2025 Manuals.Online. All Rights Reserved.