manuals.online logo
Brands
  1. Home
  2. •
  3. Brands
  4. •
  5. Ecolink
  6. •
  7. Security Sensor
  8. •
  9. Ecolink WST-621v2 User manual

Ecolink WST-621v2 User manual

WST-621v2 Flood and Freeze Sensor patent pending
Installation Manual
Specifications
Frequency: 319.5MHz
Operating Temperature: 32° – 120°F (0° – 49°C)
Operating Humidity: 5 – 95% RH non condensing
Battery: One 3Vdc lithium CR2450 (620mAH)
Battery life: Up to 8 years
Detect Freeze at 41°F (5°C) restores at 45°F (7°C)
Detect a minimum of 1/64th in of water
Compatible with Honeywell receivers
Supervisory signal interval: 64 min(approx.)
Package Contents
1x Flood and Freeze Sensor
1x Installation Manual
1x CR2450 Battery
Optional Accessories (included in select kits)
1x External Sensor Adapter / Mounting Bracket
2x Mounting Screws
1x Water Detection Rope
Component Identification
Component Identification (Optional Accessories)
OPERATION
The WST-621 sensor isdesigned todetect water across the gold
probes and will alert immediately when present. The Freeze sensor will
trigger when the temperature isbelow 41°F (5°C) and will send a
restoral at 45°F (7°C).
ENROLLING
To enroll the sensor, set your panel into sensor learn mode. Refer to
your specific alarm panel instruction manual for details on these
menus.
1. On the WST-621 locate the pry points on opposite edges ofthe
sensor. Carefully use a plastic pry tool or standard slot head
screwdriver to remove the top cover. (Tools not included)
2. Insert the CR2450 battery with the (+) symbol facing up, if not
already installed.
3. To learn in as a flood sensor, press and hold the Learn Button
(SW1) for 1 - 2 seconds, then release. A single short on/off blink
at 1 second confirms flood learn is initiated. The LED will remain
solid ON during the learn transmission. The Flood sensor function
enrolls as Loop 1 of the Flood S/N. Repeat as required.
4. To learn in as a freeze sensor, press and hold the Learn Button
(SW1) for 2 - 3 seconds, then release. A single short on/off blink
at 1 second plus a double on/off blink at 2 seconds confirms
freeze learn is initiated. The LED will remain solid ON during the
learn transmission. The Freeze sensor function enrolls as Loop 1
of the Freeze S/N. Repeat as required.
5. After successful enrollment, verify the gasket in the top cover is
properly seated, then snap the top cover onto the bottom
cover aligning the flat sides. Inspect the seam all the way
around the edge of the device to ensure it is completely
sealed.
Note: Alternately, the 7 digit serial numbers printed on the back of each unit can be manually entered into the
panel. For 2GIG systems the equipment code is “0637”
Testing the Unit
After successful enrollment, a test transmission sending current states
can be initiated by pressing and immediately releasing the Learn
Button (SW1), with the top cover open. The LED will remain solid ON
during the button-initiated test transmission. With the unit fully
assembled and sealed, placing wet fingers on any two probes will
trigger a flood transmission. Note the LED will not illuminate for a wet
flood test and remains OFF during all normal operation.
PLACEMENT
Place the flood detector anywhere that you wish to detect a flood or
freezing temperature, such as under a sink, in or near a hot water
heater, a basement or behind a washing machine. As a best practice
send a test transmission from the desired placement location to ensure
the panel can receive it.
Flood and Freeze Sensor
External Sensor Adapter / Mounting Bracket
CR2450 Battery
Water Detection Rope
Pry Points
Insert battery this way
Learn Button (SW1)
Light Emitting Diode (LED)
Gasket
Mounting Screws
(not shown)
USING OPTIONAL ACCESSORIES
The optional accessories enhance the Flood and Freeze Sensor
installation by allowing additional installation locations, mounting on
vertical surfaces such as walls or cabinet interiors with the External
Sensor Adapter / Mounting Bracket and included screws. The Water
Detection Rope can be routed down and across the floor covering a
larger detection area. The length of the Water Detection Rope jacket
is the detection area.
Setup
1. Be sure to complete all enrollment steps before installing optional
accessories.
2. Plug the Water Detection Rope into the socket located on the
end of the External Sensor Adapter / Mounting Bracket.
3. Wrap the Water Detection Rope around the strain relief / retension
posts on the back of the External Sensor Adapter / Mounting
Bracket to prevent the rope from being inadvertantly unplugged.
4. Use screws to secure the External Sensor Adapter / Mounting
Bracket, if desired.
5. Align the flat sides of the Flood and Freeze Sensor with the sides of
the External Sensor Adapter / Mounting Bracket. Then snap the
sensor into the bracket esuring the sensor is fully seated and the
three retention tabs are fully engaged.
6. Route the length of the Water Detection Rope across the
horizontal surface(s) to be monitored for water.
Notes:
•Up to ten(10) Water Detection Rope sensors can be chained
together to further extend the detection area(s).
•Once water detection occurs using the Water Detection Rope, it
may take several hours for the rope to sufficiently dry and a
restore signal to be sent.Adequate ventilation will speed the
drying process.
•Improper connections between the WST-621 Flood and Freeze
Sensor, the External Sensor Adapter / Mounting Bracket,and the
Water Detection Rope can prevent flood detection, or cause
false flood restore. Always verify connections are secure.
REPLACING THE BATTERY
When the battery is low a signal will be sent to the control panel. To
replace the battery:
1. On the WST-621 locate the pry points on opposite edges ofthe
sensor, carefully use a plastic pry tool orstandard slot head
screwdriver to remove the top cover. (Tools not included)
2. Carefully remove the old battery.
3. Insert the new CR2450 battery with the(+) symbol facing up.
4. Verify the gasket in the top cover isproperly seated, then snap
the topcover onto thebottom cover, aligning theflat sides.
Inspect the seam allthe way around the edge of the device to
ensure itiscompletely sealed.
FCC COMPLIANCE STATEMENT
This equipment has been tested and found to comply with the limits
for Class B digital devices, pursuant to Part 15 of the FCC Rules.
Operation is subject to the following two conditions:
(1) This device may not cause harmful interference and
(2) this device must accept any interference received, including
interference that may cause undesired operation. These limits are
designed to provide reasonable protection against harmful
interference in a residential installation. This equipment generates
uses and can radiate radio frequency energy and, if not installed
and used in accordance with the instruction manual, may cause
harmful interference to radio communications. However, there is
no guarantee that interference will not occur in a particular
installation. If this equipment does cause harmful interference to
radio or television reception, which can be determined by turning
the equipment off and on, the user is encouraged to try to correct
the interference by one or more of the following measures:
•Re‐orient or relocate the receiving antenna
•Increase the separation between the equipment and receiver
•Connect the equipment to an outlet on a different circuit from
the receiver
•Consult the dealer or an experienced radio/TV contractor for
help.
Warning: Changes or modifications not expressly approved by Ecolink
Intelligent Technology Inc. could void the user’s authority to operate
the equipment. This device complies with Industry Canada licence‐
exempt RSS standard(s). Operation is subject to the following two
conditions:
(1) this device may not cause interference, and
(2) this device must accept any interference, including interference
that may cause undesired operation of the device.
C’et appareil est conforme la norme d'Industrie Canada exempts de
licence RSS. Son fonctionnement est soumis aux deux conditions
suivantes:
(1) c’et appareil ne peut pas provoquer d'interférences, et
(2) c’et appareil doit accepter toute interférence, y compris les
interférences qui peuvent causer un mauvais fonctionnement de
la dispositif.
FCC ID: XQC-WST621V2 IC: 9863B-WST621V2
WARRANTY
Ecolink Intelligent Technology Inc. warrants that for a period of 5 years
from the date of purchase that this product is free from defects in
material and workmanship. This warranty does not apply to damage
caused by shipping or handling, or damage caused by accident,
abuse, misuse, misapplication, ordinary wear, improper maintenance,
failure to follow instructions or as a result of any unauthorized
modifications. If there is a defect in materials and workmanship under
normal use within the warranty period Ecolink Intelligent Technology
Inc. shall, at its option, repair or replace the defective equipment
upon return of the equipment to the original point of purchase. The
foregoing warranty shall apply only to the original buyer, and is and
shall be in lieu of any and all other warranties, whether expressed or
implied and of all other obligations or liabilities on the part of Ecolink
Intelligent Technology Inc. neither assumes responsibility for, nor
authorizes any other person purporting to act on its behalf to modify or
to change this warranty.
The maximum liability for Ecolink Intelligent Technology Inc. under all
circumstances for any warranty issue shall be limited to a replacement
of the defective product. It is recommended that the customer check
their equipment on a regular basis for proper operation.
© 2023Ecolink Intelligent Technology Inc.
Ecolink Intelligent Technology Inc.
2055 Corte Del Nogal
Carlsbad CA 92011
855-632-6546
PN WST-621v2 R2.00
REV DATE:
08/23/2023
patent pending
Other Ecolink Security Sensor manuals

Ecolink WST-612 Guide

Ecolink

Ecolink WST-612 Guide

Ecolink WST-702 User manual

Ecolink

Ecolink WST-702 User manual

Ecolink TX-E611 Assembly instructions

Ecolink

Ecolink TX-E611 Assembly instructions

Ecolink WST-302 User manual

Ecolink

Ecolink WST-302 User manual

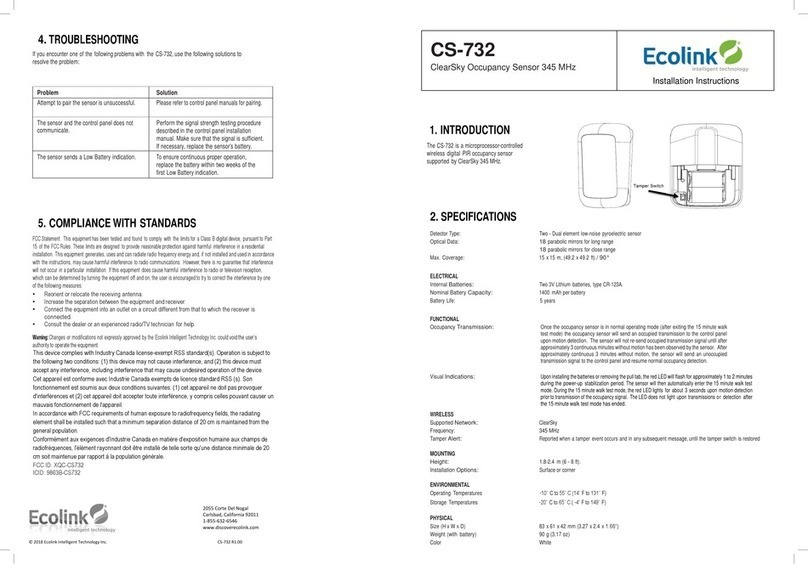
Ecolink CS-732 User manual

Ecolink

Ecolink CS-732 User manual

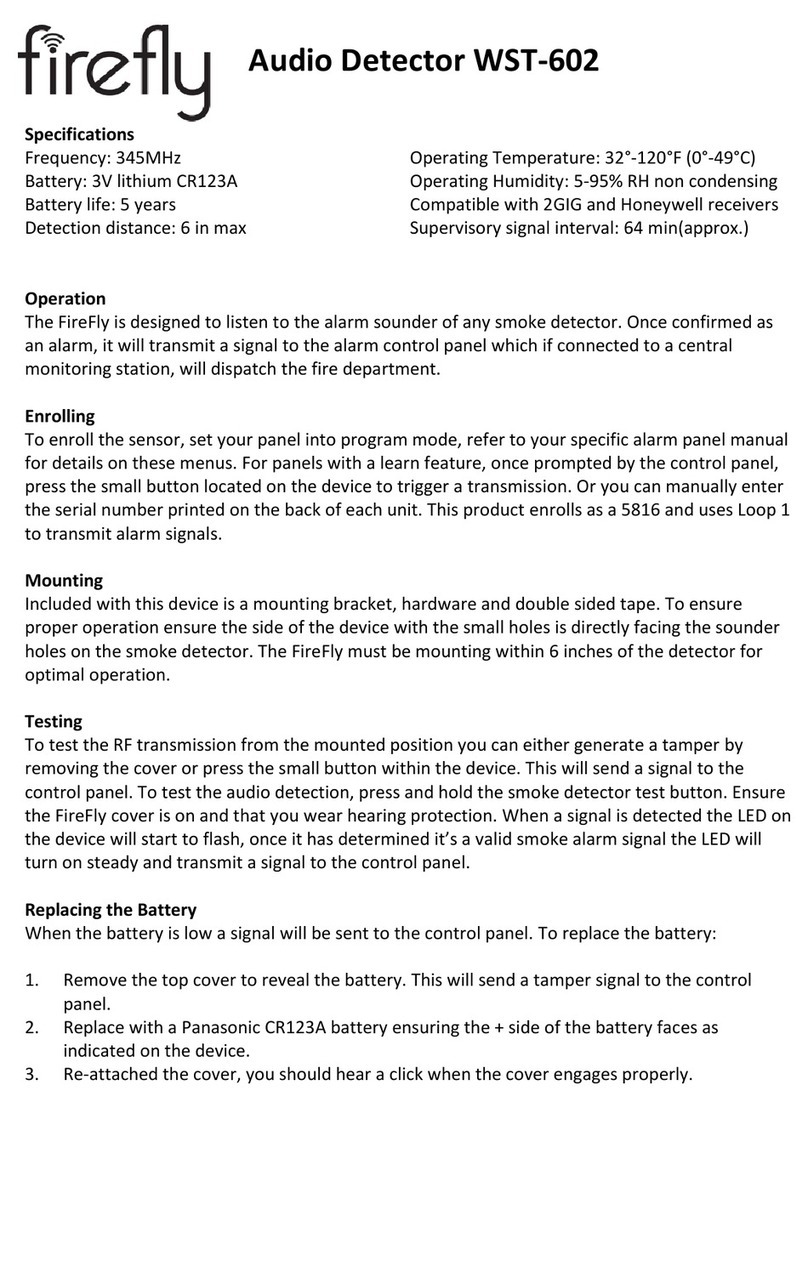
Ecolink Firefly WST-602 User manual

Ecolink

Ecolink Firefly WST-602 User manual

Ecolink WST-702 User manual

Ecolink

Ecolink WST-702 User manual

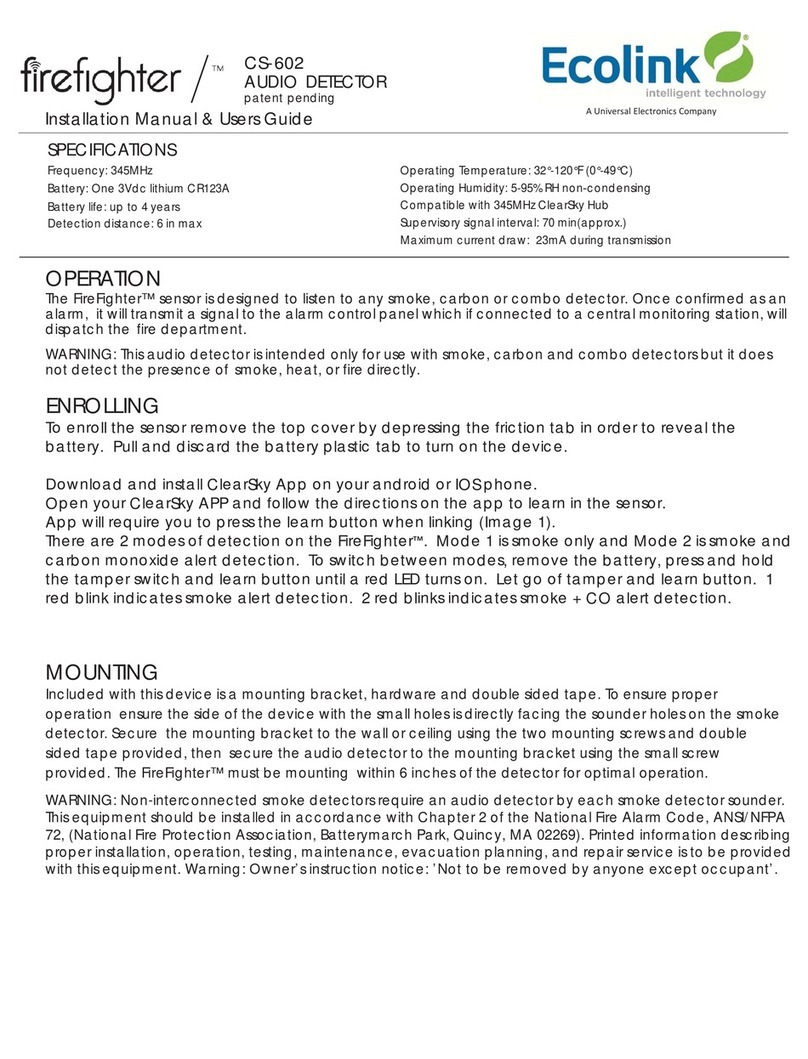
Ecolink FireFighter CS-602 Guide

Ecolink

Ecolink FireFighter CS-602 Guide

Ecolink FLZB1-ECO Guide

Ecolink

Ecolink FLZB1-ECO Guide

Ecolink Firefighter CS-600 Guide

Ecolink

Ecolink Firefighter CS-600 Guide

Ecolink firefighter User manual

Ecolink

Ecolink firefighter User manual

Ecolink WST-740 Manual

Ecolink

Ecolink WST-740 Manual

Ecolink PIR-ZWAVE2 User manual

Ecolink

Ecolink PIR-ZWAVE2 User manual

Ecolink Firefighter FFZB1-ECO Guide

Ecolink

Ecolink Firefighter FFZB1-ECO Guide

Ecolink WST-611 User manual

Ecolink

Ecolink WST-611 User manual

Ecolink Firefighter FF-ZWAVE5 User manual

Ecolink

Ecolink Firefighter FF-ZWAVE5 User manual

Ecolink WST-601 Guide

Ecolink

Ecolink WST-601 Guide

Ecolink ClearSky CS-242 Manual

Ecolink

Ecolink ClearSky CS-242 Manual

Ecolink CS-202 User manual

Ecolink

Ecolink CS-202 User manual

Ecolink NanoFIL User manual

Ecolink

Ecolink NanoFIL User manual

Ecolink WST-712 User manual

Ecolink

Ecolink WST-712 User manual

Ecolink URC4470BC0-X-R User manual

Ecolink

Ecolink URC4470BC0-X-R User manual

Popular Security Sensor manuals by other brands

Lince 1906-BOBBY-T-E Installation, operation and maintenance manual

Lince

Lince 1906-BOBBY-T-E Installation, operation and maintenance manual

SkylinkHome ID-318 manual

SkylinkHome

SkylinkHome ID-318 manual

D-tect Systems Mini Rad-D Frequently asked questions

D-tect Systems

D-tect Systems Mini Rad-D Frequently asked questions

Honeywell RAELink3 2.4GHz user guide

Honeywell

Honeywell RAELink3 2.4GHz user guide

X-Stand FREEDOM HARNESS Assembly and user's manual

X-Stand

X-Stand FREEDOM HARNESS Assembly and user's manual

Honeywell Activ8 PIR installation instructions

Honeywell

Honeywell Activ8 PIR installation instructions

Honeywell Home PROSiXFLOOD Installation and setup guide

Honeywell Home

Honeywell Home PROSiXFLOOD Installation and setup guide

IR-Tec DUOGUARD DP-250 installation instructions

IR-Tec

IR-Tec DUOGUARD DP-250 installation instructions

Optex FMX-DT-X5 installation instructions

Optex

Optex FMX-DT-X5 installation instructions

KeCheng KC-098 Operation manual

KeCheng

KeCheng KC-098 Operation manual

Nortech PD130 user manual

Nortech

Nortech PD130 user manual

Resolution Products RE210P quick start guide

Resolution Products

Resolution Products RE210P quick start guide

GJD D-TECT X 40 MKIII Quick install guide

GJD

GJD D-TECT X 40 MKIII Quick install guide

Profort luxSpot manual

Profort

Profort luxSpot manual

GE TX-5011-03-1 installation instructions

GE

GE TX-5011-03-1 installation instructions

RKI Instruments 35-3010A-11 manual

RKI Instruments

RKI Instruments 35-3010A-11 manual

netvox S31502 user manual

netvox

netvox S31502 user manual

Sunell SN-D2-F user manual

Sunell

Sunell SN-D2-F user manual

manuals.online logo
manuals.online logoBrands
  • About & Mission
  • Contact us
  • Privacy Policy
  • Terms and Conditions

Copyright 2025 Manuals.Online. All Rights Reserved.