Ecomobility Green World PUMA User manual

USER’S MANUAL
PUMA

Ecomobility Green World S.L.
C/ Horizonte 8, Local 6, P.I.S.A.
41927 –Mairena del Aljarafe
Sevilla, Andalucía, España, Europa, El Mundo.

Dear PUMA owner:
Congratulations, you are taking part of the electric revolution and from Ecomobility Green World
we welcome you. The Twenty-First Century will be remembered as the biggest electrification
process of urban mobility and this is only possible thanks to of people like you, convinced of
changing to a clean and sustainable riding.
The purpose of this manual is to help you to understand your electric motorcycle and to make the
maintenance easier. We hardly recommend you to read these instructions to take the most of your
motorbike in a safety way.
Hope you enjoy it!
WELCOME TO THE ELECTRIC REVOLUTION
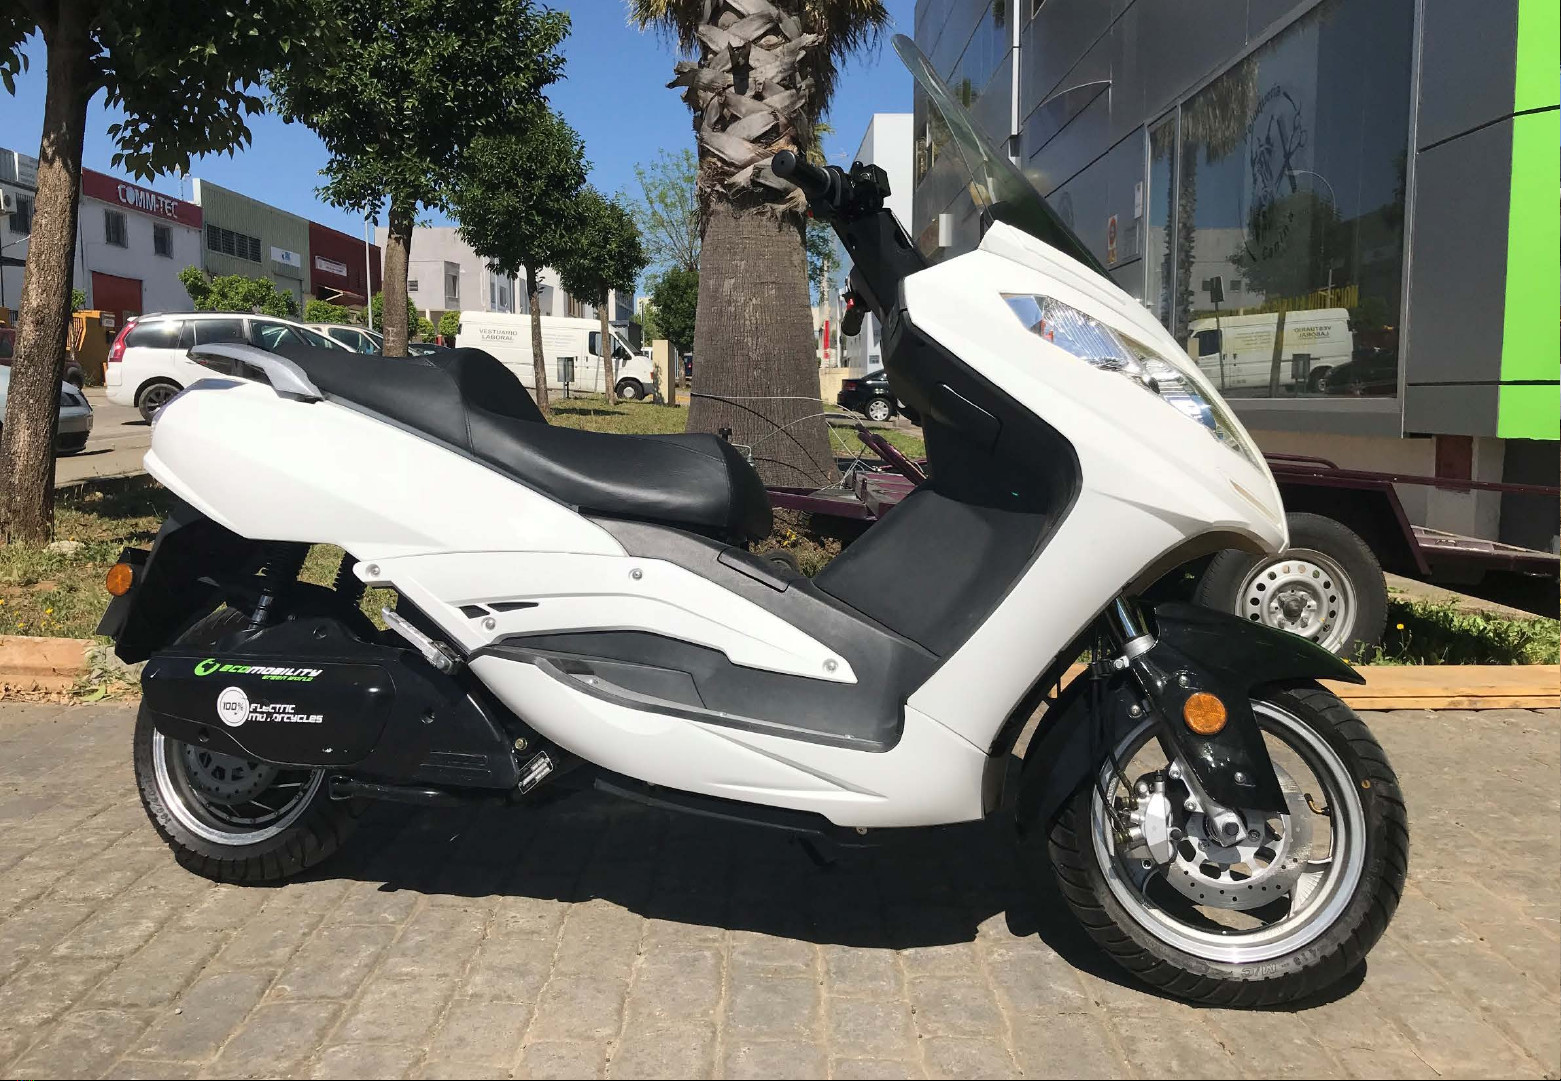

INTRODUCTION
6
Your PUMA is an electric scooter that will turn your daily life easier.
You can drive it with your car license and you will never worry again about traffic jams, gas stations or to park it.
We call it #instanttorque and we think it is addictive!

7
SAFETY DRIVING
General instructions before riding:
1) Tire pressures: Check the tires for correct inflation
and for any signs of physical damage.
2) Brake check: Squeeze the brake lever (front and
rear) as hard as you can, push the scooter forward and
check the braking resistance.
3) Safety Circuit Breaker: It is a safety switch placed
under the seat. It might be turned OFF when delivery
and technical service, and it must be turned ON before
riding.
This symbol informs you that
exposure to high voltage can cause
shock, burns and even death.
The high voltage components on
the motorcycle should be serviced
only by technicians with special
training.
4) Battery Check: Make sure your scooter is enough
charged for your ride and always check the battery
indicator while you are riding. Ensure that battery does
not get too low too often. Sometimes the voltage meter
on left side of dashboard would be more accurate than
bars battery indicator, this is normal because of the
lithium battery properties. Always charge the battery
before using and after every use. More frequently
charging is better for battery life.
5) Ready to ride: Make sure the side stand is removed
and the killswitch is in “GO” position before riding. If
some of that sensors are not ready, the scooter will not
respond to the accelerator.
6) Steering: Check the handlebar for any damage.
Squeeze the front brake and push the handlebar up and
down to check for any unusual noise. Move the
handlebar in all directions to check for any loose parts or
obstructions. Any problems should be corrected before
use.
7) Suspension: Check the correct working of the fork and
the rear suspension before riding.

8
SAFETY DRIVING
8) Safety notice:
8.1. Key in “OFF”: To avoid the scooter moving away
without warning, always turn the key to the “OFF”
position before dismounting or leaving the scooter
unattended.
8.2. Rear brake: Always engage the rear brake when
mounting or dismounting the scooter. Ensure that you
are seated on the scooter and check that the stands
are clear of the ground before touching the throttle. If
you twist the throttle before you are ready to go or
while you are mounting the scooter it may move away
from you and could lead to an accident.
9) Water and cleaning: Your scooter can be ridden in
wet and rainy conditions. When riding in rain, do not
ride through deep puddles or muddy areas as
excessive water will cause the motor and other
electrical components to suffer damage. During
cleaning, as with any motor vehicle, be sure to avoid
soaking any electrical component to avoid serious
damage. Never use high pressure washer when
cleaning the motorbike.
10) Parking: Your bike should not be left in strong, direct
sunlight or heavy rain for extended periods of time as it will
prematurely age and damage paintwork and the general
finish of the scooters appearance and some of the electric
components may overheat.
11) Riding: Do not ride your bike overloaded. Prolonged use
with excessive weight could cause serious damage to the
electronic and mechanical parts and void your warranty. It is
recommended that all new scooter riders enroll in
motorbike riding training.
12) Road rules: As in the case of any vehicle, a scooter rider
must always comply with the local road traffic rules and
regulations. Before taking your scooter out on a public road,
make sure you are familiar with traffic rules and regulations
and any special requirements for motorcycles & scooters.
13) Never drink and ride: Alcohol reduces reflexes and
greatly limits your ability to operate a scooter. Even a very
small amount of alcohol will reduce your ability to operate a
scooter safely.

9
SCOOTER IDENTIFICATION
Dealer information:
Name of the Dealer:
__________________________________
Address of the Showroom:
_______________________________________
_________________________ ____________
Tel:___________________________________
E-mail:
_______________________________________
Invoice date: ___________________________
Scooter information:
Model:PUMA
VIN:
_______________________________________
Frame VIN
(under the box)
Identification Plate
(side)

Ignition Charging Seat box
10
KEY LOCK
OFF Scooter is turned OFF. The key can be extracted in that position.
ON Turn the key right. Scooter is turned ON. The key can not be extracted in that position.
LOCK Press and turn the key left. Scooter is turned OFF and handlebar is locked. To avoid theft,
turn the handlebar to the left and turn the key to the LOCK position.
OPEN Turn the key left. It opens the seat lock.
FIRST START
SAFETY CIRCUIT BREAKER
The scooter includes a safety
circuit breaker under the seat
that disconnects all the
electric system of the bike in
case it detects an extreme
overcurrent or overheat and it
must be manually rearmed.
It also allows a manual
disconnection.
KEY LOCK
The bike has 3 key locks:

11
Battery Indicator Power Indicator
Speedometer
DASHBOARD

BATTERY INDICATOR
10 bars display
Bar Display Voltage Description
10/10 More than 80V Full Battery
7/10 Less than 78V Half Battery
Less than 3/10 Less than 72V Low Battery
12
LOW BATTERY:
Under 72V the controller will limit the current output to the motor,
therefore the top speed will be reduced to save energy. If that
happens, make sure the scooter has enough battery to reach an
available plug.
Some times voltage meter is more accurate than bars indicator.
Accelerating and reg. braking rises and lowers voltage.
Battery estimated state of charge (SoC) is more accurate after a few minutes with bike keyed OFF.

13
BATTERY INDICATOR
That’s an example about how your battery gets
discharged:
1st stage: Exponential area. From 84V to 78V
You will notice that first run after charging will
easily burn the first battery indicator bar.
Don’t worry, it won’t be proportional!
2nd stage: Nominal area. From 78V to 65V
Most of the time you will run in nominal area.
The scooter will stop working at about 65V as
full discharge for safety reasons and battery
longevity.

POWER AND BATTERY INDICATOR
Charging Indicator (1)
Lock System (2)
Low Battery (3)
Charging Connector
(4)
•1. Blinking Red: The Battery is charging
•1. Blinkin Yellow: The Battery is balancing the cells.
•1. Green: Battery charged to 100%.
•2. (Optional): Remote locked Vehicle.
•3. Blinking Yellow: Low Battery.
•4. (Optional): Aditional charger connected.
14
Efficency Driving
Half Power
Maximum Power

15
CONTROLS
CONTROL ACTION
Throttle grip Torque : Twisting the throttle grip
Reverse Riding backwards: Press the Reverse button
and twist the throttle to ride backwards.
Killswitch
Disables traction: Interruptor “OFF”
Enables traction: Interruptor “ON”
Front brake
lever
The accelerator will be interrupted while any
brake lever is pushed.
The acceleration will start again when you
release the brake lever and turns the throttle.
Front mechanical brake + Rear regenerative brake.

CONTROLS
16
CONTROL ACTION
High beam
Fixed light: Push the switch up
Burst light: Push the button down
Turning signal
switch
Right lights: Slide right
Turn blinkers OFF: Push central button
Left lights: Slide left
Claxon button Sound the claxon: Push
Rear brake
lever
The accelerator will be interrupted while any
brake lever is pushed.
The acceleration will start again when you
release the brake lever and turns the throttle.
Rear mechanical brake + Rear regenerative brake.

Acceleration tips:
1. Turn the key “ON” and check the killswitch is in “ON” position. Remove the side stand and then your bike will be ready to ride as
soon as you twist the throttle.
2. Your scooter has a great acceleration capability. To avoid loosing control you must twist the throttle slowly while speed
increases gradually.
3. Don’t twist the throttle until you are ready to ride.
4. After braking, make sure you release the throttle, release the brake levers, and then twist the throttle again.
5. The electric brushless motor emits a magnetic slight noise when accelerating. It’s the silent revolution that’s coming.
6. For your safety, turn the key in “OFF” position while you are not riding.
Deceleration tips:
1. To stop the bike, release the throttle and push the front and rear brakes at the same time. Both brakes activates the reg.
braking in addition to the mechanical disc brake.
2. For your safety, the scooter has a button on the brake lever. When you push front or rear brakes the motor controller disables
the traction. Release the throttle during braking, and twist it smoothly after releasing the brake lever to accelerate again.
17
ACCELERATION AND BRAKING
TORQUE = Acceleration capability
(measured in Nm)
RPM = Revolutions per minute
¡Electric motors give instant torque from 0 rpm!
#instanttorque

Tips for increasing efficiency (maximum range) :
1. Accelerate gradually and smoothly. Avoid quick
unnecessary accelerations.
2. Avoid hard braking, try to anticipate to the brake
necessity with time enough to stop the scooter by
reg. braking when it will be possible.
3. Release the throttle and ride free of energy
consumption when it will be possible.
CONTROLLABLE MAINTENANCE DRIVING
Maximize
Autonomy Filled tires Strong bodywork Calm driving Reduced load
Reduce
Autonomy Deflated tires Loose bodywork Aggressive driving Overload
Factors that affects the efficiency
EXTERNAL ROUTE WEATHER
Maximize
Autonomy Slow speed Plain road Solid road
surface Minimum stops Warm Windless
Reduce
Autonomy High speed Uphill and
downhill
Bumps and sand
surface
Several stops and
starts Very cold or very hot Strong winds
18
EFFICIENT DRIVING

19
●The battery must be charged through original external charger (AC-DC converter)
for maximum longevity and to preserve warranty.
NEVER PLUG THE BATTERY DIRECTLY TO THE GRID (AC).
●Turn the circuit breaker disconnected while charging the battery connected to the
controller.
●The charger connects to a conventional Schuko plug (EU).
●Estimated charge time is 5h from 0 to 80%. Over 80% charge gets slower for battery
longevity. Full charge may take about 8h.
●To maintain battery in optimum conservation, it is not recommended to discharge
them under 30% if not necessary. We strongly recommend charging the battery before
every use.
●The battery chemistry is NMC configured as 72V25Ah nominal (1.8kWh). 84V max.
●NMC batteries has no memory effect, therefore you don’t need to full discharge it
to achieve a good performance.
●The battery can be charged no matter the state of charge (SoC). Charging it
frequently will increase battery lifespan.
●The temperature range for charging your battery is 0ºC to +35º. Do not charge the
battery under 0ºC or over 35ºC. Riding range is -15ºC to +40ºC.
BATTERY RECHARGE
Remember to keep the battery about 60% (76V) and cut off the circuit breaker when
long periods of inactivity, and keep checking battery voltage every month if possible.

20
MOTOR
Motor type BLDC 12-3000
Motor location Rear Wheel hub motor
Motor controller Field Oriented Control (FOC)
150A max –45A continuos
Torque (max/nominal) 120Nm / 50Nm
Power (max/continuous)3.9 kW / 3 kW
Reverse mode Yes
BATERÍA
Battery type Li-ion NMC
Nominal voltaje 72 V
Max voltaje 84 V
Nominal Capacity 25 Ah
Max / Nominal Energy 2,1 kWh / 1,8 kWh
Charger type 220V 50Hz AC-DC converter
Charger max power 300 W (84V max –4A)
Charging time 0-80% 5h
Charging time 0-100% 7h
Battery lifespan 1200 cycles to 80% capacity
@ 100% DoD
TECHNICAL SPECIFICATIONS
Table of contents