Ecowell EHT330 User manual

3D FLAME CERAMIC TOWER HEATER
Model: EHT330
Made in China
WARNING: INDOOR USE ONLY
Please read this manual carefully before running this heater and save it for future.
This manual contains important safety and operating instructions. Read all instructions and
follow them with use of this product.
5000485

IMPORTANT INSTRUCTIONS
SAVE THESE INSTRUCTIONS
HOW TO USE
DESCRIPTION OF PARTS
OPERATING INSTRUCTIONS
SETTING UP THE HEATER
SETTING UP THE REMOTE CONTROL
CHANGING THE BATTERY
USING THE HEATER
CLEANING AND CARE
TROUBLESHOOTING
WARRANTY
CONTENTS
01
03
03
03
04
04
06
06
07
09
09
10

IMPORTANT INSTRUCTIONS
When using this electric unit, basic safety precautions should always be followed to reduce the
risk of re, electric shock, and injury to persons, including the following:
Read ALL instructions before using this unit.
CAUTION: Risk of Electric Shock. DO NOT open or try to repair the heater yourself.
This heater may get hot when in use. To avoid burns, DO NOT let bare skin touch hot
surfaces. If provided, use handles when moving this heater. Do not place it against walls,
furniture, curtains, etc.
Keep combustible materials, such as furniture, pillows, bedding, paper, clothes, and curtains
at least 3 ft from the front of the heater and keep them away from the sides, top, and rear.
DO NOT place towels or other objects on the heater.
Extreme caution is necessary when any heater is used by or near children or the disabled,
or when the heater is left operating and unattended.
DO NOT operate any heater with a damaged cord or after the heater malfunctions, has
been dropped or damaged in any manner. Return heater to authorized service facility for
examination, electrical or mechanical adjustment, or repair.
This heater is not intended for use in bathrooms, laundry areas and similar indoor
locations. NEVER locate heater where it may fall into a bathtub or other water container. To
protect against electrical hazards, DO NOT immerse in water or other liquids.
DO NOT touch the control panel or plug with a wet hand.
DO NOT run cord under carpeting. DO NOT cover cord with throw rugs, runners, or similar
coverings. Arrange cord away from trac area and where it will not be tripped over.
DO NOT insert or allow foreign objects to enter any ventilation or exhaust opening as this
may cause an electric shock or re, or damage the heater.
To prevent a possible re, DO NOT block the air intakes or exhaust in any manner. DO NOT
use on soft surfaces, like a bed, where openings may become blocked.
A heater has hot and arcing or sparking parts inside. DO NOT use in areas where gasoline,
paint, explosive and/or ammable liquids are used or stored. Keep unit away from heated
surfaces and open ames.
Always plug heaters directly into a wall outlet receptacle. Never use with an extension cord
or relocatable power tap (outlet/power strip).
To avoid re or shock hazard, plug the unit directly into a 120 V AC electrical outlet.
To disconnect heater, turn controls to OFF, then remove plug from outlet. Pull rmly on the
plug, DO NOT unplug by pulling on the cord.
Always unplug the unit before moving or cleaning, or whenever the heater is not in use.
Use only for intended household use as described in this manual. Any other use not
recommended by the manufacturer may cause re, electric shock, or injury to persons. The
use of attachments not recommended or sold by unauthorized dealers may cause hazards.
Always use on a dry, level surface. Use on oor only.
DO NOT use outdoors.
WARNING: To reduce the risk of re or electric shock, DO NOT use this unit with any solid-
state speed control device.
DO NOT attempt to repair or adjust any electrical or mechanical functions on this unit.
Doing so will void your warranty. The inside of the unit contains no user serviceable parts.
Qualied personnel should perform all servicing only.
Always use the product in an upright position.
1.
2.
3.
4.
5.
6.
7.
8.
9.
10.
11.
12.
13.
14.
15.
16.
17.
18.
19.
20.
21.
22.
THIS APPLIANCE HAS A POLARIZED PLUG (one blade
is wider than the other). To reduce the risk of electric
shock, this plug is intended to t in a polarized outlet
only one way. If the plug does not fit fully in the
outlet, reverse the plug. If it still does not t, contact a
qualied electrician to install the proper outlet.
DO NOT ATTEMPT TO MODIFY THIS PLUG OR DEFEAT
THIS SAFETY FEATURE IN ANY WAY.
WARNING: It is normal for the power cord to feel warm to the touch; however, a loose
fit between the outlet and the plug may cause overheating of the plug. If this occurs, try
inserting the plug into a dierent outlet. Contact a qualied electrician to inspect the original
outlet for damage.
01 02
PACKAGE LIST
Tower Heater x1
User Manual x1
IR Remoter x1
Warranty Card x1

SAVE THESE INSTRUCTIONS
HOW TO USE
DESCRIPTION OF PARTS
BEFORE FIRST USE
OPERATING INSTRUCTIONS
SETTING UP THE HEATER
NOTE:
CAUTION:
1
14
6
8
2
5
3
7
2
3
4
5
6
7
8
Infrared sensor Base
Handle (can be used to store the remote control)
ON/OFF
Air outlet
Control panel
Flame eect
Air inlet (on the back)
Remove all packaging from the appliance.
Unpack all parts and check for damage that may have occurred during transportation.
If any parts are damaged or missing, do not use the appliance and return it to your
retail outlet immediately.
It is normal when heaters are turned on for the rst time, or if they have not been used
for some time, to emit some smell and fumes. This will disappear after a short time
(approx. 2 hours).
It is also normal for the heater to emit small crackling sounds when you rst turn it on.
This heater is designed for occasional or intermittent use and should not be left on for
prolonged periods of time.
The heater must always be placed in an upright position on a horizontal surface. Never
turn the heater upside down when in use as it could cause irreparable damage.
The heater does not have a device to control the room temperature. Do not use the
heater in small rooms occupied by persons incapable of leaving the room on their own,
unless constant supervision is provided.
To assemble the base, slot both halves of the base together. Insert the 4 screws (included)
in the holes on the underside of the base and tighten to firmly secure the base halves
together.
1.
03 04

Place the heater upside down on a surface, such as a carpet or cloth, that will not scratch
the top. Unscrew the base connector on the bottom of the heater counterclockwise and
remove it.
Place the appliance at least 3 feet away from any combustible items, such as furniture,
curtains, bedding, clothes, and papers, and 2 feet away from walls.
Do not place the heater next to a shower, bath, swimming pool or other body of water.
Maintain a distance of at least 5 feet to water. Do not use the heater in wet or humid
conditions.
Before plugging in the heater, check the POWER switch (9) is in the o position O and the
red power indicator light is o.
Check the heater’s rating plate matches the mains socket voltage. Connect the heater to
the mains power supply.
Turn the heater upright and place it on a rm, level, heat-resistant and non-combustible
oor surface. Do not place the heater on a carpet.
Push the release button inwards and pull the battery casing out. Remove the old battery.
Insert 1 x CR2025 3V battery into the battery casing ensuring you follow the polarity
(+ and -) marked on the casing.
Put the base onto the thread on the bottom of the heater. Screw the base connector
clockwise until it is rmly xed into place.
Feed the power cord through the power cord slot.
2. 6.
7.
8.
9.
5.
1.
2.
4.
3.
SETTING UP THE REMOTE CONTROL
CHANGING THE BATTERY
Pull the plastic lm from the battery compartment. The battery is now active, and you can use
the remote control.
▲ Operating range of the remote control: Point the remote control at the heater making
sure there are no obstacles between the remote control and the heater’s infrared sensor. The
remote control can connect to the heater within 10-15 feet. The range may vary depending on
the brightness of the room.
PUSH
PULL
Battery cover Battery
Remote control
Slide the battery casing back into the remote control until you hear it click rmly into place.
WARNING: Do not expose the infrared remote sensor to direct sunlight or other strong
light, such as a orescent light.
NOTE: Make sure there are no obstacles between the remote control and heater’s infrared
sensor on the control panel.
3.
05 06

NOTE: All images shown are for illustrative purposes only and may not be an exact
representation of the product model.
NOTE: The buttons for operating the heater on the heater control panel and the remote
control are the same. The indicator light will illuminate the icon of the function that is selected.
NOTE: The indicator light and LED screen on control panel will o after 60seconds when
you stop operation.
USING THE HEATER
8 8
9
9
11
11
12
12
13
13
14
14
10
10
L: Low heating power mode
H: High heating power mode
AUT: Temperature adjust mode
FAN: Fan only mode
TIMER: Timer setting mode
OSC.: Oscillation mode
:POWER indicator light
9
12
10
13
11
14
ON/OFF button
Temperature adjust UP/DOWN
Oscillation button
Timer button
Mode button
NOTE: The indicator light will illuminate the icon of the function that is selected. The fan
remains on during all heater modes.
Flame Eect ON/OFF button
Press the POWER switch (9) to the on position I. The switch’s red indicator light will
illuminate and OF appears on the screen.
Press the ON/OFF button (10) on. The fan mode will start, the FAN indicator light will
illuminate, FA appears on the screen.
Press the MODE button (12) repeatedly to select one of the following options:
You can only set the temperature in Temperature adjust mode. To set the temperature,
press the UP/DOWN buttons (13) to increase or decrease the temperature to your desired
level. The temperature range is from 59° F to 95° F. The fan and heater will turn on and o
to keep the room at the set level.
Press the FLAME EFFECT ON/OFF button (15) repeatedly to turn the ame eect on or o.
To turn the heater o, press the ON/OFF button (10), the fan will run for 30 seconds to 1
minute to cool the heater and then the screen will turn o. Press the POWER switch (9) to
the o position O.
Unplug the heater from the mains power supply when it is not in use.
To oscillate (swing) the heater through 60 degrees, press the OSCILLATING button (11). The
OSC. icon illuminates when this function is on.
To stop the swing while the appliance is oscillating, wait until the airow is in the desired
position and press the OSCILLATING button (11).
The timer can be set to turn the heater o in 1 to 12 hours. When the heater is running,
press the TIMER button (14) repeatedly to set the hours. The TIMER icon illuminates when
this function is on. To turn the timer o, press the TIMER button (14) repeatedly until 00
appears.
Do not cover the heater or the air outlets/inlets/vents at any time while it is turned on.
There is a risk of re if the heater is covered.
For safety reasons, this heater is equipped with a tip-over sensor. This sensor automatically
shuts down the heater if it is not in an upright position while in operation. To resume
normal operation, check the heater is cool enough to handle, turn it upright and turn it on
again.
The heater has a built-in overheating protection mechanism. The safety mechanism will
turn o the power if the heater overheats. Press the POWER switch (9) to turn the heater
o and pull the mains plug from the socket. Wait 10 minutes for the heater to cool down.
NOTE: In Temperature adjust mode, the heater must be set to a temperature level that
is at least a few degrees higher than the room temperature for the heating function to be
activated. If the heater does not appear to be working, increase the temperature until the
heating function turns on.
NOTE: When you are not changing the time or temperature settings, the current room
temperature will display.
NOTE: The ame eect will turn on automatically when the heater power is turned on.
NOTE:
LO – Low heating power mode
HI – High heating power mode
77 – Temperature adjust mode – The heater will adjust the power level to maintain the set
temperature. The default temperature for this mode is 77° F.
1.
2.
3.
4.
8.
9.
10.
5.
6.
7.
07 08

Problem Possible Cause Solution
Remove the cause of overheating i.e. excessive dust and turn on the heater. If for any
reason the heater does not turn on, take it to your local service center for repair.
The heater is designed to be used at temperatures above -20° C / -4° F. If it is exposed to
temperatures below this, allow it warm up to this temperature before turning it on.
CLEANING AND CARE
TROUBLESHOOTING
CAUTION: Always unplug the appliance from the mains power supply and let it cool
down before cleaning.
Wipe the outside of the heater and remote control with a soft, damp cloth and dry
thoroughly. Do not let any liquid enter the heater or the remote control.
Remove the air inlet lter by lifting up the tabs at the bottom of the lter and pulling it
away from the appliance. Clean under running water. Dry thoroughly before reassembling
the appliance.
1.
2.
Do not use solvents, chemical or abrasive cleaning agents, wire brushes, sharp objects or
scouring pads to clean the product.
Never immerse the appliance in water.
Always clean the appliance before storing it for a long time.
If you are not using the appliance for a long period, store the appliance in its original
packaging or in a dust-free, dry environment.
NOTE:
Check the power cord
and make sure it is firmly
connected to the mains
socket.
Replace the fuse. If it is still
not working, try plugging in
to another mains socket. If
the problem persists, take the
appliance to a nearby service
center.
The plug is loose or not
connected.
Check the fuse for the main
electricity supply has not
blown.
The appliance is not on a at,
stable surface.
The appliance may be
damaged.
Move the heater to a solid
and even oor surface.
If the heater is damaged, take
the appliance to a nearby
service center.
The appliance will not turn on.
Strong vibrations or noise.
09 10
WARRANTY
Table of contents
Popular Heater manuals by other brands
Oase
Oase HeatUp 25 operating instructions
Ayce
Ayce PT2000W Original instructions
Xvent
Xvent Breeze BR-15 Operating and installation instructions

Ridea
Ridea Living Othello Mono Slim Instruction and installation booklet
Clarke
Clarke CONTRACTOR DEVIL371PD Operating & maintenance instructions
DeLonghi
DeLonghi FAN HEATER instruction manual
IRSAP
IRSAP The Radiator Company Ovali Fitting instructions
Dimplex
Dimplex EMC4240 installation instructions
Pinnacle
Pinnacle ProTemp PT-125-OFR-A User's manual and operating instructions

Frost Fighter
Frost Fighter IDH200QR OIL Installation, operation & maintenance instructions
VEAB
VEAB BX 20E User instructions
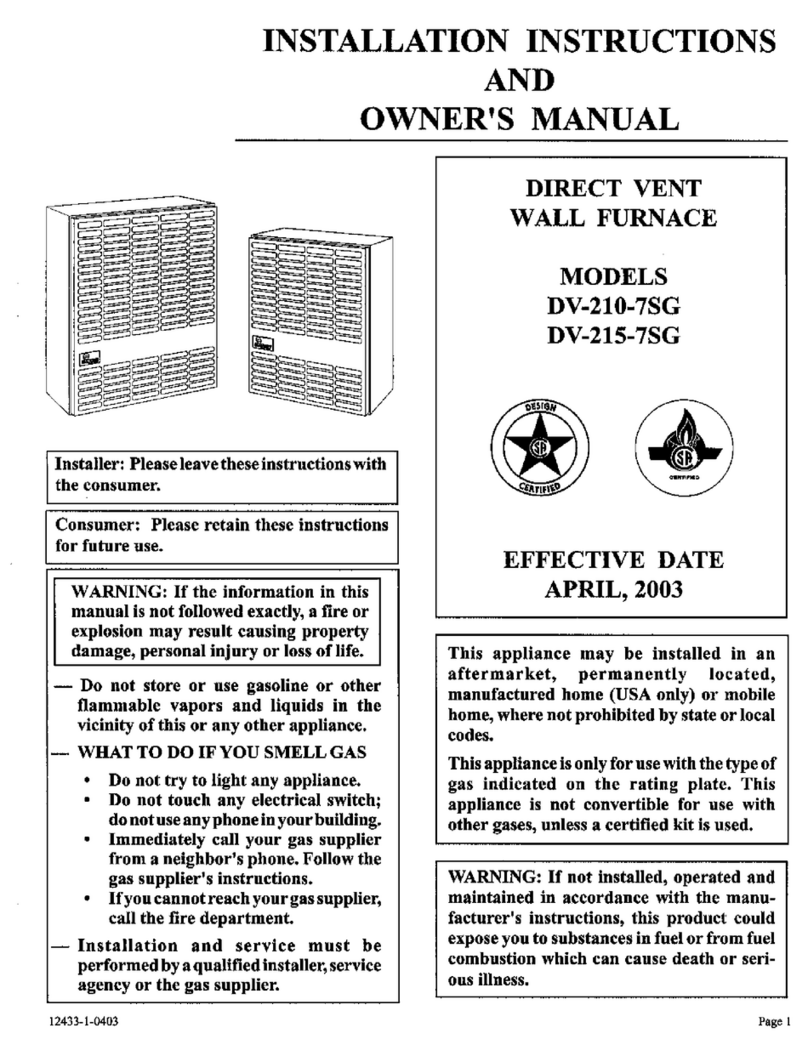
Empire Heating Systems
Empire Heating Systems DV-210-7SG owner's guide

