manuals.online logo
Brands
  1. Home
  2. •
  3. Brands
  4. •
  5. Edelbrock
  6. •
  7. Automobile Part
  8. •
  9. Edelbrock 6893 User manual

Edelbrock 6893 User manual

©2003 Edelbrock Corporation
Catalog #6893 &#6894 Page 1of 3 Rev. 1/03
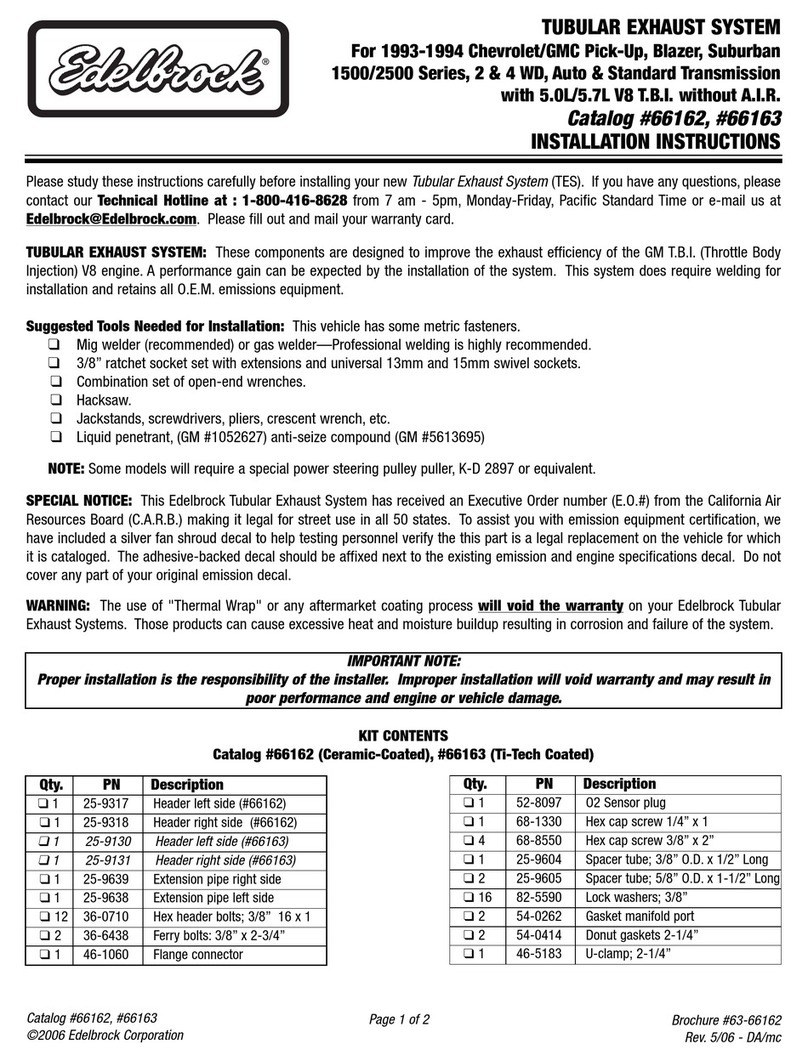
TUBULAR EXHAUST SYSTEM (T.E.S.)
Catalog #6893- 1993 Camaro/Firebird, 5.7L V8,
Standard and Auto Transmission, with A.I.R.
Catalog #6894- 1994-1995 Camaro/Firebird, 5.7L V8
Standard and Auto Transmission, with A.I.R.
INSTALLATION INSTRUCTIONS
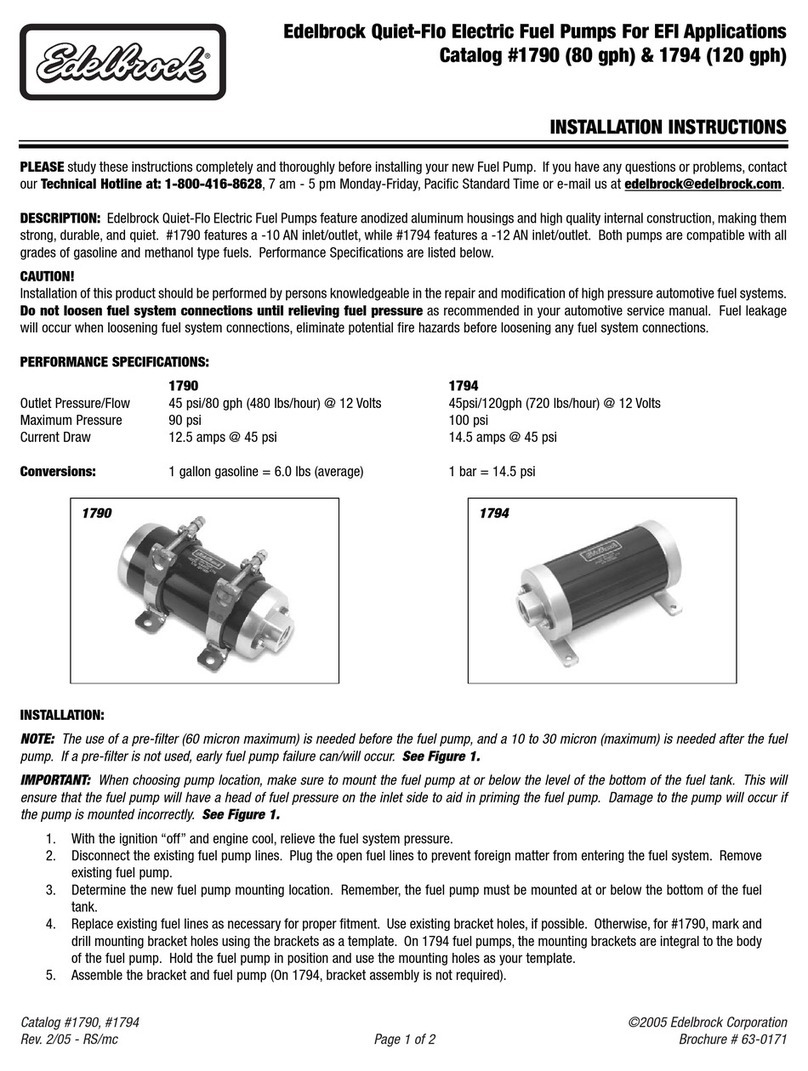
Please study these instructions carefully before installing your new Tubular Exhaust System (TES). If you have any
questions or problems, please call our Technical Hotline: 1-800-416-8628, 7am - 5pm, Monday-Friday, Pacific
Standard Time or e-mail us at: [email protected].
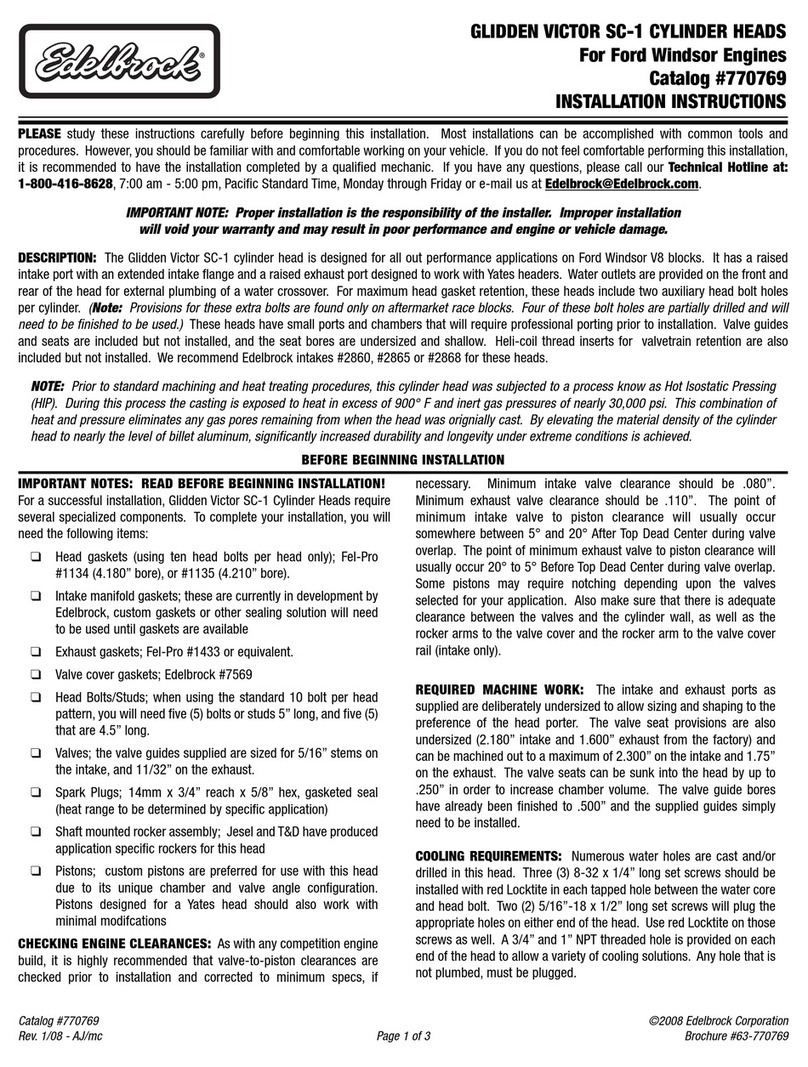
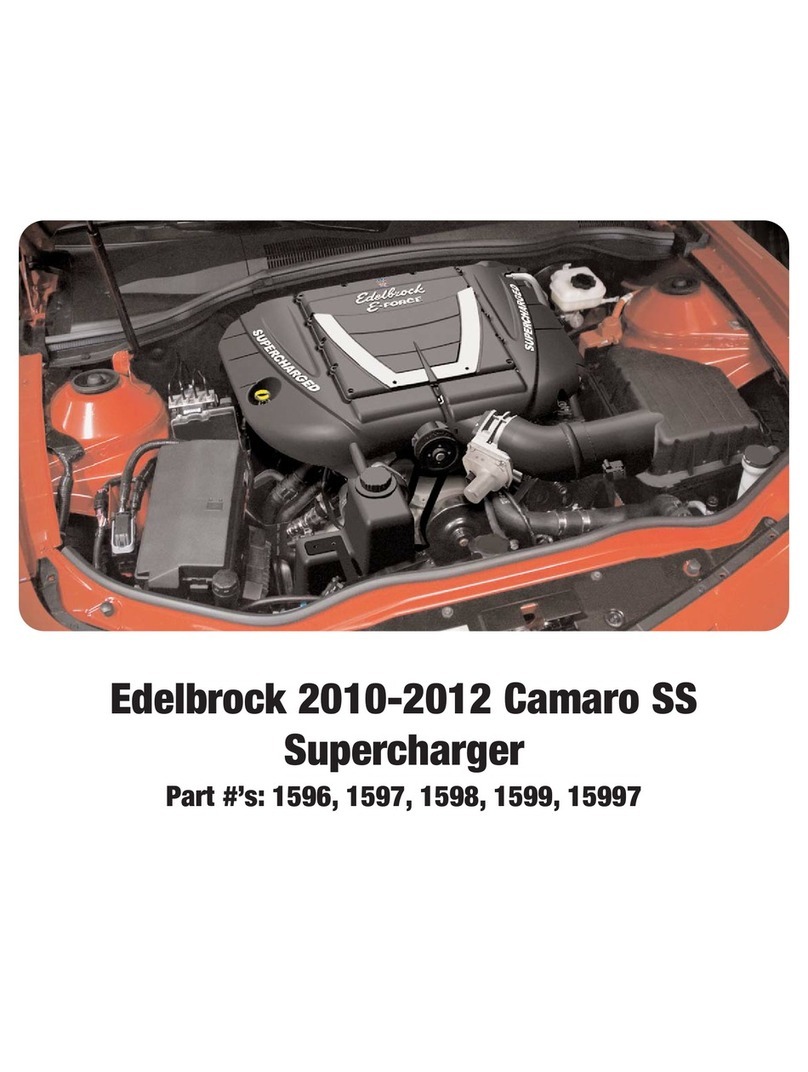
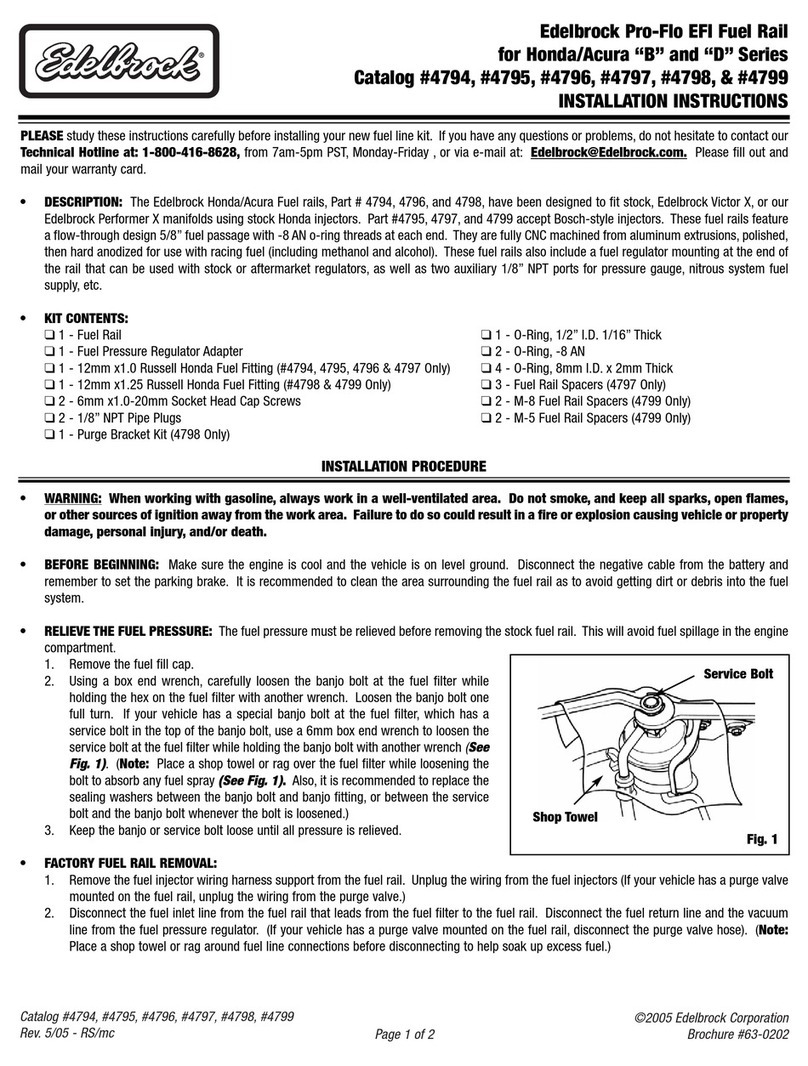
DESCRIPTION: These components are designed as a system to improve the exhaust efficiency of the GM 350 c.i.d. V8
engines. A performance gain can be expected by the installation of the system. This system requires welding for
installation and retains all O.E.M. emissions equipment.
SUGGESTED TOOLS FOR INSTALLATION: This vehicle has some metric fasteners.
❑ MIG welder (recommended) or gas welder. Professional welding is highly recommended.
❑ 3/8” rachet socket set with extensions and universal 13mm and 15mm swivel sockets
❑ Combination set of open-end wrenches
❑ Hack saw
❑Jackstands, screwdrivers, pliers, crescent wrench, etc.
❑Liquid penetrant, (GM #1052627) anti-seize compount(GM #5613695)
SPECIAL NOTICE: This Edelbrock part has received an Executive Order number (E.O.) from the California Air Resources
Board (C.A.R.B.) making it legal for street use on pollution-controlled motor vehicles in all 50 states. To assist you with
emissions equipment certification, we have included a silver fan shroud decal to verify that this part is a legal replacement
part on the vehicle for which it is cataloged. The adhesive-backed decal should be affixed to your fan shroud next to the
existing emission and engine specification decal. Do not cover your original equipment specification decal with the
Edelbrock fan shroud decal.
WARNING: The use of “Thermal Wrap” or any aftermarket coating process will void the warranty on your Tubular Exhaust
System. Those products can cause excessive heat and moisture buildup resulting in corrosion and early failure of the
system.
NOTES: The paint used on non-coated T.E.S. is for protection during shipping and storage and will burn off soon after the
engine is started. Those who desire a longer lasting finish should sand blast the T.E.S. to remove the original paint, then
apply high temperature header paint, such as VHT, available at most auto parts stores. High temperature spark plugs
wires and boots are recommended to withstand heat from T.E.S.
©2003 Edelbrock Corporation
Catalog #6893 &#6894 Page 2of 3 Rev. 1/03
DISASSEMBLY AND ASSEMBLY
Right Side
1. Disconnect and remove alternator.
2. Remove spark plugs.
3. Disconnect A.I.R. fitting from manifold.
4. Remove dipstick and tube assembly.
5. Unbolt E.G.R. flange from manifold (#6894 only).
6. Remove manifold.
Note: At front of cylinder head are two manifold
boltholes. Forward hole will be used to re-attach
alternator support bracket. Hole #2 will be used to
secure your new T.E.S. manifold.
7. Install T.E.S. flange gasket and one 3/8-16 x 1” bolt,
lock washer and flat washer at rearmost bolthole
(leave bolt loose enough to accept T.E.S.).
8. Place manifold into position from underneath
vehicle and start one bolt at front.
Note: Use flat washers at slotted ends and lock
washers on all bolts.
9. Using 1-1/8 long spacer tube, 3/8 x 2-1/4 12-point
head cap screw and 3/8 lock washer, re-attach
alternator support bar to forward bolthole in
cylinder head (do not tighten).
10. Install all manifold bolts and tighten.
11. Re-attach E.G.R. tube (#6894 only).
12. Re-install spark plugs and wires.
Note: Alternator and dipstick tube must be
removed for future spark plug changes.
13. Re-install alternator and A.I.R. fitting. Use A.I.R.
adapter fitting and kit, if necessary.
14. Re-install dipstick tube.
15. Take wire pack (wrapped with aluminum tape) out
of plastic clip on crossmember and re-position
toward front of vehicle for additional protection
from heat. Use tie wrap (in kit) to secure.
Left Side
1. Remove spark plugs.
2. Unplug temperature sensor wire connector.
3. Remove plastic cover around lower steering shaft.
Steering shaft must be removed for installation of
T.E.S.
4. Remove by unbolting at top of upper universal joint
andbottom oflower universaljoint. Slip upperjoint
up steering shaft while sliding lower joint off
steering box serrated shaft.
5. Disconnect A.I.R. hose.
6. Remove exhaust manifold.
7. Install T.E.S. flange gasket and one 3/8”-16 x 1”
bolt, lock washer and flat washer at rearmost
bolthole (leave bolt loose enough to accept T.E.S.).
8. Place manifold into position from above. Start all
manifold bolts, and washers, then tighten.
9. Replace steering shaft and plastic cover.
10. Replace water temperature wire.
11. Replace spark plugs and wires.
12. Re-install A.I.R. fittings (use A.I.R. adapter fitting in
kit, if necessary).
1. Disconnect negative battery cable.
2. Raise vehicle and remove O2 sensors from right and left sides being careful not to damage.
3. Unbolt and remove exhaust pipe/catalytic converter assembly. Before removing exhaust pipe/catalytic converter
assembly determine the position of catalytic inlet for re-installation. Either note measurements or mark bottom of
floorboard with chalk to show catalytic location (Do not damage converter).
INSTALLATION INSTRUCTIONS
©2003 Edelbrock Corporation
Catalog #6893 &#6894 Page 3of 3 Rev. 1/03
Extension Pipe
1. Cut O.E.M. exhaust pipe approximately 1/2” to 3/4” in front of the catalytic.
2. Bolt catalytic back into vehicle with front in original location.
3. Install T.E.S. pipe over catalytic inlet and bolt to T.E.S. manifold using donut gaskets provided.
4. With everything in place, tack weld T.E.S. to catalytic.
Note: Tig welding is desirable but gas welding can be used.
5. After tack welding, remove assembly and complete weld.
6. Re-install assembly and tighten all bolts.
7. Check all wires and lines for adequate clearance.
FINAL INSPECTION
1. Check all hydraulic, vacuum, and fuel lines to ensure there is adequate clearance to T.E.S. components.
2. Re-connect battery.
3. At this point, it is a good idea to look everything over and make sure nothing was missed in assembly.
4. Start vehicle and bring up to normal operating temperature. Check for possible leaks.
5. Turn engine off and let cool. Tighten all bolts again.
KIT CONTENTS
Qty. Part # Description Qty. Part # Description
125-9070 Manifold Left Side 12 -Hex Header Bolts; 3/8” x 1”
125-9071 Manifold Right Side (#6893) 1-Spacer Tube; 5/8” s 1-1/8” Long
125-9075 Manifold Right Side (#6894) 4-Hex Capscrews; 3/8” x 2”
125-9583 ExtensionY-pipe 1-Hex Capscrews; 12-point head,
3/8” x 2-1/4”
2-Chevy V8 Port Gaskets 16 -Lock Washers; 3/8”
2-Donut Gasketss; 2-1/2” 1-Tie Wrap; 11”
4-Flat Washers; 3/8” 2-Fittings; A.I.R. Adapter
Edelbrock Corporation
2700 California St.
Torrance, CA 90503
Tech Line: 1-800-416-8628
E-Mail: [email protected]

This manual suits for next models

1

Other Edelbrock Automobile Part manuals

Edelbrock 5274 5274 User manual

Edelbrock

Edelbrock 5274 5274 User manual

Edelbrock 67322 User manual

Edelbrock

Edelbrock 67322 User manual

Edelbrock 541583 User manual

Edelbrock

Edelbrock 541583 User manual

Edelbrock 5721 User manual

Edelbrock

Edelbrock 5721 User manual

Edelbrock 70402 User manual

Edelbrock

Edelbrock 70402 User manual

Edelbrock 1483 User manual

Edelbrock

Edelbrock 1483 User manual

Edelbrock 5645 User manual

Edelbrock

Edelbrock 5645 User manual

Edelbrock 4500 Series Carbs User manual

Edelbrock

Edelbrock 4500 Series Carbs User manual

Edelbrock 6567 User manual

Edelbrock

Edelbrock 6567 User manual

Edelbrock 2281 User manual

Edelbrock

Edelbrock 2281 User manual

Edelbrock 2828 User manual

Edelbrock

Edelbrock 2828 User manual

Edelbrock 68732 User manual

Edelbrock

Edelbrock 68732 User manual

Edelbrock 3581 User manual

Edelbrock

Edelbrock 3581 User manual

Edelbrock QwikData 91001 User manual

Edelbrock

Edelbrock QwikData 91001 User manual

Edelbrock 29565 User manual

Edelbrock

Edelbrock 29565 User manual

Edelbrock 5734 User manual

Edelbrock

Edelbrock 5734 User manual

Edelbrock Russell R09201 User manual

Edelbrock

Edelbrock Russell R09201 User manual

Edelbrock 8123 User manual

Edelbrock

Edelbrock 8123 User manual

Edelbrock 641570 User manual

Edelbrock

Edelbrock 641570 User manual

Edelbrock 4100 Series User manual

Edelbrock

Edelbrock 4100 Series User manual

Edelbrock 2001 PT Cruiser User manual

Edelbrock

Edelbrock 2001 PT Cruiser User manual

Edelbrock 5426 User manual

Edelbrock

Edelbrock 5426 User manual

Edelbrock 71836 User manual

Edelbrock

Edelbrock 71836 User manual

Edelbrock 2801 User manual

Edelbrock

Edelbrock 2801 User manual

Popular Automobile Part manuals by other brands

Murphy Diesel-Fuel Shutoff Valve SV-Series owner's manual

Murphy

Murphy Diesel-Fuel Shutoff Valve SV-Series owner's manual

Zenoah G200PU owner's manual

Zenoah

Zenoah G200PU owner's manual

HURST 391 7992 installation instructions

HURST

HURST 391 7992 installation instructions

Vintage Air 571065 manual

Vintage Air

Vintage Air 571065 manual

Vintage Air 751170 manual

Vintage Air

Vintage Air 751170 manual

AUTOTECH 10.215.300 installation instructions

AUTOTECH

AUTOTECH 10.215.300 installation instructions

Volvo i-shift transmission Operator's manual

Volvo

Volvo i-shift transmission Operator's manual

Holland FW3110 operating manual

Holland

Holland FW3110 operating manual

AUTOTECH 10.715.014K 015K installation instructions

AUTOTECH

AUTOTECH 10.715.014K 015K installation instructions

Alphasonik PCP15LDE owner's manual

Alphasonik

Alphasonik PCP15LDE owner's manual

ReadyLift 69-2070 manual

ReadyLift

ReadyLift 69-2070 manual

Johnson Controls VA-8051 specification

Johnson Controls

Johnson Controls VA-8051 specification

Fabtech FTS92011 instructions

Fabtech

Fabtech FTS92011 instructions

K&N Engineering Filtercharger 57-9004 installation manual

K&N Engineering

K&N Engineering Filtercharger 57-9004 installation manual

ICI FBM06DGN Installation

ICI

ICI FBM06DGN Installation

AUTOTECH 10.215.200K installation instructions

AUTOTECH

AUTOTECH 10.215.200K installation instructions

ECM Thunder-Max 309-365 Installation

ECM

ECM Thunder-Max 309-365 Installation

Emerson Fisher 667 instruction manual

Emerson

Emerson Fisher 667 instruction manual

manuals.online logo
manuals.online logoBrands
  • About & Mission
  • Contact us
  • Privacy Policy
  • Terms and Conditions

Copyright 2025 Manuals.Online. All Rights Reserved.