i
Important Safety Information
Improper handling can cause serious damage to the EdgeStar dehumidifier and/or to the user. This
dehumidifier is designed for domestic indoor use only. Do not use the unit for industrial or commercial use. Any
other use may invalidate the warranty. Please review the ratings label located on the rear panel of the unit for
electrical and other technical data related to this unit. The unit must be used in a properly grounded wall
outlet. Please read and follow the safety information listed below.
Electrical Safety
This dehumidifier is designed for indoor use
only. Do not use the unit near bath tubs,
swimming pools or other bodies of water.
Do not wet the housing or control panel.
Do not exceed the power outlet ratings.
Do not pull the unit by the cord.
Always turn the unit off and unplug it from
the outlet when cleaning.
Unplug the unit if it is not going to be used
for an extended time period.
Do not operate the unit with a power plug
missing the ground plug, a damaged cord
or a loose socket.
Be sure the dehumidifier is properly
grounded.
Never plug or unplug the unit with wet
hands.
Do not bypass, cut or remove the grounding
plug.
Do not use extension cords or power strips
with this unit. You may need to contact your
electrician if it is necessary to use a longer
cord or do not have a grounded outlet. Do
not modify the power cord’s length or share
the outlet with other appliances. It is
recommended the unit be connected on its
own circuit.
Do not start or stop the unit by switching the
circuit’s power on and off.
If the power cord is damaged, it must be
replaced by the manufacturer or a
qualified technician.
Never open the unit while it is plugged in.
Immediately unplug the unit if it makes
strange sounds, emits smells or smoke
comes out of it, and contact customer
service.
Do not remove any part of the casing unless
instructed by an authorized technician.
You should never attempt to repair the unit
yourself.
General Safety
This unit is not intended to be used by
children.
Children should be supervised to ensure that
they do not play with this product.
Do not allow children to play with the controls
or drop any objects into the air outlets or
vents.
Care should be taken when using the unit in a
room with infants, elderly persons, and
children.
Do not place flower vases, containers, or any
objects on top of the unit.
Do not allow anyone to sit on the unit.
Do not climb on or use the unit as a step.
Do not cover the air intake or exhaust vents
with towels, clothes or materials that prevent
air flow.
When using in closets or confined spaces, be
sure to keep doors open to allow proper
ventilation.
Do not use this appliance near flammable gas
or combustibles, such as gasoline, benzene,
thinner, etc.
Do not use in areas where chemicals are
handled.
Do not place the unit near a heat source as
doing so may cause the plastic parts to melt.
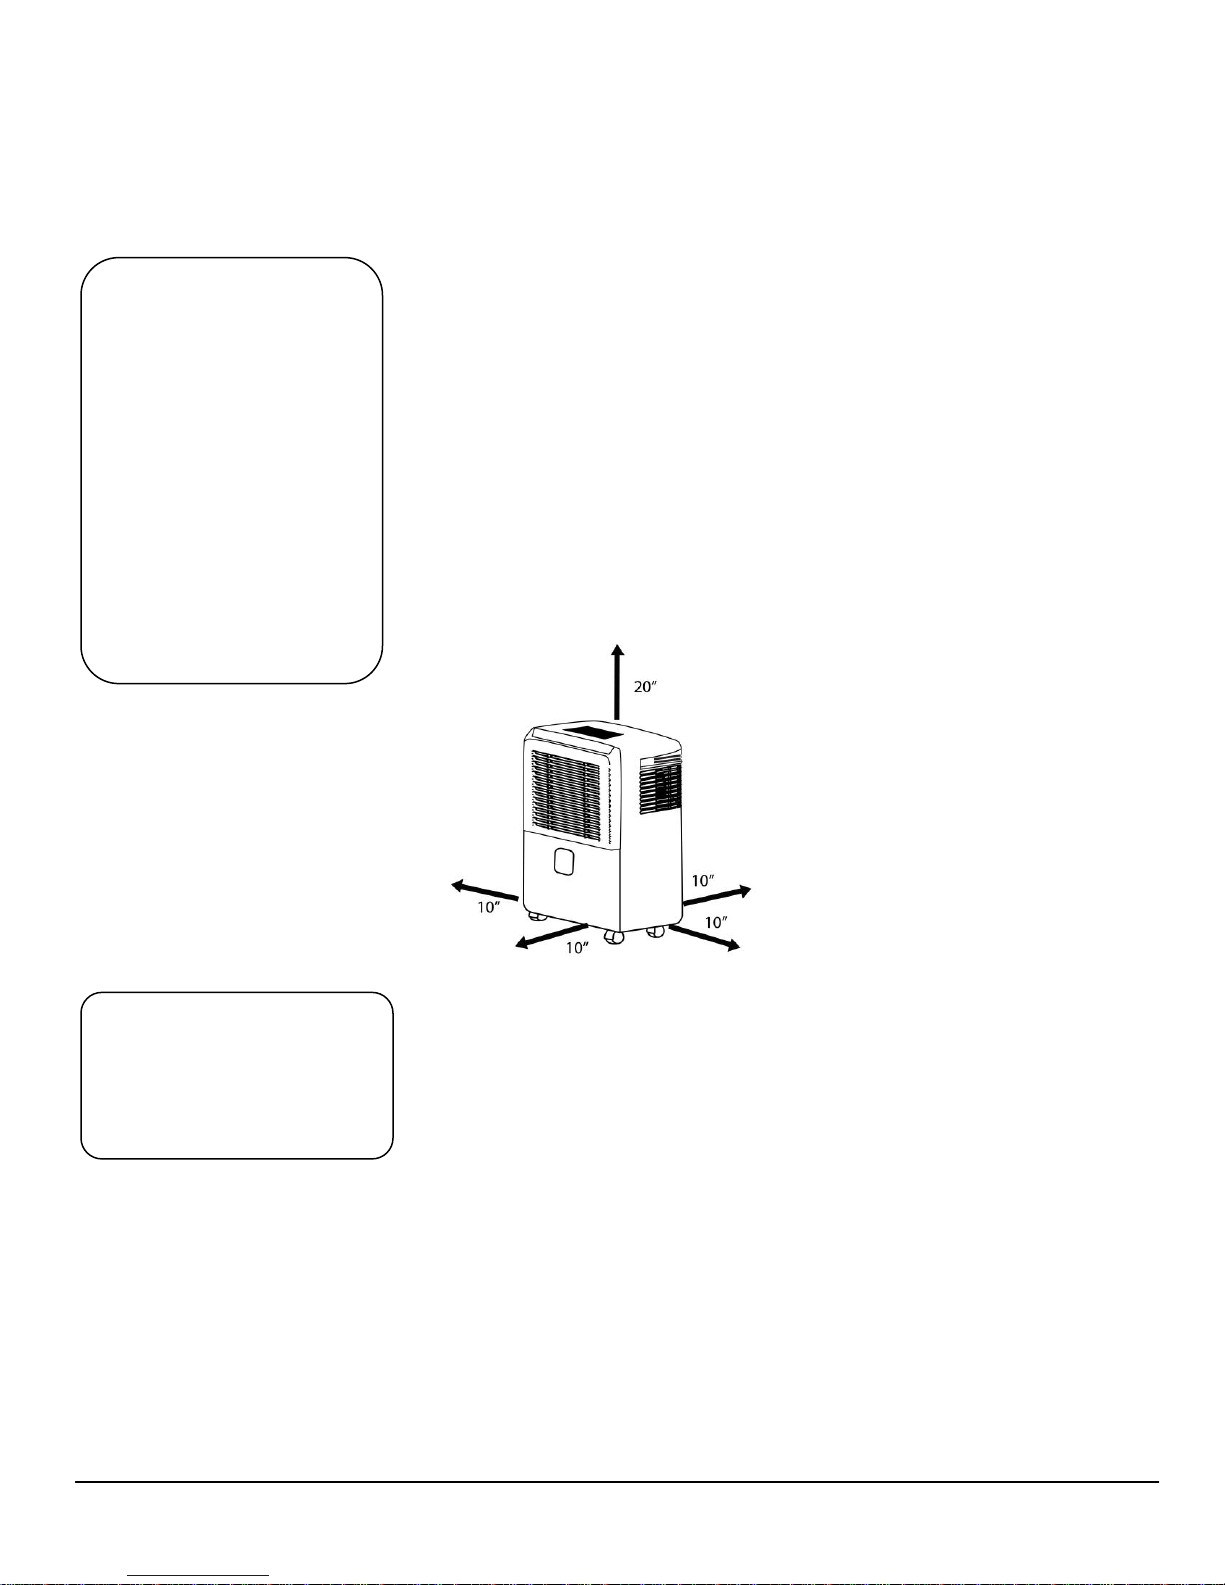
Only use in an upright position on a flat, level
surface and provide at least 10 inches of
clearance from any walls or objects.
Route the power cord carefully to avoid
creating a tripping hazard.
When using in closets or confined spaces, be
sure to keep doors open to allow proper
ventilation.
Clean the filters every two weeks or as
needed.
Inspect the filters regularly.
Always insert the filters securely.
Never run the unit without filters.
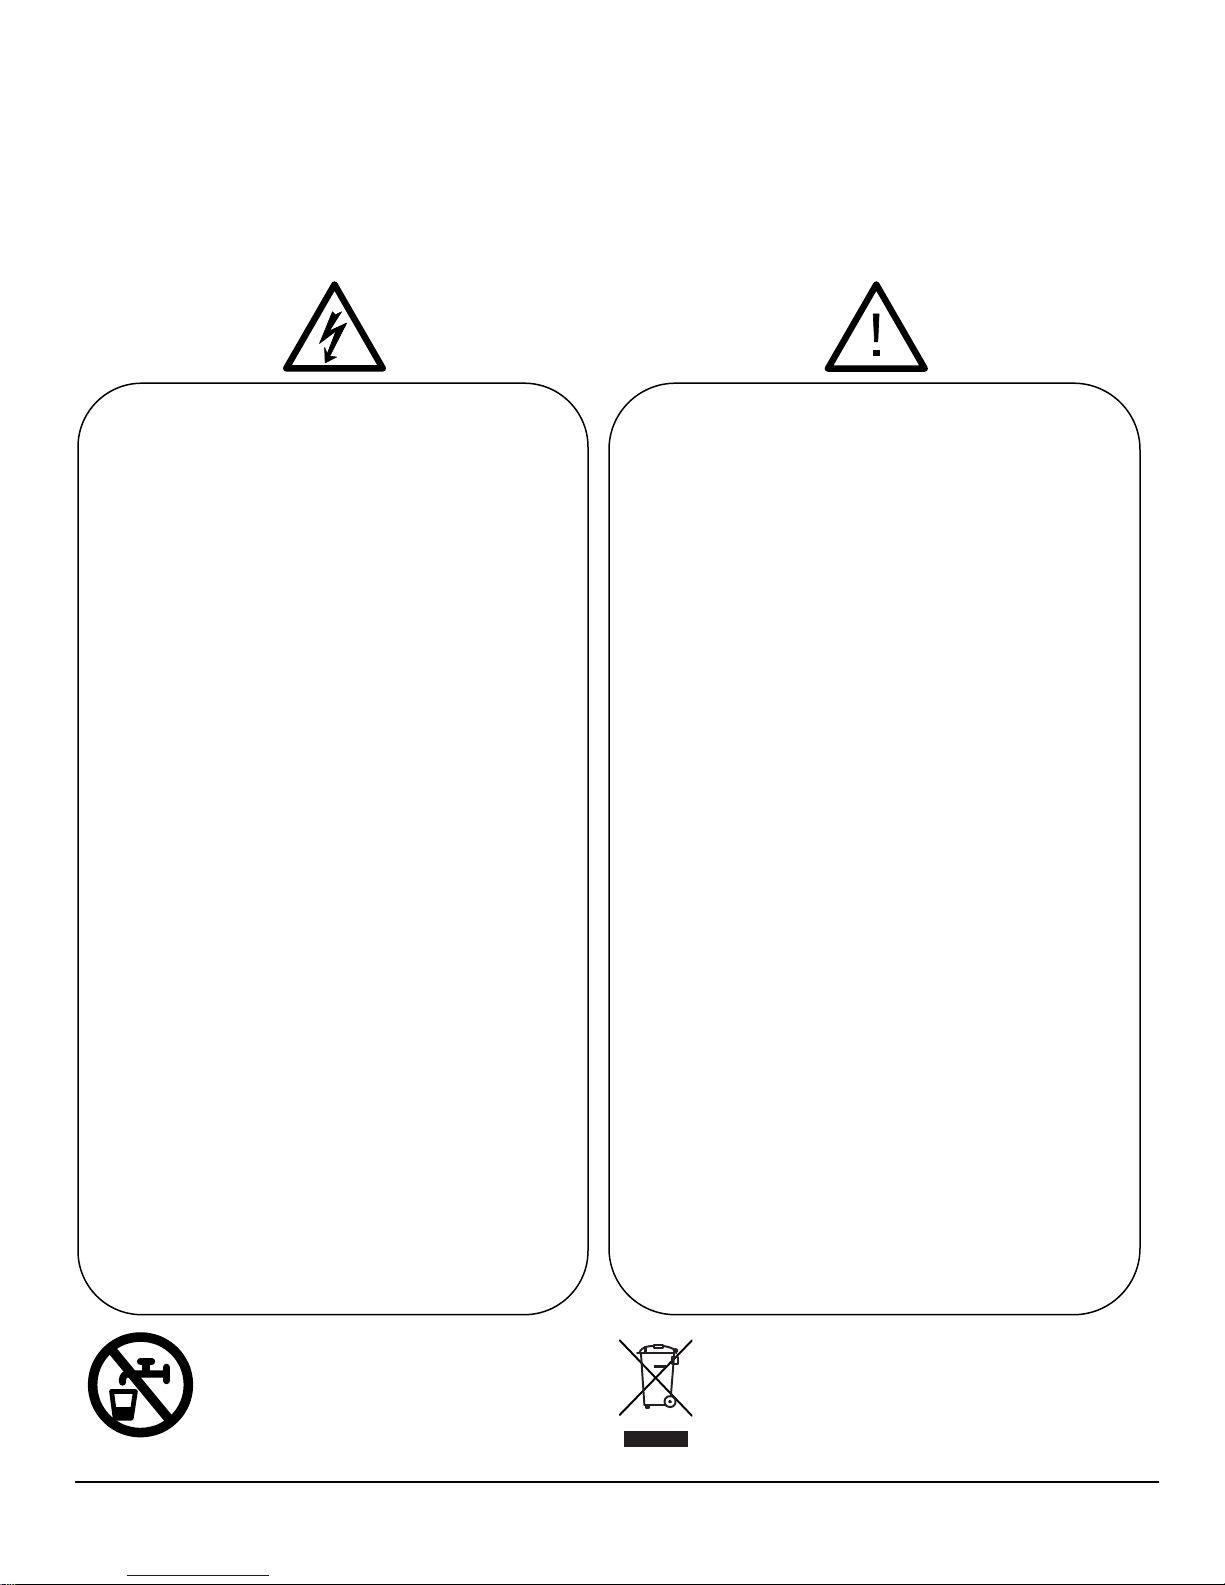
The water produced by the dehumidifier
is not potable or suitable for drinking.
Do not drink or use condensate or water
drained from the unit as it contains
contaminates and could make you sick.
Electrical products should not be disposed of
with household waste. Please contact your
local recycling center for more information on
how to recycle electronic waste.