manuals.online logo
Brands
  1. Home
  2. •
  3. Brands
  4. •
  5. Edimax
  6. •
  7. Wireless Access Point
  8. •
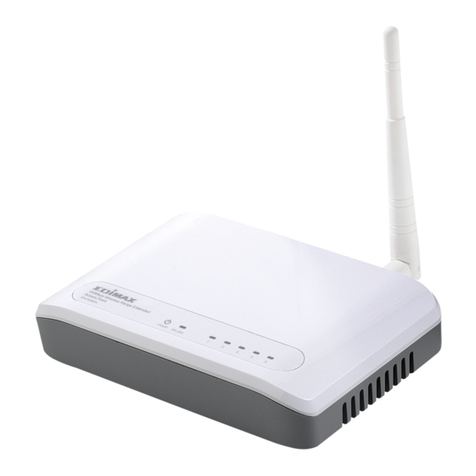
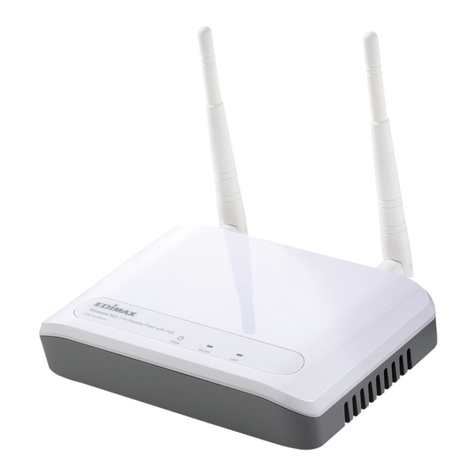
  9. Edimax EW-7228APn User manual

Edimax EW-7228APn User manual

Other manuals for EW-7228APn

6

Other Edimax Wireless Access Point manuals
Edimax IAP1200 User manual

Edimax

Edimax IAP1200 User manual

Edimax RA21S User manual

Edimax

Edimax RA21S User manual

Edimax EW-7438APn User manual

Edimax

Edimax EW-7438APn User manual

Edimax BR-6208AC User manual

Edimax

Edimax BR-6208AC User manual

Edimax EW-7303HPn V2 Instruction Manual

Edimax

Edimax EW-7303HPn V2 Instruction Manual

Edimax EW-7415PDn User manual

Edimax

Edimax EW-7415PDn User manual

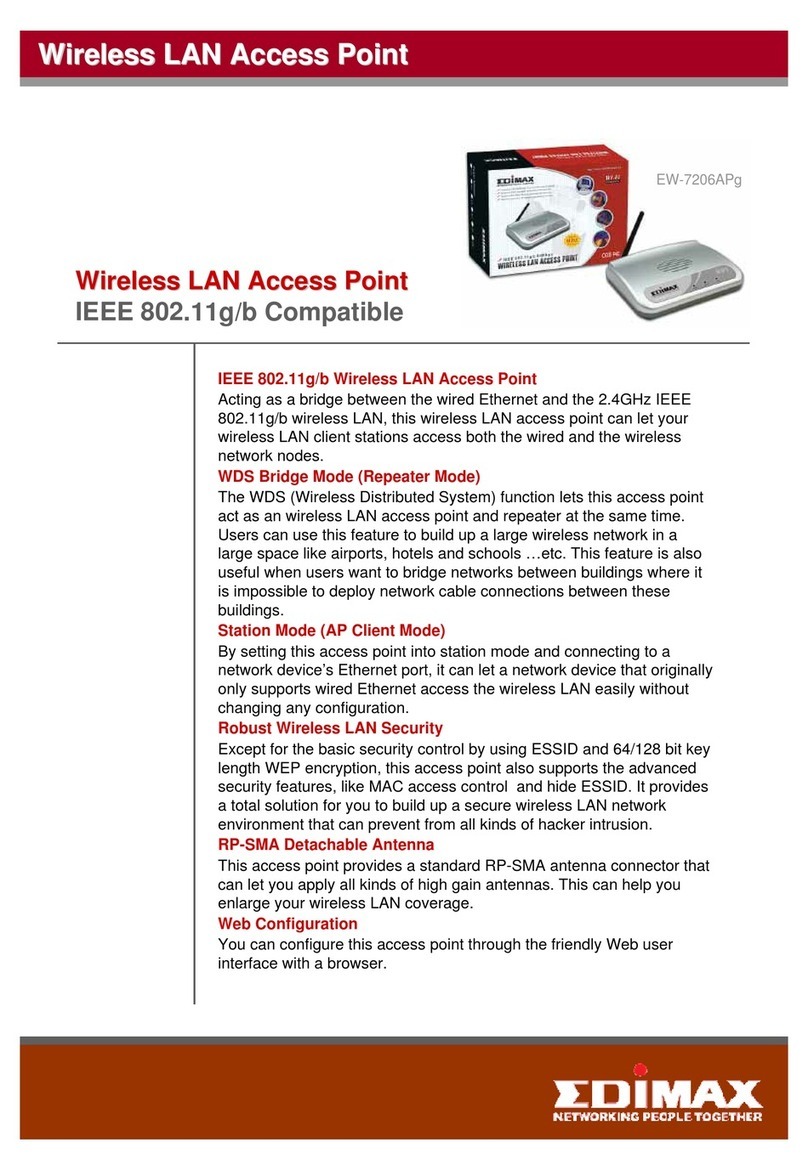
Edimax EW-7206APg User manual

Edimax

Edimax EW-7206APg User manual

Edimax Office 1-2-3 User manual

Edimax

Edimax Office 1-2-3 User manual

Edimax EW-7228APn User manual

Edimax

Edimax EW-7228APn User manual
Edimax EW-7301APg User manual

Edimax

Edimax EW-7301APg User manual

Edimax EW-7416APn v2 User manual

Edimax

Edimax EW-7416APn v2 User manual

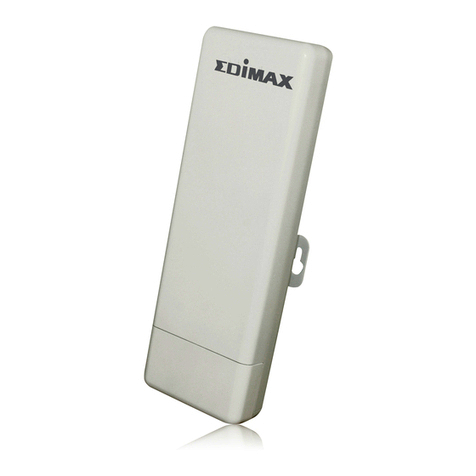
Edimax OAP900 User manual

Edimax

Edimax OAP900 User manual

Edimax EW-7228APn User manual

Edimax

Edimax EW-7228APn User manual
Edimax EW-7206APg User manual

Edimax

Edimax EW-7206APg User manual

Edimax CV-7438nDM N600 User manual

Edimax

Edimax CV-7438nDM N600 User manual

Edimax CV-7438nDM User manual

Edimax

Edimax CV-7438nDM User manual

Edimax CV-7438nDM User manual

Edimax

Edimax CV-7438nDM User manual

Edimax SC1000 User manual

Edimax

Edimax SC1000 User manual

Edimax EW-7416APn User manual

Edimax

Edimax EW-7416APn User manual

Edimax WAP1750 User manual

Edimax

Edimax WAP1750 User manual

Edimax EW-7478APC Installation guide

Edimax

Edimax EW-7478APC Installation guide

Edimax EW-7428HCn User manual

Edimax

Edimax EW-7428HCn User manual

Edimax EW-7679WAC User manual

Edimax

Edimax EW-7679WAC User manual
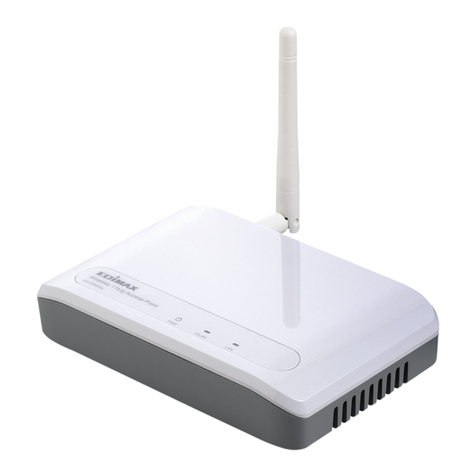
Edimax EW-7438AC User manual

Edimax

Edimax EW-7438AC User manual

Popular Wireless Access Point manuals by other brands

TRENDnet TPL-410AP user guide

TRENDnet

TRENDnet TPL-410AP user guide

EnGenius EWS377-FIT quick start guide

EnGenius

EnGenius EWS377-FIT quick start guide

D-Link DWL-6700AP Quick installation guide

D-Link

D-Link DWL-6700AP Quick installation guide

Aerohive Networks Aerohive AP121 Hardware reference guide

Aerohive Networks

Aerohive Networks Aerohive AP121 Hardware reference guide

Vonets VAP11G Step-by-step guide

Vonets

Vonets VAP11G Step-by-step guide

Ubiquiti UniFi AP AC Outdoor quick start guide

Ubiquiti

Ubiquiti UniFi AP AC Outdoor quick start guide

Monoprice MW301A user guide

Monoprice

Monoprice MW301A user guide

D-Link DWL-2700AP - AirPremier Outdoor Wireless Access... user manual

D-Link

D-Link DWL-2700AP - AirPremier Outdoor Wireless Access... user manual

D-Link DWL-2100AP - AirPlus Xtreme G Quick installation guide

D-Link

D-Link DWL-2100AP - AirPlus Xtreme G Quick installation guide

TP-Link Auranet EAP225 Quick installation guide

TP-Link

TP-Link Auranet EAP225 Quick installation guide

D-Link DWL-2100AP - AirPlus Xtreme G Quick installation guide

D-Link

D-Link DWL-2100AP - AirPlus Xtreme G Quick installation guide

Ubiquiti NanoStation NSM2 quick start guide

Ubiquiti

Ubiquiti NanoStation NSM2 quick start guide

Aruba IAP-335 user guide

Aruba

Aruba IAP-335 user guide

Advantek Networks AWN-AP-54MR user manual

Advantek Networks

Advantek Networks AWN-AP-54MR user manual

IP-COM AP355 user guide

IP-COM

IP-COM AP355 user guide

Buffalo AirStation WLA-L11G user manual

Buffalo

Buffalo AirStation WLA-L11G user manual

EnGenius EnStationACv2 user manual

EnGenius

EnGenius EnStationACv2 user manual

D-Link DAP-3662 Quick installation guide

D-Link

D-Link DAP-3662 Quick installation guide

manuals.online logo
manuals.online logoBrands
  • About & Mission
  • Contact us
  • Privacy Policy
  • Terms and Conditions

Copyright 2025 Manuals.Online. All Rights Reserved.

0
Macintosh Installation Guide
07-2012 / v1.0
1
Web Management Interface
1. Have your Macintosh computer operate as usual, and click on “System
Preferences”.
2. In System Preferences, click on “Network”.
3. Here you will see all of your network connections. Remove any Ethernet
cable that may be connected, so that the “Ethernet”status in the left
sidebar displays “Not Connected”, as shown below. Then, you need to
ensure that your Macintosh’s Wi-Fi is switched off. Select “Wi-Fi”from the
left sidebar.
4. If your Wi-Fi is switched on, click on the button labeled “Turn Wi-Fi Off”.
The “Network”screen should now look like the screen below, where under
the heading “Wi-Fi”in the left sidebar, the status is shown as “Off”.
2
5. Connect one end of an Ethernet cable to the Ethernet port on your
computer. Then connect the other end to an Ethernet port on the access
point, as shown below (1). Plug the power adapter into the device’s 5V
power port, and plug the adapter into a wall socket (2).
The PWR LED and corresponding LAN LED on the access point should now
light up.
6. Network Preferences will now display an Ethernet adapter, as shown below.
The status of “Ethernet”should be “Connected”.
3
7. Click on “Ethernet”in the left panel and then click the drop down arrow for
the menu labeled “Configure IPv4”in the right panel. From the drop down
menu, select “Manually”.
4
Note: The access point uses the default IP address
192.168.2.1, which may not be in the same IP address
subnet of your network. Accordingly, you need to
modify the IP address of your Macintosh to
192.168.2.10, as shown in the next step.
Note: Please refer to the user manual for guidance on
how to assign a new IP address to the access point. If
the default IP remains unchanged, you will need to
repeat this process and modify the IP of your
Macintosh every time you wish to configure the access
point.
8. In the panel on the right side, enter IP address 192.168.2.10 and subnet
mask 255.255.255.0. Click on “Apply”.
9. In the left sidebar, “Ethernet”should now display “Connected”as shown
below. In the right panel, you should see the IP address 192.168.2.10 and
subnet mask 255.255.255.0.
5
10. Open your internet browser and enter http://192.168.2.1 in the address
box. In the pop up window, enter the following username and password:
Username: admin
Password: 1234
Click “Log In”.
11. This will open the access point’s web management interface, which allows
you to configure the functions and settings of the access point. Please refer
to the user manual for more information about configuration; the following
is an example of how to set the access point to “Universal Repeater”mode.
6
Universal Repeater Mode
1. On the “Status and Information”page, click “Basic Setting”in the left menu.
Then click the arrow to open the menu labeled “Mode”. Select “Universal
Repeater”mode.
Click the “Select Site Survey”button. You will see a list of available Wi-Fi
networks, as shown below. Choose your Wi-Fi network and click on “Done”. If
your Wi-Fi network is not shown, “Refresh”the list of available networks, then
“select”your Wi-Fi network.
7
Note: Make a note of the “Encryption”listed for your
Wi-Fi network, as you will need it later in this
procedure, during Step 4. In this example, “Encryption”
is “WPA2-PSK’.
Click “Done”to close this window.
2. The “Root AP SSID”is your main Wi-Fi router. The “MAIN ESSID”is the SSID
of the repeater. Click the box labeled “MAIN ESSID”and enter a name for
reference. In the example below we used the name “repeater”. Different
SSIDs ensure that you can easily differentiate between devices. Click on
“Apply”.
3. You will see a screen which displays “Save settings successfully!”Choose
“Continue”.
8
Note: Please do not choose “Apply”at this point. It is
necessary to continue and configure the security
settings of the access point before it can function.
4. Select “Security”from the left sidebar in the Edimax web management
interface. This will take you to the screen shown below. Under the heading
“Security Settings”, open the menu labeled “Encryption”.
Select the appropriate type of encryption, based on the security settings in
your existing Wi-Fi network, as displayed in Step 1. In this example, we
select “WPA pre-shared key”.
Note: You need to select the same encryption as your
existing Wi-Fi network, otherwise this repeater mode
cannot connect to it.
5. Then you need to enter your existing network security settings.
9
For “WPA pre-shared key”encryption, as shown in the next screenshot,
select “WPA2(AES)”in the field marked “WPA Unicast Cipher Suite”.
Underneath, open the menu labeled “Pre-shared Key Format”, and choose
“Passphrase”. Finally enter your existing wireless network password into
the field labeled “Pre-Shared Key”. For other encryption types, please refer
to the user manual for detailed instructions.
Note: The access point must use the same wireless
encryption password as with the root wireless
network, i.e. your existing Wi-Fi network.
When this is complete, click “Apply”.
6. You will then see the following screen. Please click “Apply”to restart the
system and bring the changes into effect.