Edmund Optics Autocollimator User manual

STEP-BY-STEP INSTRUCTIONS FOR
BUILDING AN AUTOCOLLIMATOR
TECHSPEC®
Optical Cage System

PROPRIETARY - Property of Edmund Optics, Inc. | 2012 Copyright© Edmund Optics, Inc.
INTRODUCTION 2
What is an autocollimator?
•The Autocollimator is a precision instrument composed of an
achromatic objective, a LED, reticle, beamsplitter, and an eyepiece
with a reticle. The reticle cross-hair is projected onto a reflective
surface, with the returning reflected beam diverted by the beam
splitter to the eyepiece reticle. The deviation in angle is measured by
the eyepiece. This instrument has multiple applications such as
measuring small angles, as well as calibrating and aligning various
optical instruments and components.
Why TECHSPEC Optical Cage System?
•The TECHSPEC Optical Cage System makes alignment easy. In just
a few short steps, a simple autocollimator can be assembled and
aligned. Building an autocollimator with the TECHSPEC Optical Cage
System makes it easy to swap the optics, allowing the user to change
the field of view and resolution quickly and easily. In addition, a
camera could be added in the place of the eyepiece for image
capture or video capability.

PROPRIETARY - Property of Edmund Optics, Inc. | 2012 Copyright© Edmund Optics, Inc.
OVERVIEW 3
Complete Parts List
Sub-Assemblies:
1. Beamsplitter Assembly
2. Source Arm
3. Objective Arm
4. Eyepiece Arm
Final Touches
Alignment & Calibration
Light Baffling & Mounting

PROPRIETARY - Property of Edmund Optics, Inc. | 2012 Copyright© Edmund Optics, Inc.
COMPLETE PARTS LIST
4
STOCK # Description
QUANTITY
03-628 C-Mount Microscope Eyepiece Adapter 1
32-505 25mm 50R/50T Cube Beamsplitter 1
37-692 10X Kellner Adjustable Eyepiece for Reticle 1
39-444 21mm Crosshair Glass Reticle 1
45-415 Achromatic Doublet 30mm Dia. 200mm efl 1
46-105 12.5 D Opal Diffusing Glass 1
53-860 C-Mount 21mm Reticle Mount 1
54-420 19mm Scaled Crosshair Glass Reticle 1
54-615 C-Mount 12mm Lens Mount 1
55-246 C-Mount 12.5 mm Lens Mount 1
58-736 25mm C-Mount Extension Tube 1
58-972 Post Holder, 50.8mm Length, M6 Thread 1
83-143 Stainless Steel Mounting Post, 50.8mm length, M6 Stud 1
85-490 Cage Support Rod 6mm Diameter x 150mm Length, M3 4
85-518 25mm Cage Extension Tube 10mm 1
85-539 25mm Cage Blank Disk 1
85-624 Cage Sphere with (5) 30mm Port and (1) 43mm Port 1
85-627 30mm Cage Port Cover Disk 2
85-630 30mm Standard Cage Plate with M6 for Post Mounting 4
85-632 25mm Standard Cage Plate with M6 for Post Mounting 1
85-688 25/25.4mm Cube Beamsplitter Mount 1
85-719 30mm Cage Plate C-Mount Adapter 2
85-737 30mm Square Interface Plate 1
Coming Soon! 150mm Cage Cover Tube 1
Coming Soon! LED w/power source 1

PROPRIETARY - Property of Edmund Optics, Inc. | 2012 Copyright© Edmund Optics, Inc.
1. BEAMSPLITTER ASSEMBLY
5

PROPRIETARY - Property of Edmund Optics, Inc. | 2012 Copyright© Edmund Optics, Inc.
Parts needed for this step:
BEAMSPLITTER ASSEMBLY 6
STOCK # Description
QUANTITY
32-505 25mm 50R/50T Cube Beamsplitter 1
85-688 25/25.4mm Cube Beamsplitter Mount 1
85-632
25mm Standard Cage Plate with M6 for Post Mounting
1
85-624 Cage Sphere with (5) 30mm Port and (1) 43mm Port
1
85-737 30mm Square Interface Plate 1
85-630
30mm Standard Cage Plate with M6 for Post Mounting
2

PROPRIETARY - Property of Edmund Optics, Inc. | 2012 Copyright© Edmund Optics, Inc.
1. Insert the Cube Beamsplitter (#32-
505) into the Cube Beamsplitter
Mount (#85-688). Be sure that the
ground surfaces of the beamsplitter
are in contact with the mount and
the optic is centered within the
mount. Lock the optic into place
with set screws. Set Aside.
BEAMSPLITTER ASSEMBLY 7

PROPRIETARY - Property of Edmund Optics, Inc. | 2012 Copyright© Edmund Optics, Inc.
2. Using M3 SHCS,
attach the 25mm Cage
Mounting Plate (#85-
632) onto the face of
the Sphere (#85-624)
opposite the 43mm
port.
3. Carefully insert the
beamsplitter assembly
(mount first) from Step
1 into the sphere
through the 43mm port.
Slide the base of the
beamsplitter mount into
the 25mm aperture of
the cage plate from
step 2. Use M3 set
screws to lock the
beamsplitter in place
(alignment will be done
later).
BEAMSPLITTER ASSEMBLY 8
4. Attach the Square
Interface Plate (#85-
737) onto the 43mm
port with M3 SHCS.
5. Attach 2 of the 30mm
Cage Mounting Plates
(#85-630) onto
opposite faces of the
sphere. Be sure the
M6 tapped holes are
oriented down toward
the 25mm plate.

PROPRIETARY - Property of Edmund Optics, Inc. | 2012 Copyright© Edmund Optics, Inc.
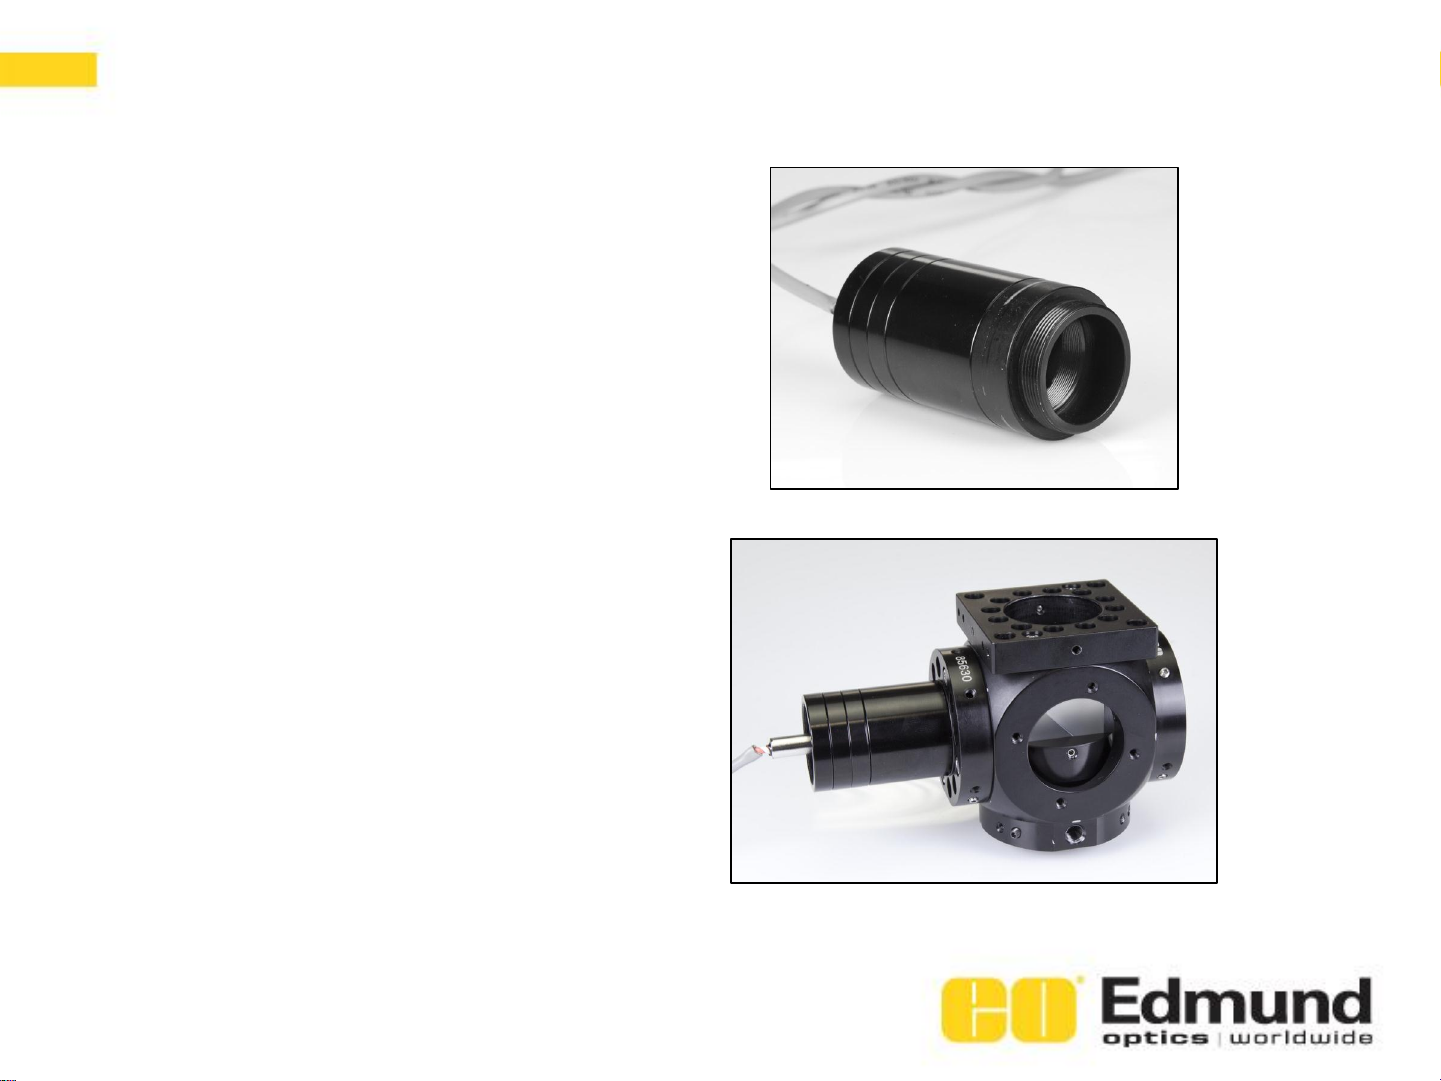
2. SOURCE ARM
9

PROPRIETARY - Property of Edmund Optics, Inc. | 2012 Copyright© Edmund Optics, Inc.
Parts needed for this step :
SOURCE ARM 10
STOCK # Description
QUANTITY
85-719 30mm Cage Plate C-Mount Adapter 1
54-615 C-Mount 12mm Lens Mount 1
58-736 25mm C-Mount Extension Tube 1
46-105 12.5 D Opal Diffusing Glass 1
55-246 C-Mount 12.5 mm Lens Mount 1
53-860 C-Mount 21mm Reticle Mount 1
39-444 21mm Crosshair Glass Reticle 1
Coming Soon LED with power source 1

PROPRIETARY - Property of Edmund Optics, Inc. | 2012 Copyright© Edmund Optics, Inc.
6. Take the C-mount 12mm Lens Mount
(#54-615) and insert the LED cable
extending toward the female C-mount
threads. Secure with the retaining ring.
7. Insert the 12.5mm Opal Diffusing Glass
(#46-105) into the C-mount 12.5mm Lens
Mount (#55-246). Secure with the
retaining ring.Attach to the male
threading of the mount from step 6.
8. Take the C-Mount 21mm Reticle Mount
(#53-860) and insert the 21mm Crosshair
Glass Reticle (#39-444) and secure with
retaining ring. Attach to male threading of
the mount from step 7.
SOURCE ARM 11
PROPRIETARY - Property of Edmund Optics, Inc. | 2012 Copyright© Edmund Optics, Inc.
9. Connect the 25mm C-mount
Extension Tube (#58-736) to the
male threading of the assembly
from step 8.
10. Attach Cage Plate C-MountAdapter
(#85-719) to the male thread of the
assembly from step 9.
11. Insert the entire assembly, C-mount
adapter first, into one of the 30mm
cage plates from step 5. Lock into
place using M3 set screws.
SOURCE ARM 12

PROPRIETARY - Property of Edmund Optics, Inc. | 2012 Copyright© Edmund Optics, Inc.
3. OBJECTIVE ARM
13

PROPRIETARY - Property of Edmund Optics, Inc. | 2012 Copyright© Edmund Optics, Inc.
Parts needed for this step:
OBJECTIVE ARM 14
STOCK # Description
QUANTITY
85-490 Cage Support Rod 6mm Diameter x 150mm Length, M3
4
85-630 30mm Standard Cage Plate with M6 for Post Mounting 2
45-415 Achromatic Doublet 30mm Dia. 200mm EFL 1

PROPRIETARY - Property of Edmund Optics, Inc. | 2012 Copyright© Edmund Optics, Inc.
12. Insert four of the 150mm rods (#85-490)
into the remaining 30mm Plate opposite the
the SourceArm. Lock each into place with
M3 set screws.
13. Mount the 30mm x 200mmAchromatic
Doublet (#45-415) into one of the 30mm
Standard Cage plates (#85-630). Note the
orientation of the lens within the plate. Slide
the plate onto the 150mm rods with the bi-
convex element facing away from the
sphere assembly. Keep the plate loose on
the rods for alignment.
14. Attach the final 30mm Standard Cage Plate
to the end of the four 150 mm rods.
Position the plate so it is flush with the end
of the rods. Lock into place with M3 set
screws.
OBJECTIVE ARM 15

PROPRIETARY - Property of Edmund Optics, Inc. | 2012 Copyright© Edmund Optics, Inc.
4. EYEPIECE ARM
16

PROPRIETARY - Property of Edmund Optics, Inc. | 2012 Copyright© Edmund Optics, Inc.
EYEPIECE ARM 17
STOCK # Description
QUANTITY
03-628 C-Mount Microscope EyepieceAdapter 1
54-420 19mm Scaled Crosshair Glass Reticle 1
37-692 10X KellnerAdjustable Eyepiece for Reticle 1
85-719 30mm Cage Plate C-Mount Adapter 1
Parts needed for this step:

PROPRIETARY - Property of Edmund Optics, Inc. | 2012 Copyright© Edmund Optics, Inc.
15. Insert the 19mm Scaled
Crosshair Glass Reticle (#54-
420) into the 10X Kellner
Adjustable Eyepiece for Reticle
(#37-692). Secure with retaining
ring
16. Insert the Plate C-mount adapter
(#85-719) into the 30mm
aperture of the square plate with
the female threading facing out
and lock into place with M3 set
screws
17. Thread the C-Mount Microscope
Eyepiece Adapter (#03-628)
onto the C-mount adapter from
step 16. Slide the eyepiece into
the adapter and lock into place
with the thumbscrew.
EYEPIECE ARM 18

PROPRIETARY - Property of Edmund Optics, Inc. | 2012 Copyright© Edmund Optics, Inc.
FINAL TOUCHES
19

PROPRIETARY - Property of Edmund Optics, Inc. | 2012 Copyright© Edmund Optics, Inc.
•Loosen the beamsplitter mount and adjust it so that ambient light coming from the objective
goes to the source and eyepiece. Center and level the beamsplitter as much as possible.
Lock into place.
•Simple Calibration: With the LED on take a mirror and place it flat against the outer 30mm
Standard Cage Plate on the objective arm. Look through the microscope eyepiece, adjust
the location of the plate with the achromatic doublet until you see the crosshair from the
source in focus on the eyepiece reticle. Lock that plate onto the rods with M3 set screws.
•Camera Calibration: Place a camera with a fixed focal length lens focused at infinity. Move
the plate with the achromatic doublet until the reticle is in focus. Lock that plate onto the
rods with M3 set screws.
ALIGNMENT & CALIBRATION 20
Table of contents
Other Edmund Optics Measuring Instrument manuals


